 |
 |
 |
| 70-mm magazine Y - AS12-46-6715 to 6868 |
Photography Index | 70-mm magazine X - AS12-48-7022 to 7171 |
No copyright is asserted for NASA photographs. If a recognizable person appears in a photo, use for commercial purposes may infringe a right of privacy or publicity. Photos may not be used to state or imply the endorsement by NASA or by any NASA employee of a commercial product, process or service, or used in any other manner that might mislead. Accordingly, it is requested that if a NASA photograph is used in advertising and other commercial promotion, layout and copy be submitted to NASA prior to release.
NASA photos reproduced from this archive should include photo credit to "NASA" or "National Aeronautics and Space Administration" and should include scanning credit to the appropriate individuals or agencies as noted in the captions.
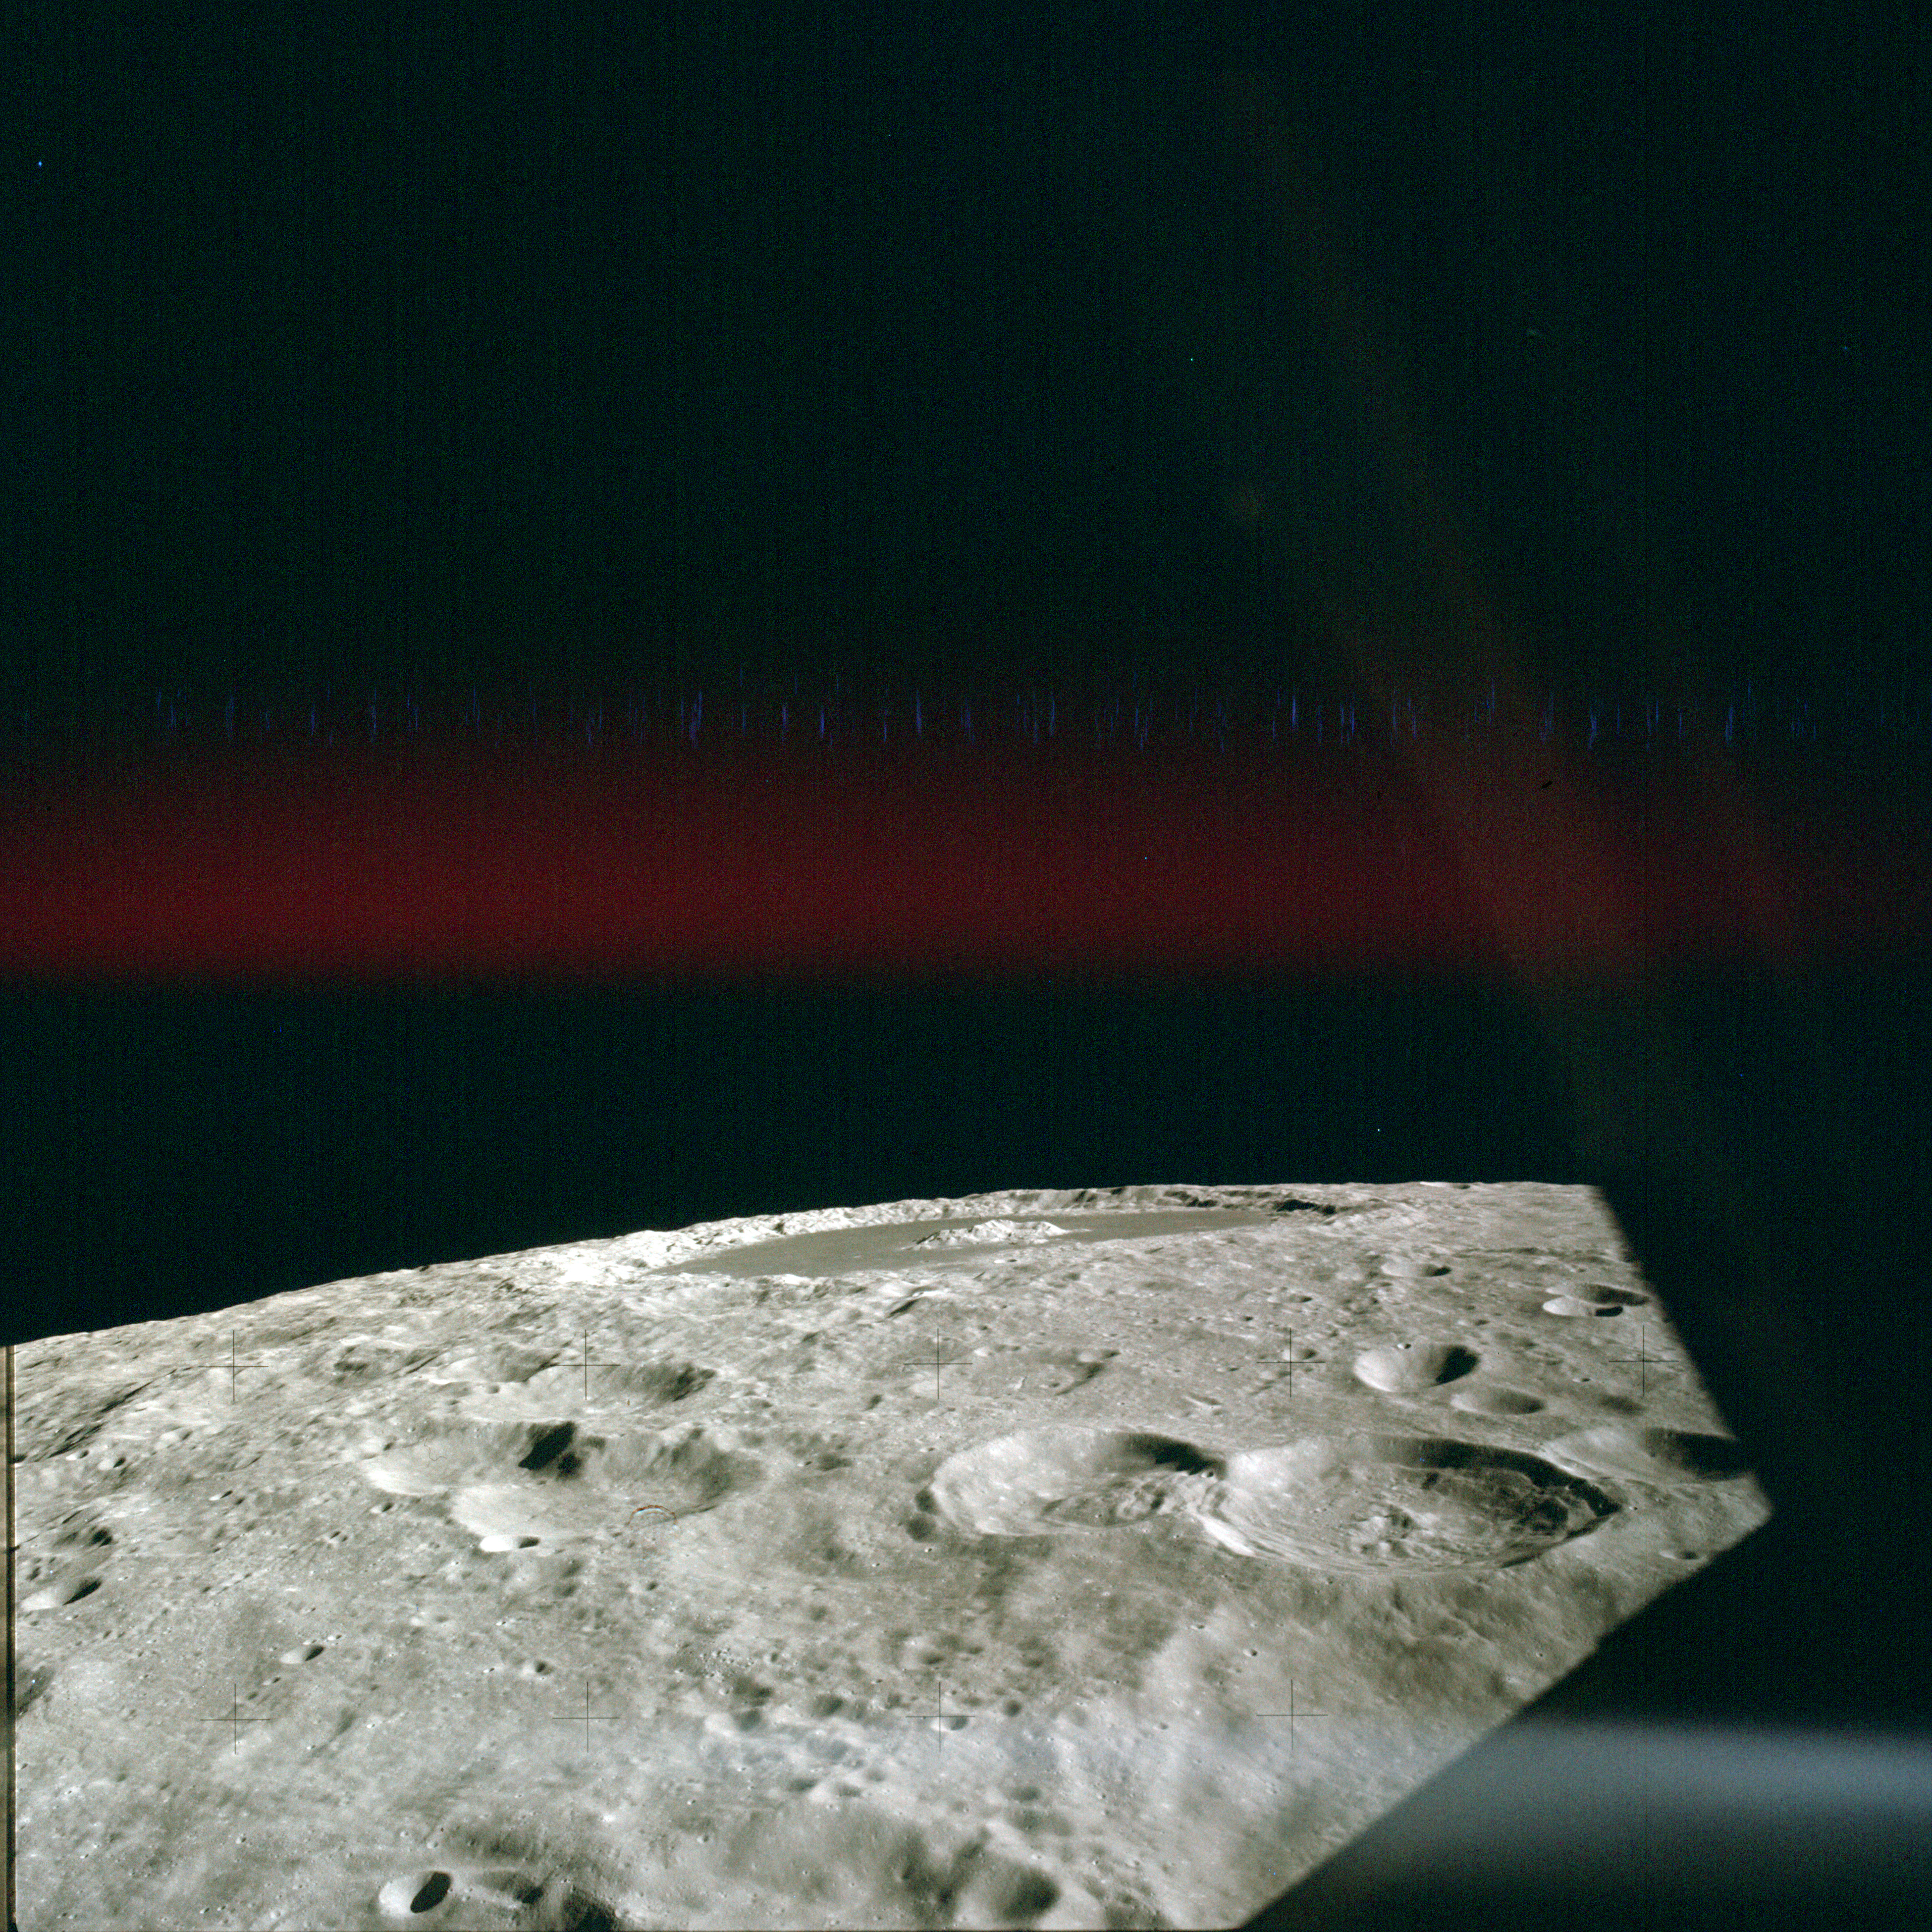 |
AS12-47-6869 Tsiolkovsky crater on lunar horizon from orbit. Image credit: Image Science and Analysis Laboratory, NASA-Johnson Space Center |
 |
AS12-47-6870 Tsiolkovsky crater on lunar horizon from orbit. Image credit: Image Science and Analysis Laboratory, NASA-Johnson Space Center |
 |
AS12-47-6871 Crescent Earth from lunar orbit. The western rim of large crater Pasteur runs across the foreground. Crater Pasteur U is in the centre of the foreground. Image credit: Image Science and Analysis Laboratory, NASA-Johnson Space Center |
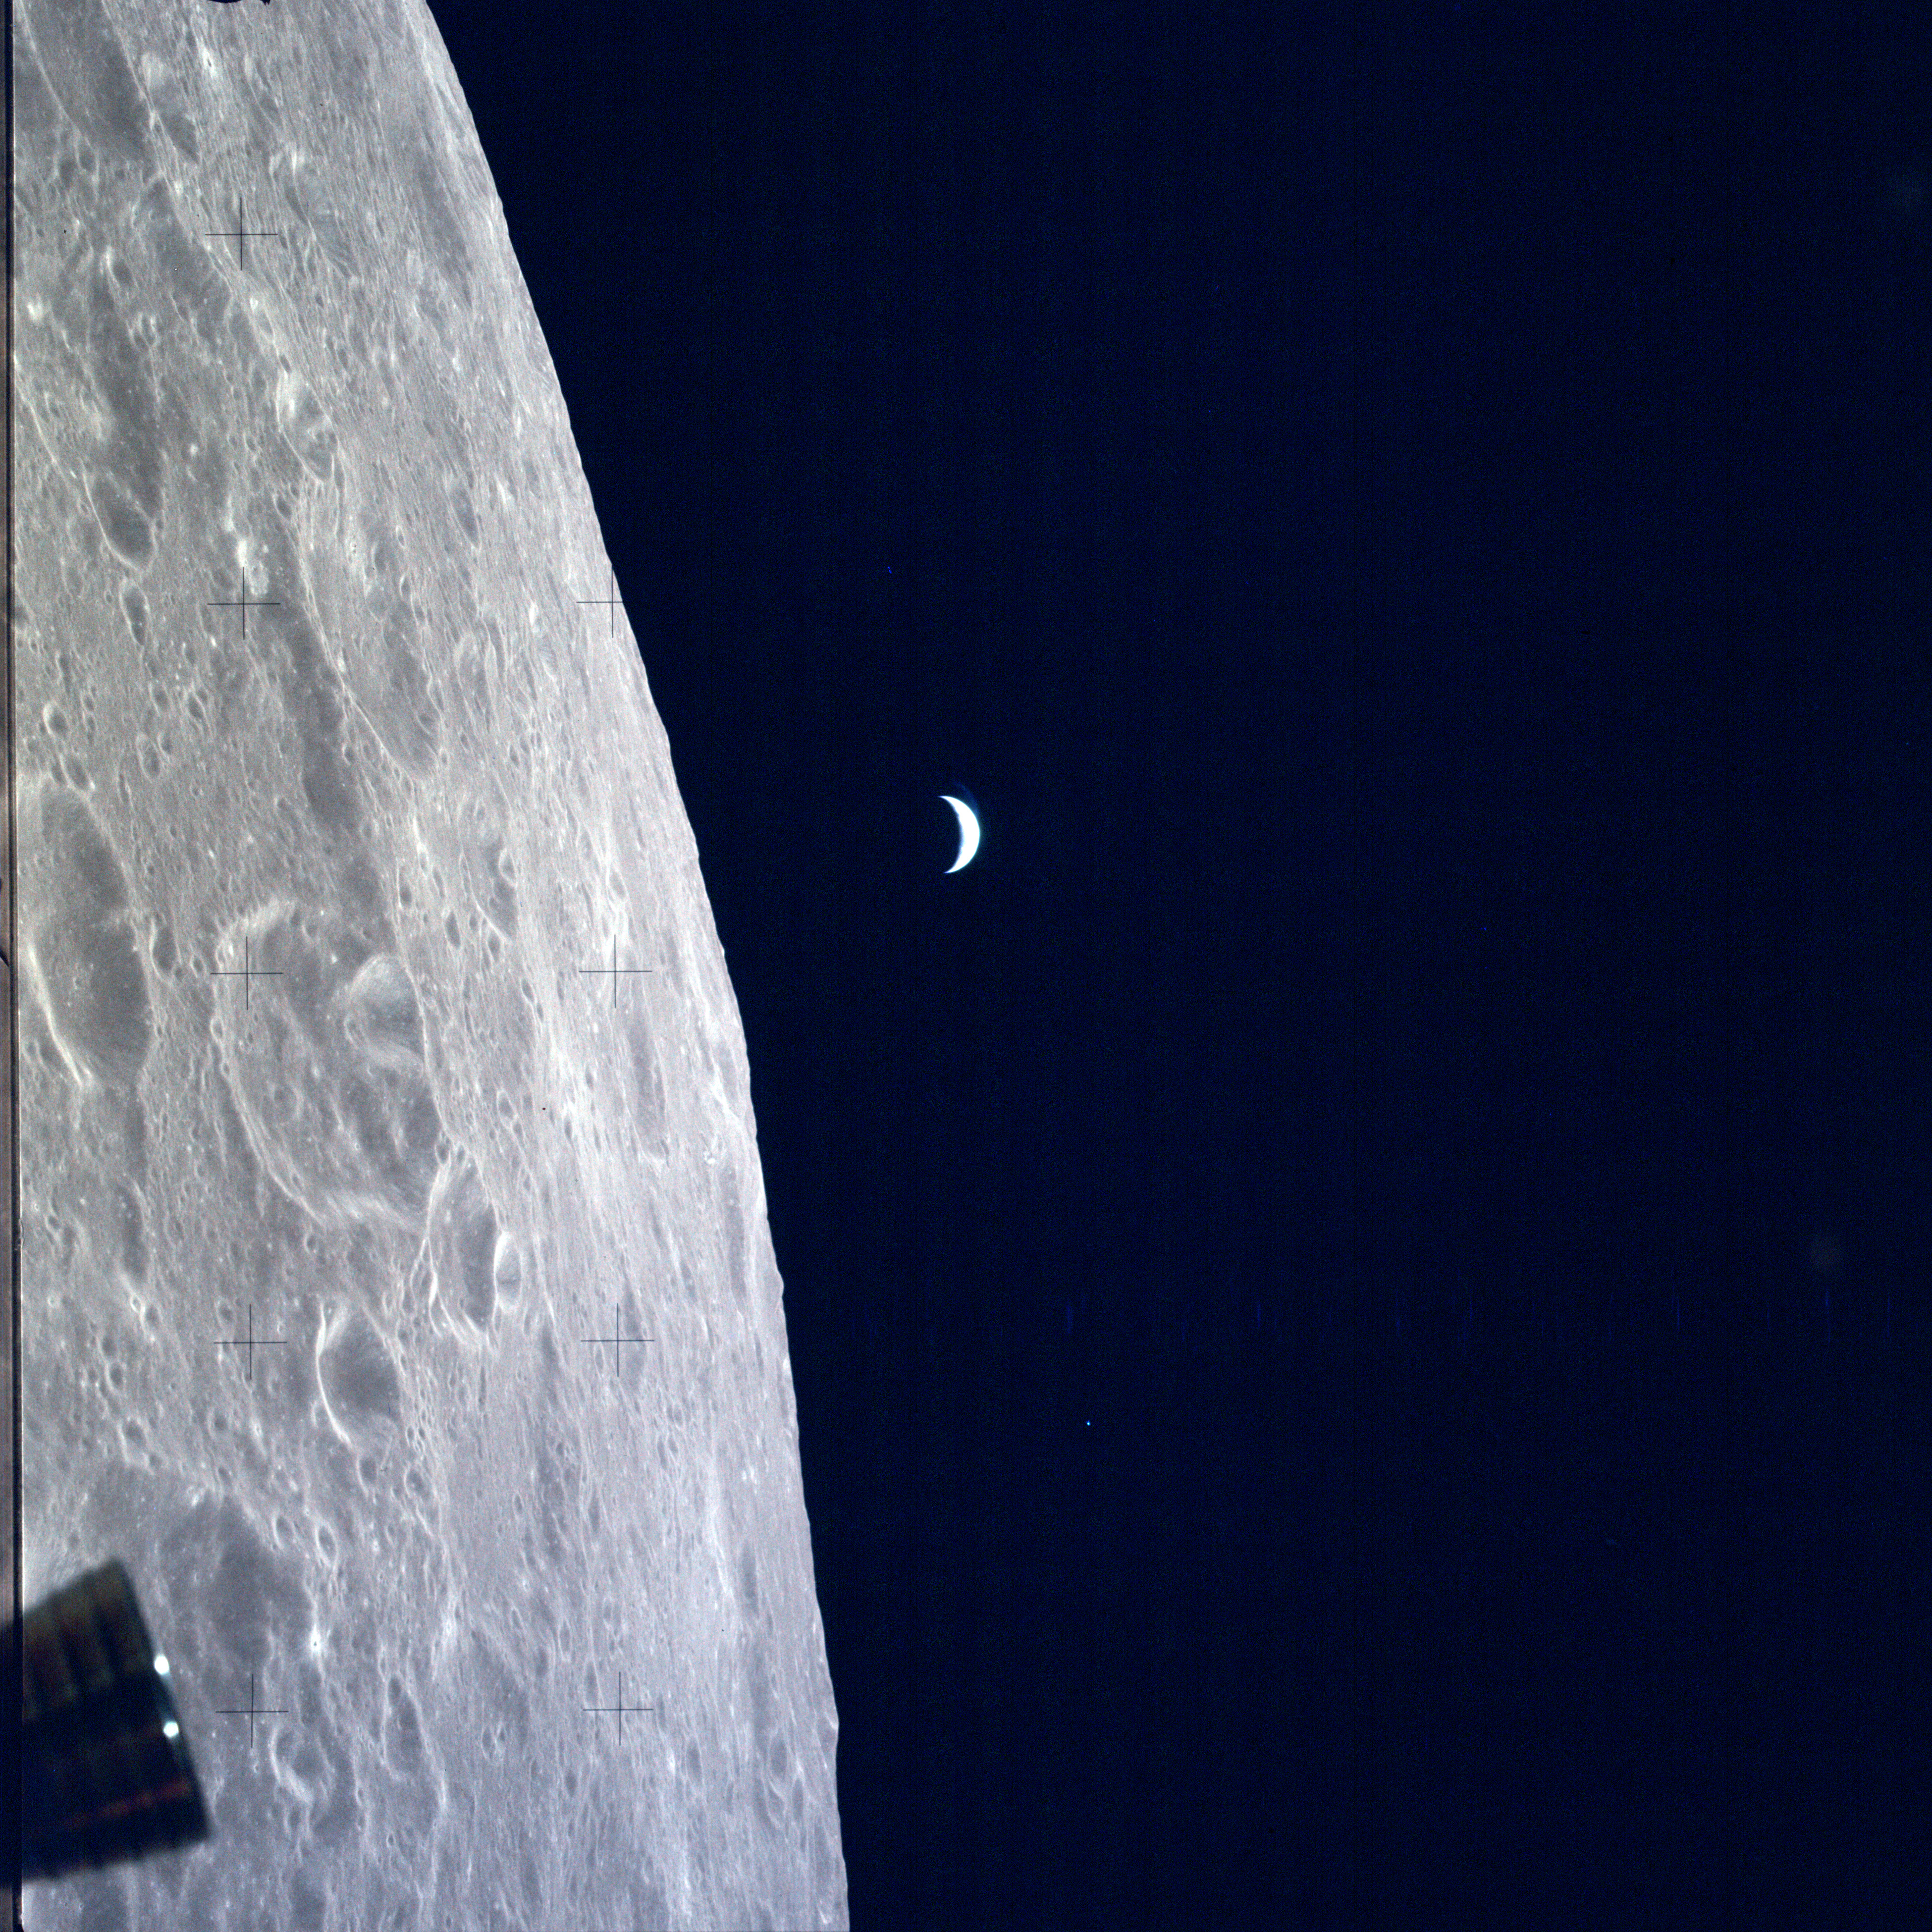 |
AS12-47-6872 Crescent Earth from lunar orbit. The western rim of large crater Pasteur runs across the foreground. Crater Pasteur U is in the centre of the foreground. Image credit: Image Science and Analysis Laboratory, NASA-Johnson Space Center |
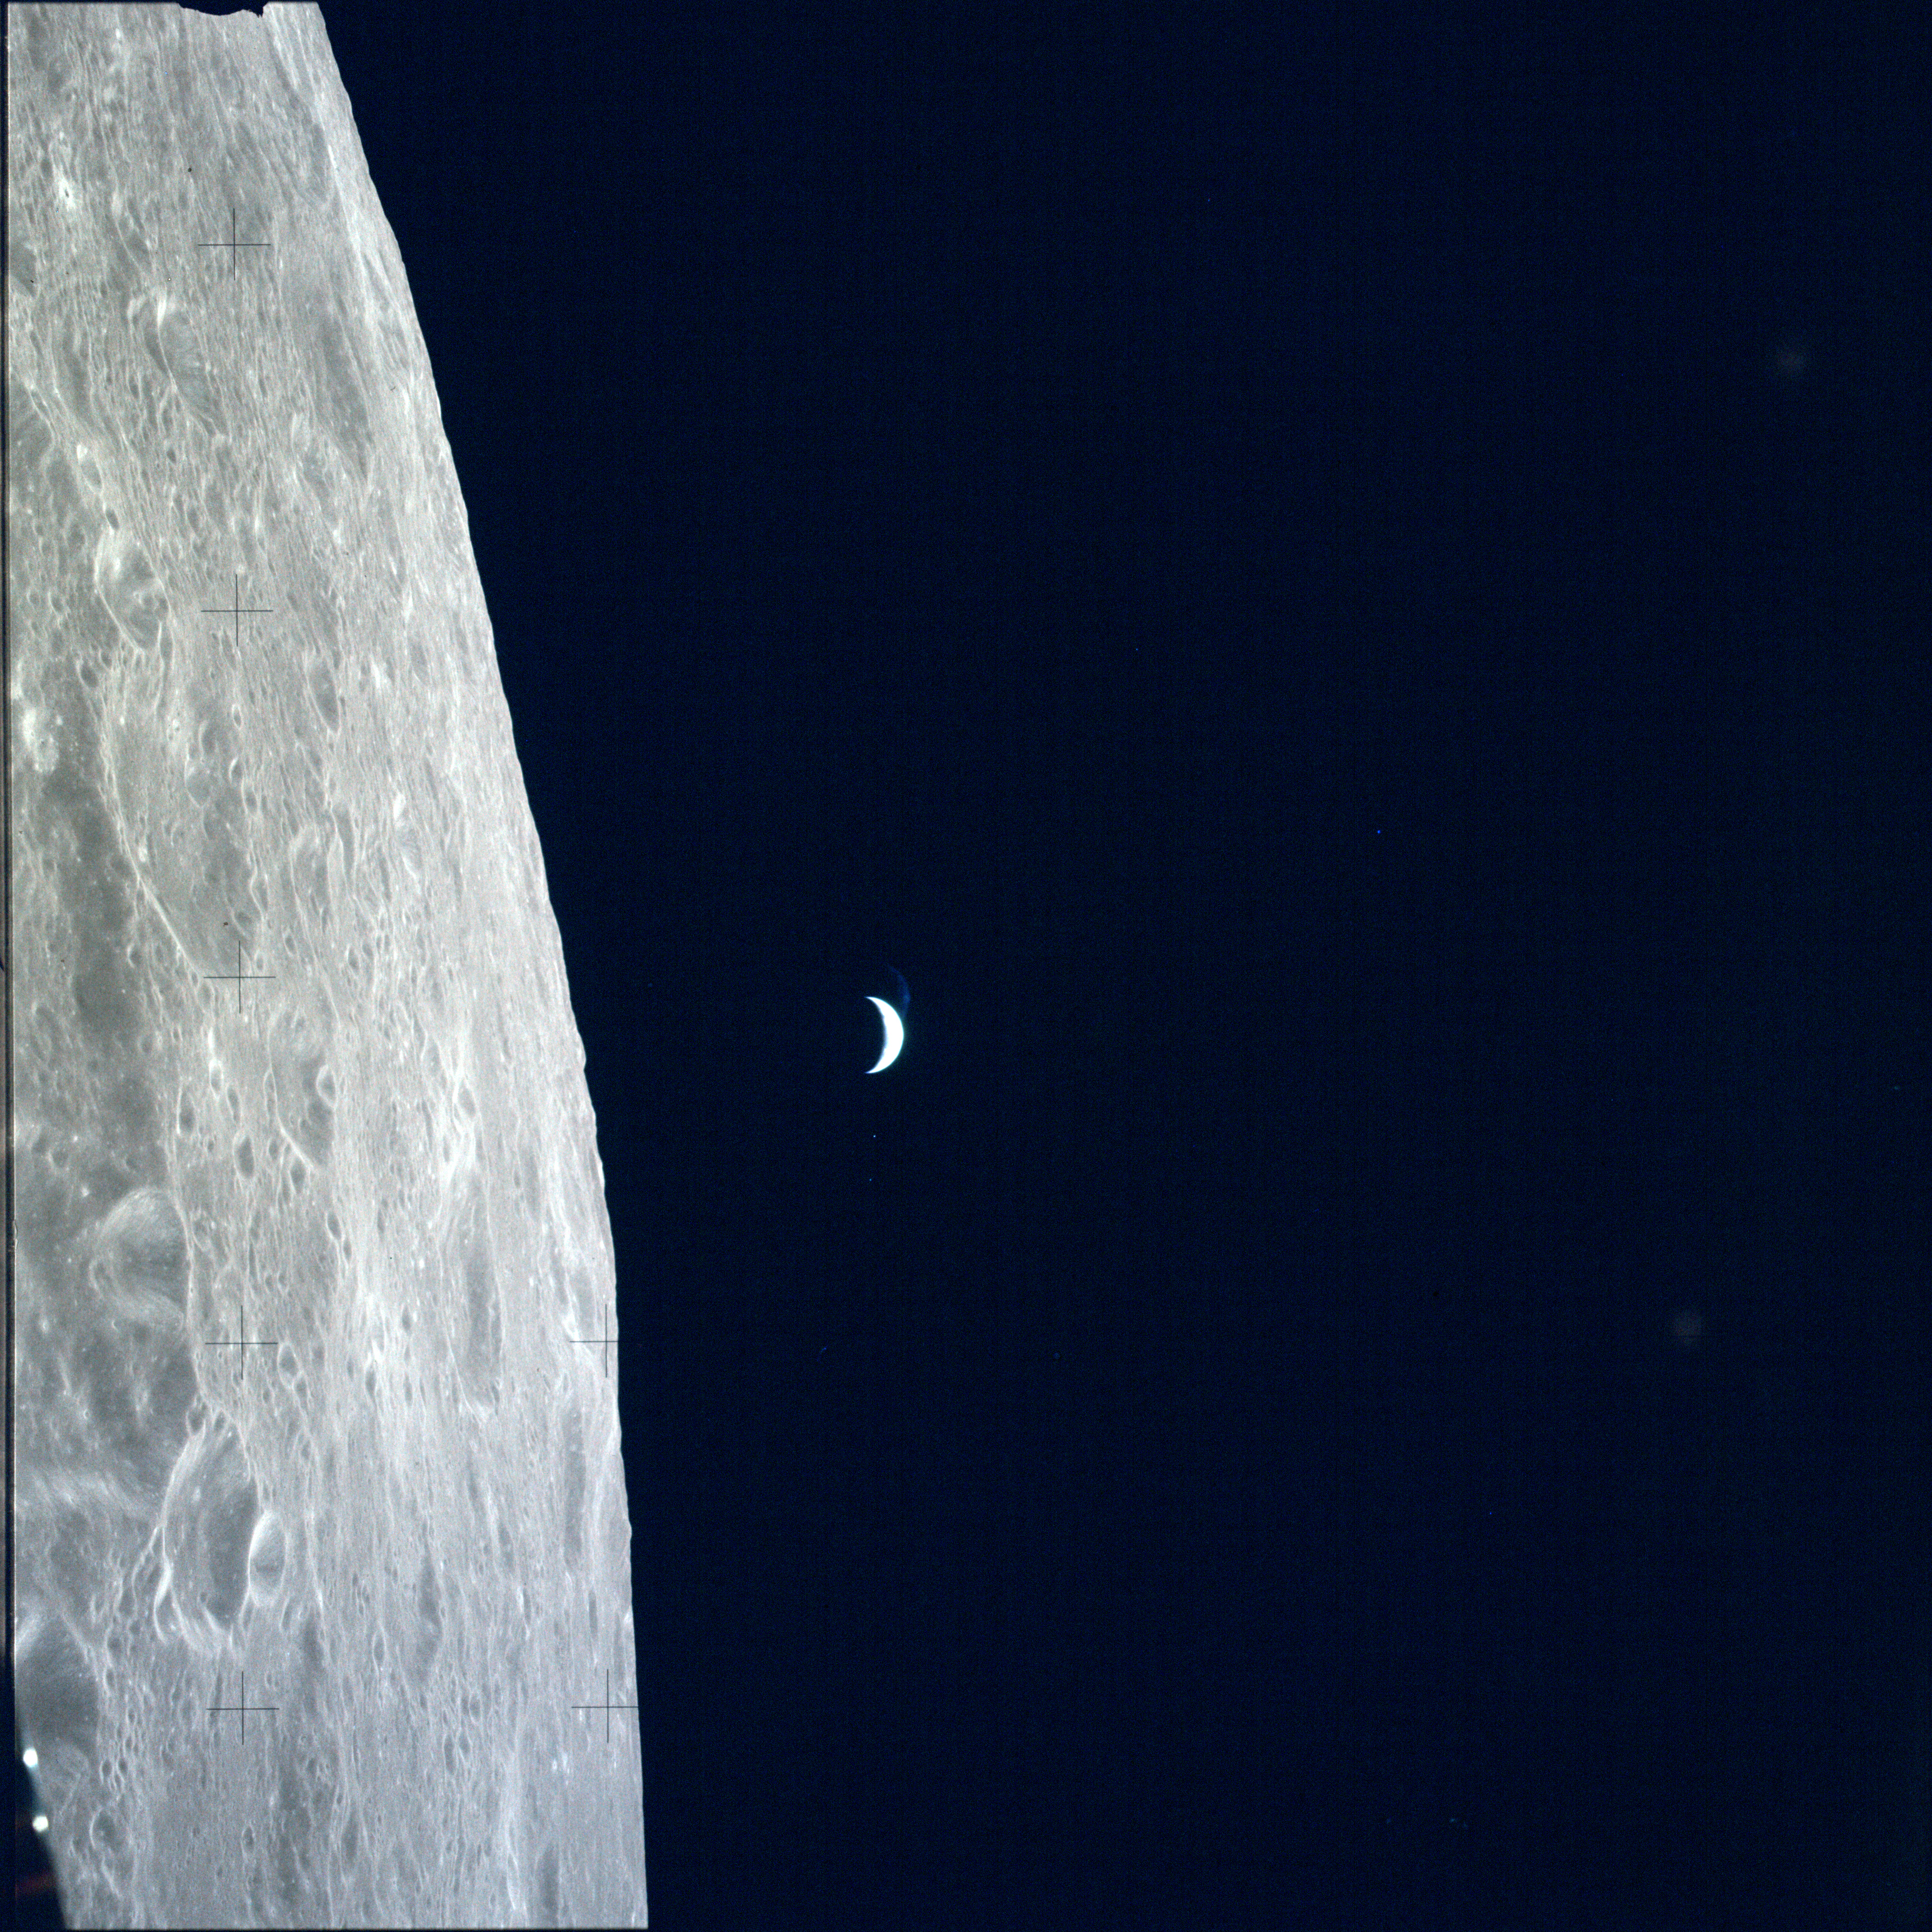 |
AS12-47-6873 Crescent Earth from lunar orbit. The western rim of large crater Pasteur runs across the foreground with crater Pasteur U cut off in the near field. Image credit: Image Science and Analysis Laboratory, NASA-Johnson Space Center |
 |
AS12-47-6874 Crescent Earth from lunar orbit. Crater Debus is in the centre of the foreground. Image credit: Image Science and Analysis Laboratory, NASA-Johnson Space Center |
 |
AS12-47-6875 View looking NNE with Copernicus on the horizon and Reinhold in the foreground. Image credit: Image Science and Analysis Laboratory, NASA-Johnson Space Center |
 |
AS12-47-6876 View looking NNE with Copernicus on the horizon and Reinhold in the foreground. Image credit: Image Science and Analysis Laboratory, NASA-Johnson Space Center |
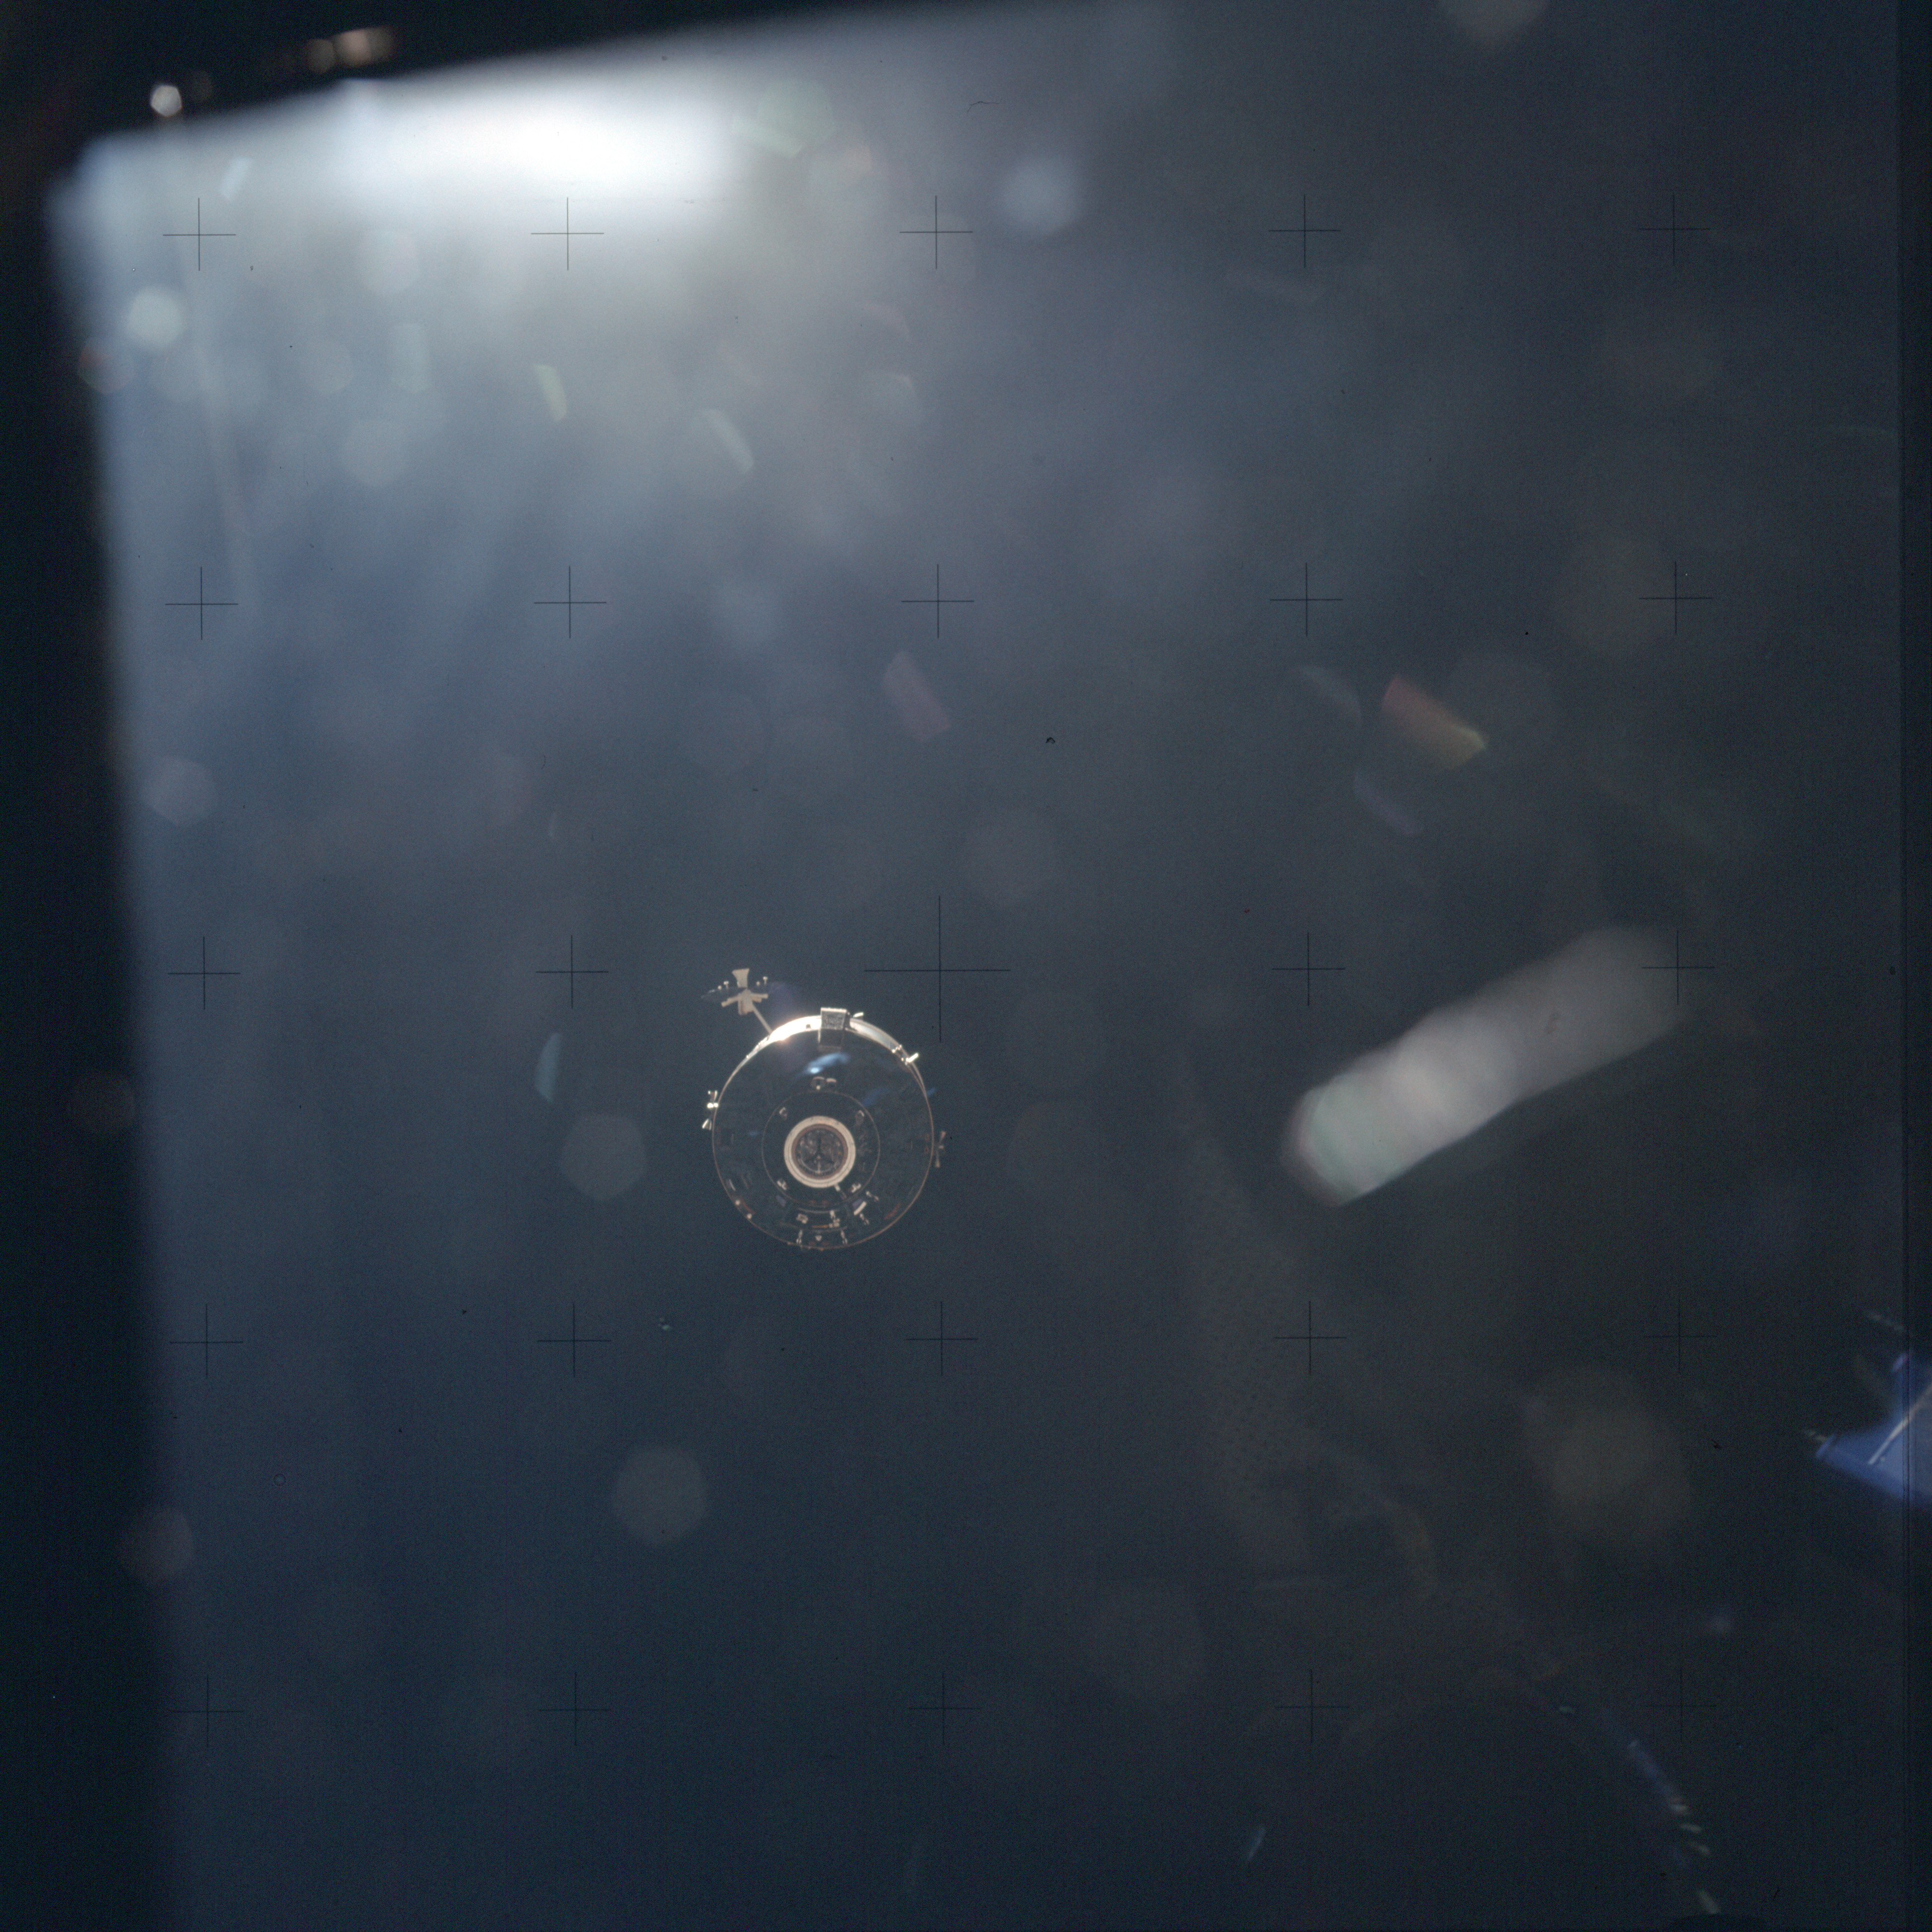 |
AS12-47-6877 CSM Yankee Clipper seen from LM after separation. Image credit: Image Science and Analysis Laboratory, NASA-Johnson Space Center |
 |
AS12-47-6878 CSM Yankee Clipper seen from LM after separation. Image credit: Image Science and Analysis Laboratory, NASA-Johnson Space Center |
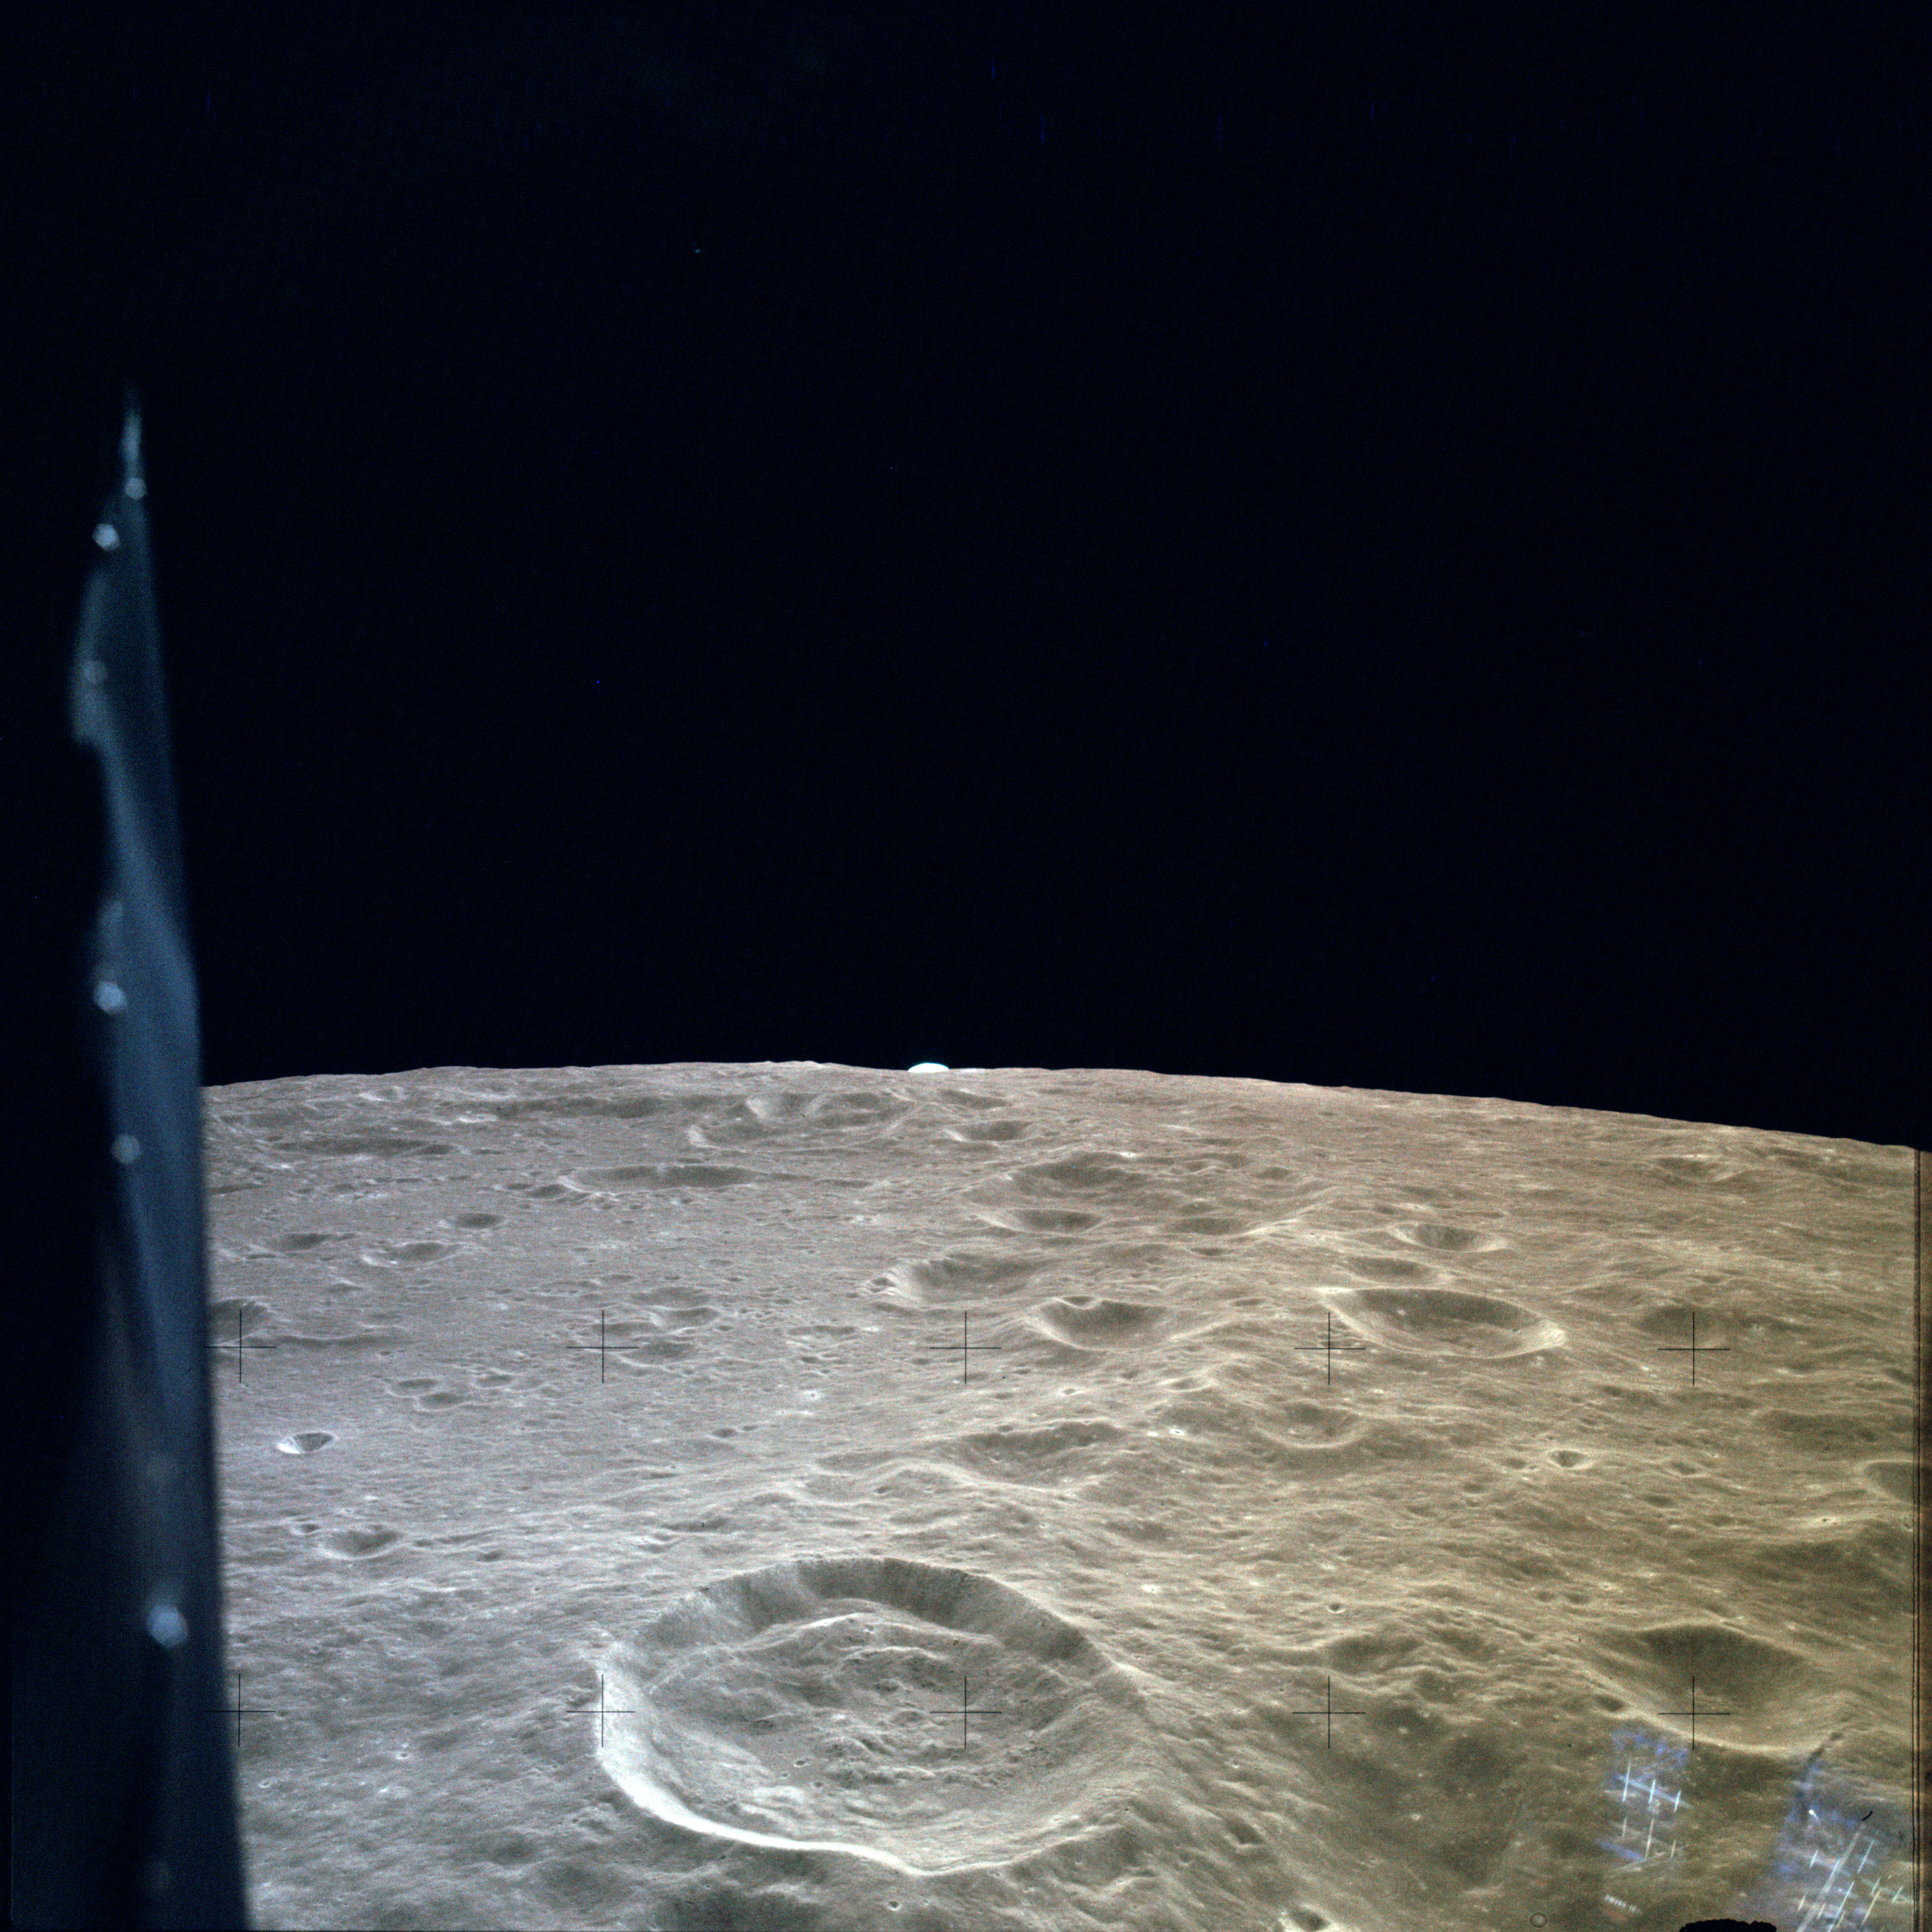 |
AS12-47-6879 Earthrise seen from LM during final orbit before landing. View looks along the northern rim of large crater Pasteur with Pasteur D dominating the foreground. Image credit: Image Science and Analysis Laboratory, NASA-Johnson Space Center |
 |
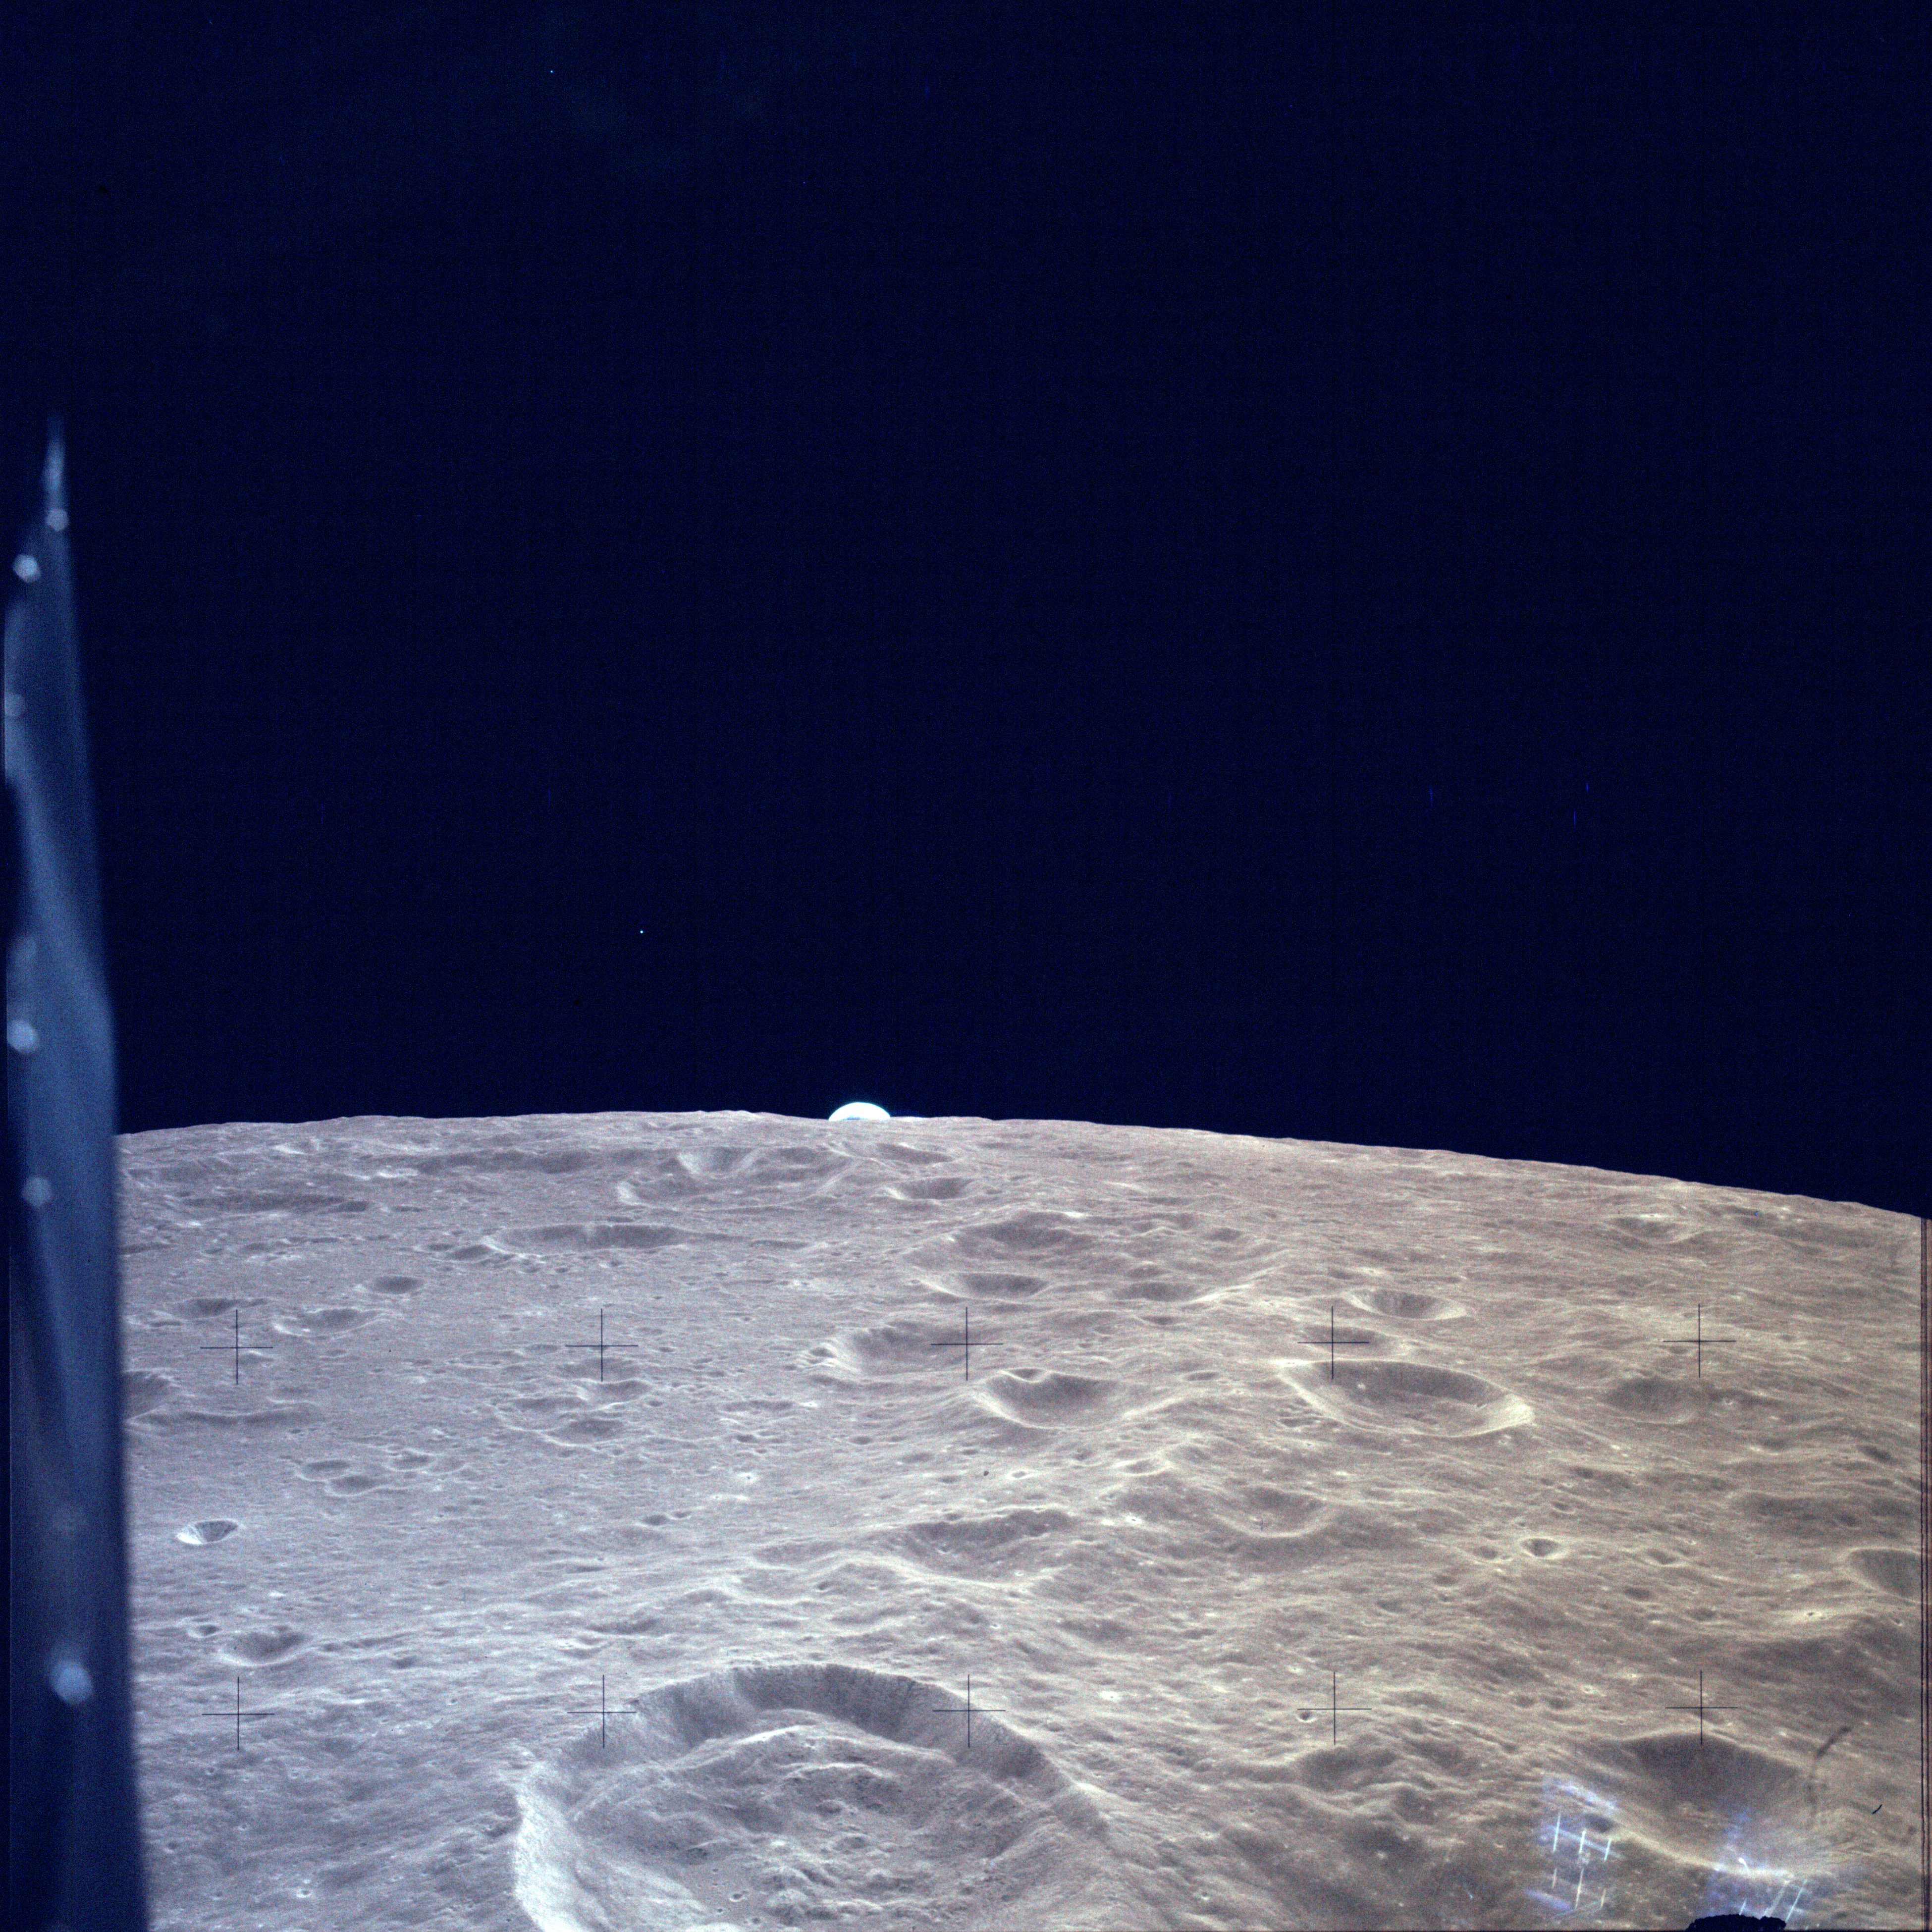
AS12-47-6880 Earthrise seen from LM during final orbit before landing. View looks along the northern rim of large crater Pasteur with Pasteur D cut off in the foreground. Image credit: Image Science and Analysis Laboratory, NASA-Johnson Space Center |
 |
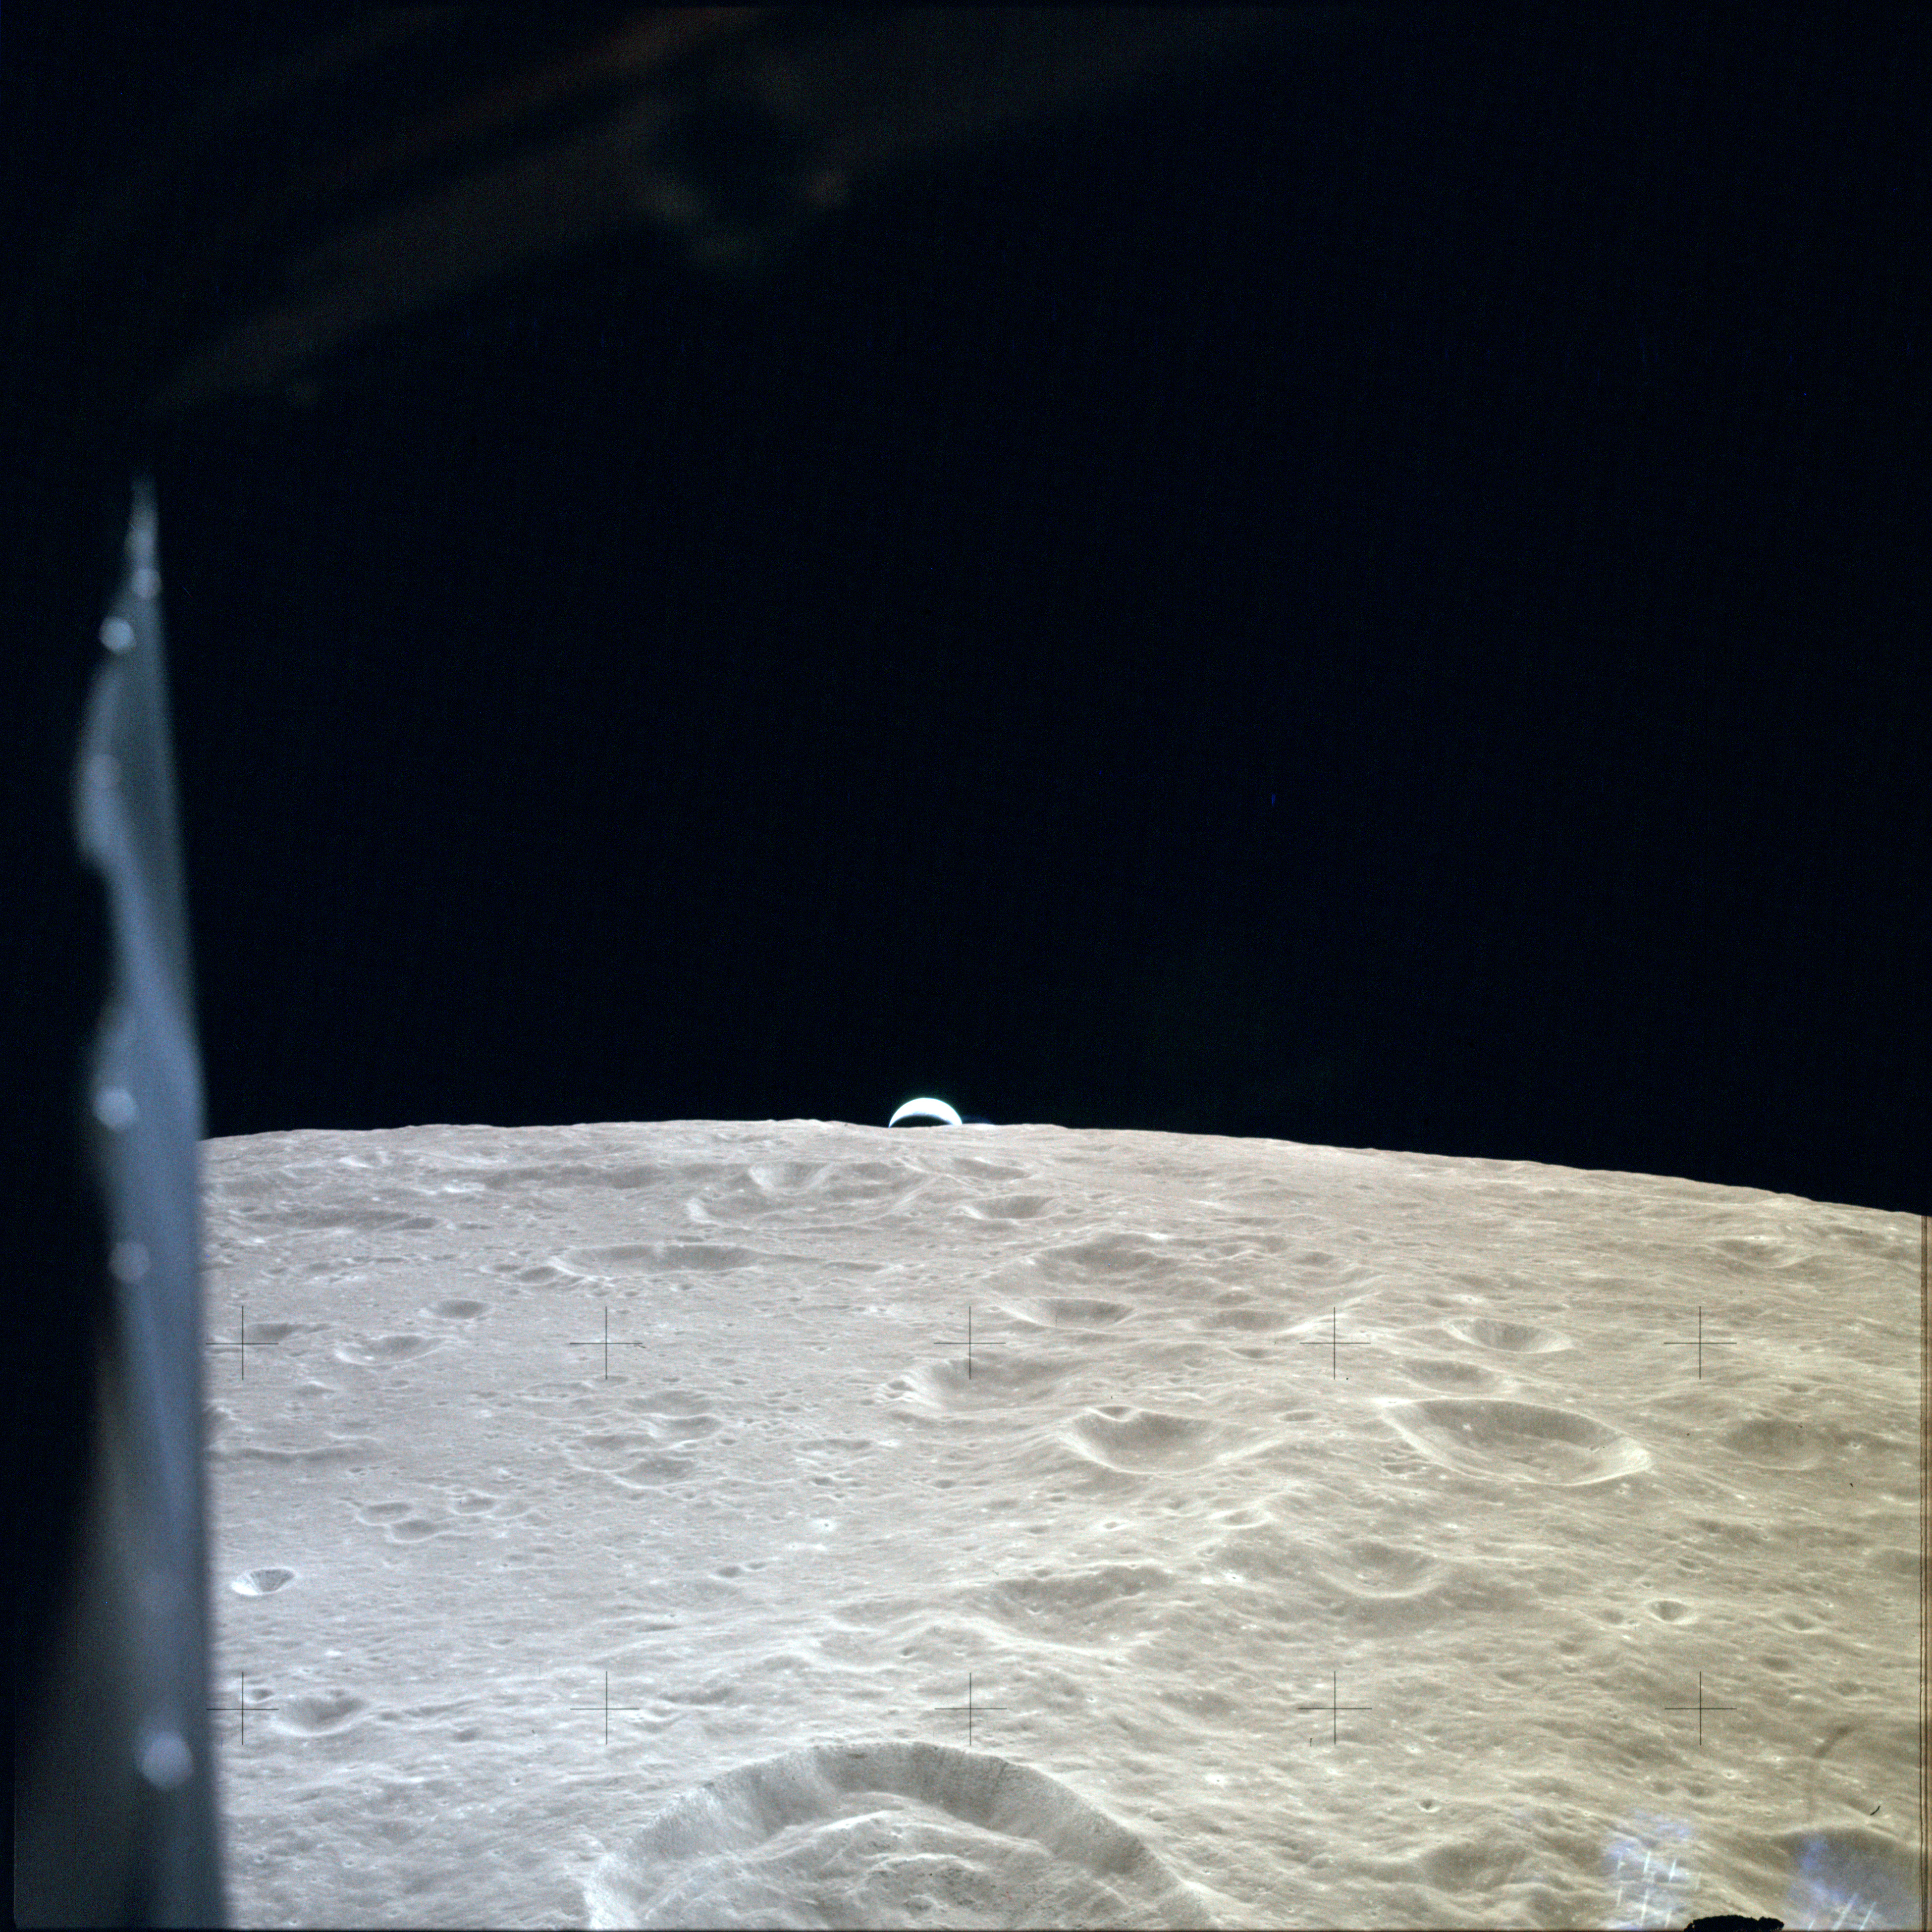
AS12-47-6881 Earthrise seen from LM during final orbit before landing. View looks along the northern rim of large crater Pasteur with Pasteur D cut off in the foreground. Image credit: Image Science and Analysis Laboratory, NASA-Johnson Space Center |
 |
AS12-47-6882 Earthrise seen from LM during final orbit before landing. View looks along the northern rim of large crater Pasteur with Pasteur D cut off in the foreground. Image credit: Image Science and Analysis Laboratory, NASA-Johnson Space Center |
 |
AS12-47-6883 Earthrise seen from LM during final orbit before landing. View looks along the northern rim of large crater Pasteur with Pasteur D cut off in the foreground. Image credit: Image Science and Analysis Laboratory, NASA-Johnson Space Center |
 |
AS12-47-6884 Earthrise seen from LM during final orbit before landing. View looks along the northern rim of large crater Pasteur with Pasteur D cut off in the foreground. Image credit: Image Science and Analysis Laboratory, NASA-Johnson Space Center |
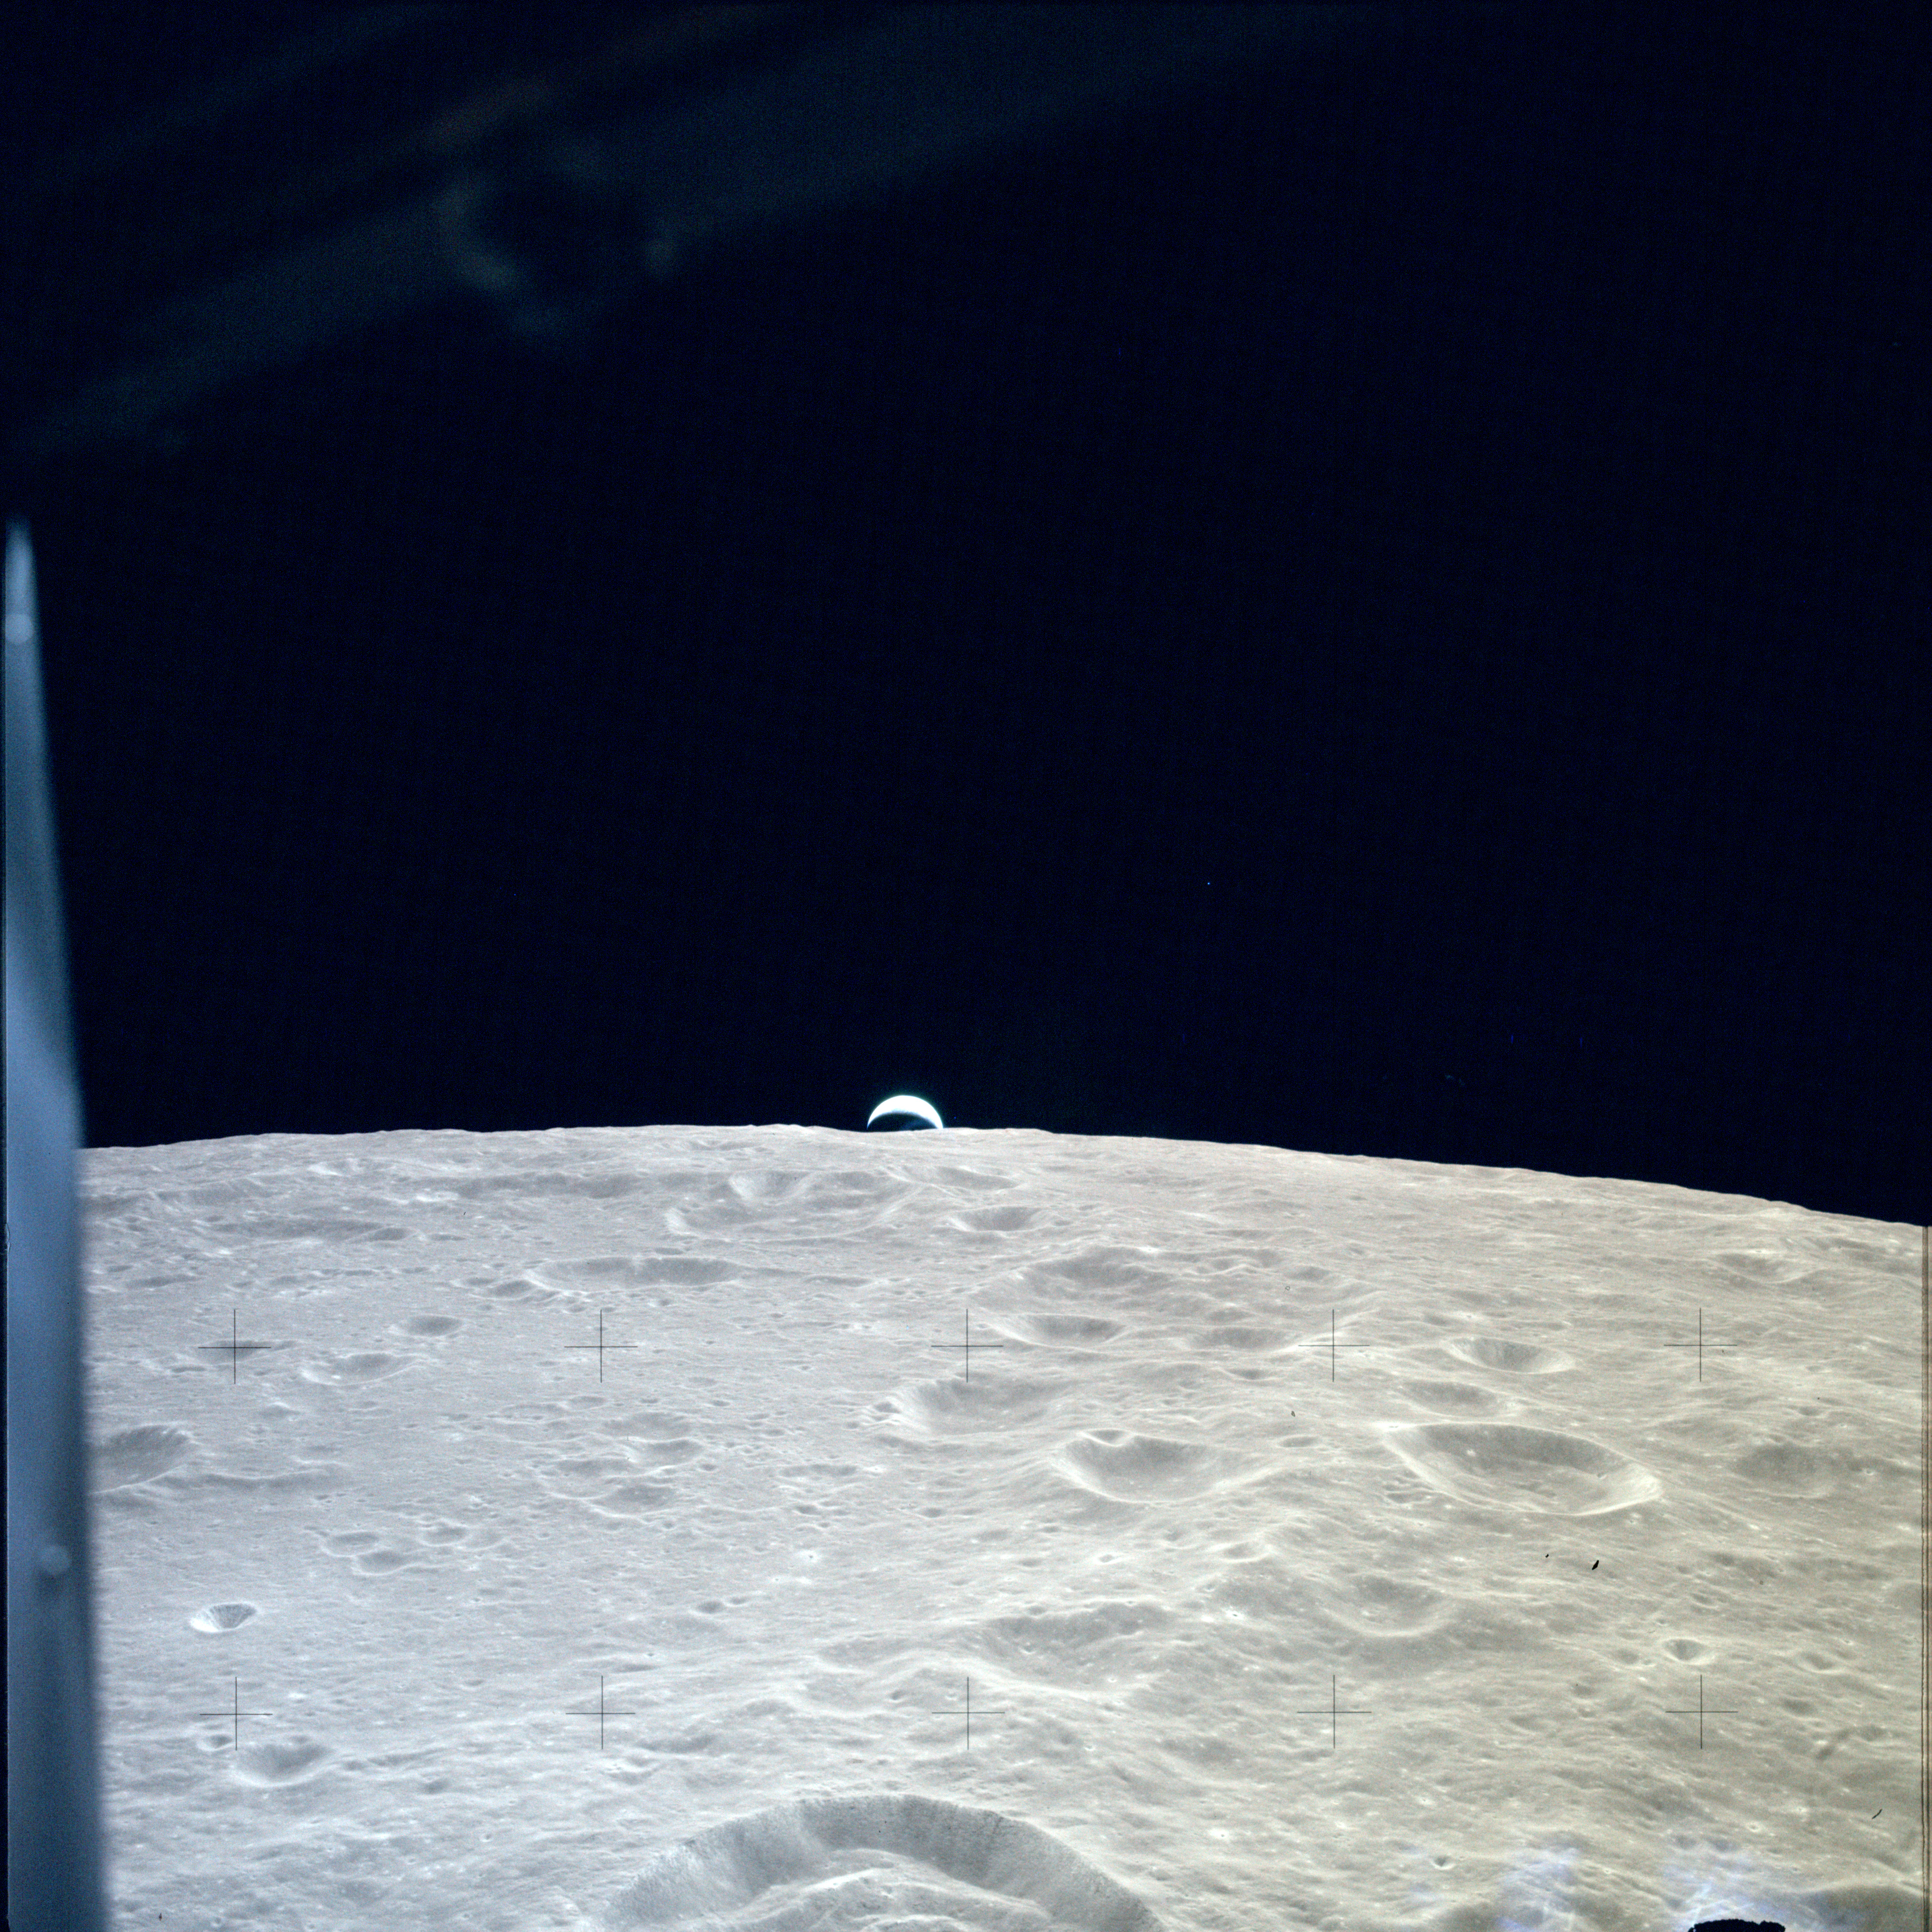 |
AS12-47-6885 Earthrise seen from LM during final orbit before landing. View looks along the northern rim of large crater Pasteur with Pasteur D cut off in the foreground. Image credit: Image Science and Analysis Laboratory, NASA-Johnson Space Center |
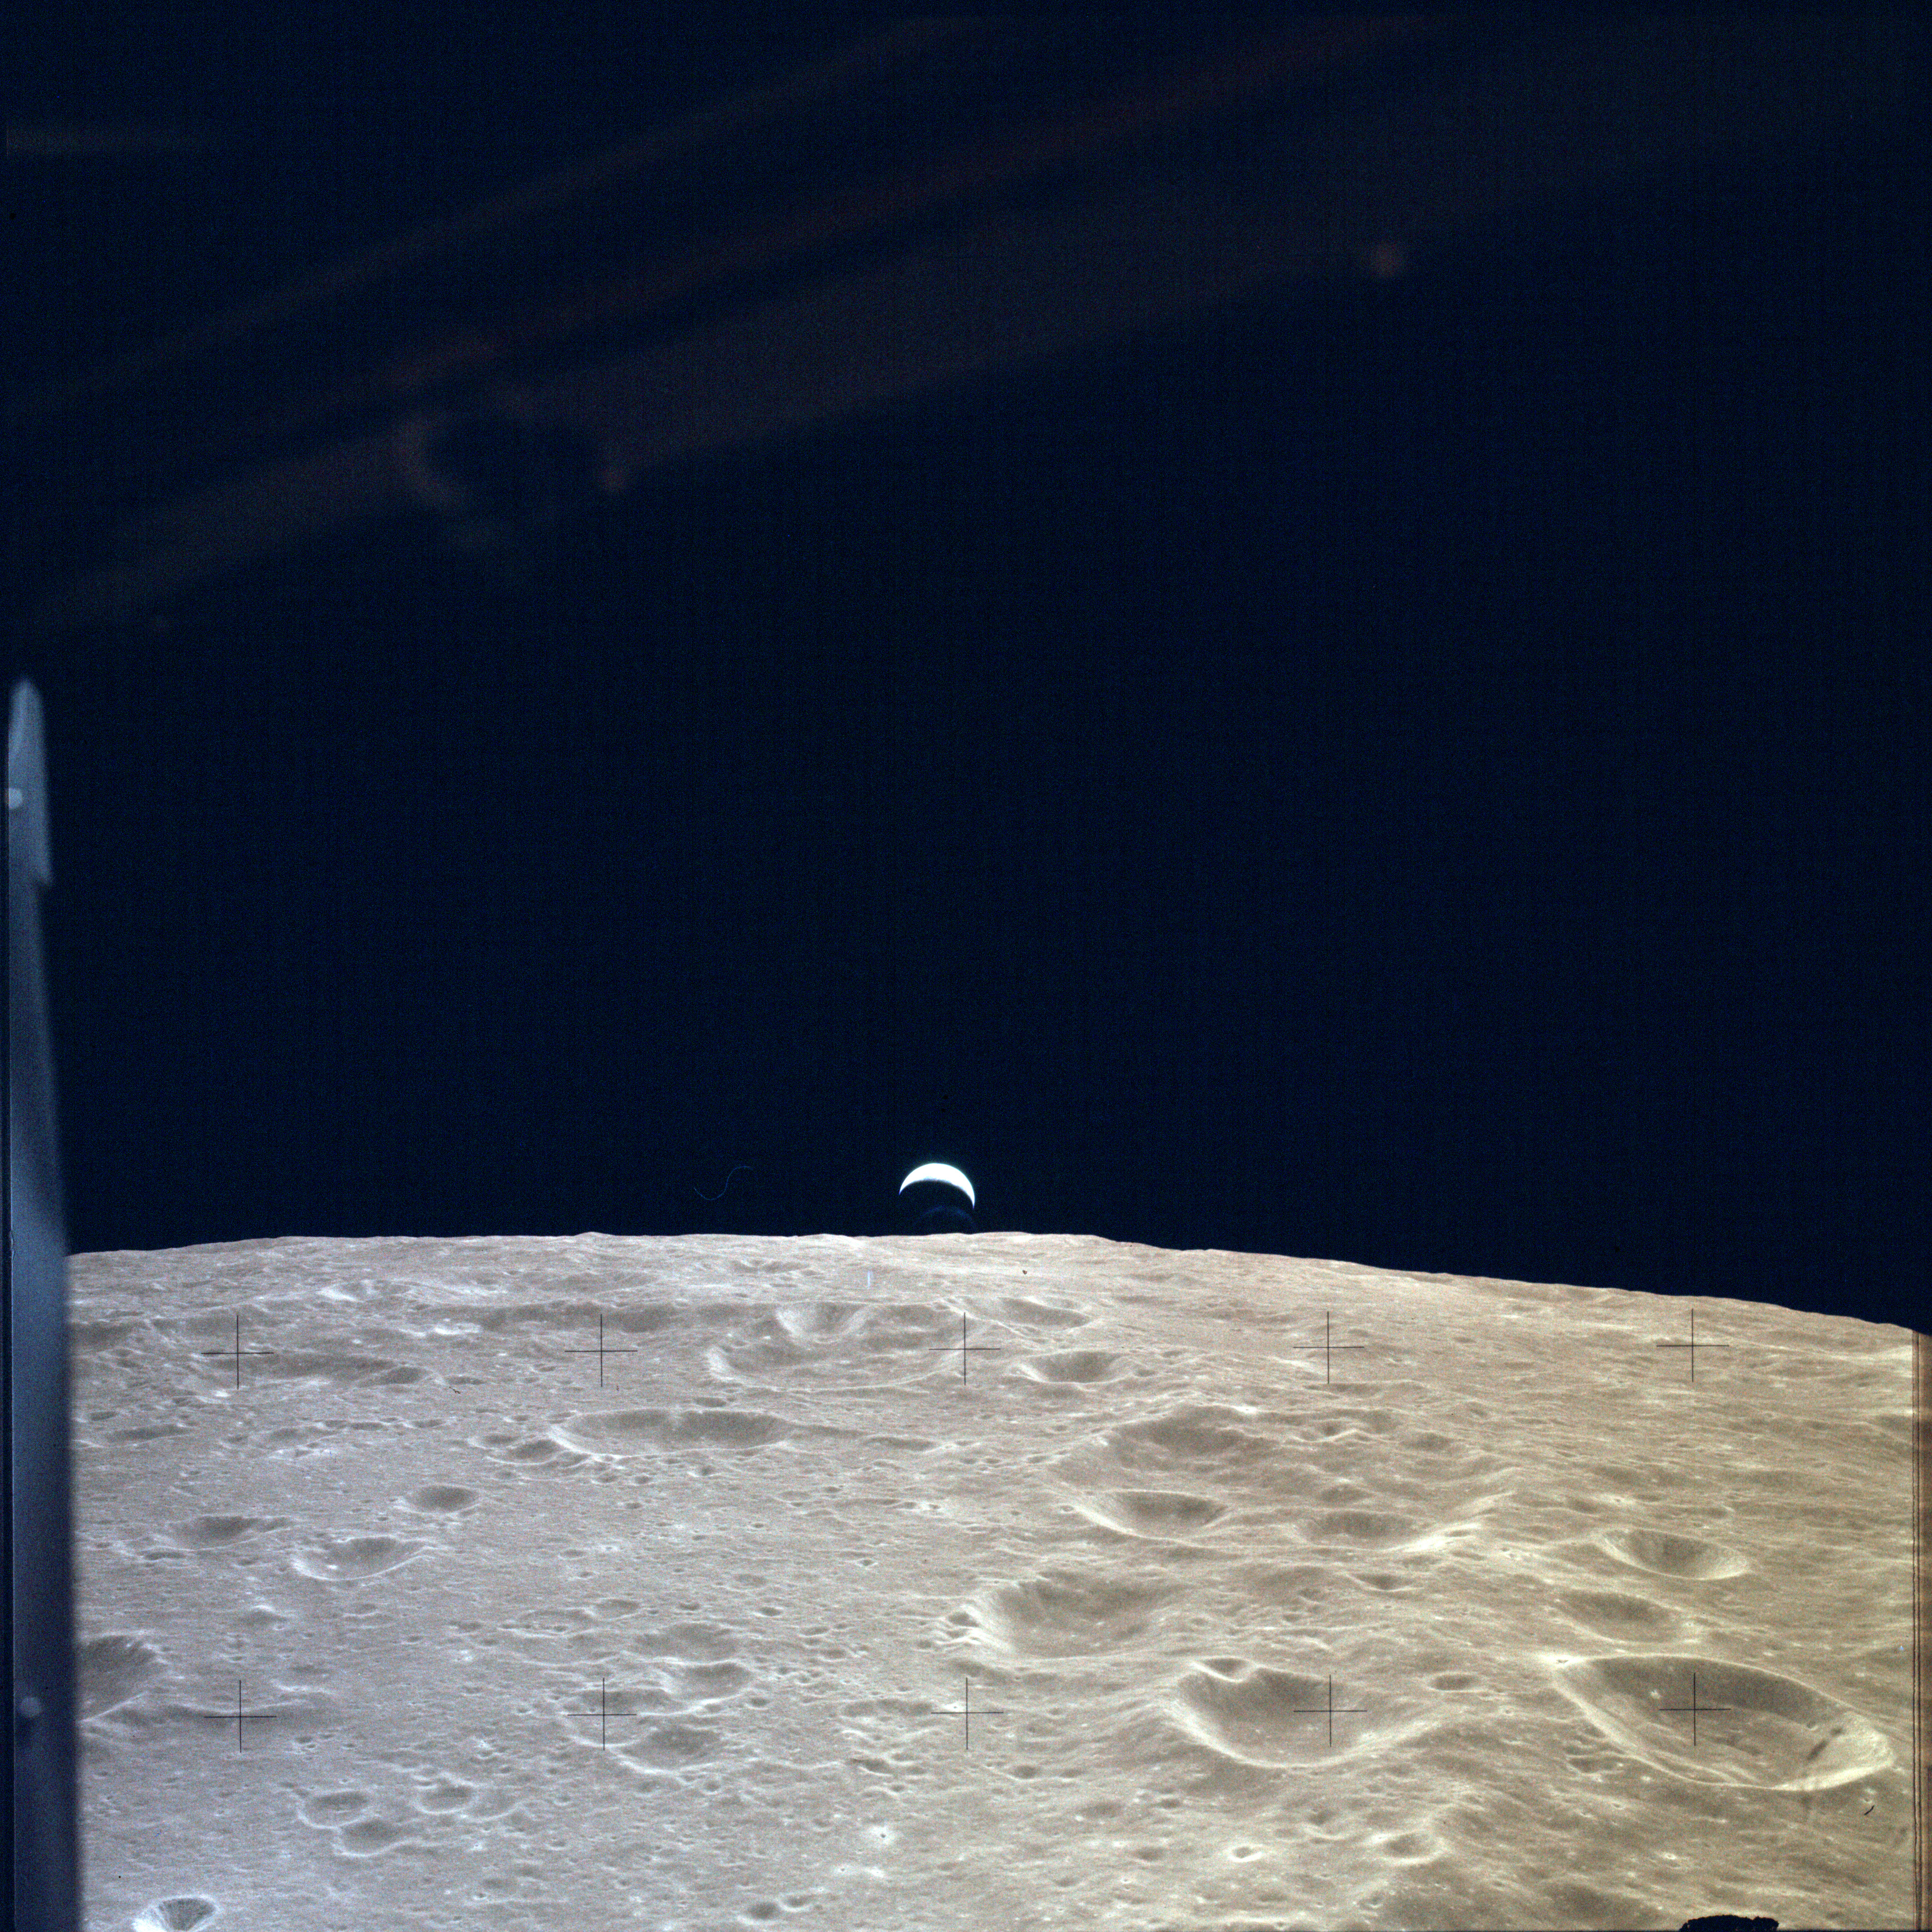 |
AS12-47-6886 Earthrise seen from LM during final orbit before landing. View looks along the northern rim of large crater Pasteur. Prominent crater on the right is Pasteur A. Image credit: Image Science and Analysis Laboratory, NASA-Johnson Space Center |
 |
AS12-47-6887 Earthrise seen from LM during final orbit before landing. View looks along the northern rim of large crater Pasteur. Prominent crater on the right is Pasteur A. Image credit: Image Science and Analysis Laboratory, NASA-Johnson Space Center |
 |
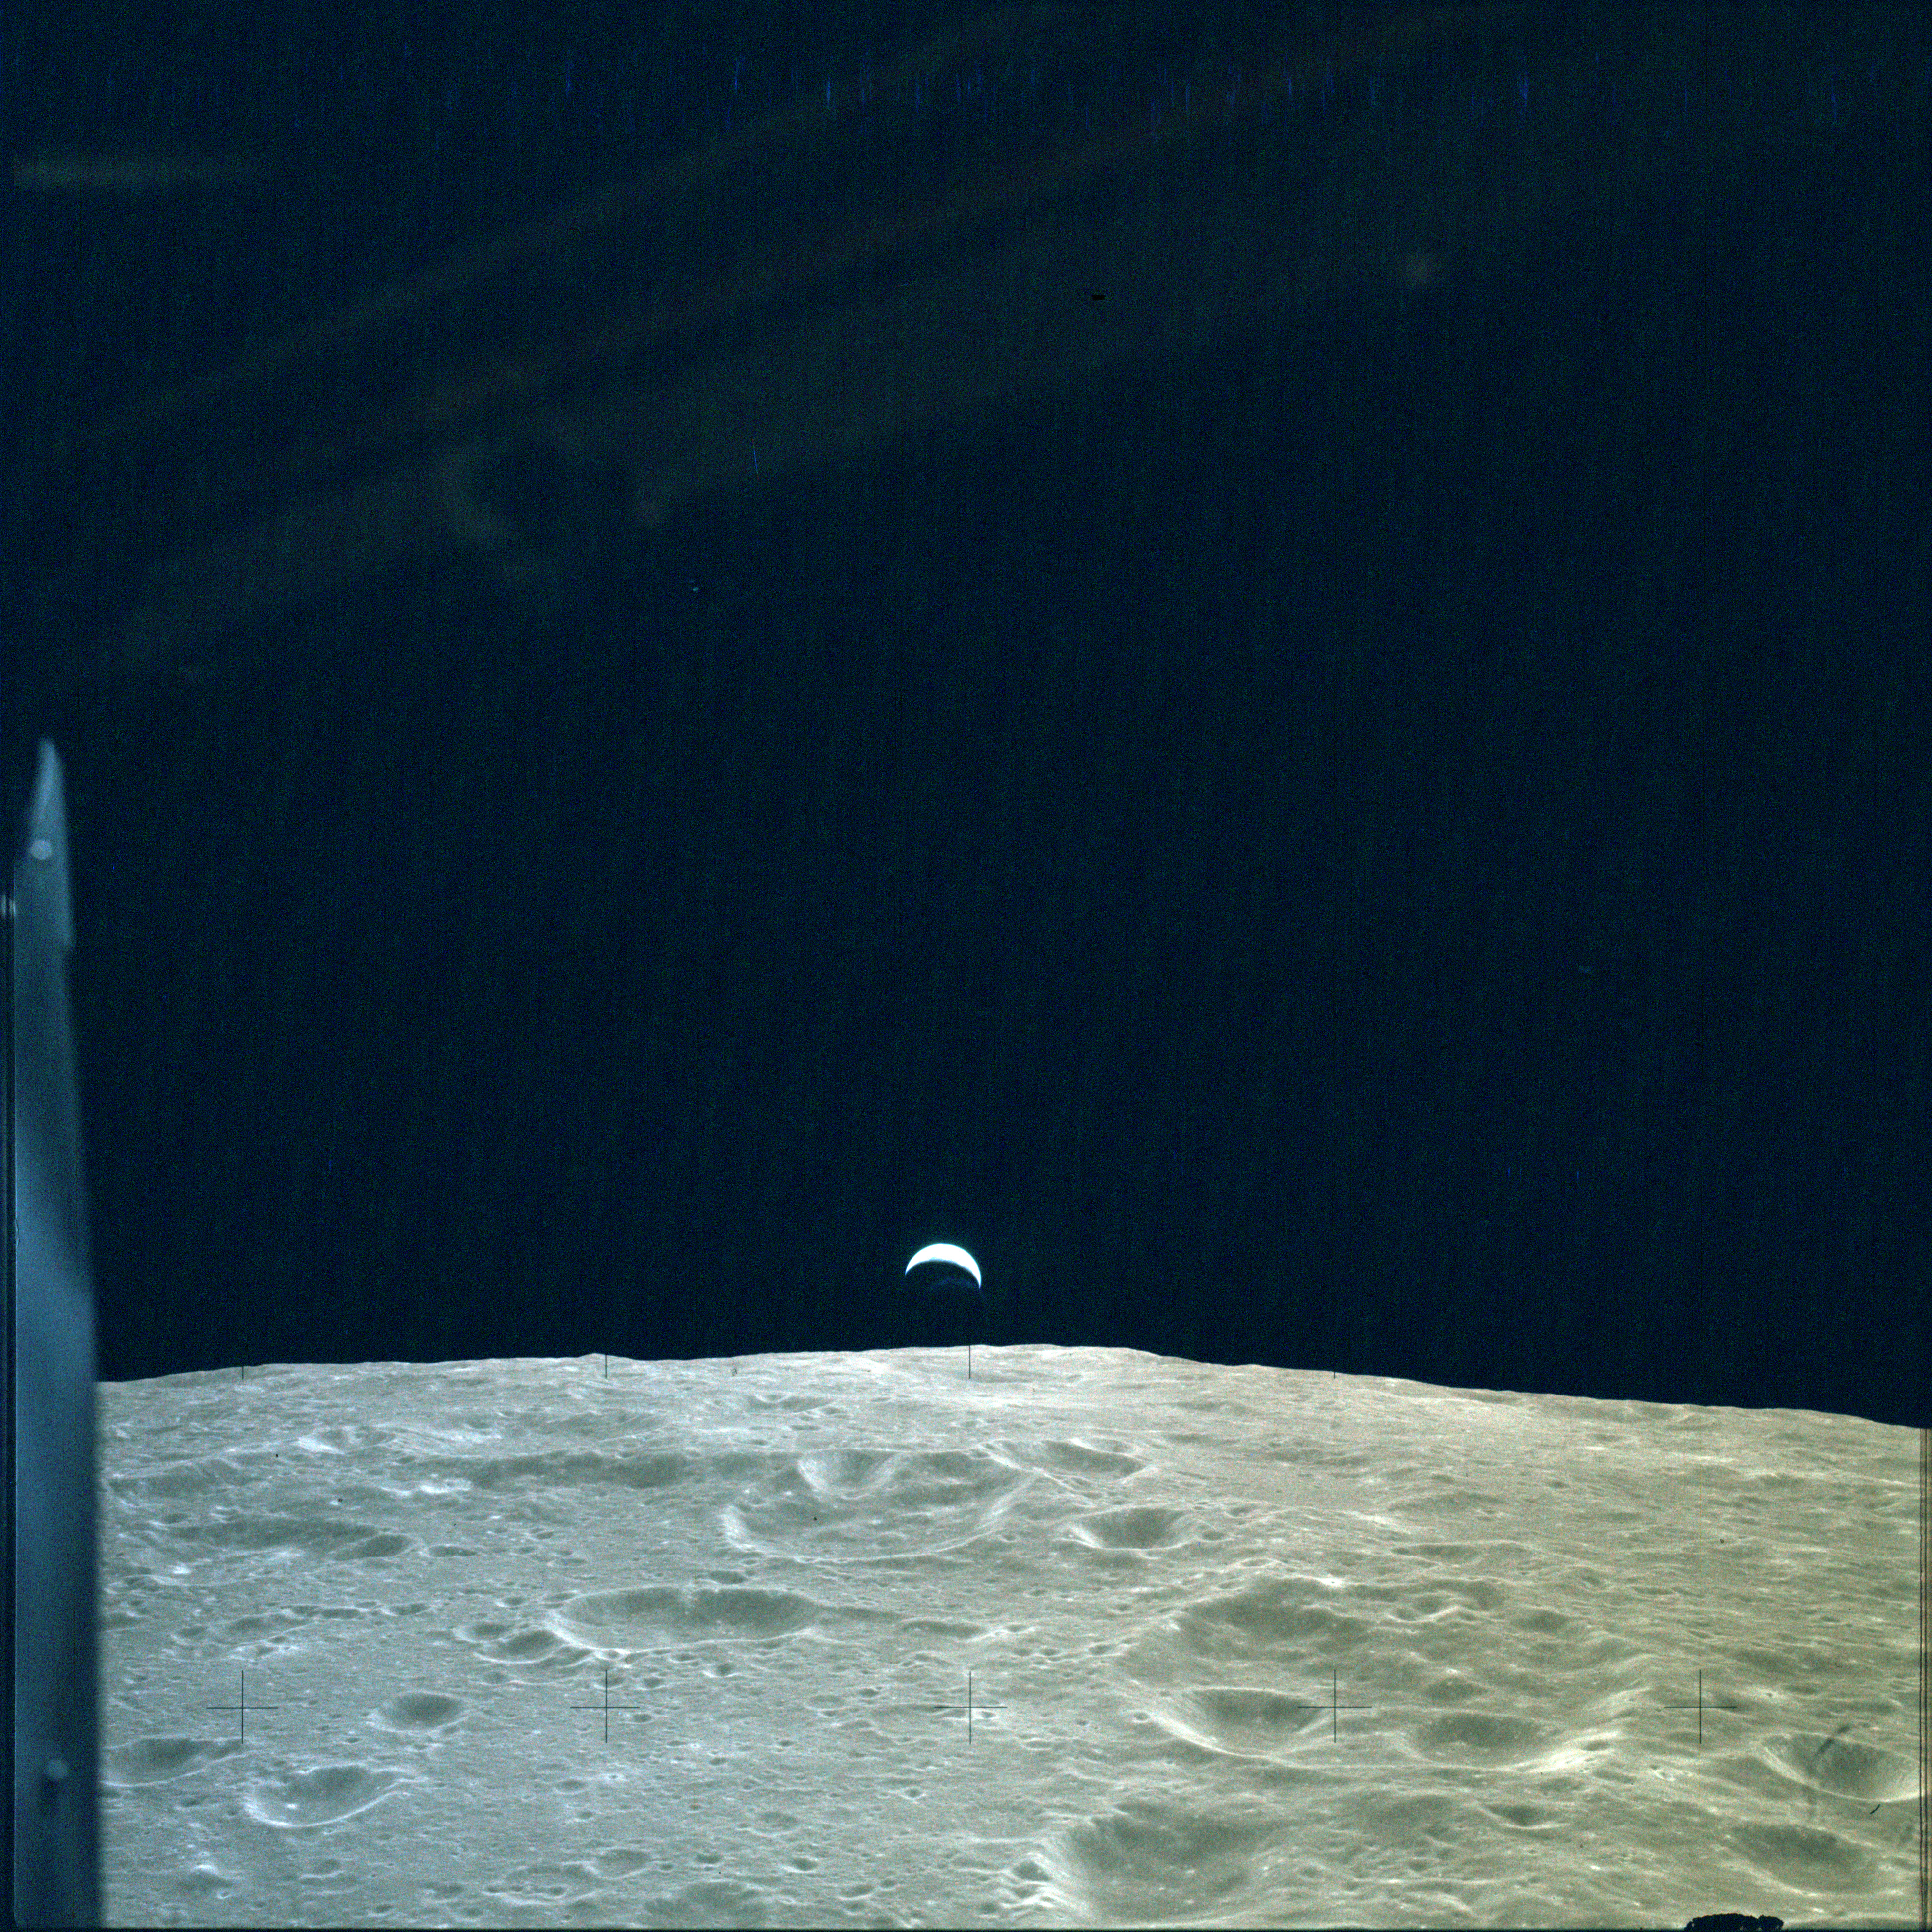
AS12-47-6888 Earthrise seen from LM during final orbit before landing. View looks along the northern rim of large crater Pasteur. Prominent crater cut off on the right is Pasteur A. Image credit: Image Science and Analysis Laboratory, NASA-Johnson Space Center |
 |
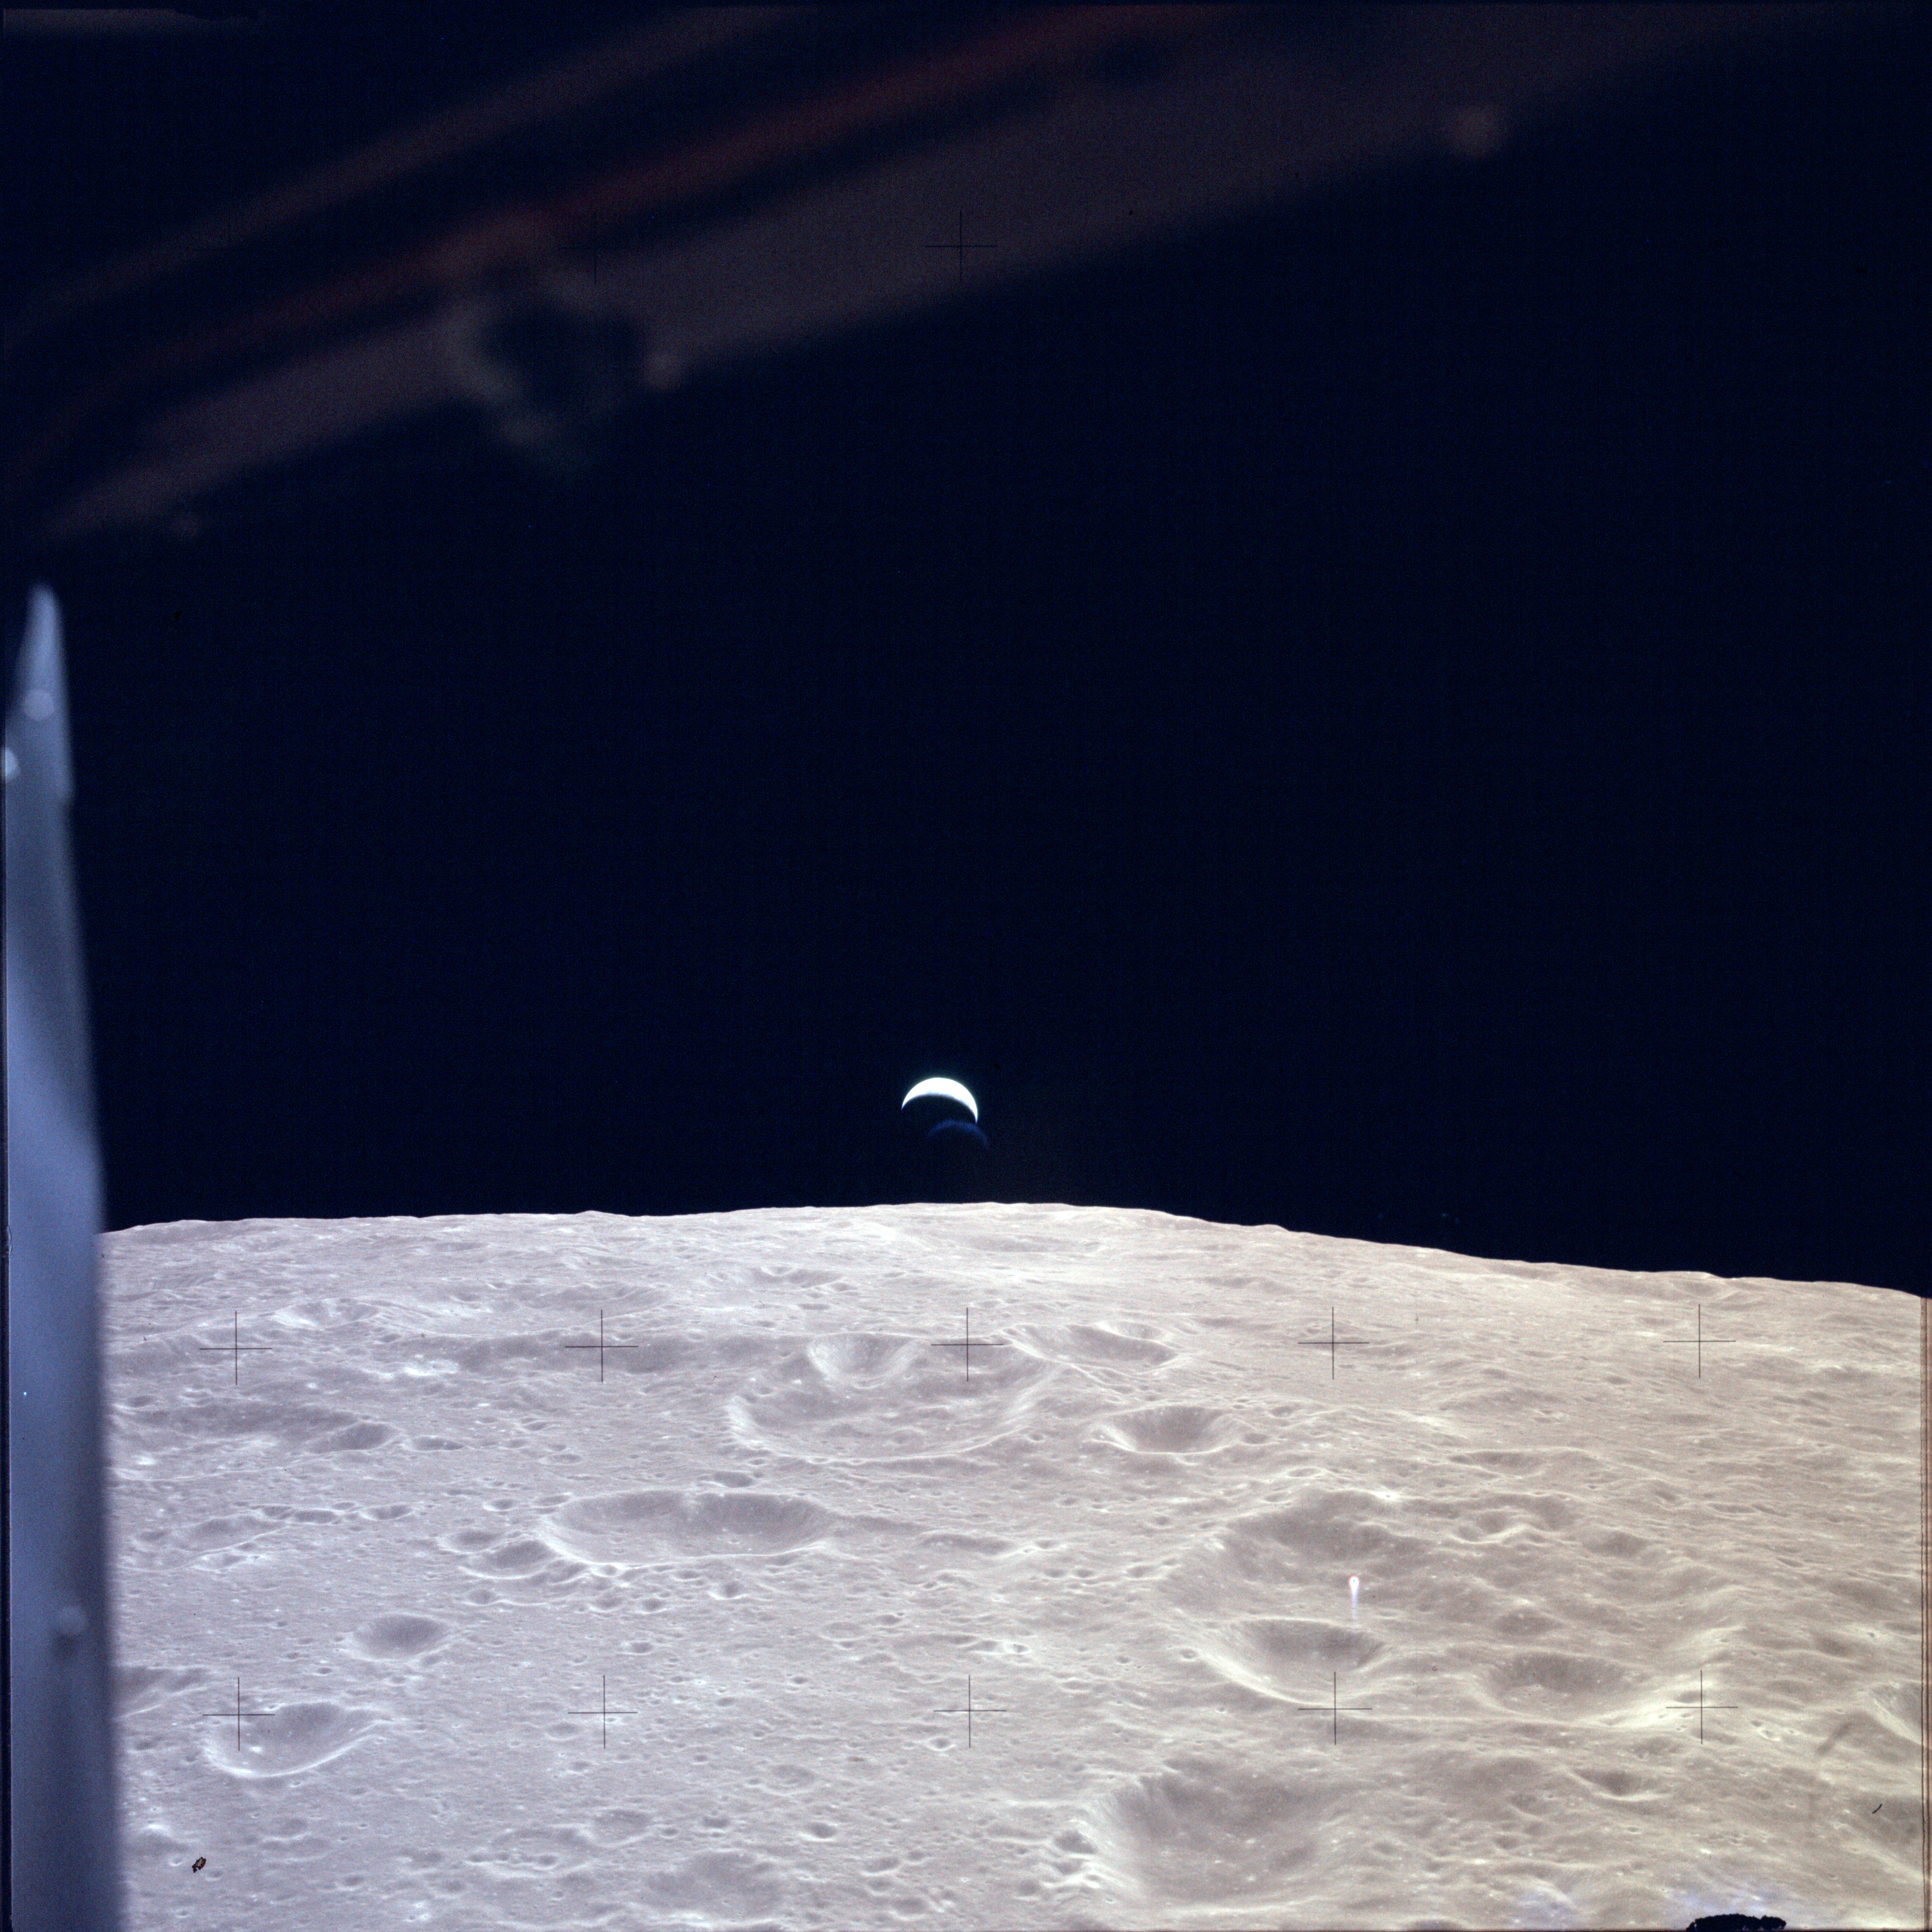
AS12-47-6889 Earthrise seen from LM during final orbit before landing. View looks across the northwestern quadrant of large crater Pasteur. Prominent crater to the centre is Pasteur U. Image credit: Image Science and Analysis Laboratory, NASA-Johnson Space Center |
 |
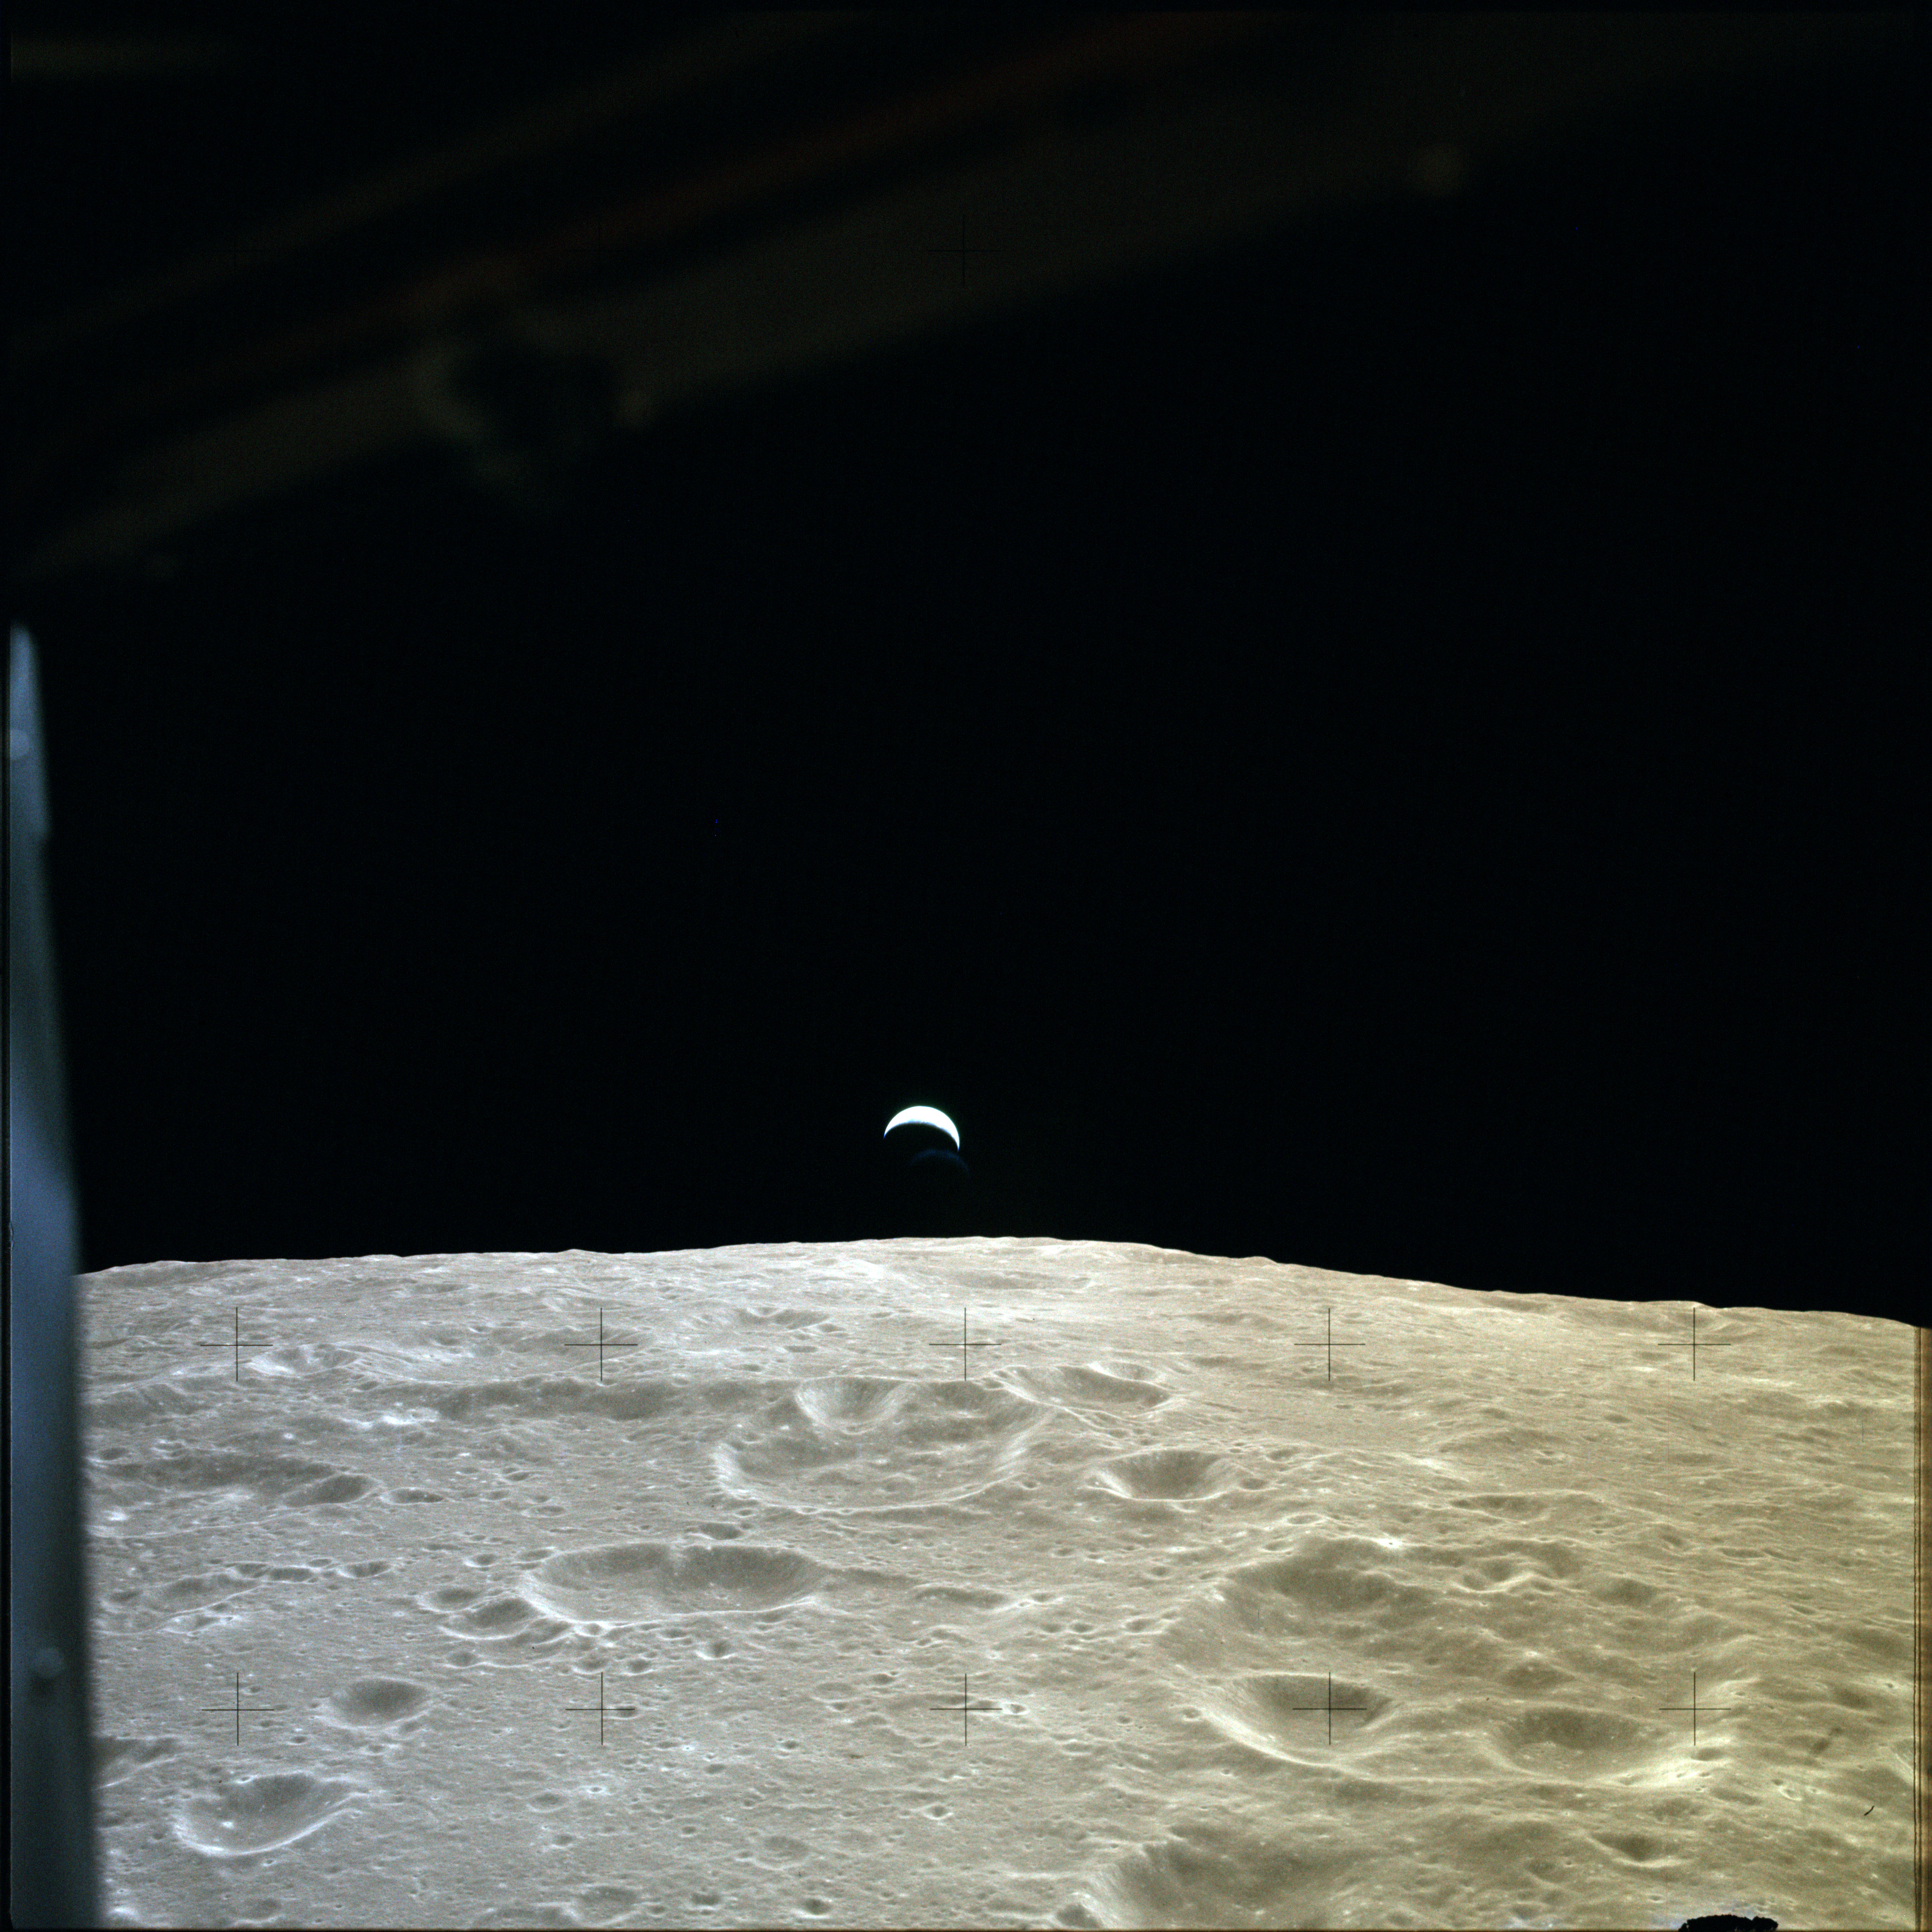
AS12-47-6890 Earthrise seen from LM during final orbit before landing. View looks across the northwestern quadrant of large crater Pasteur. Prominent crater to the centre is Pasteur U. Image credit: Image Science and Analysis Laboratory, NASA-Johnson Space Center |
 |
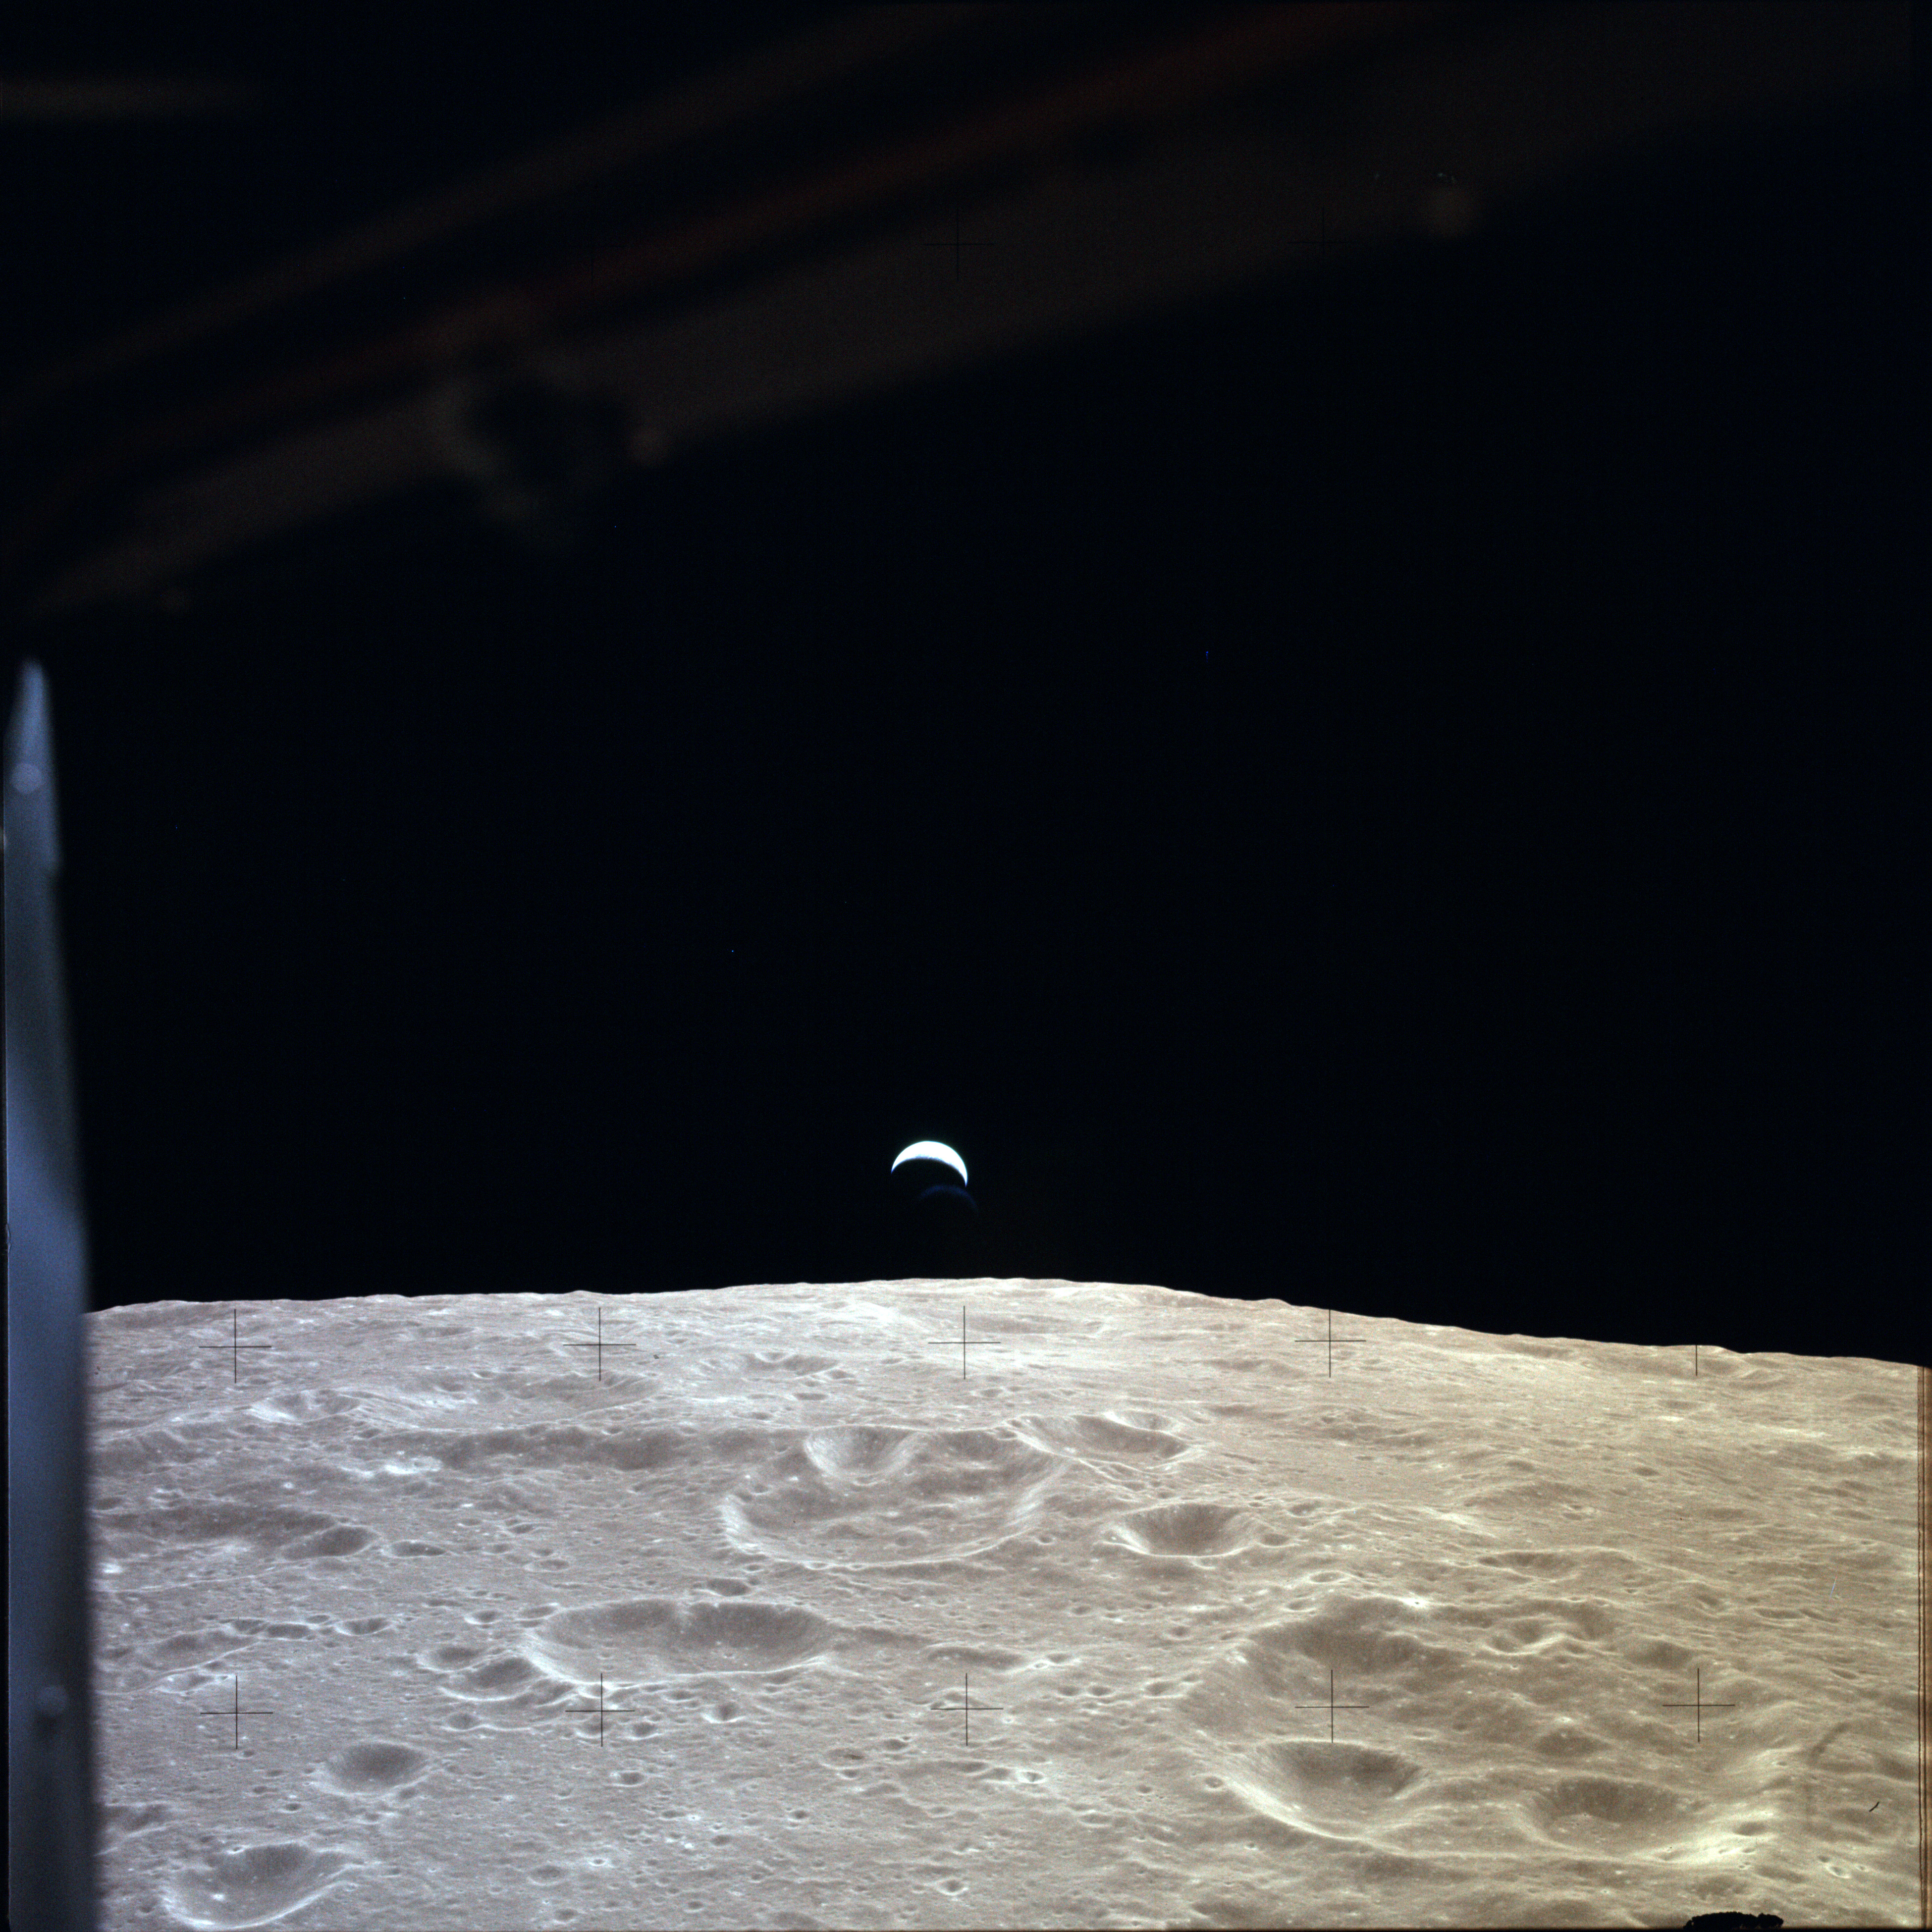
AS12-47-6891 Earthrise seen from LM during final orbit before landing. View looks across the northwestern quadrant of large crater Pasteur. Prominent crater to the centre is Pasteur U. Image credit: Image Science and Analysis Laboratory, NASA-Johnson Space Center |
 |
AS12-47-6892 Earthrise seen from LM during final orbit before landing. View looks across the northwestern quadrant of large crater Pasteur. Prominent crater to the centre is Pasteur U. Image credit: Image Science and Analysis Laboratory, NASA-Johnson Space Center |
 |
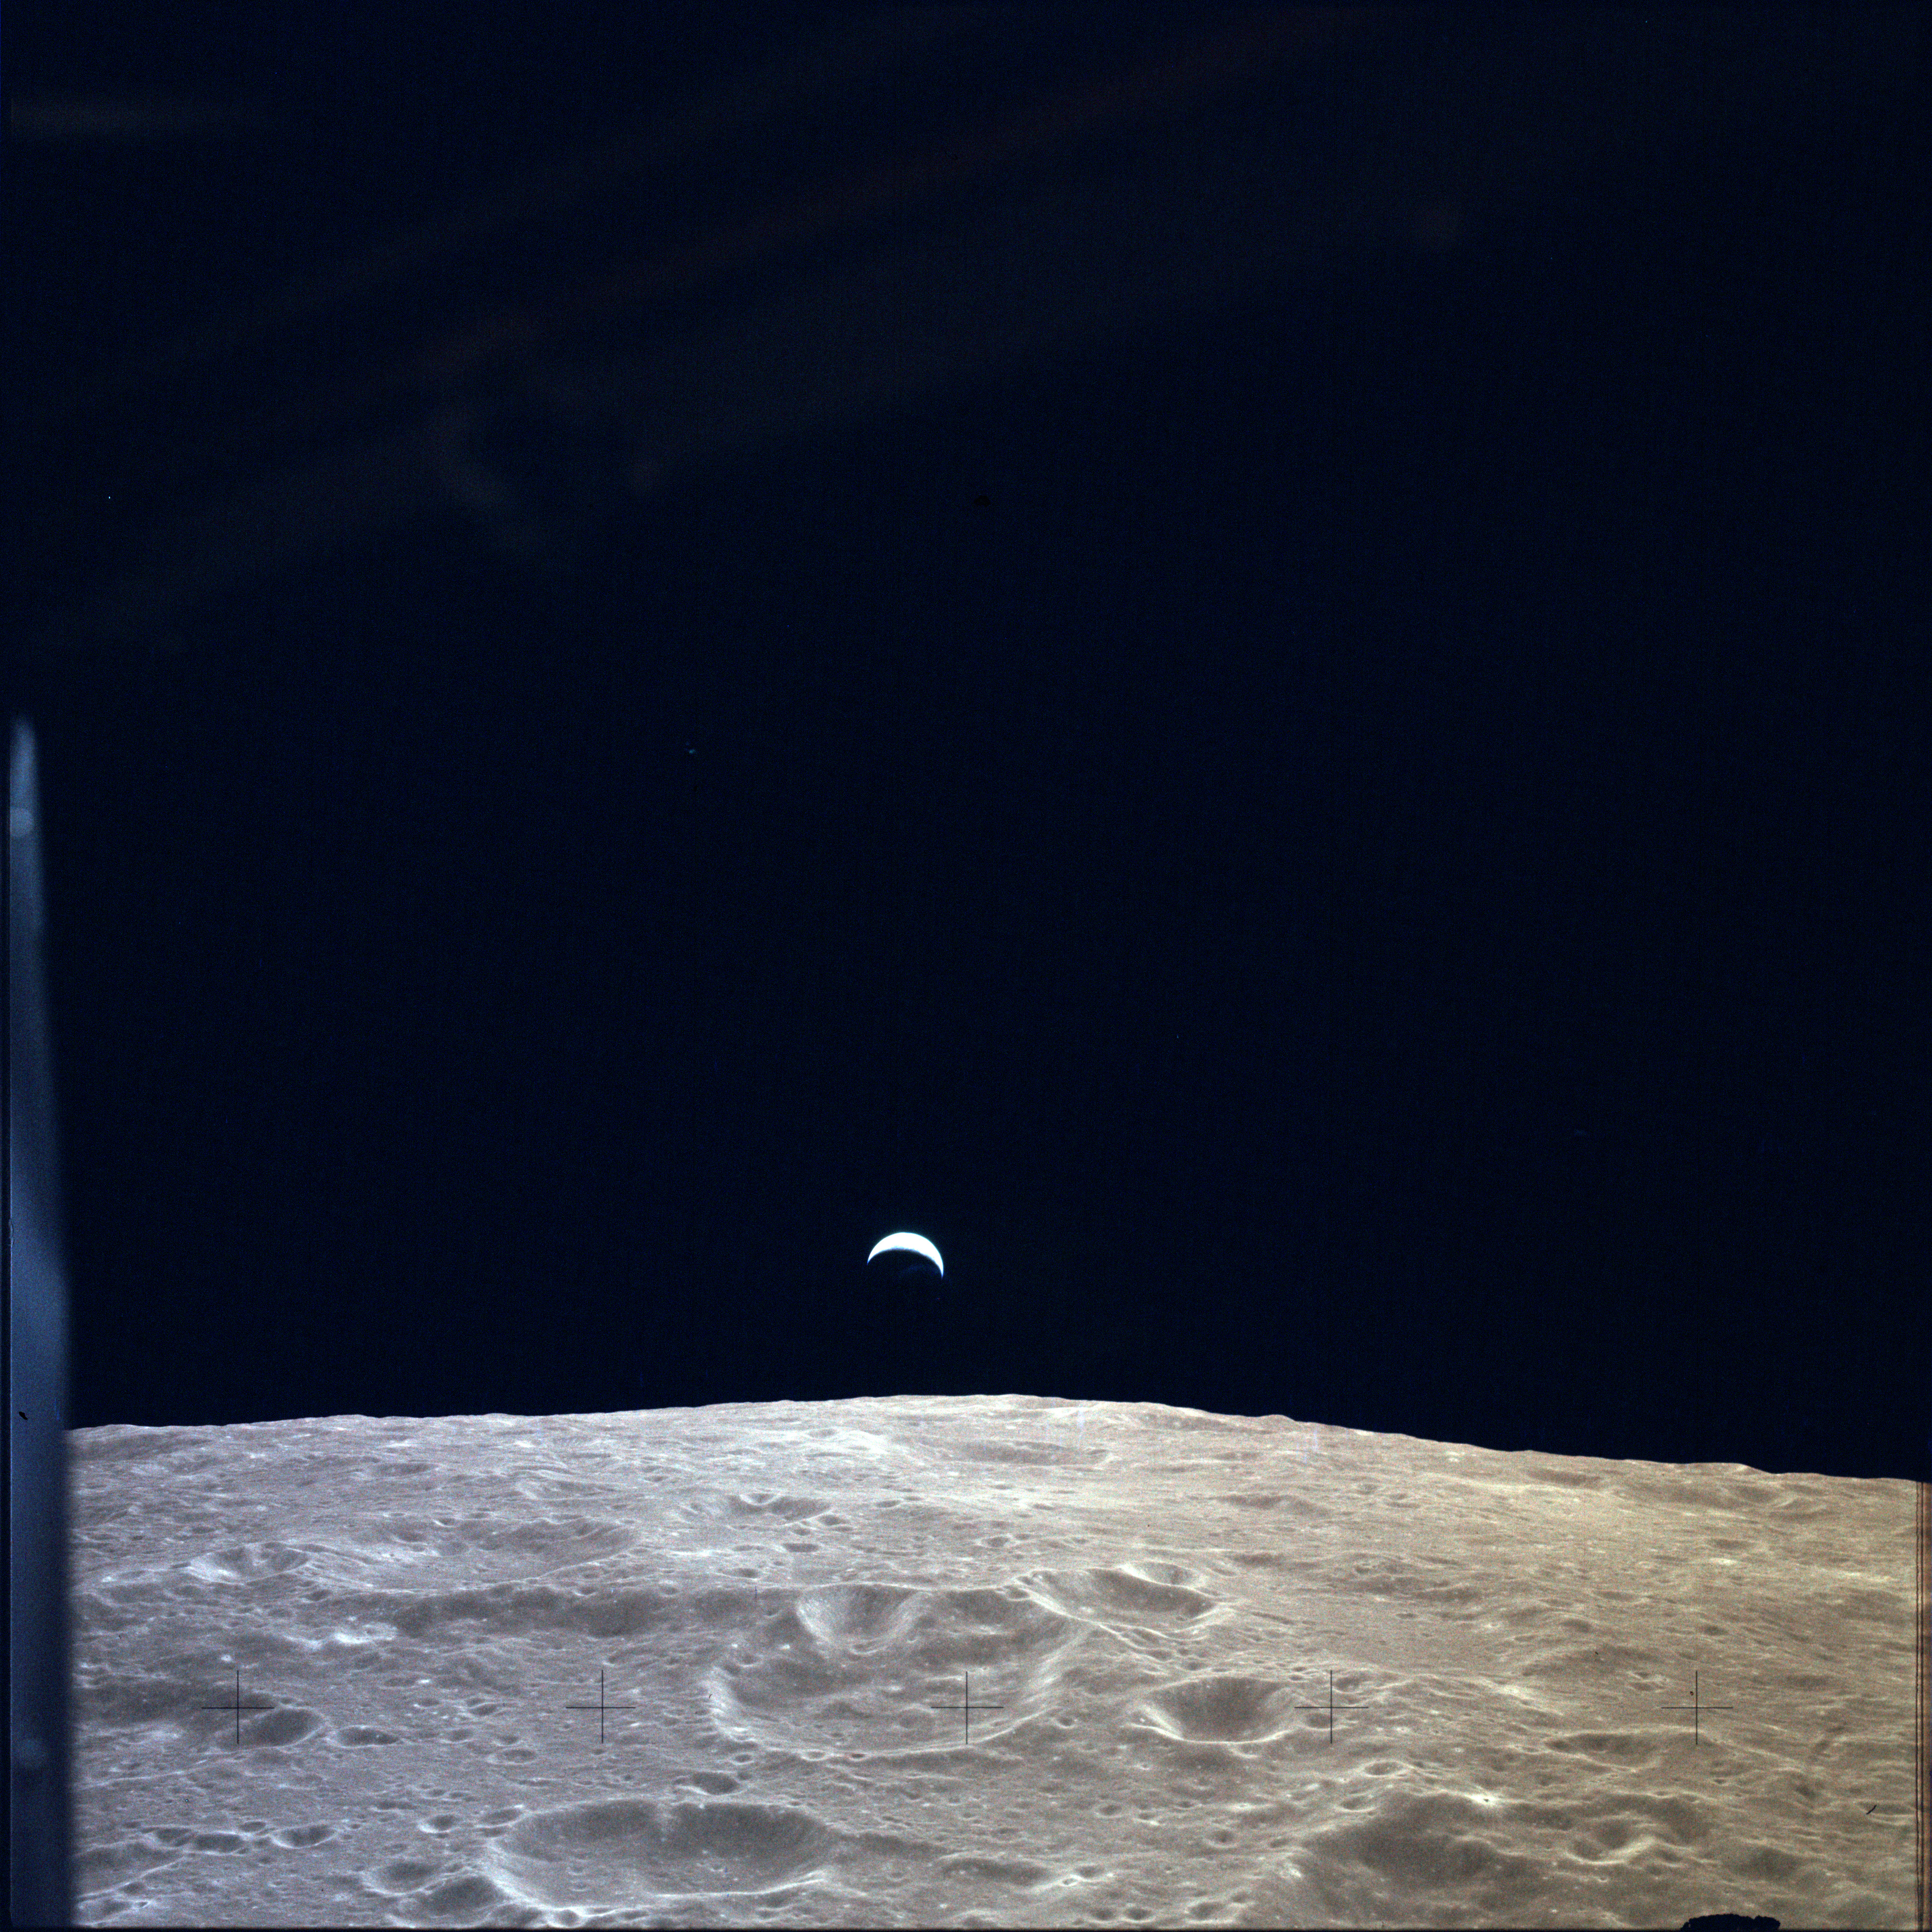
AS12-47-6893 Earthrise seen from LM during final orbit before landing. View looks across the northwestern quadrant of large crater Pasteur. Prominent crater to the centre is Pasteur U. Image credit: Image Science and Analysis Laboratory, NASA-Johnson Space Center |
 |
AS12-47-6894 Earthrise seen from LM during final orbit before landing. View looks across the northwestern quadrant of large crater Pasteur. Prominent crater to the centre is Pasteur U. Image credit: Image Science and Analysis Laboratory, NASA-Johnson Space Center |
 |
AS12-47-6895 Earthrise seen from LM during final orbit before landing. The western rim of large crater Pasteur runs across the near-field with crater Pasteur U cut off at the bottom. Image credit: Image Science and Analysis Laboratory, NASA-Johnson Space Center |
 |
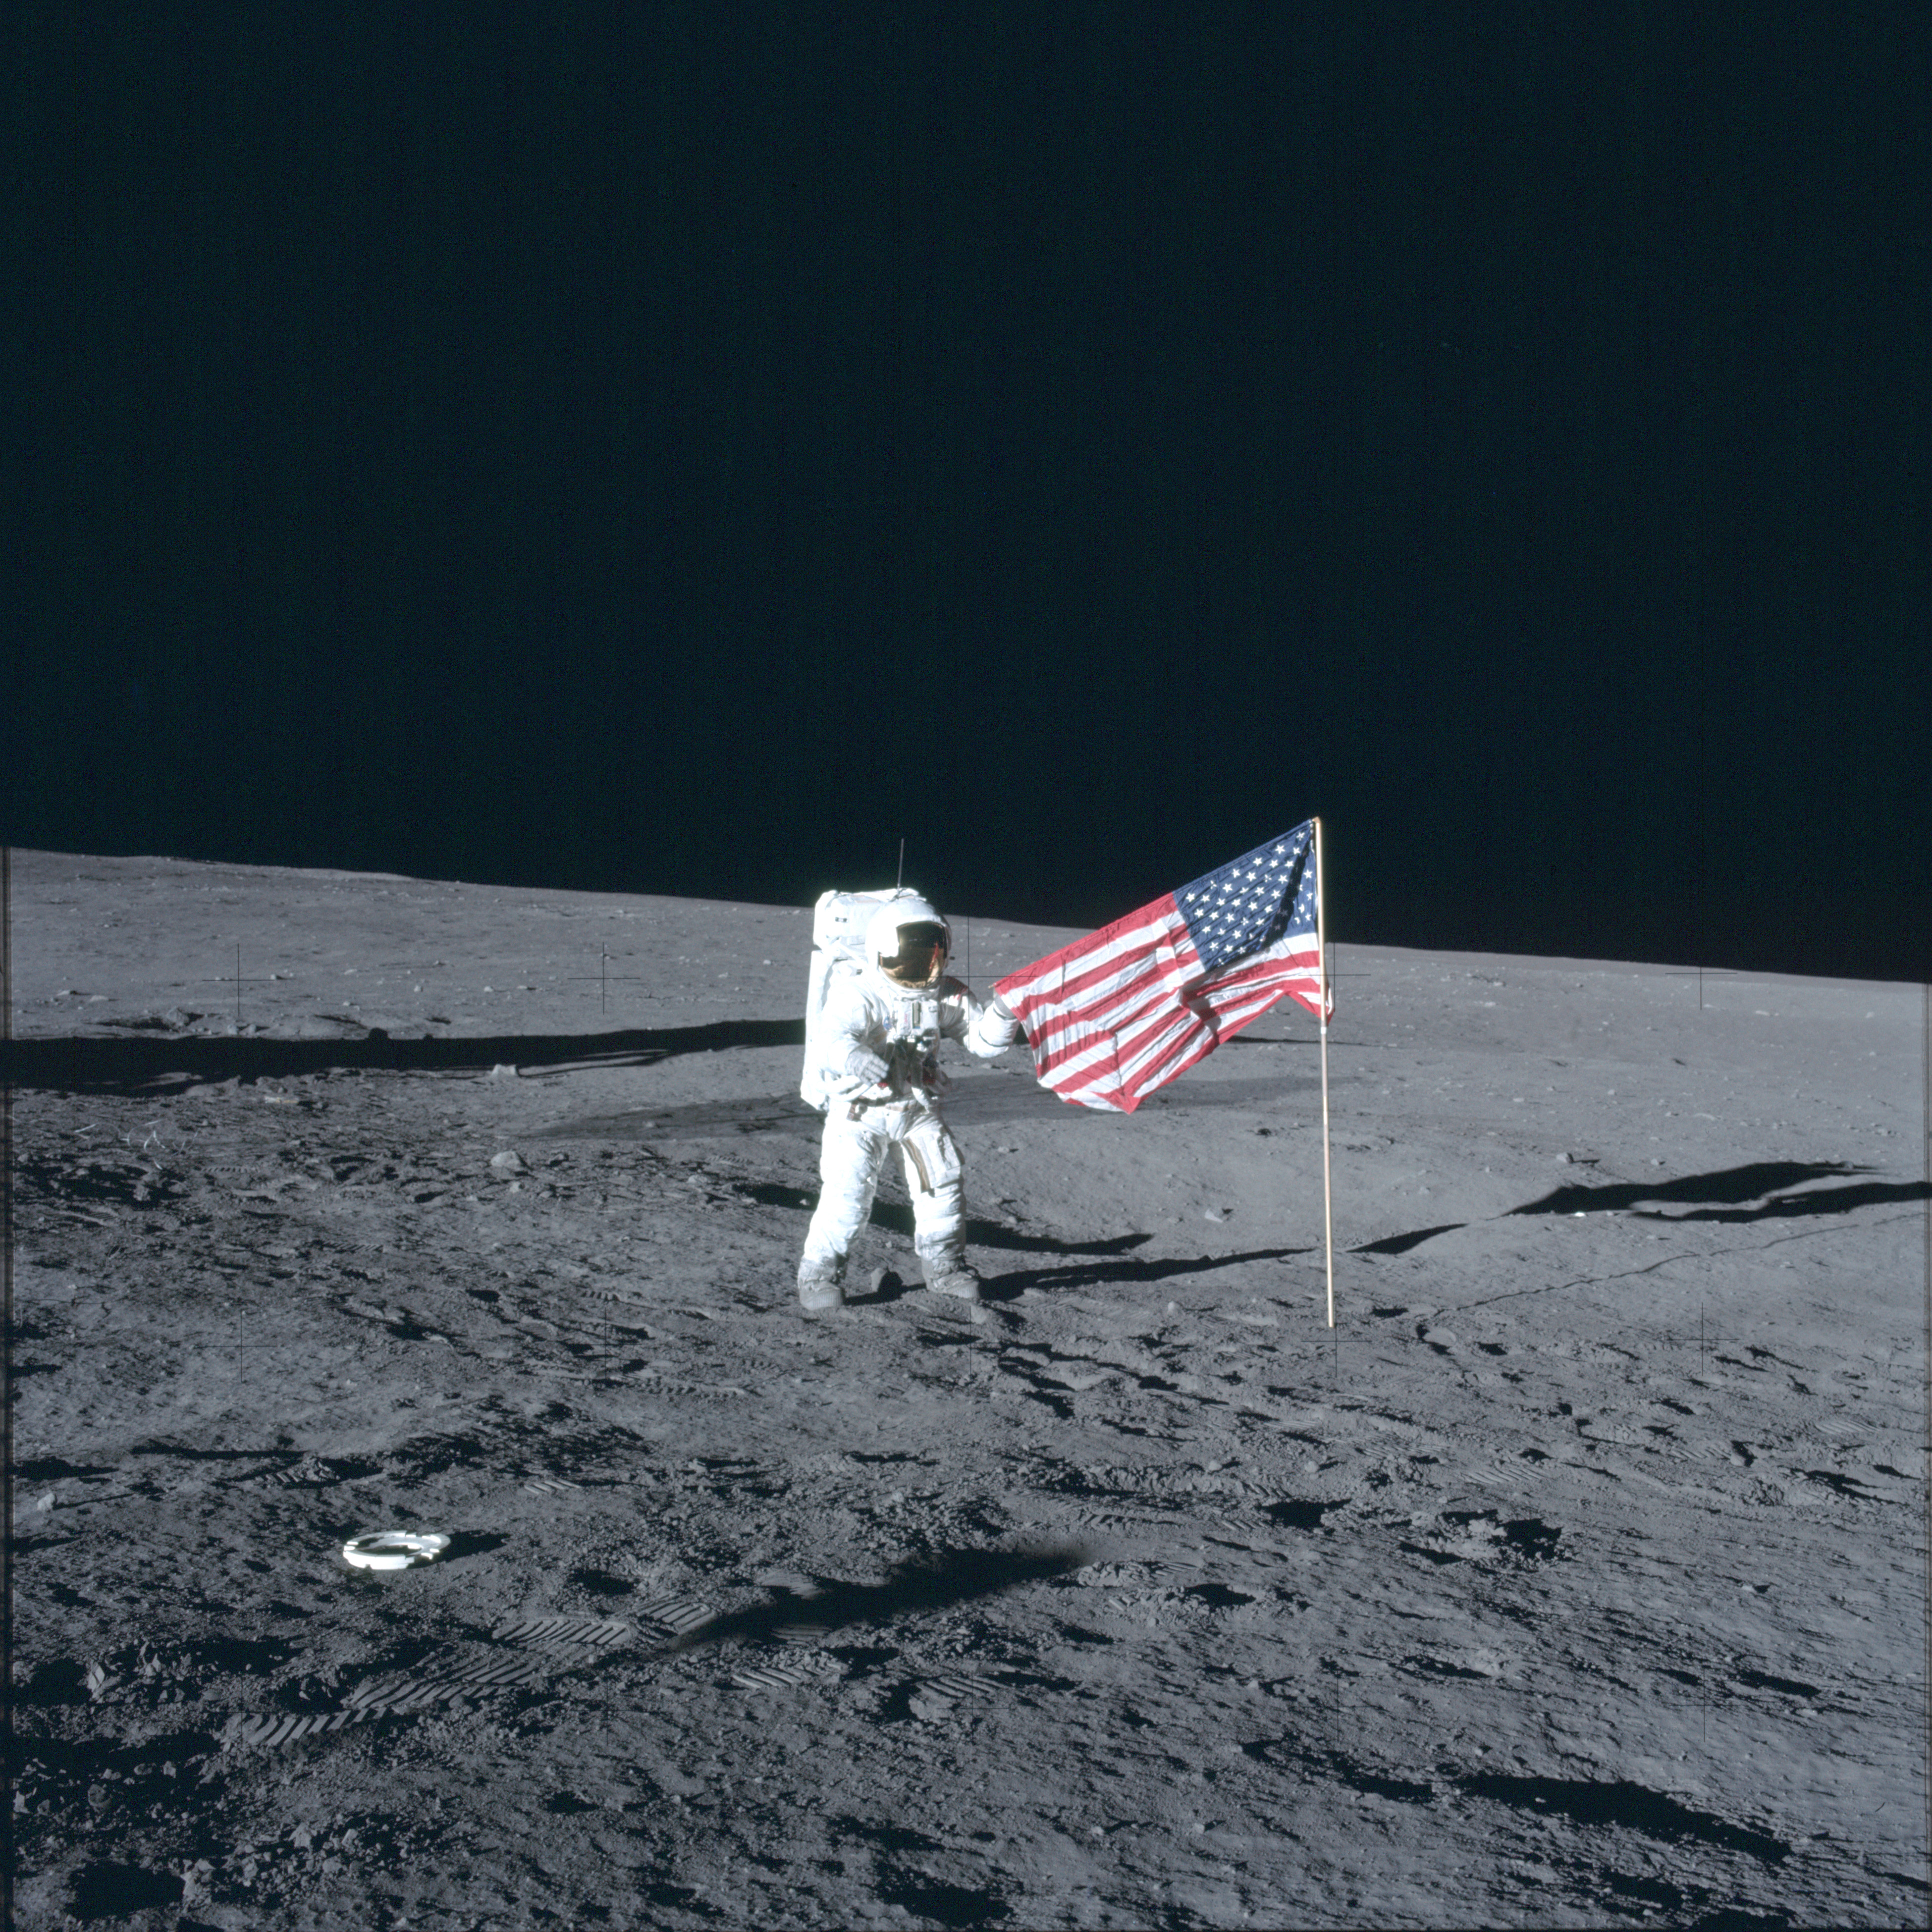
AS12-47-6896 Al Bean's first 'quickie' tourist photo of Pete Conrad at about 116:20:30 GET. Conrad supports the horizontal staff that was supposed to hold the US flag aloft. Image credit: Image Science and Analysis Laboratory, NASA-Johnson Space Center |
 |
AS12-47-6897 Al Bean's second 'quickie' tourist photo of Pete Conrad at about 116:20:30 GET. Conrad supports the horizontal staff that was supposed to hold the US flag aloft. Image credit: Image Science and Analysis Laboratory, NASA-Johnson Space Center |
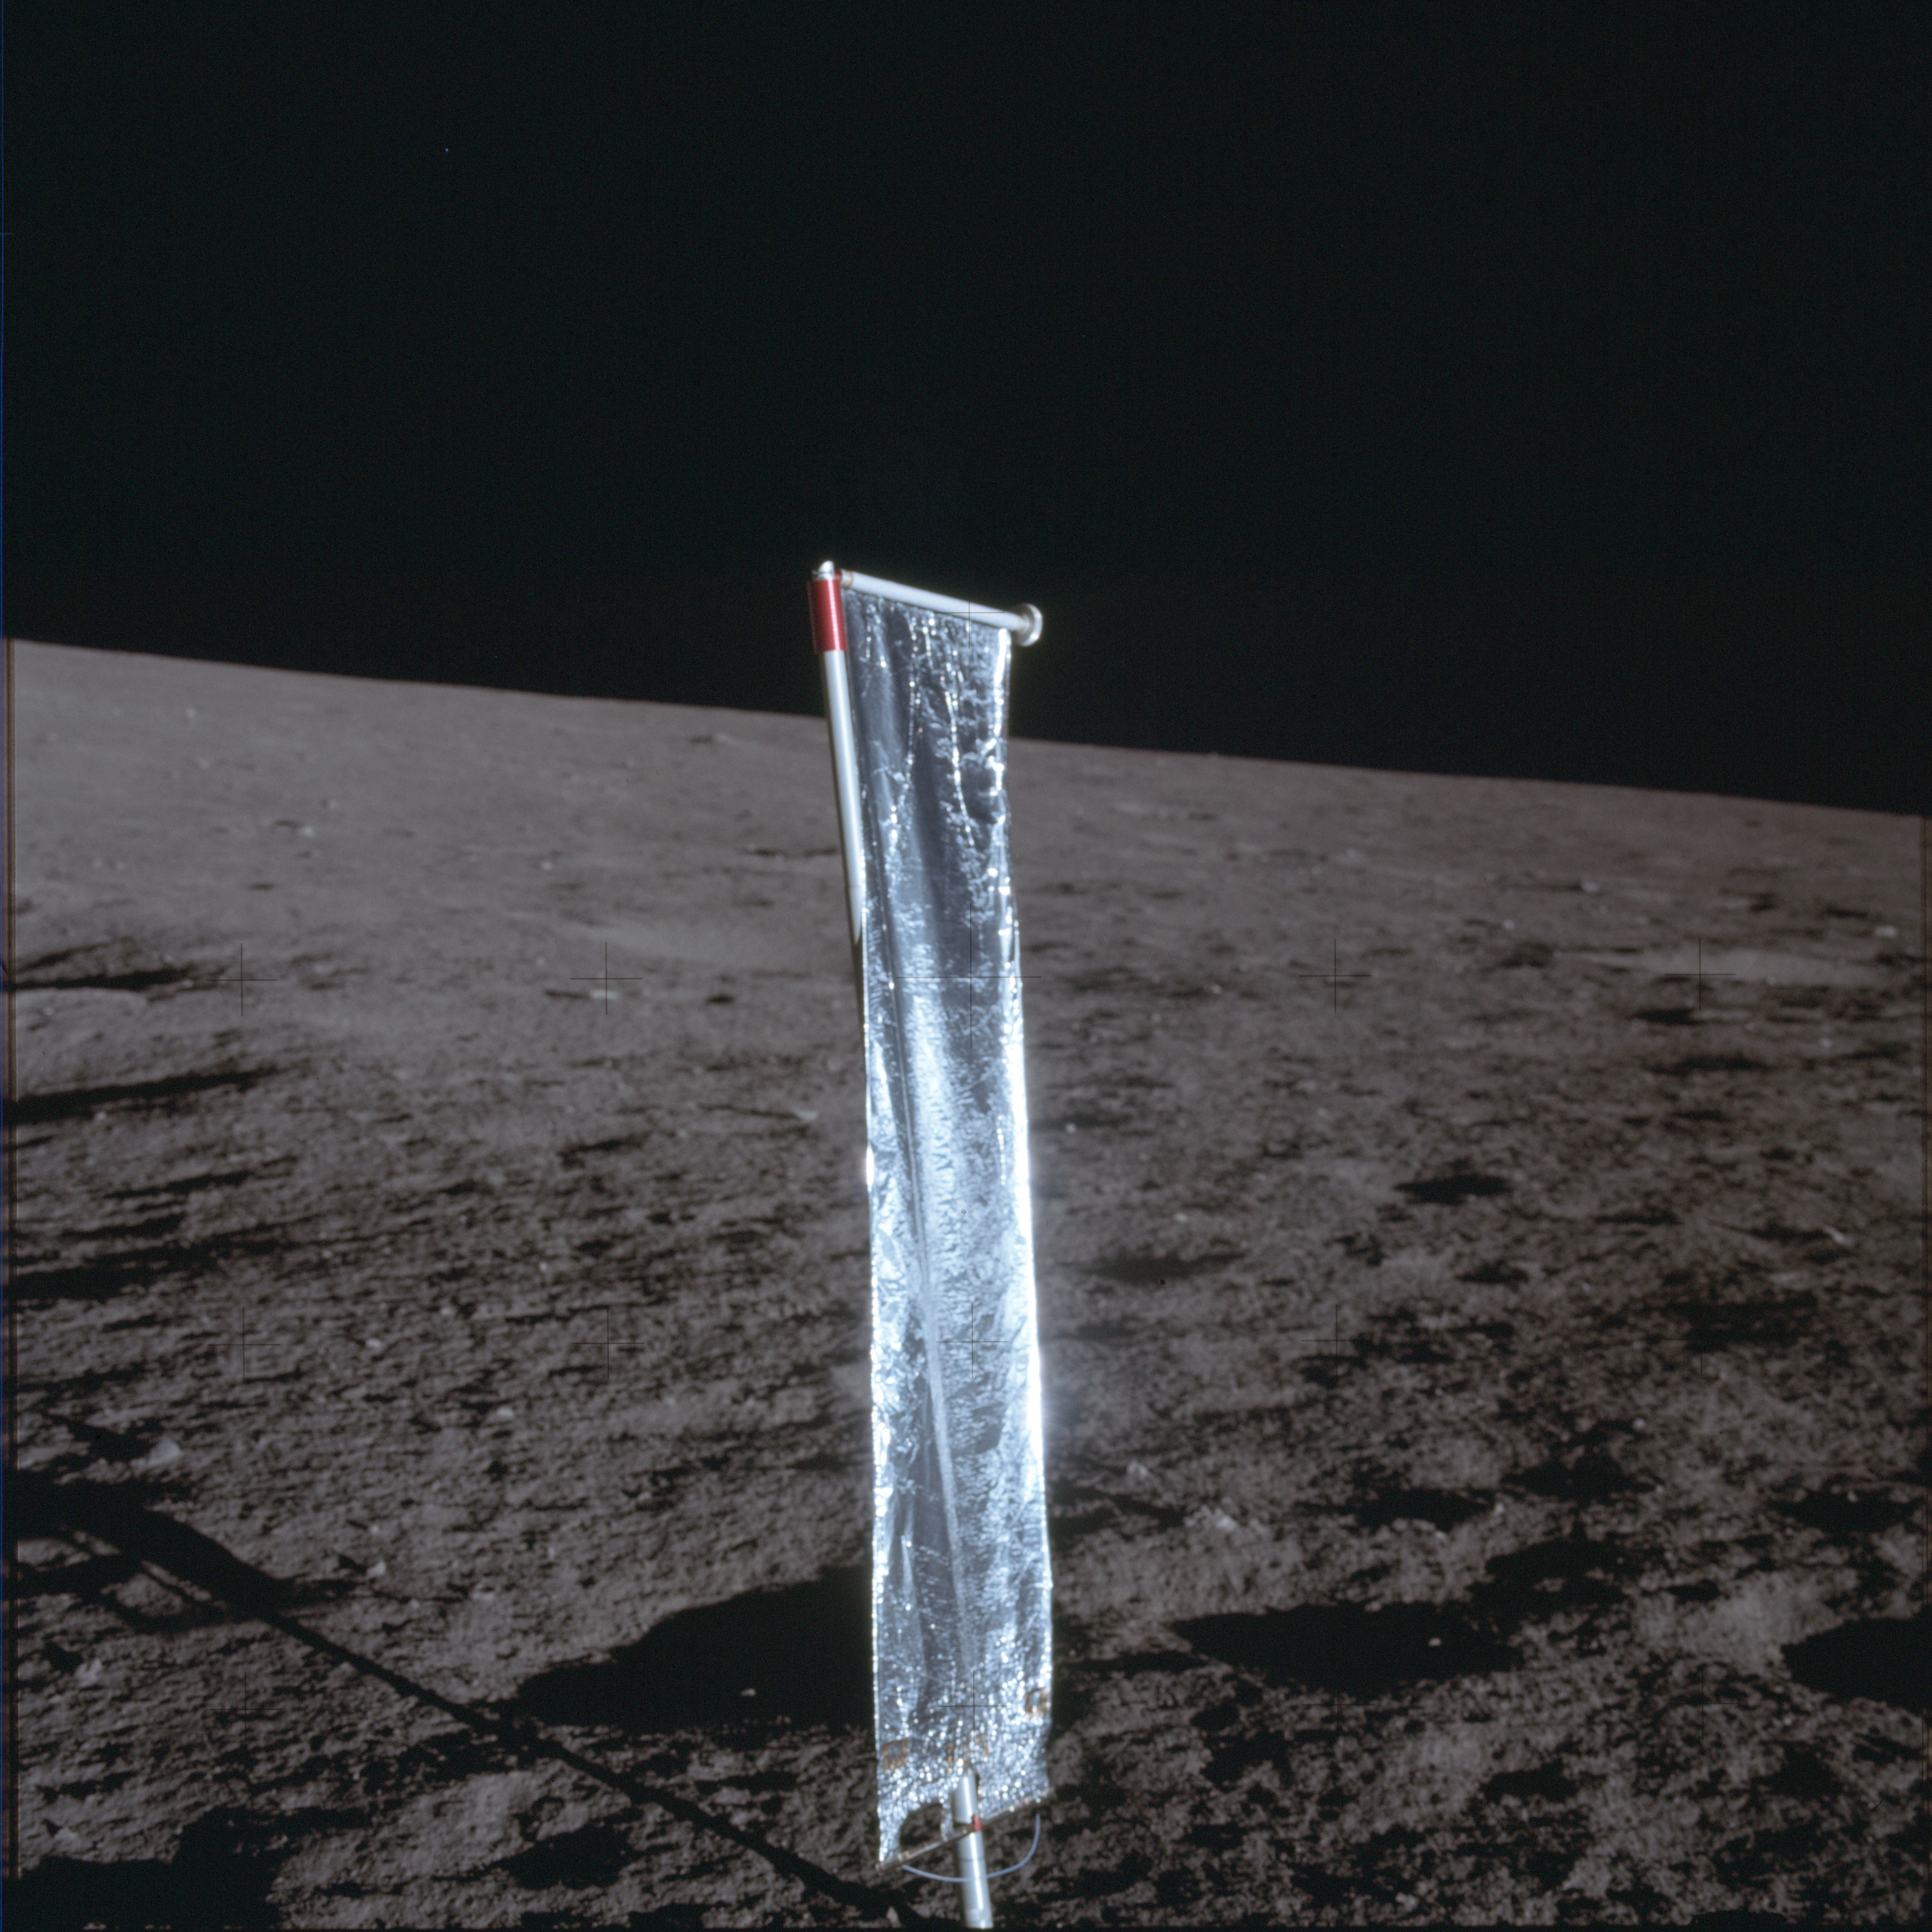 |
AS12-47-6898 Close up photo of the Solar Wind Collector experiment from about 116:23:30 GET; taken by Al Bean. Image credit: Image Science and Analysis Laboratory, NASA-Johnson Space Center |
 |
AS12-47-6899 Context photo of the Solar Wind Collector experiment from about 116:23:30 GET; taken by Al Bean. Image credit: Image Science and Analysis Laboratory, NASA-Johnson Space Center |
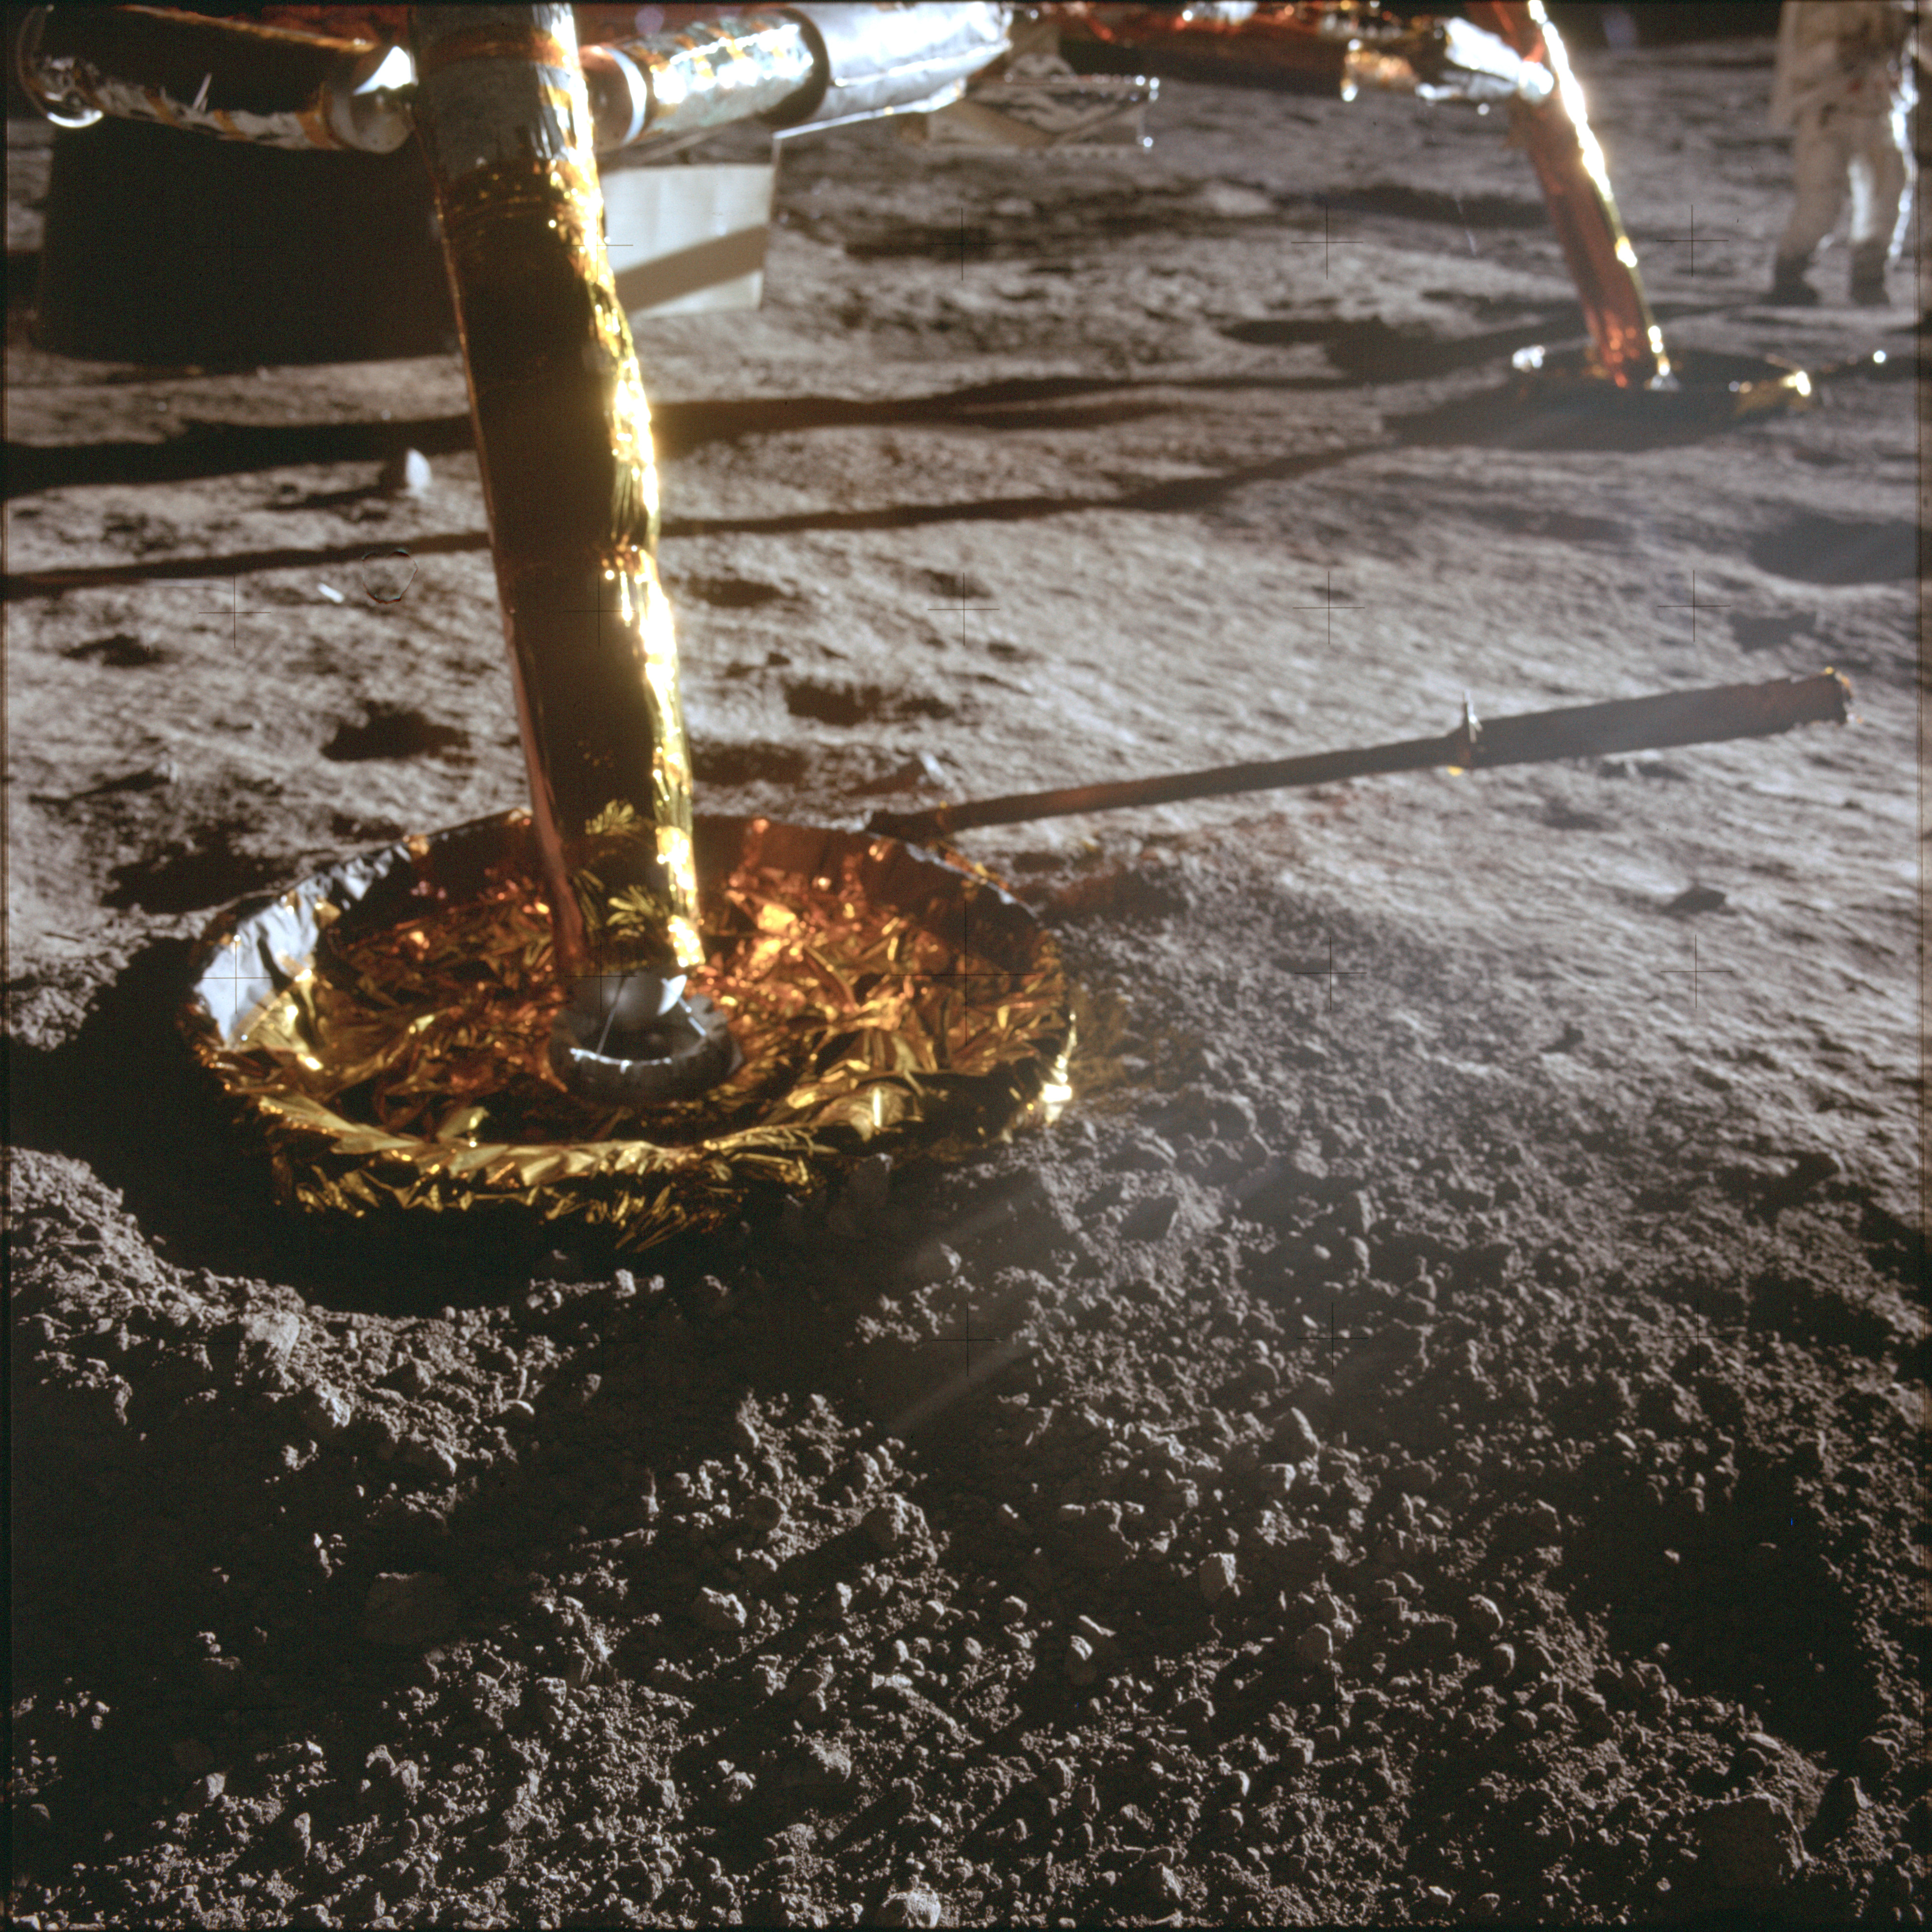 |
AS12-47-6900 Close up image of the LM's minus-Y (south) footpad and strut. Taken by Al Bean at about 116:26:00 by Al Bean. Image credit: Image Science and Analysis Laboratory, NASA-Johnson Space Center |
 |
AS12-47-6901 Close up image of the LM's minus-Y (south) footpad and strut. Taken by Al Bean at about 116:26:00 GET. Image credit: Image Science and Analysis Laboratory, NASA-Johnson Space Center |
 |
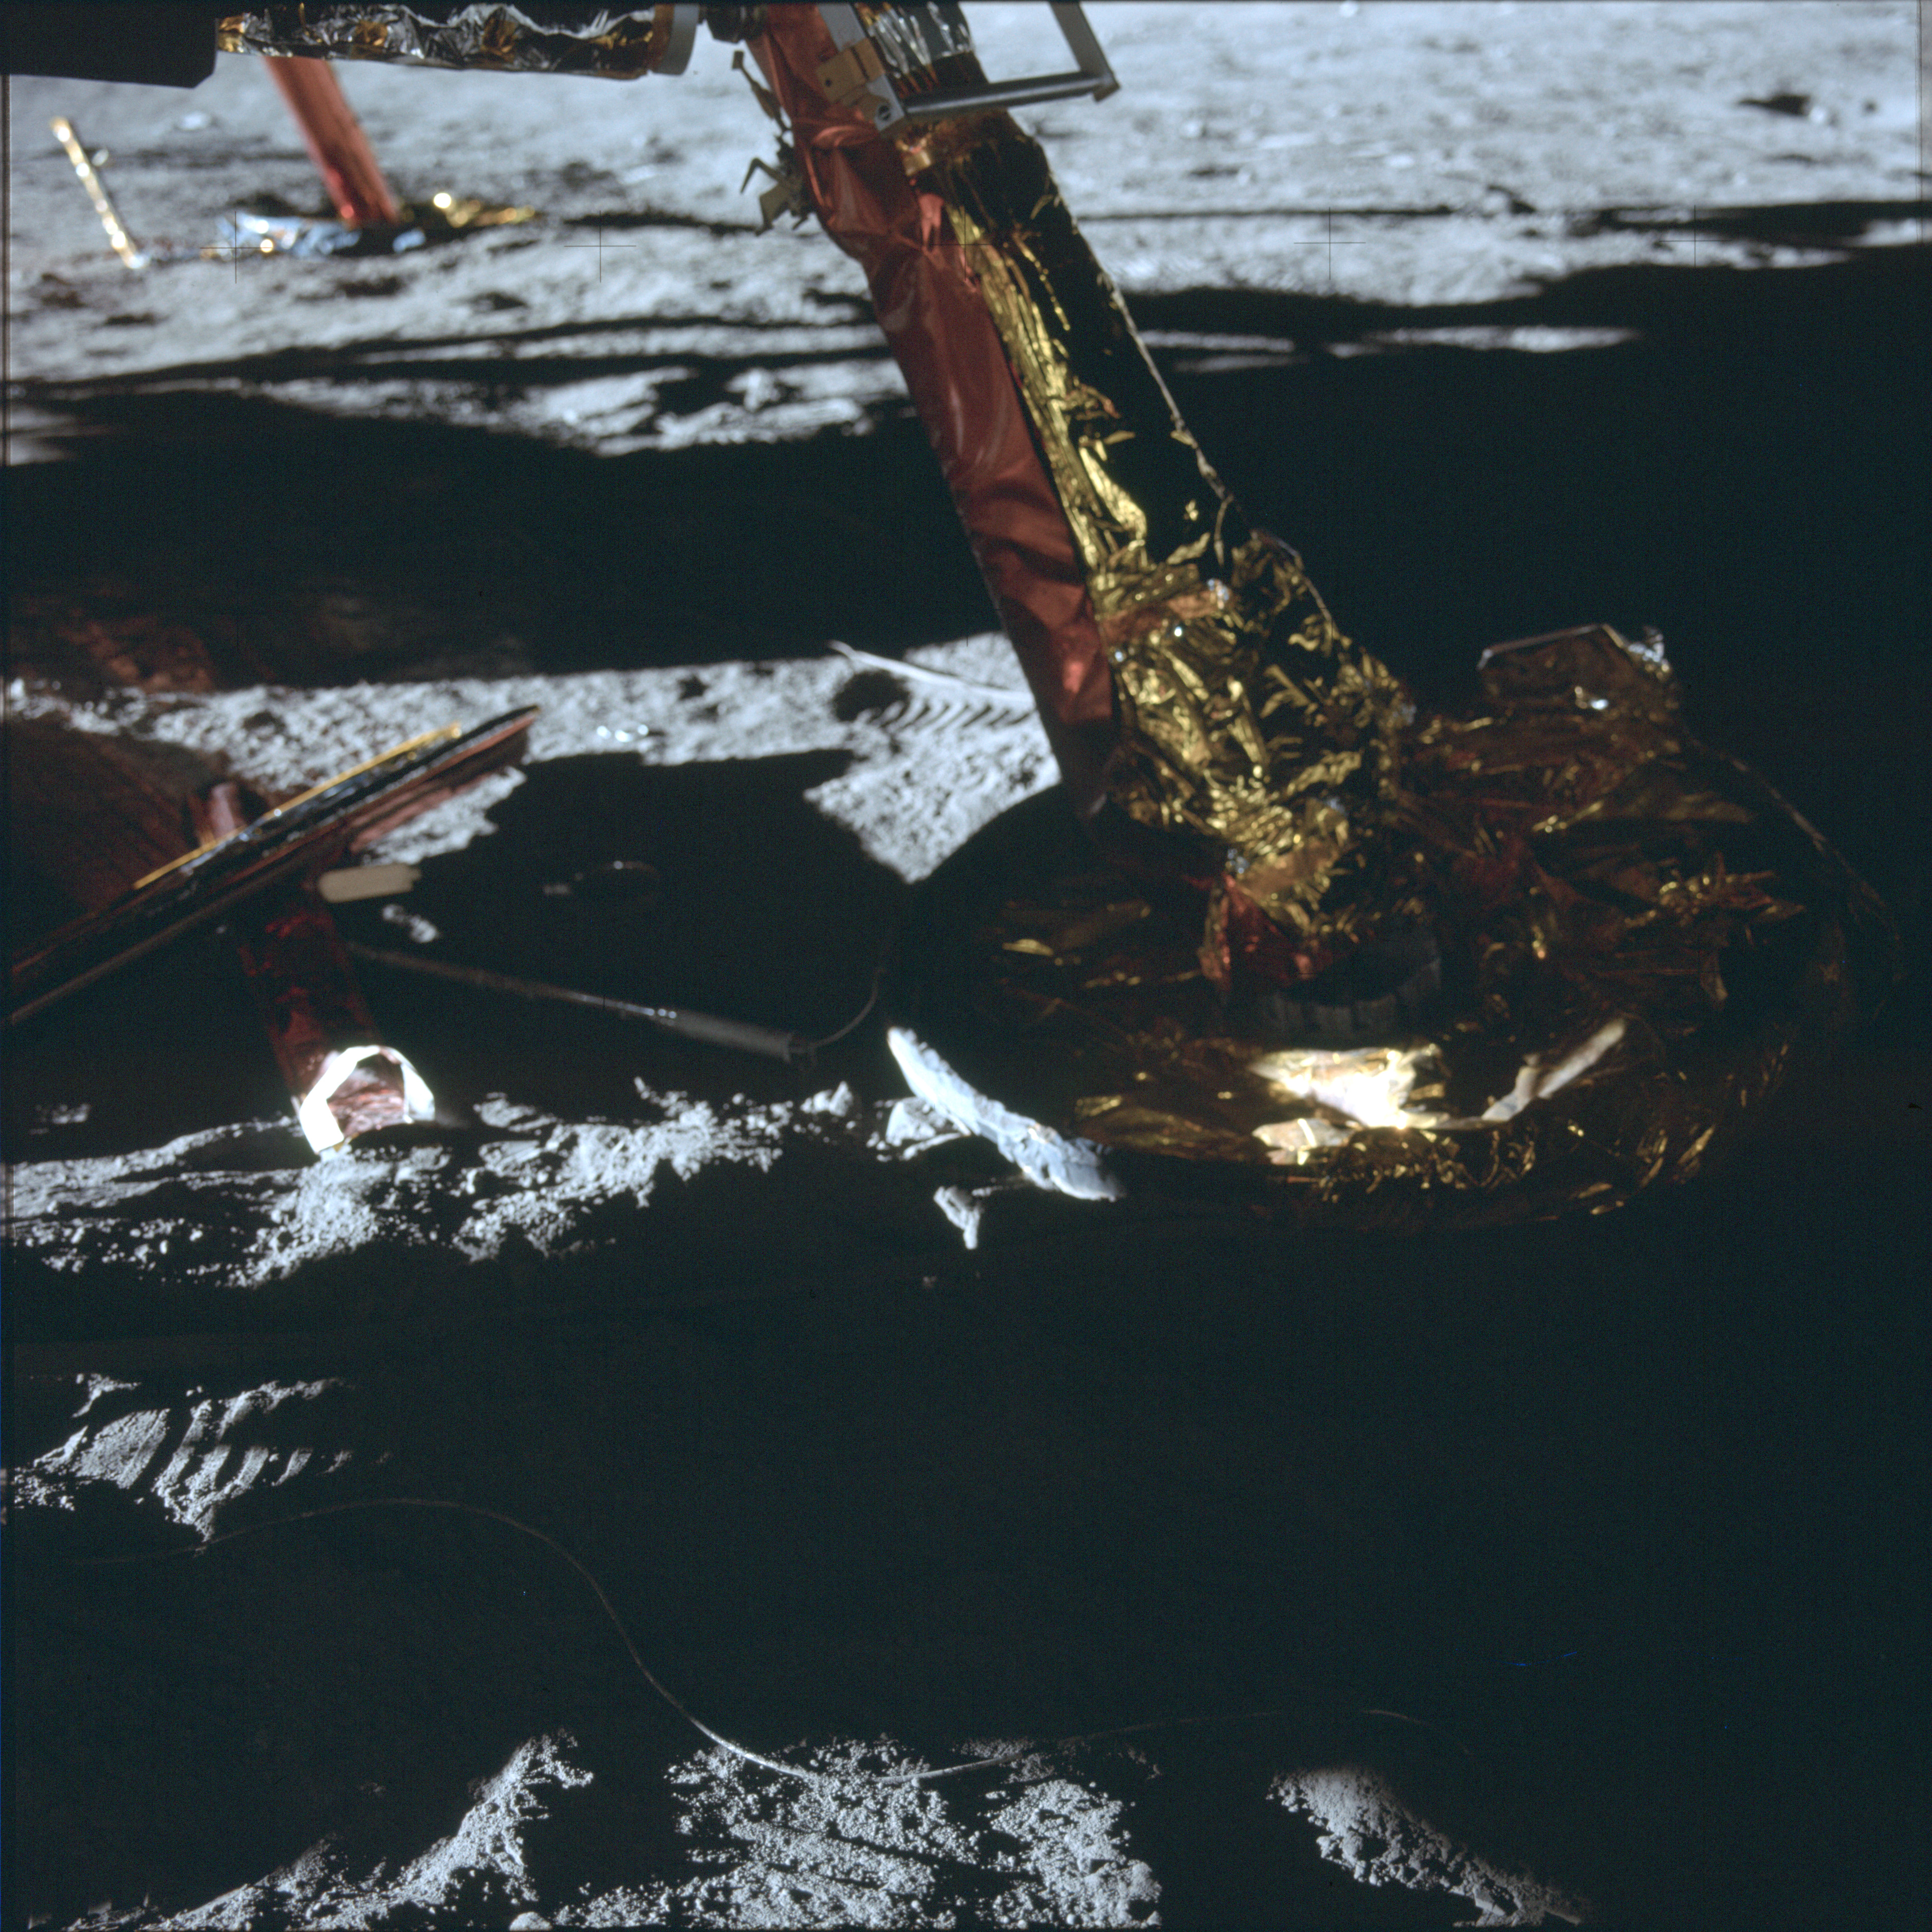
AS12-47-6902 Al Bean's photo of the plus-Z (west) footpad. Taken at about 116:26:34 GET. Image credit: Image Science and Analysis Laboratory, NASA-Johnson Space Center |
 |
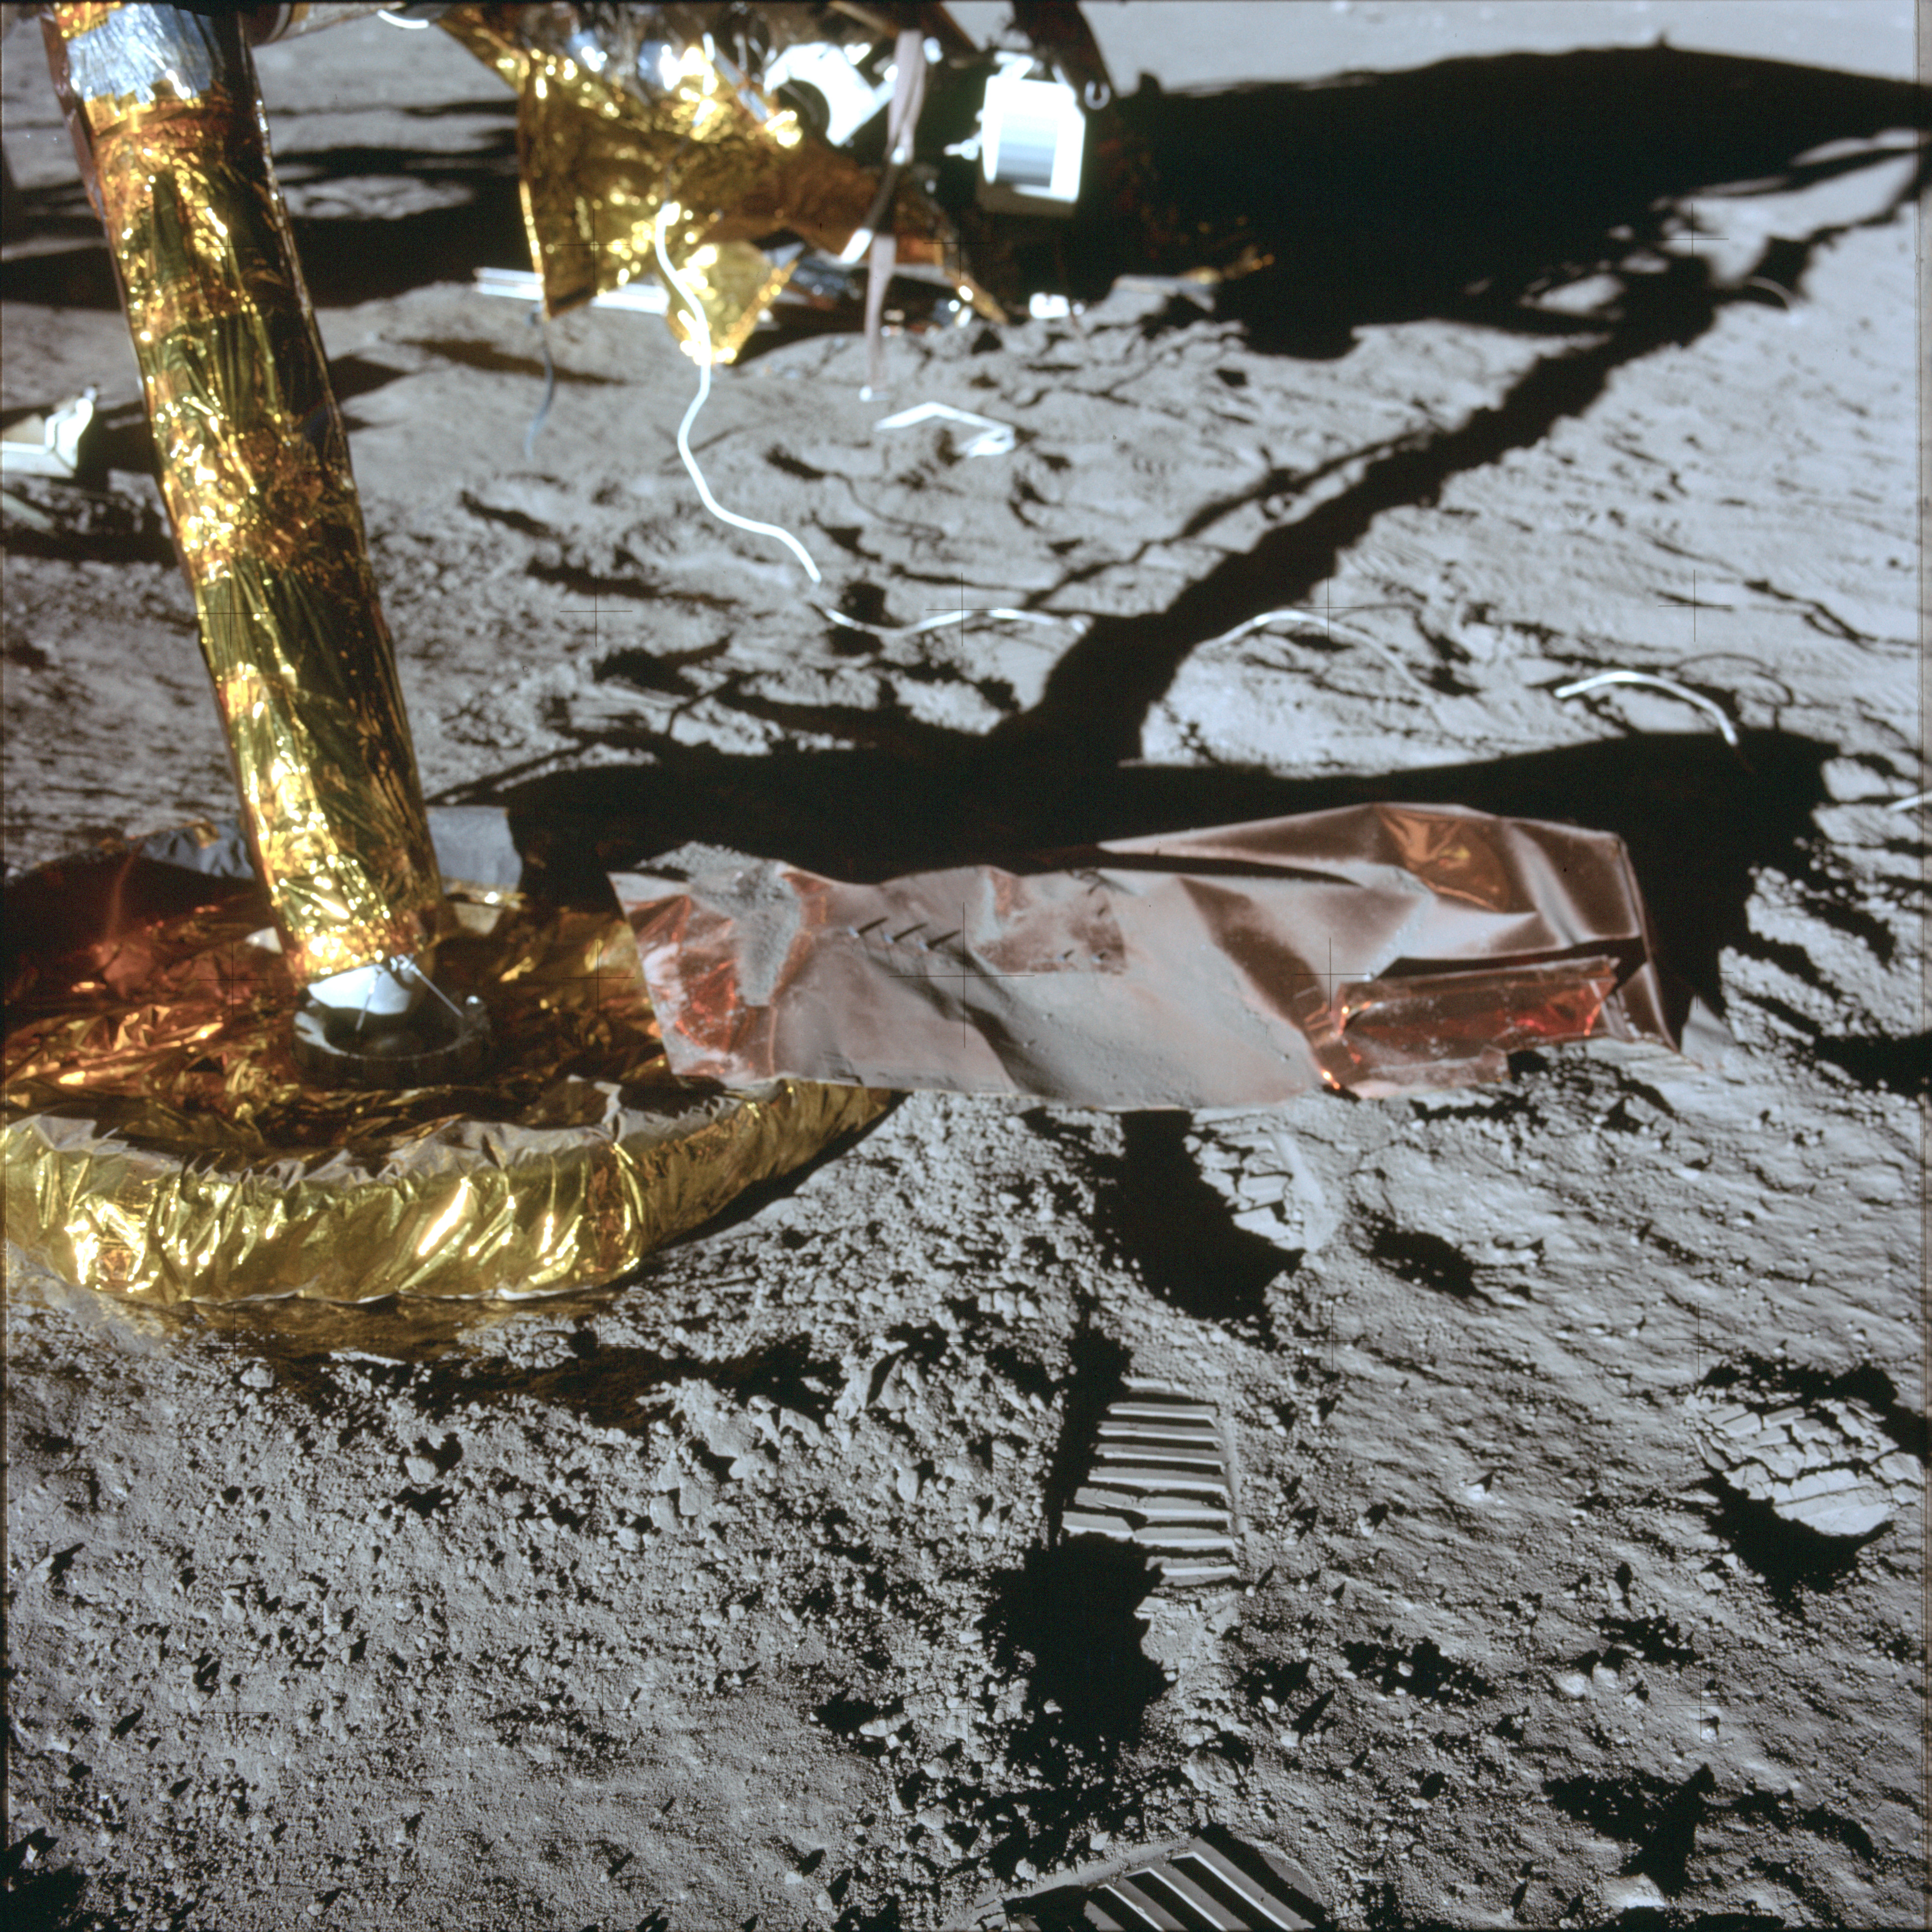
AS12-47-6903 Al Bean's photo of the plus-Z (west) footpad. Taken at about 116:26:34 GET. Image credit: Image Science and Analysis Laboratory, NASA-Johnson Space Center |
 |
AS12-47-6904 Al Bean's photo of the plus-Y (north) footpad. Taken at about 116:27:55 GET. Image credit: Image Science and Analysis Laboratory, NASA-Johnson Space Center |
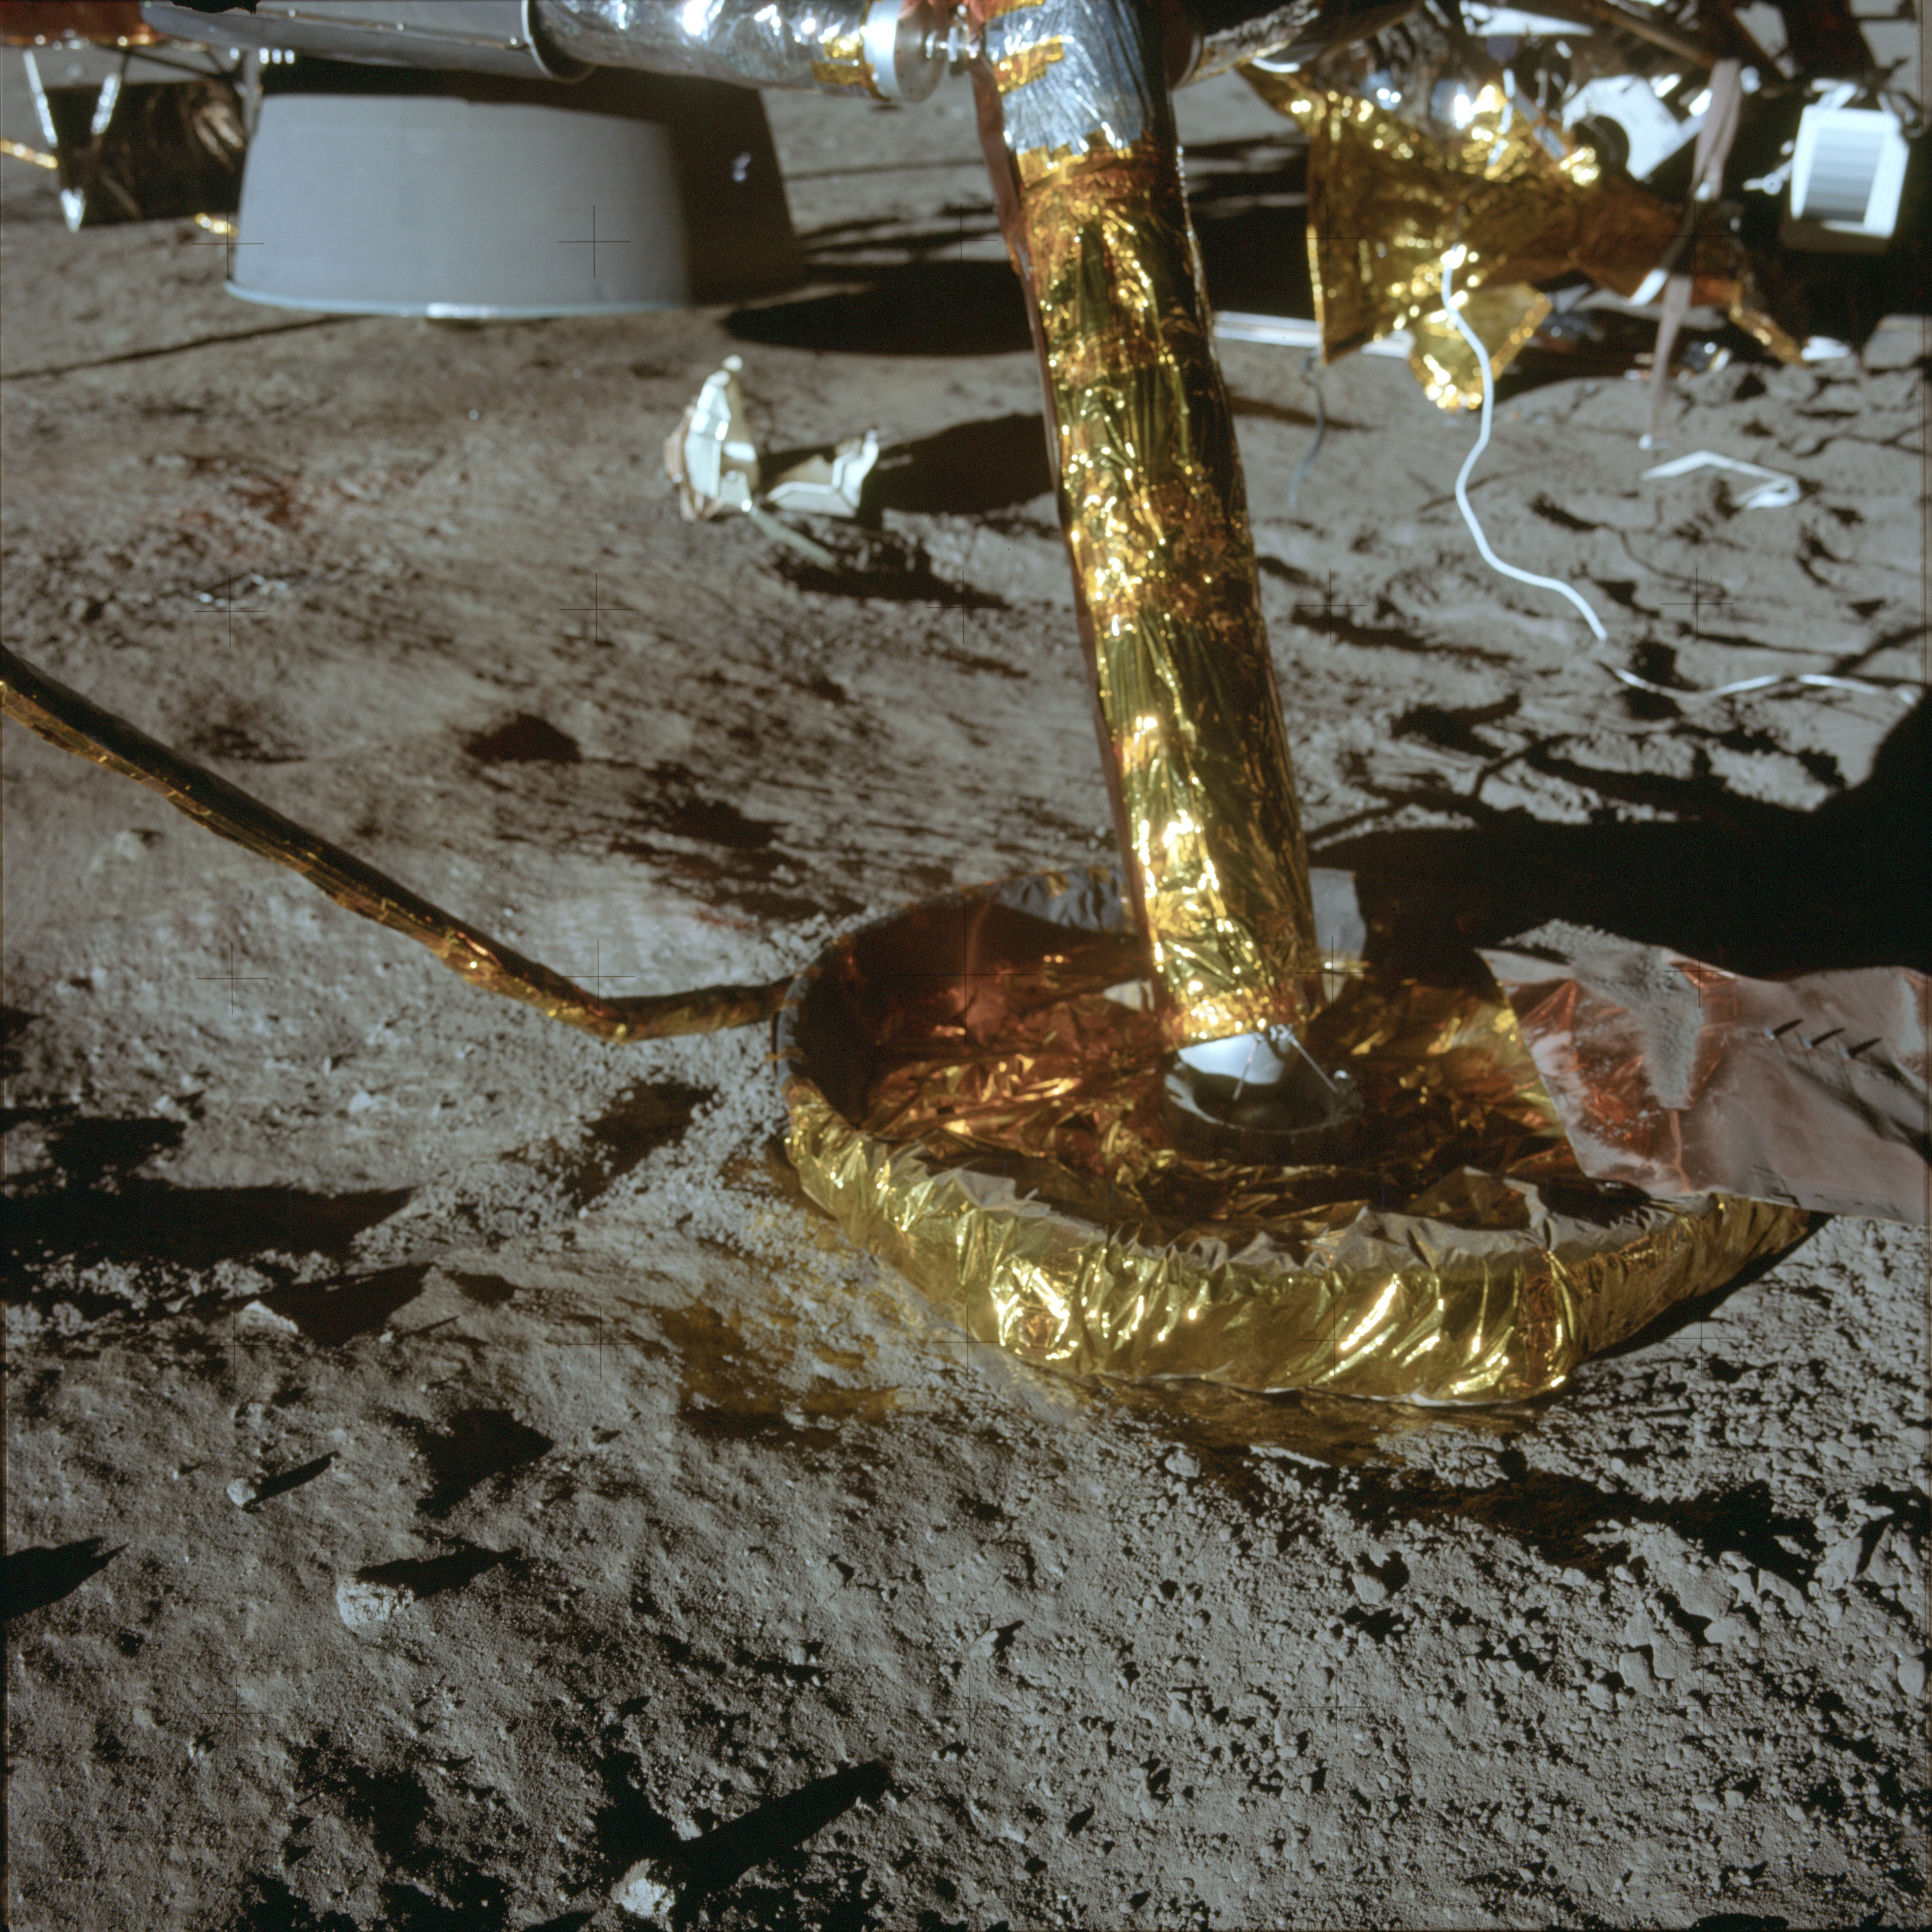 |
AS12-47-6905 Al Bean's photo of the plus-Y (north) footpad. Taken at about 116:27:55 GET. Image credit: Image Science and Analysis Laboratory, NASA-Johnson Space Center |
 |
AS12-47-6906 Al Bean's photo of the plus-Y (north) footpad. Taken at about 116:27:55 GET. Image credit: Image Science and Analysis Laboratory, NASA-Johnson Space Center |
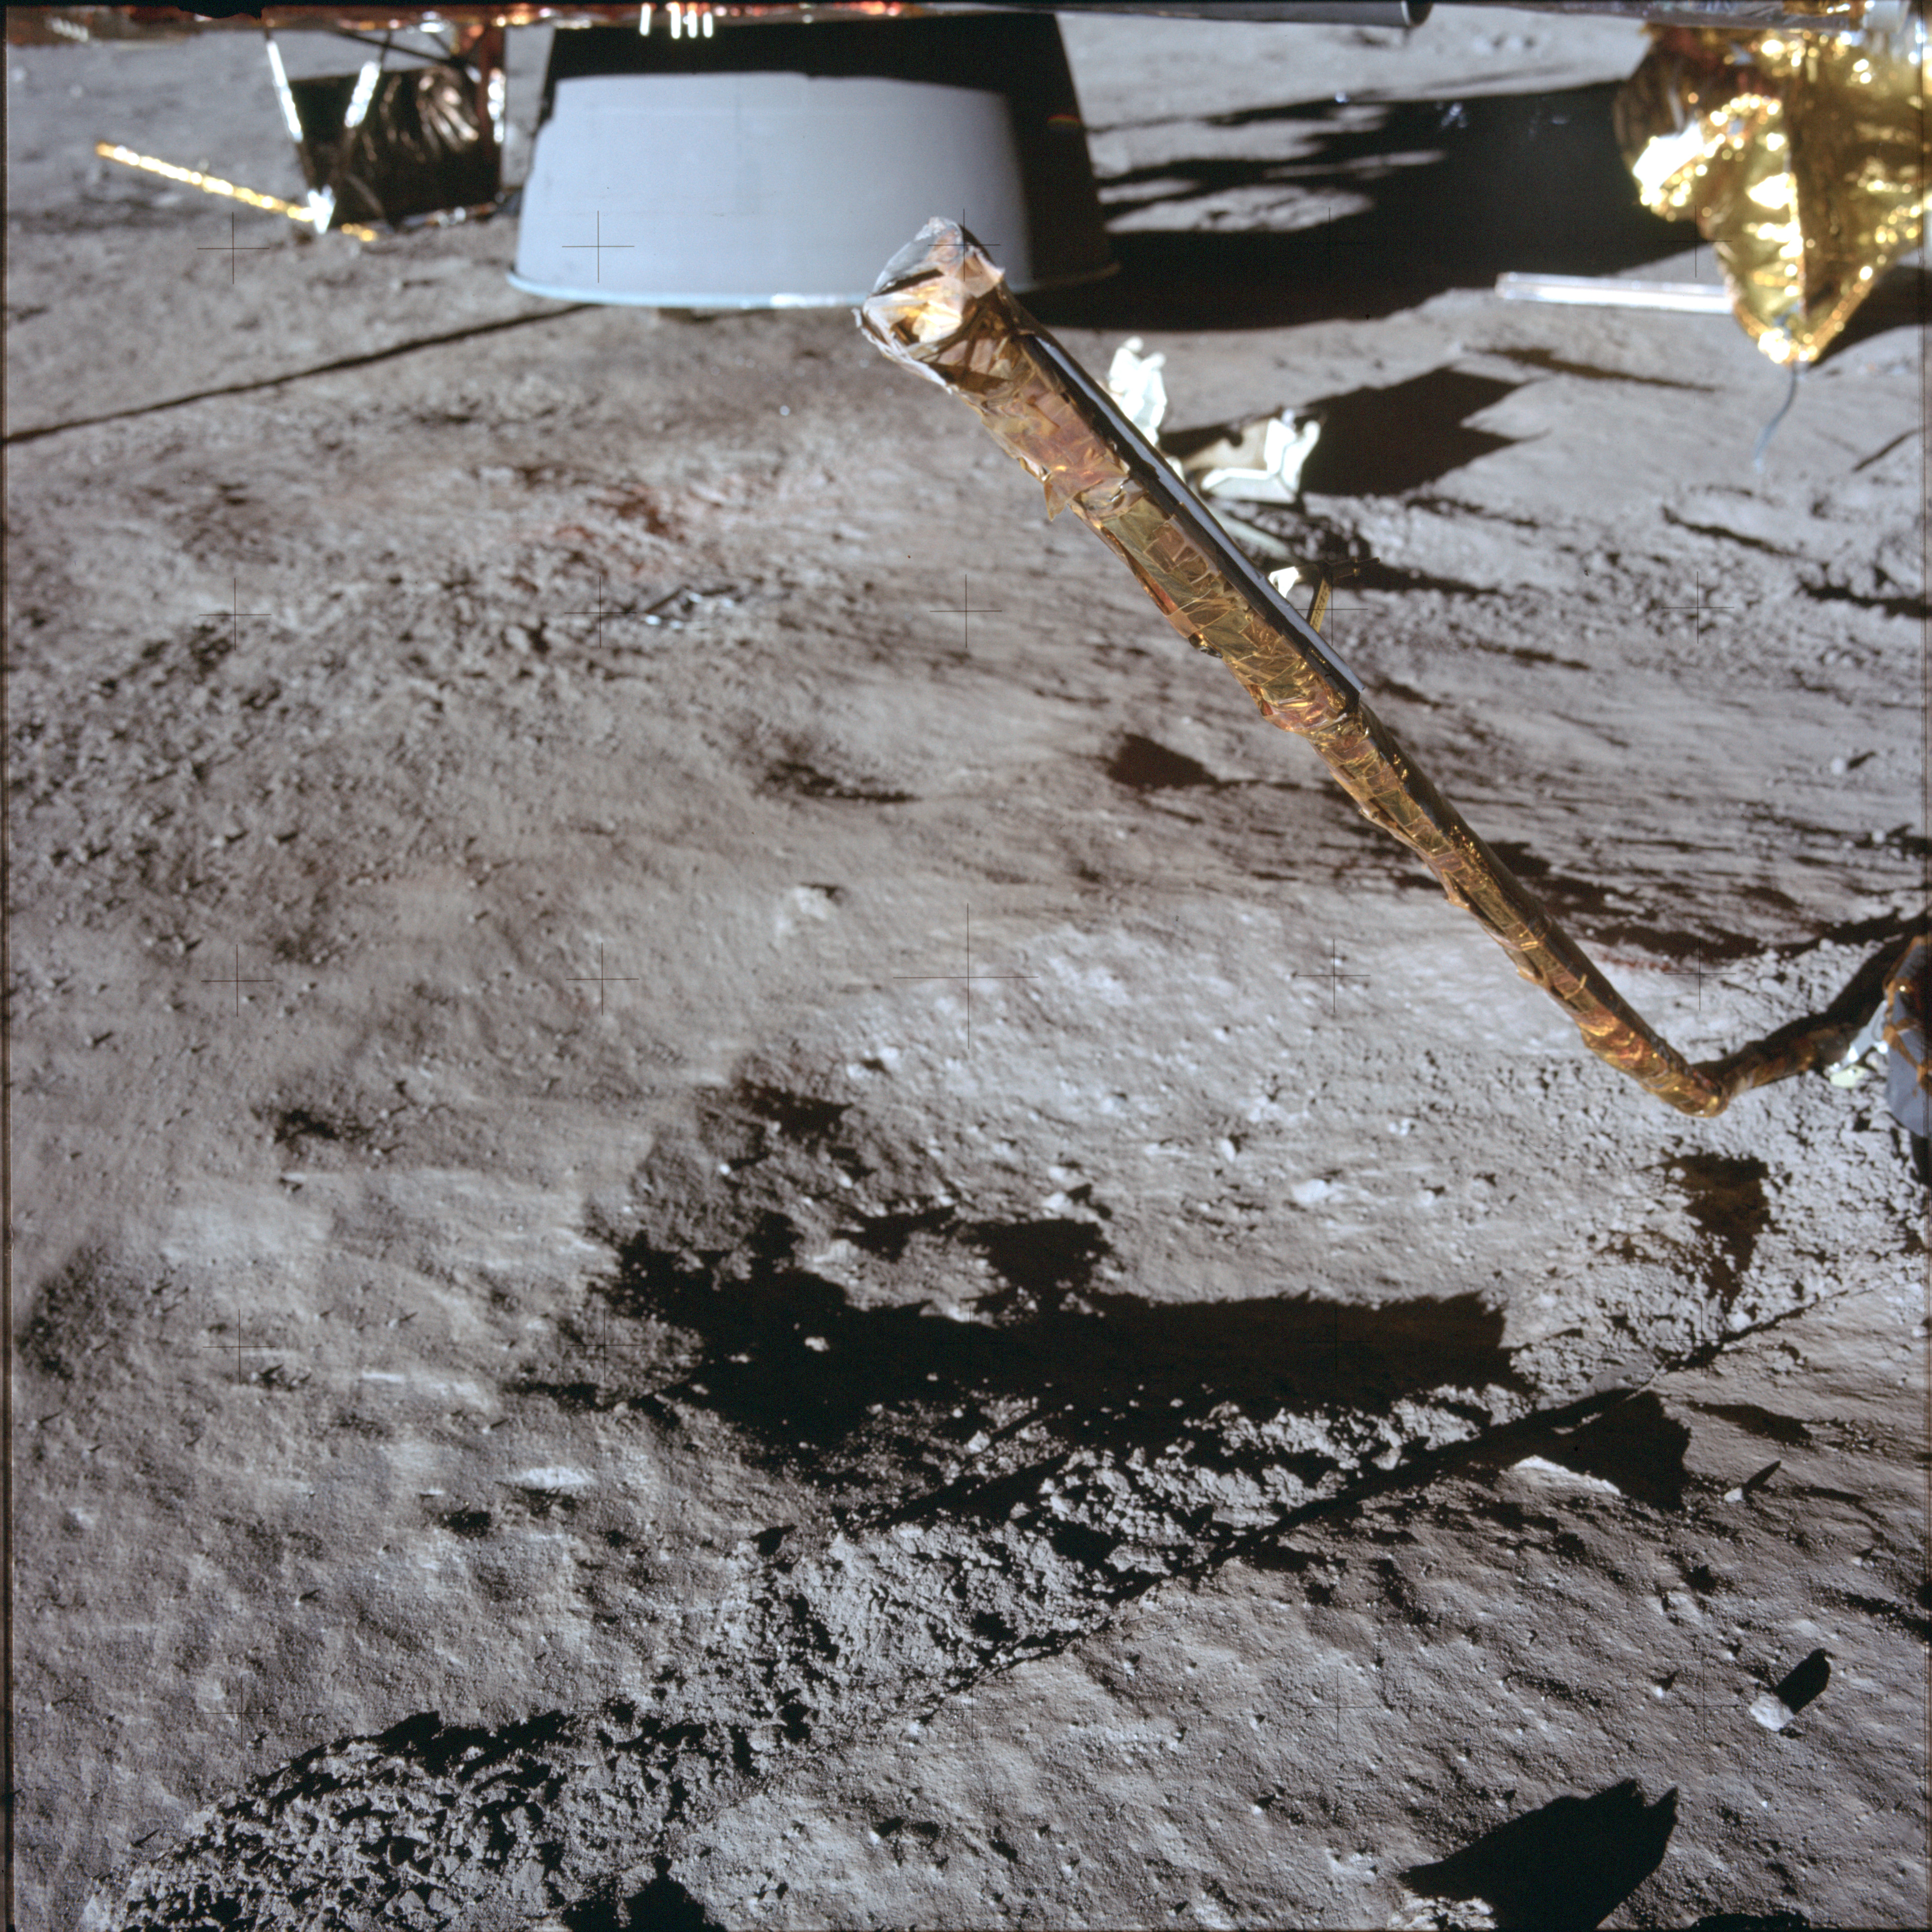 |
AS12-47-6907 Al Bean's photo of the probe attached to the plus-Y (north) footpad. Taken at about 116:27:55 GET. This is one of the probes that hung below the footpads in order to detect the lunar surface during landing. Image credit: Image Science and Analysis Laboratory, NASA-Johnson Space Center |
 |
AS12-47-6908 Al Bean's photo of the minus-Z (east) footpad. Taken at about 116:30:00 GET. Image credit: Image Science and Analysis Laboratory, NASA-Johnson Space Center |
 |
AS12-47-6909 Al Bean's photo of the minus-Z (east) footpad. Taken at about 116:30:00 GET. Image credit: Image Science and Analysis Laboratory, NASA-Johnson Space Center |
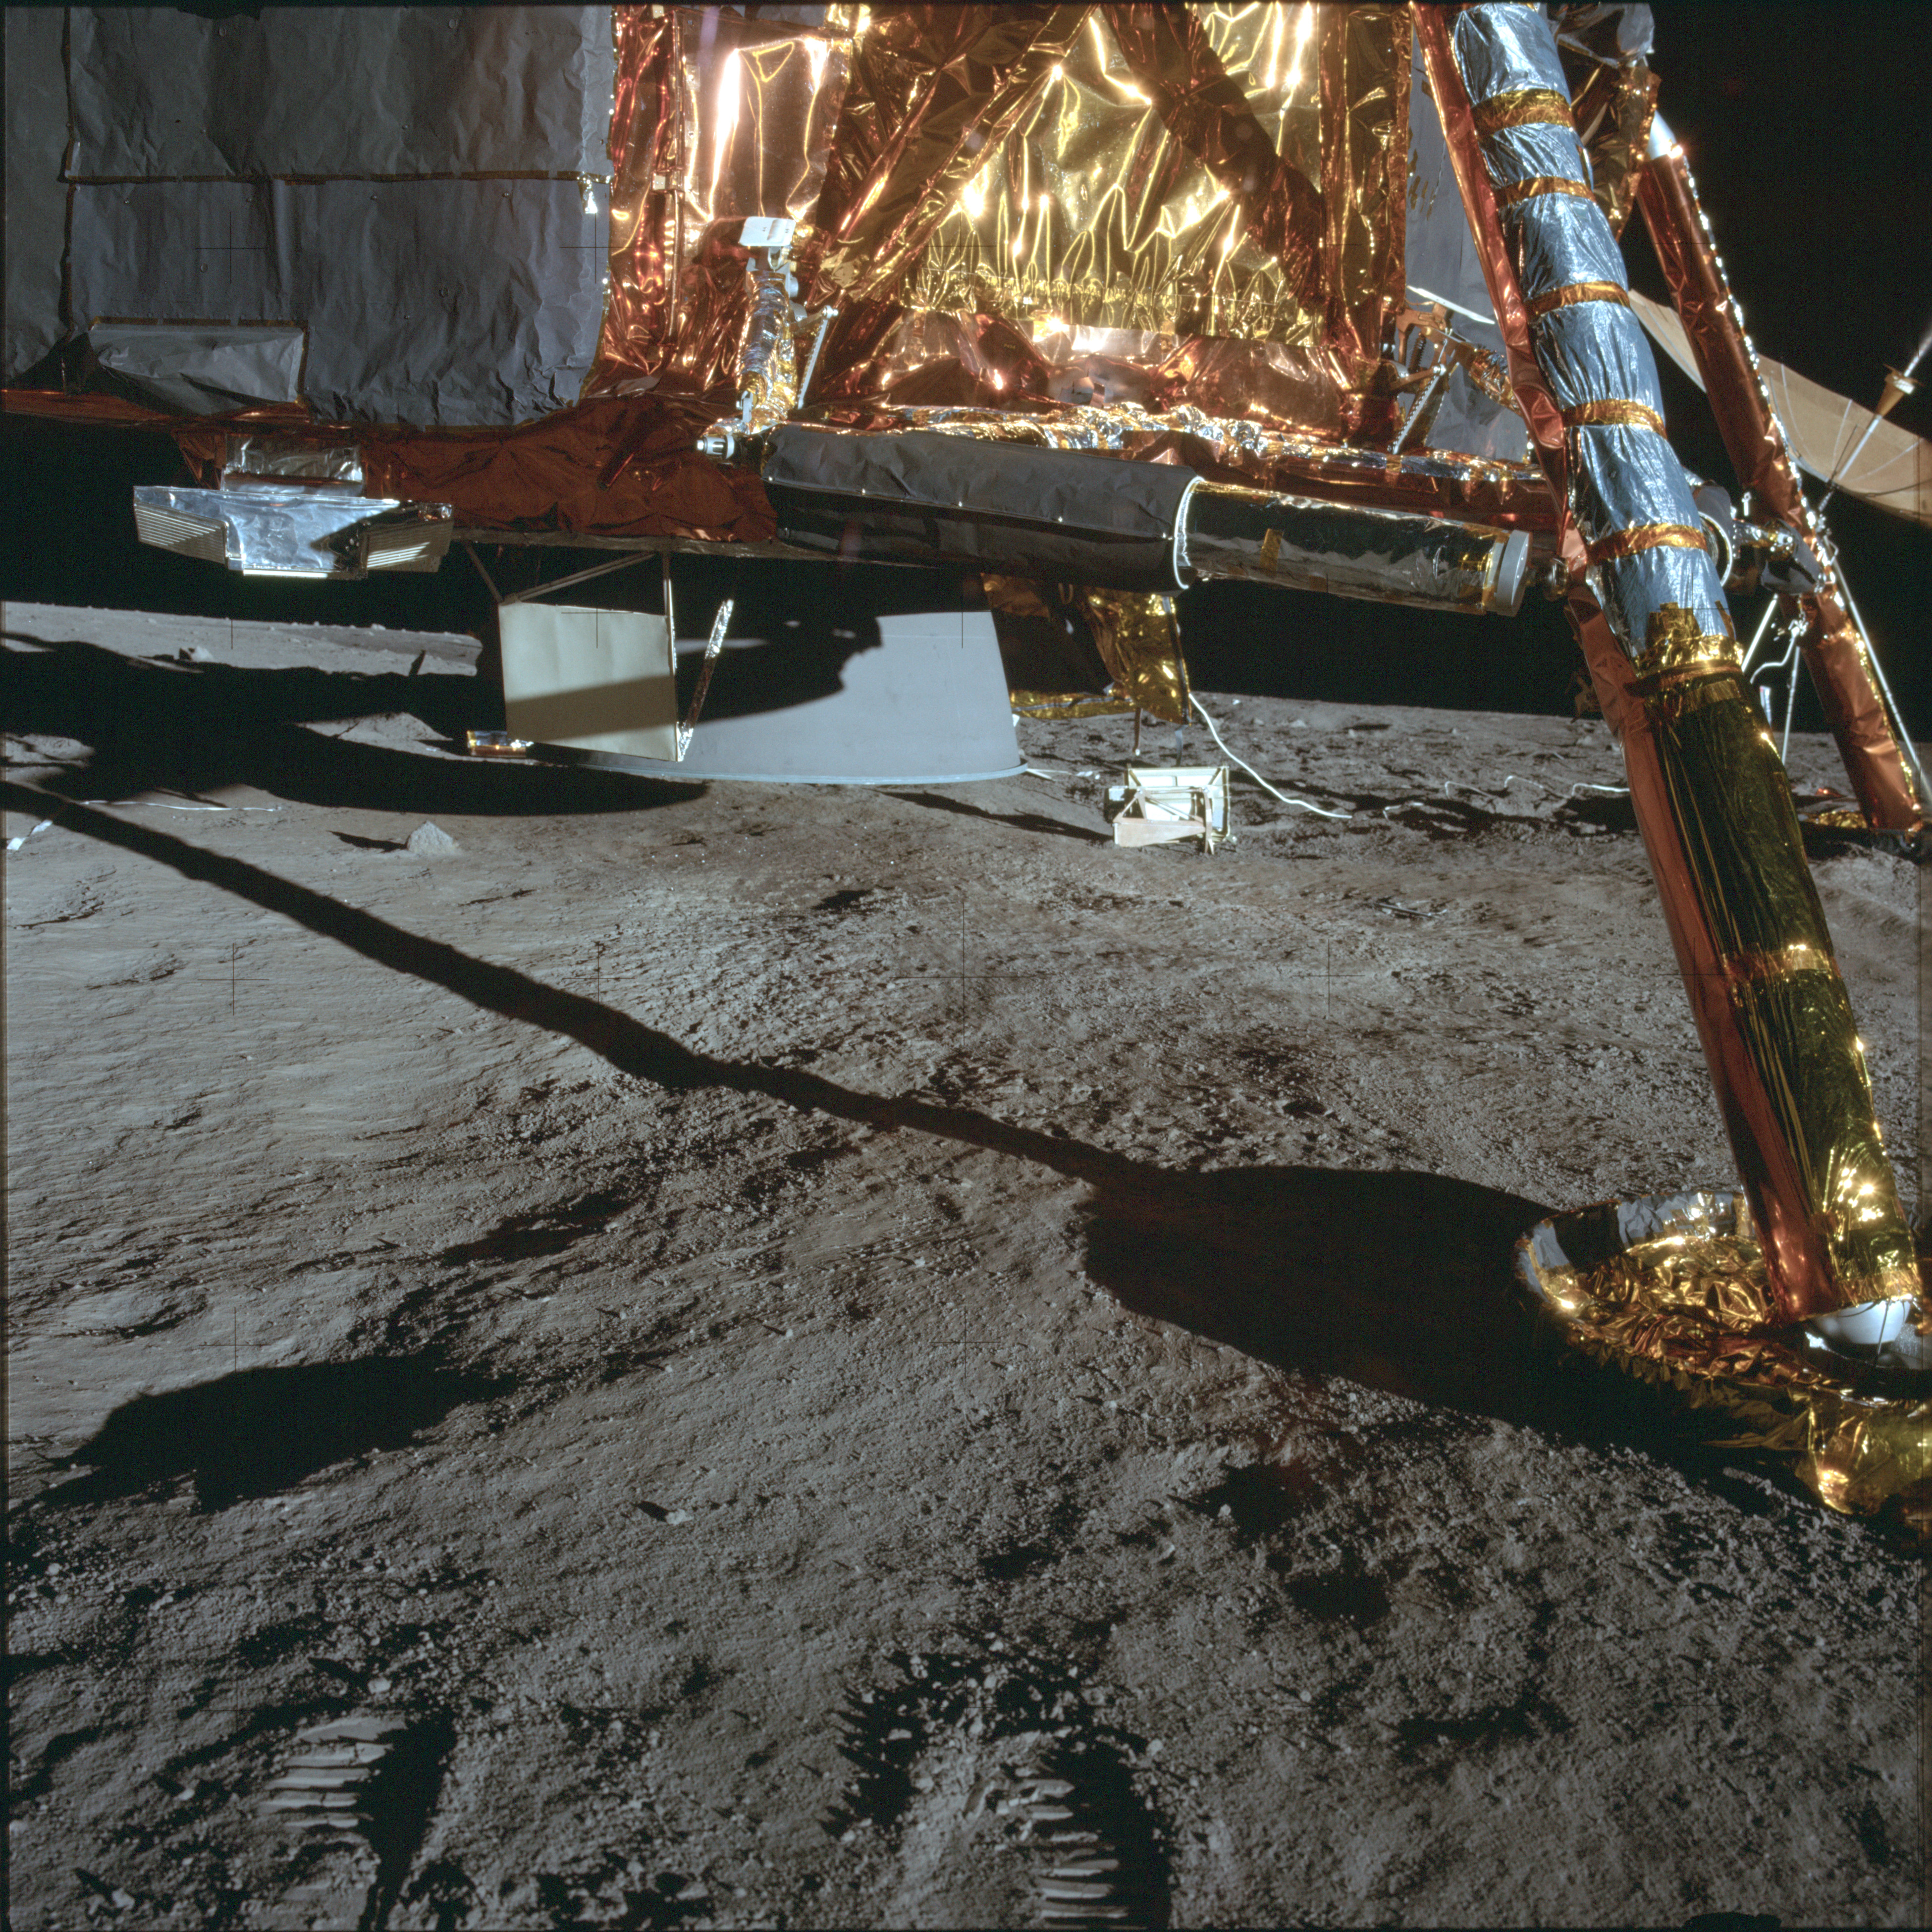 |
AS12-47-6910 Al Bean's photo of the area under the LM from the vicinity of the minus-Z (east) footpad. Taken at about 116:30:00 GET. The silvery object attached under the LM on the left is the landing radar antenna. Between it and the engine bell is a heatshield to protect it from the engine plume. Image credit: Image Science and Analysis Laboratory, NASA-Johnson Space Center |
 |
AS12-47-6911 Al Bean's photo of the area under the LM from the vicinity of the minus-Z (east) footpad. Taken at about 116:30:00 GET. The silvery object attached under the LM on the left is the landing radar antenna. Between it and the engine bell is a heatshield to protect it from the engine plume. Image credit: Image Science and Analysis Laboratory, NASA-Johnson Space Center |
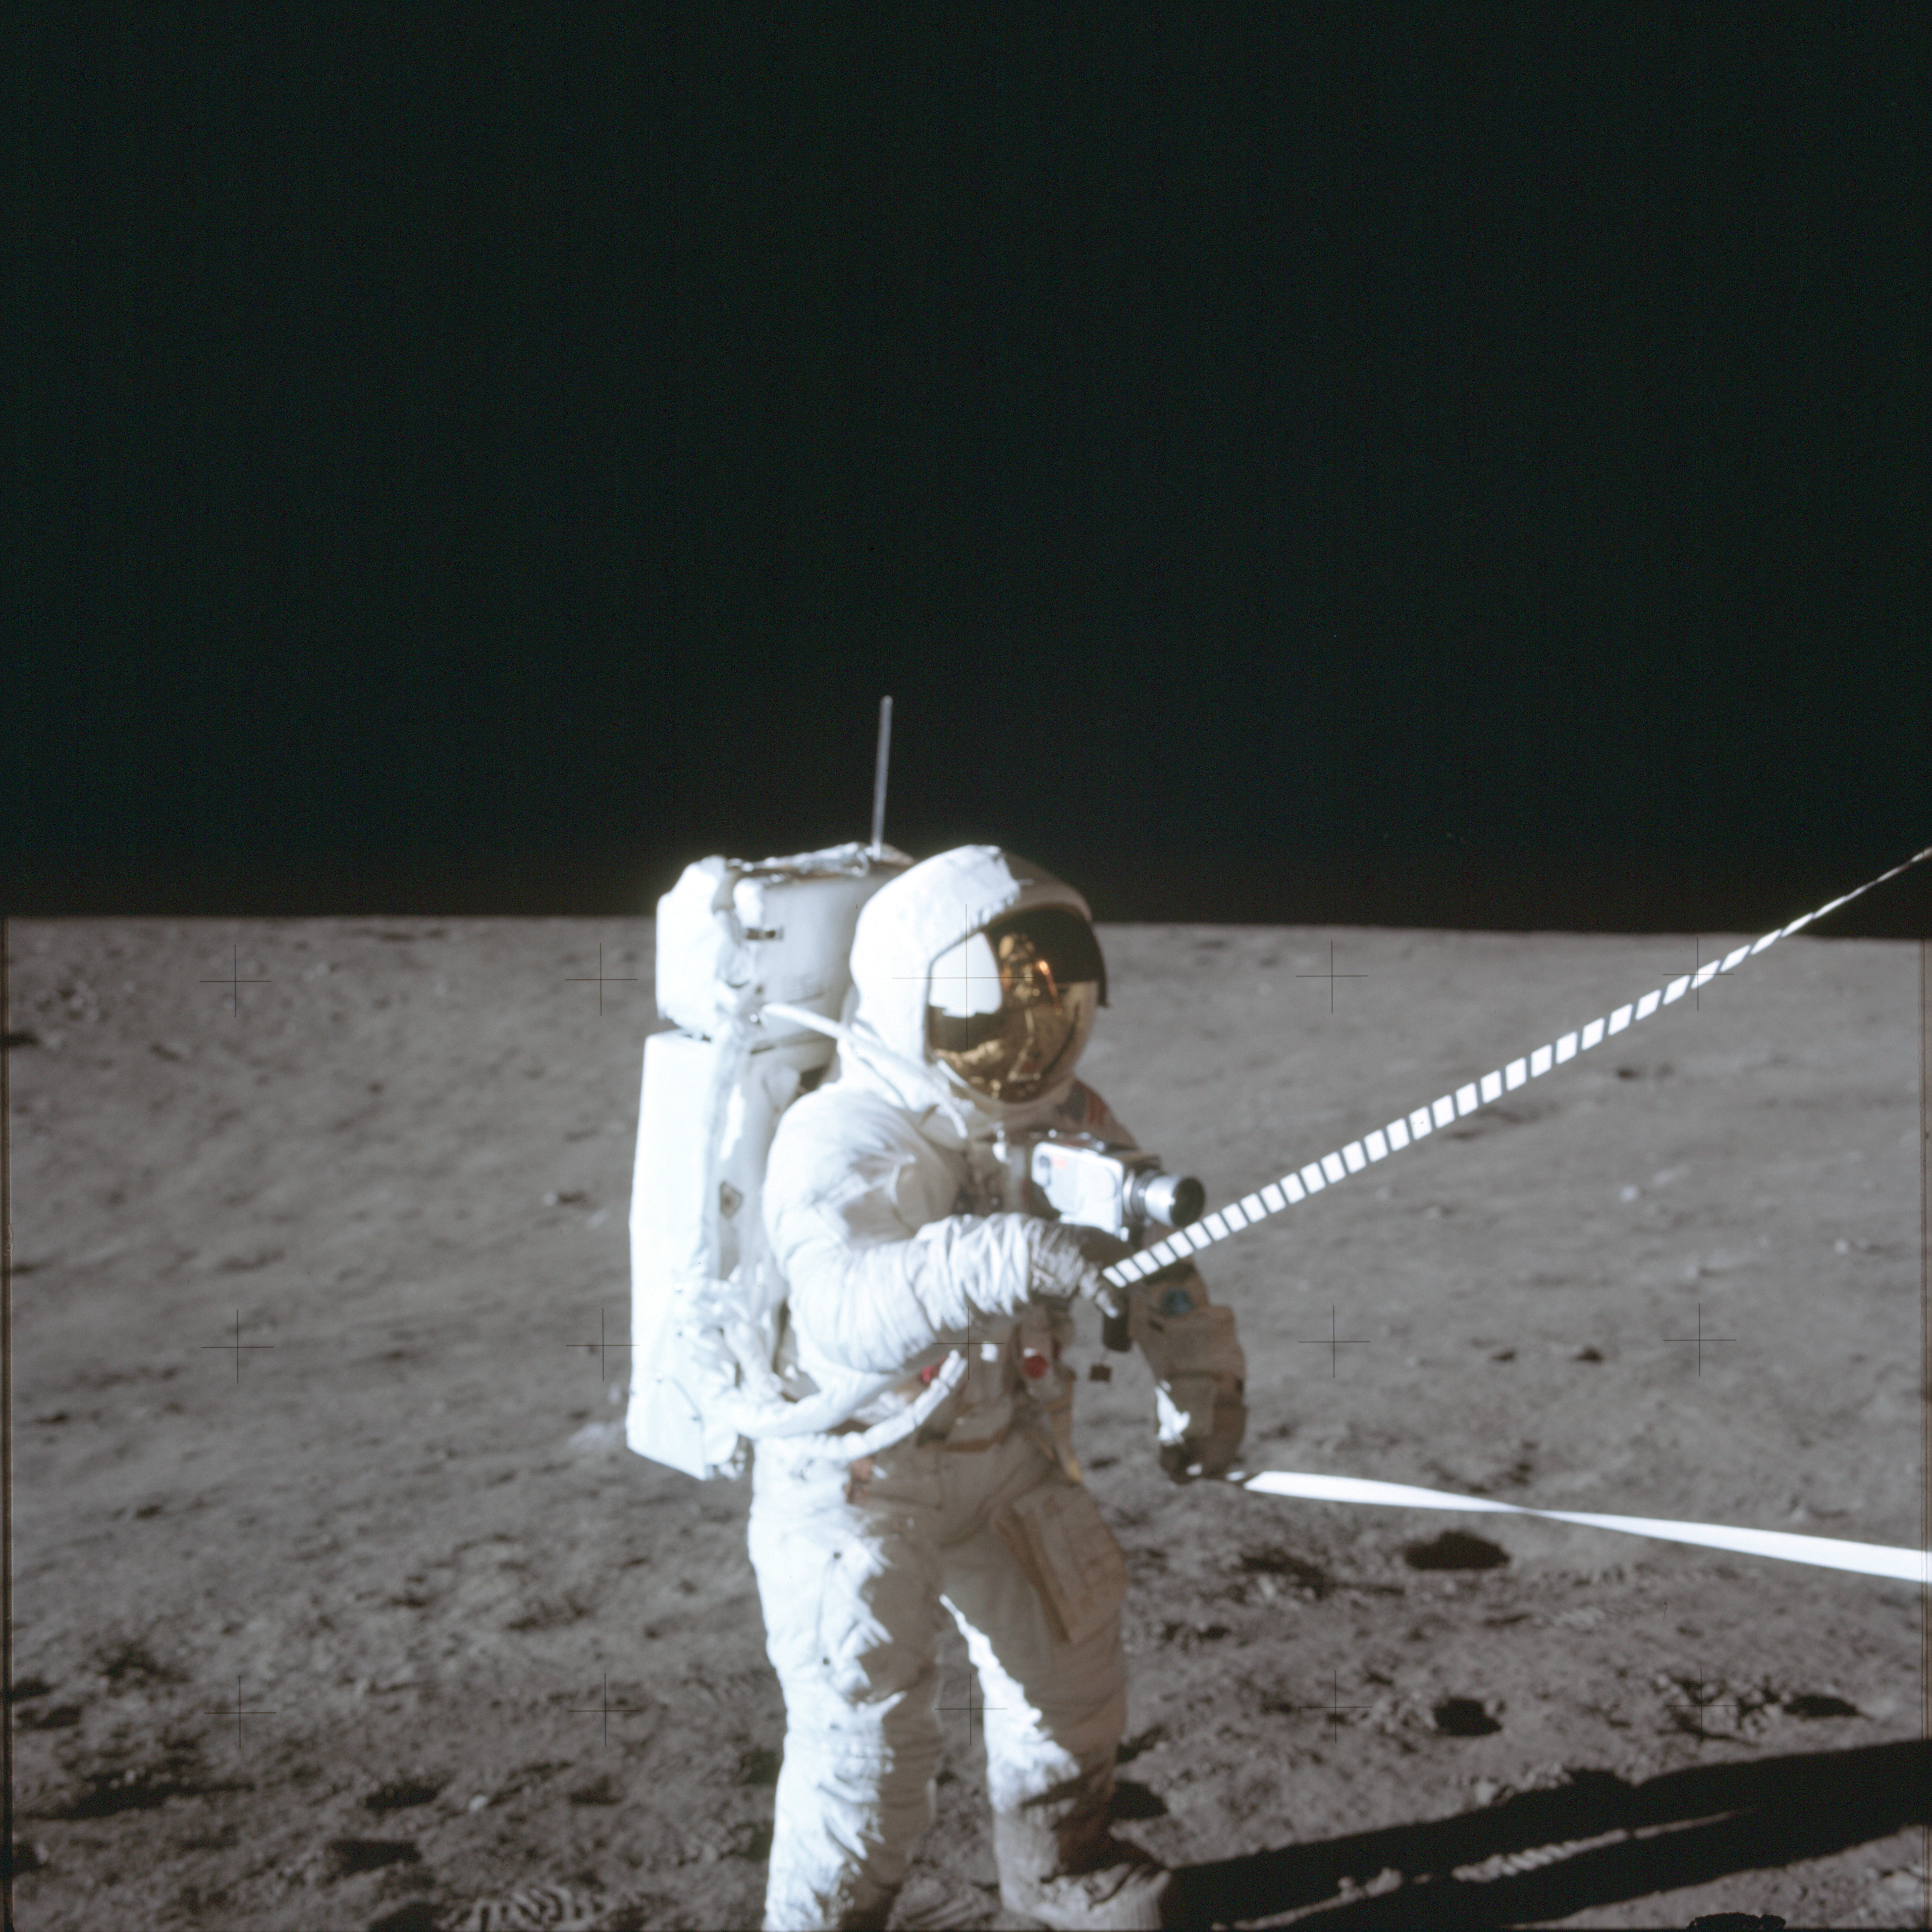 |
AS12-47-6912 Pete Conrad uses tapes to deploy the packages of the ALSEP, a set of science experiments they will deploy. Al Bean took this image at about 116:33:36 GET. Image credit: Image Science and Analysis Laboratory, NASA-Johnson Space Center |
 |
AS12-47-6913 Pete Conrad uses tapes to deploy the packages of the ALSEP, a set of science experiments they will deploy. Al Bean took this image at about 116:33:36 GET. Image credit: Image Science and Analysis Laboratory, NASA-Johnson Space Center |
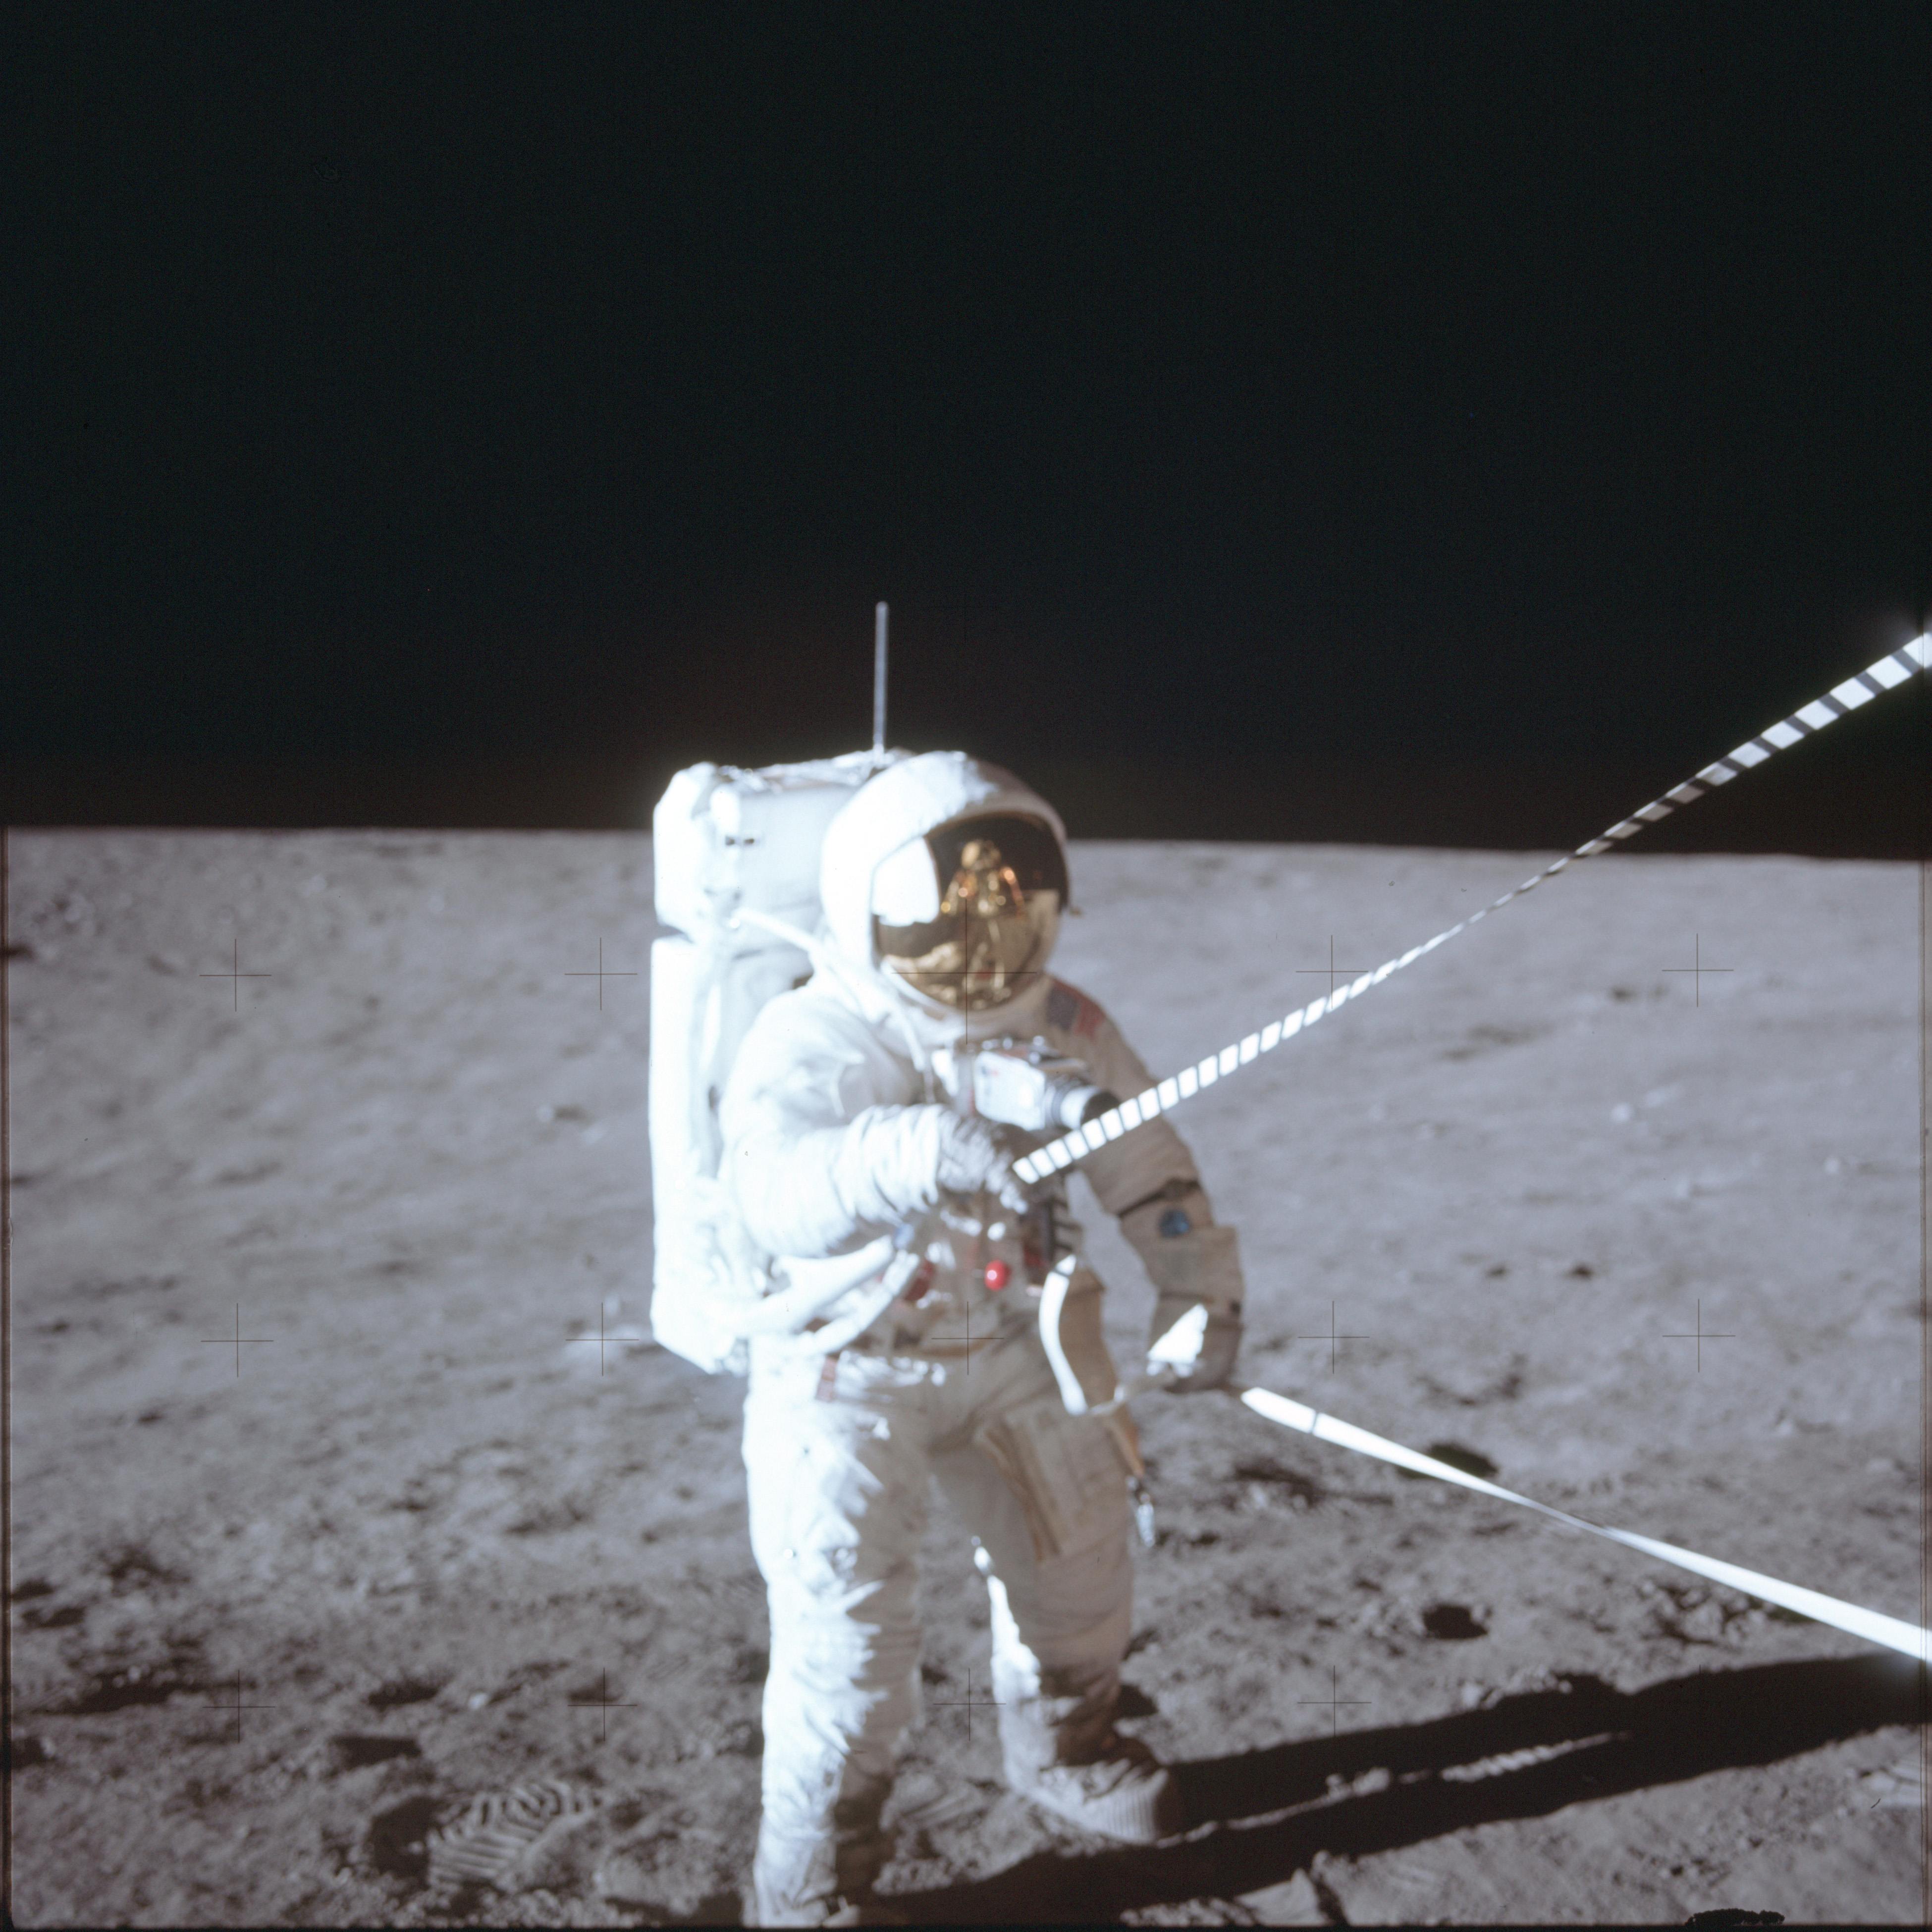 |
AS12-47-6914 Pete Conrad uses tapes to deploy the packages of the ALSEP, a set of science experiments they will deploy. Al Bean took this image at about 116:33:36 GET. Image credit: Image Science and Analysis Laboratory, NASA-Johnson Space Center |
 |
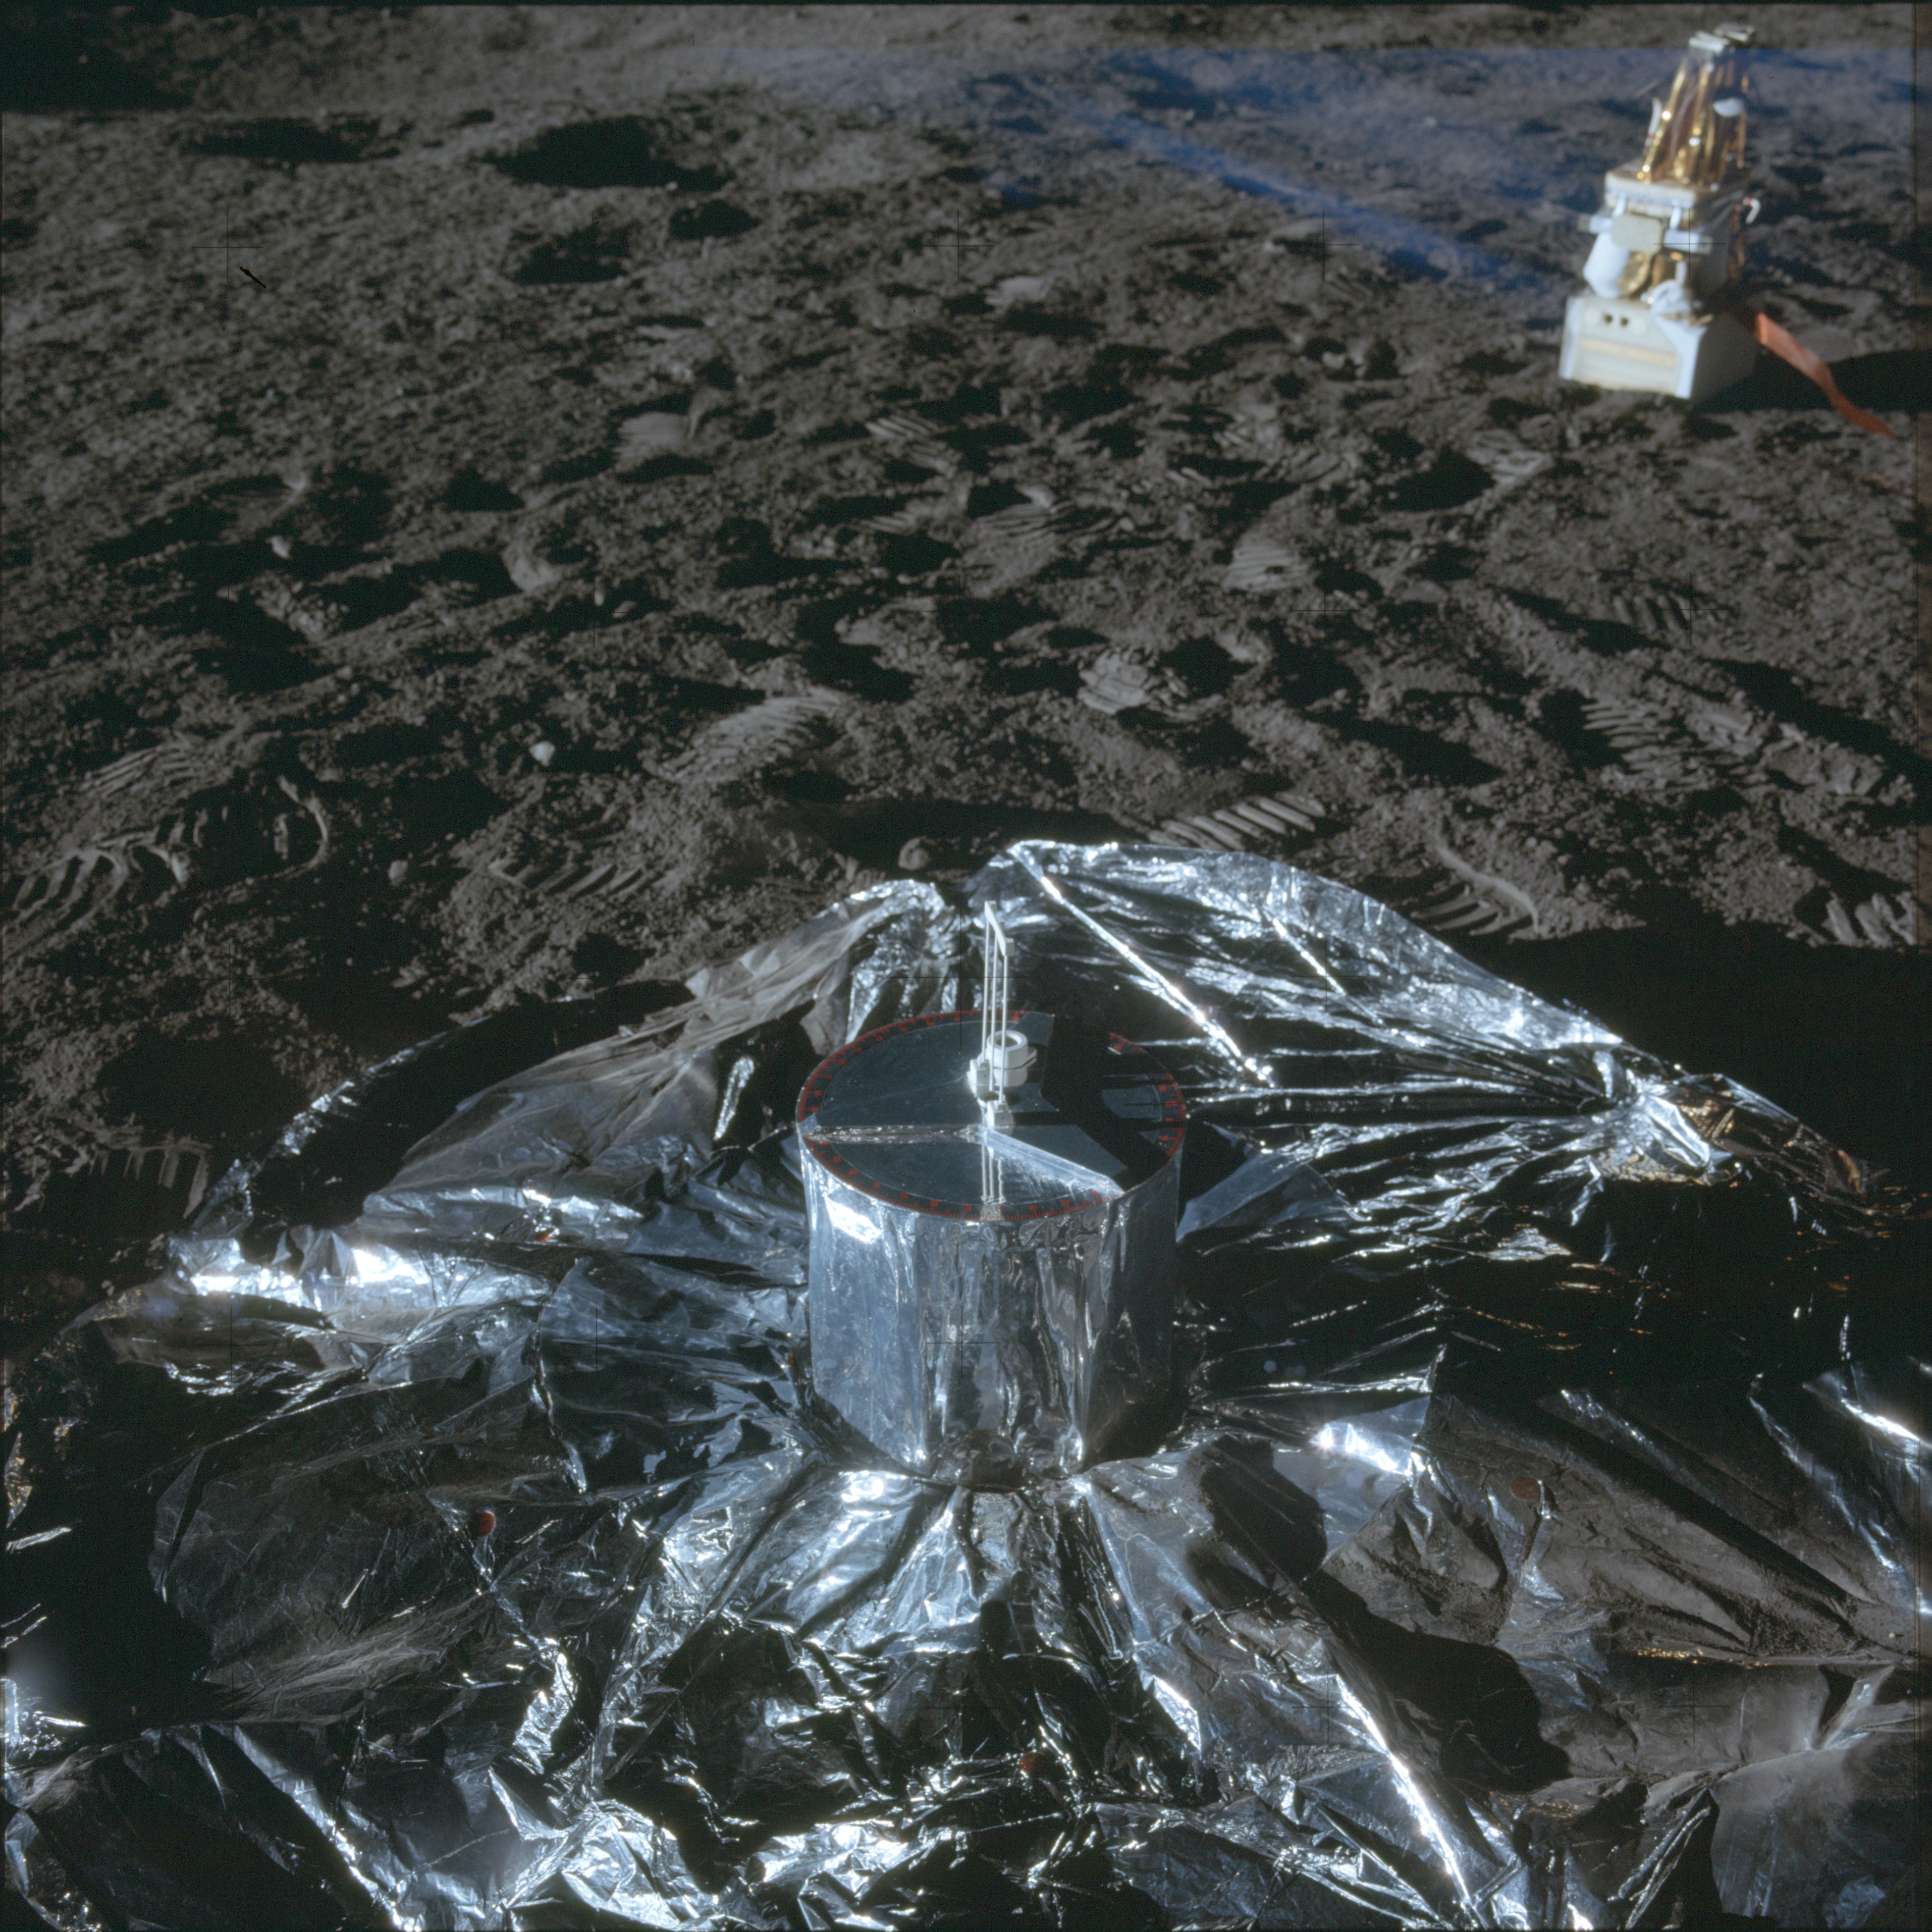
AS12-47-6915 ALSEP deployment tapes and the minus-Z landing gear. Image credit: Image Science and Analysis Laboratory, NASA-Johnson Space Center |
 |
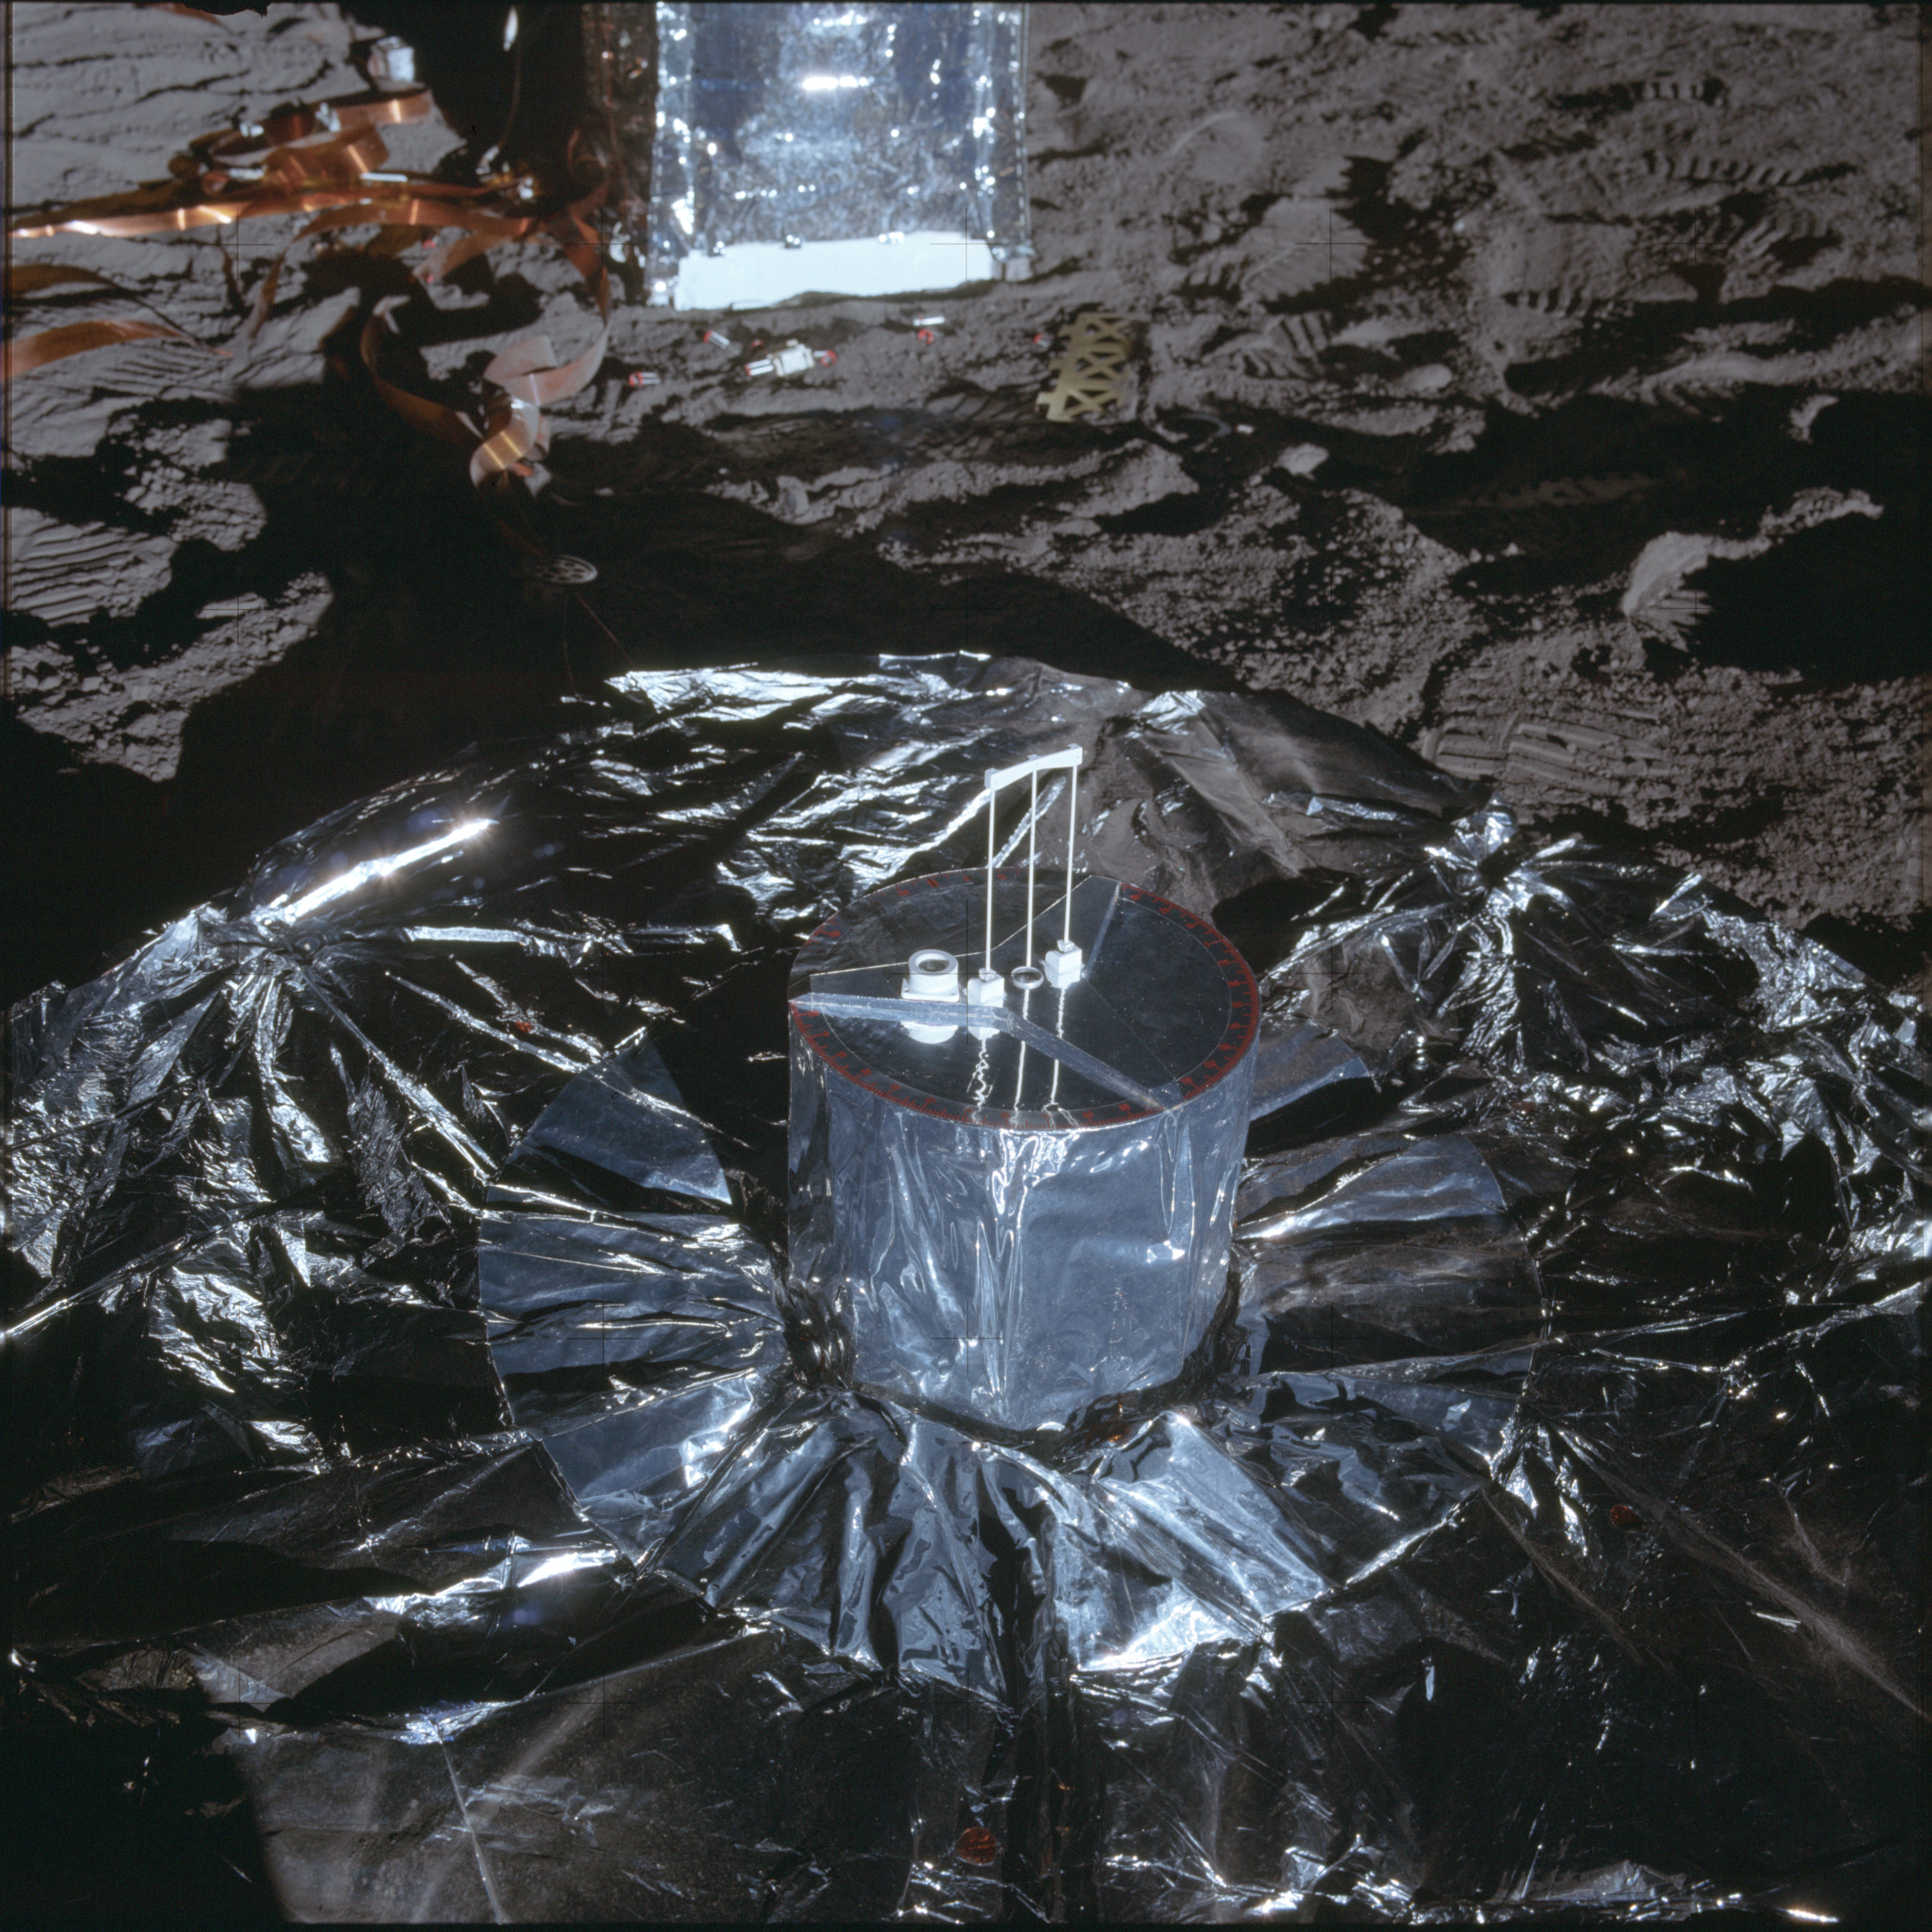
AS12-47-6916 Close up image of the deployed seismometer (Passive Seismic Experiment - PSE). Taken by Al Bean at about 117:30:24. Image credit: Image Science and Analysis Laboratory, NASA-Johnson Space Center |
 |
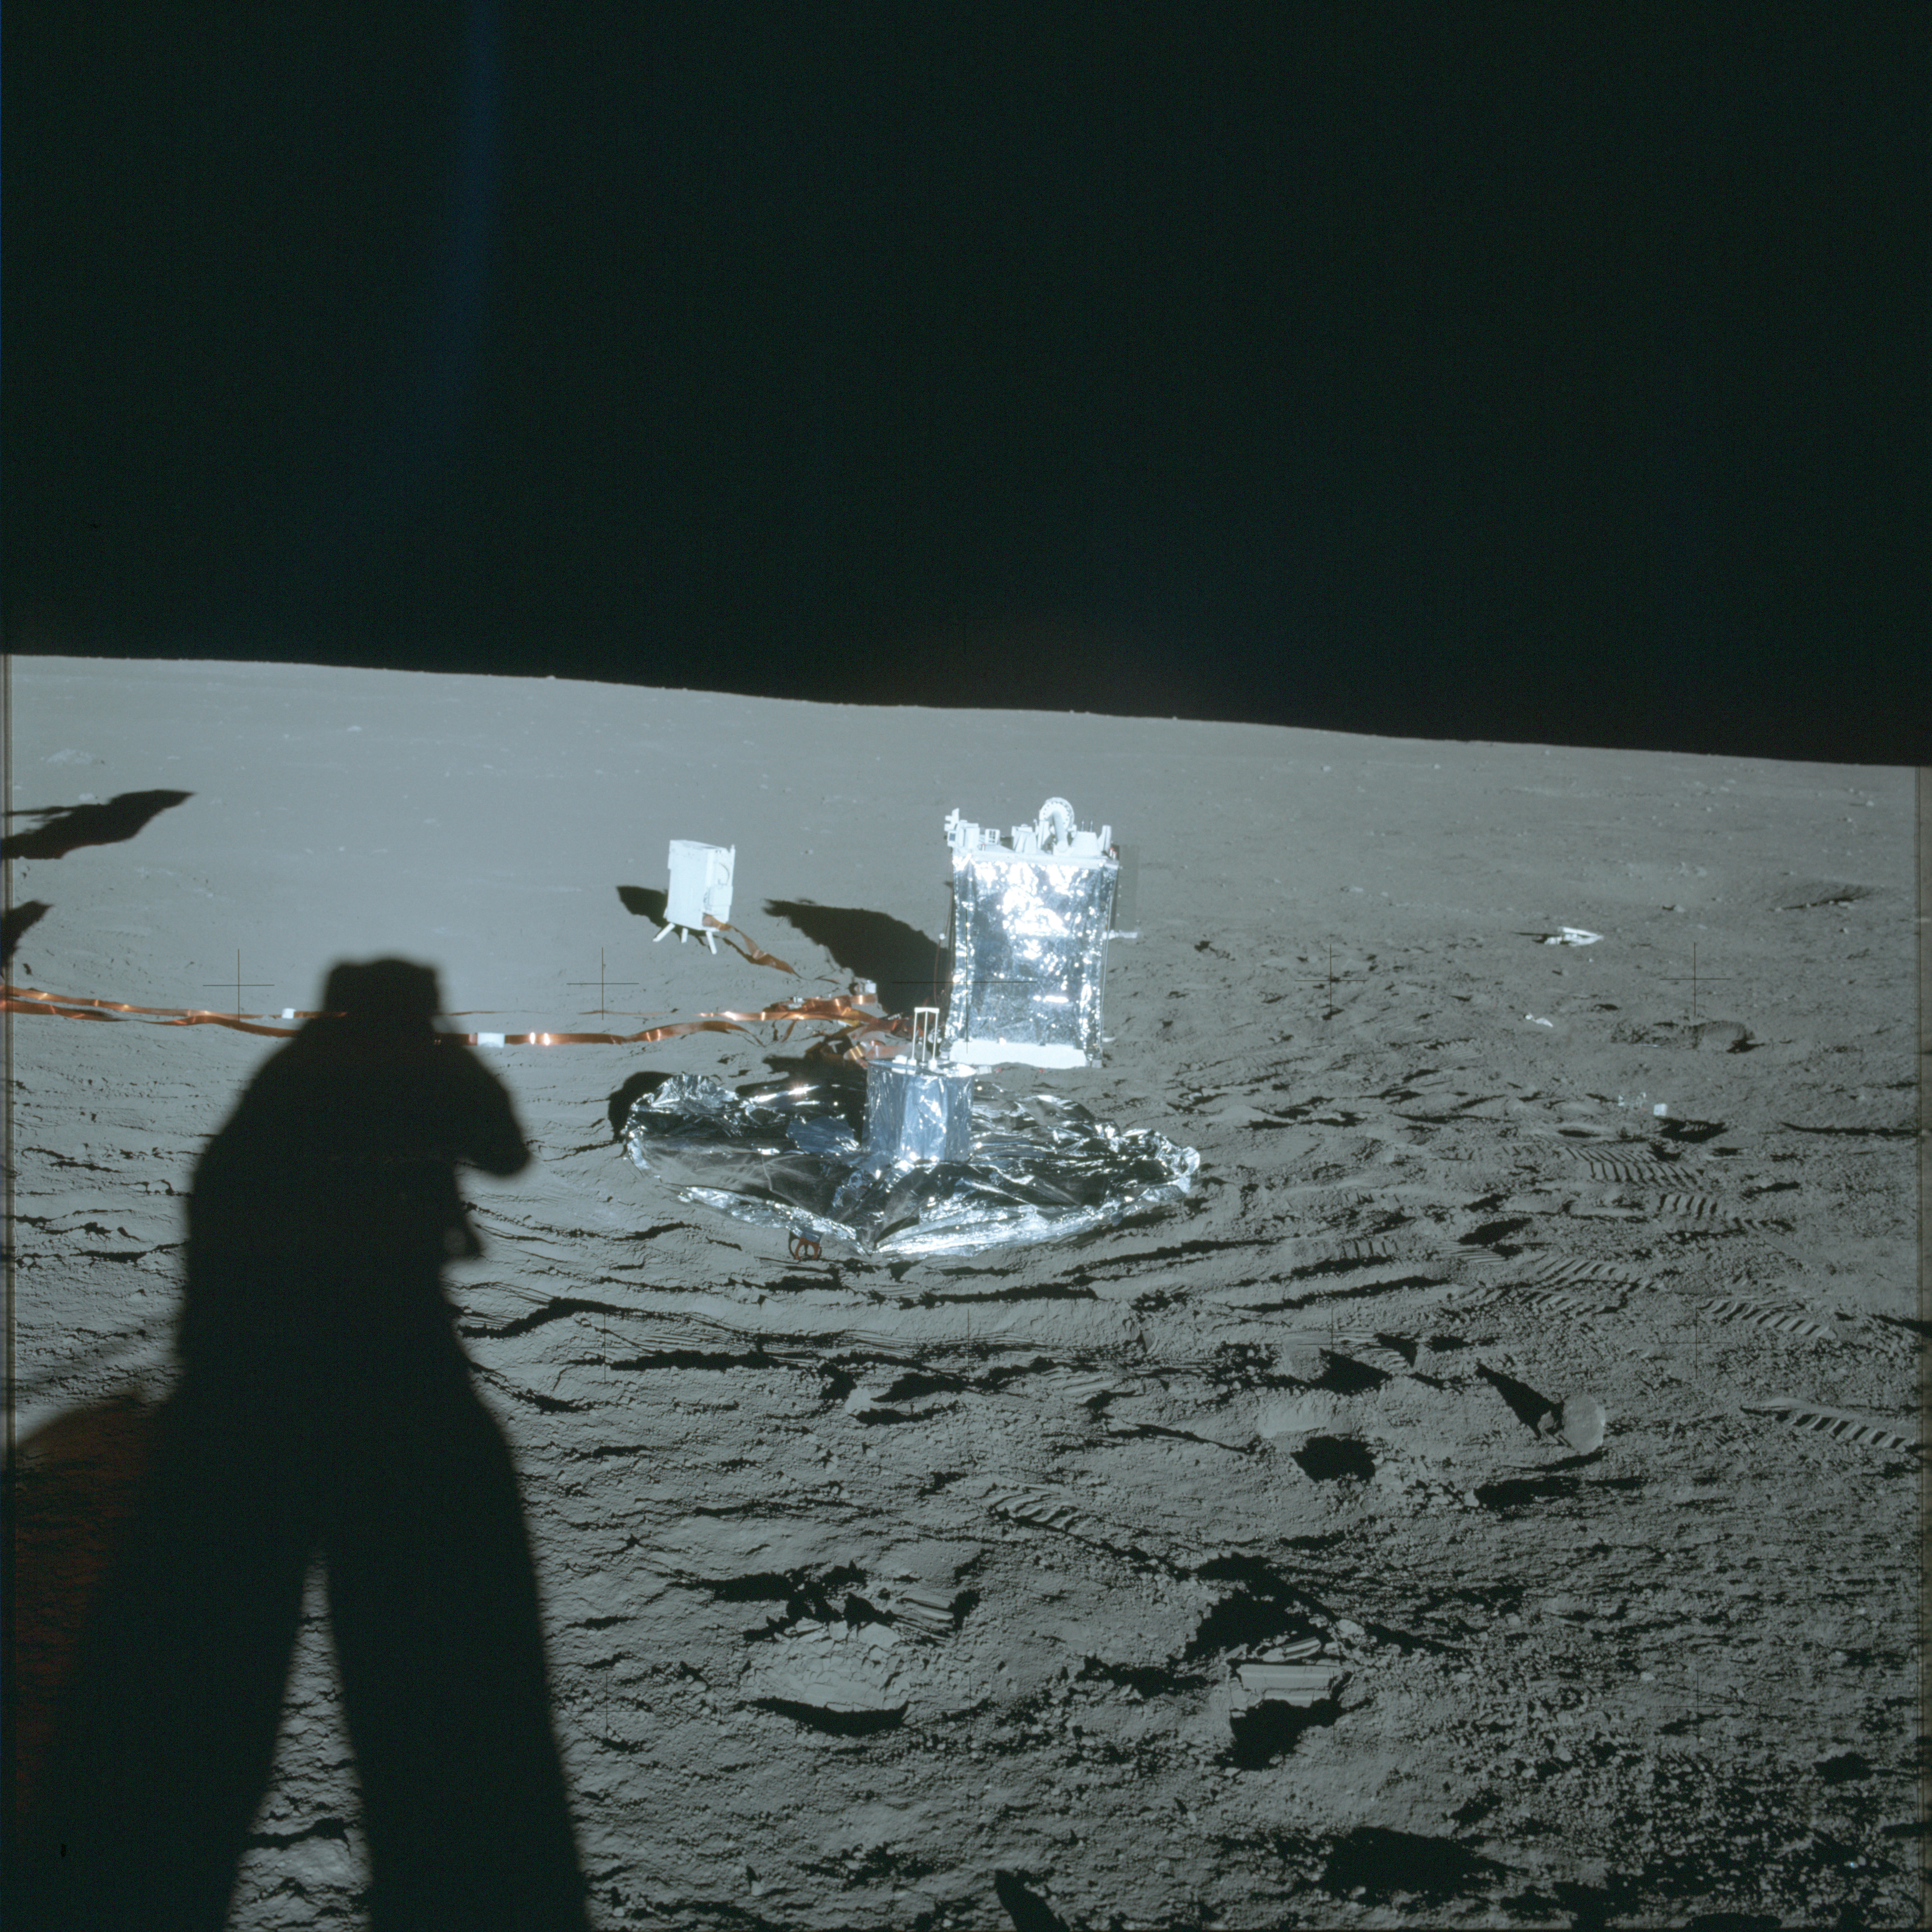
AS12-47-6917 Close up image of the deployed seismometer (Passive Seismic Experiment - PSE). Taken by Al Bean at about 117:30:24. Image credit: Image Science and Analysis Laboratory, NASA-Johnson Space Center |
 |
AS12-47-6918 Context image of the deployed seismometer (Passive Seismic Experiment - PSE). Taken by Al Bean at about 117:30:24. Image credit: Image Science and Analysis Laboratory, NASA-Johnson Space Center |
 |
AS12-47-6919 Pete Conrad at the ALSEP's Central Station releasing the antenna gimbal assembly. The magnetometer, which Al Bean will deploy next, is in the foreground. Al took this image at about 117:33:04 GET. Image credit: Image Science and Analysis Laboratory, NASA-Johnson Space Center |
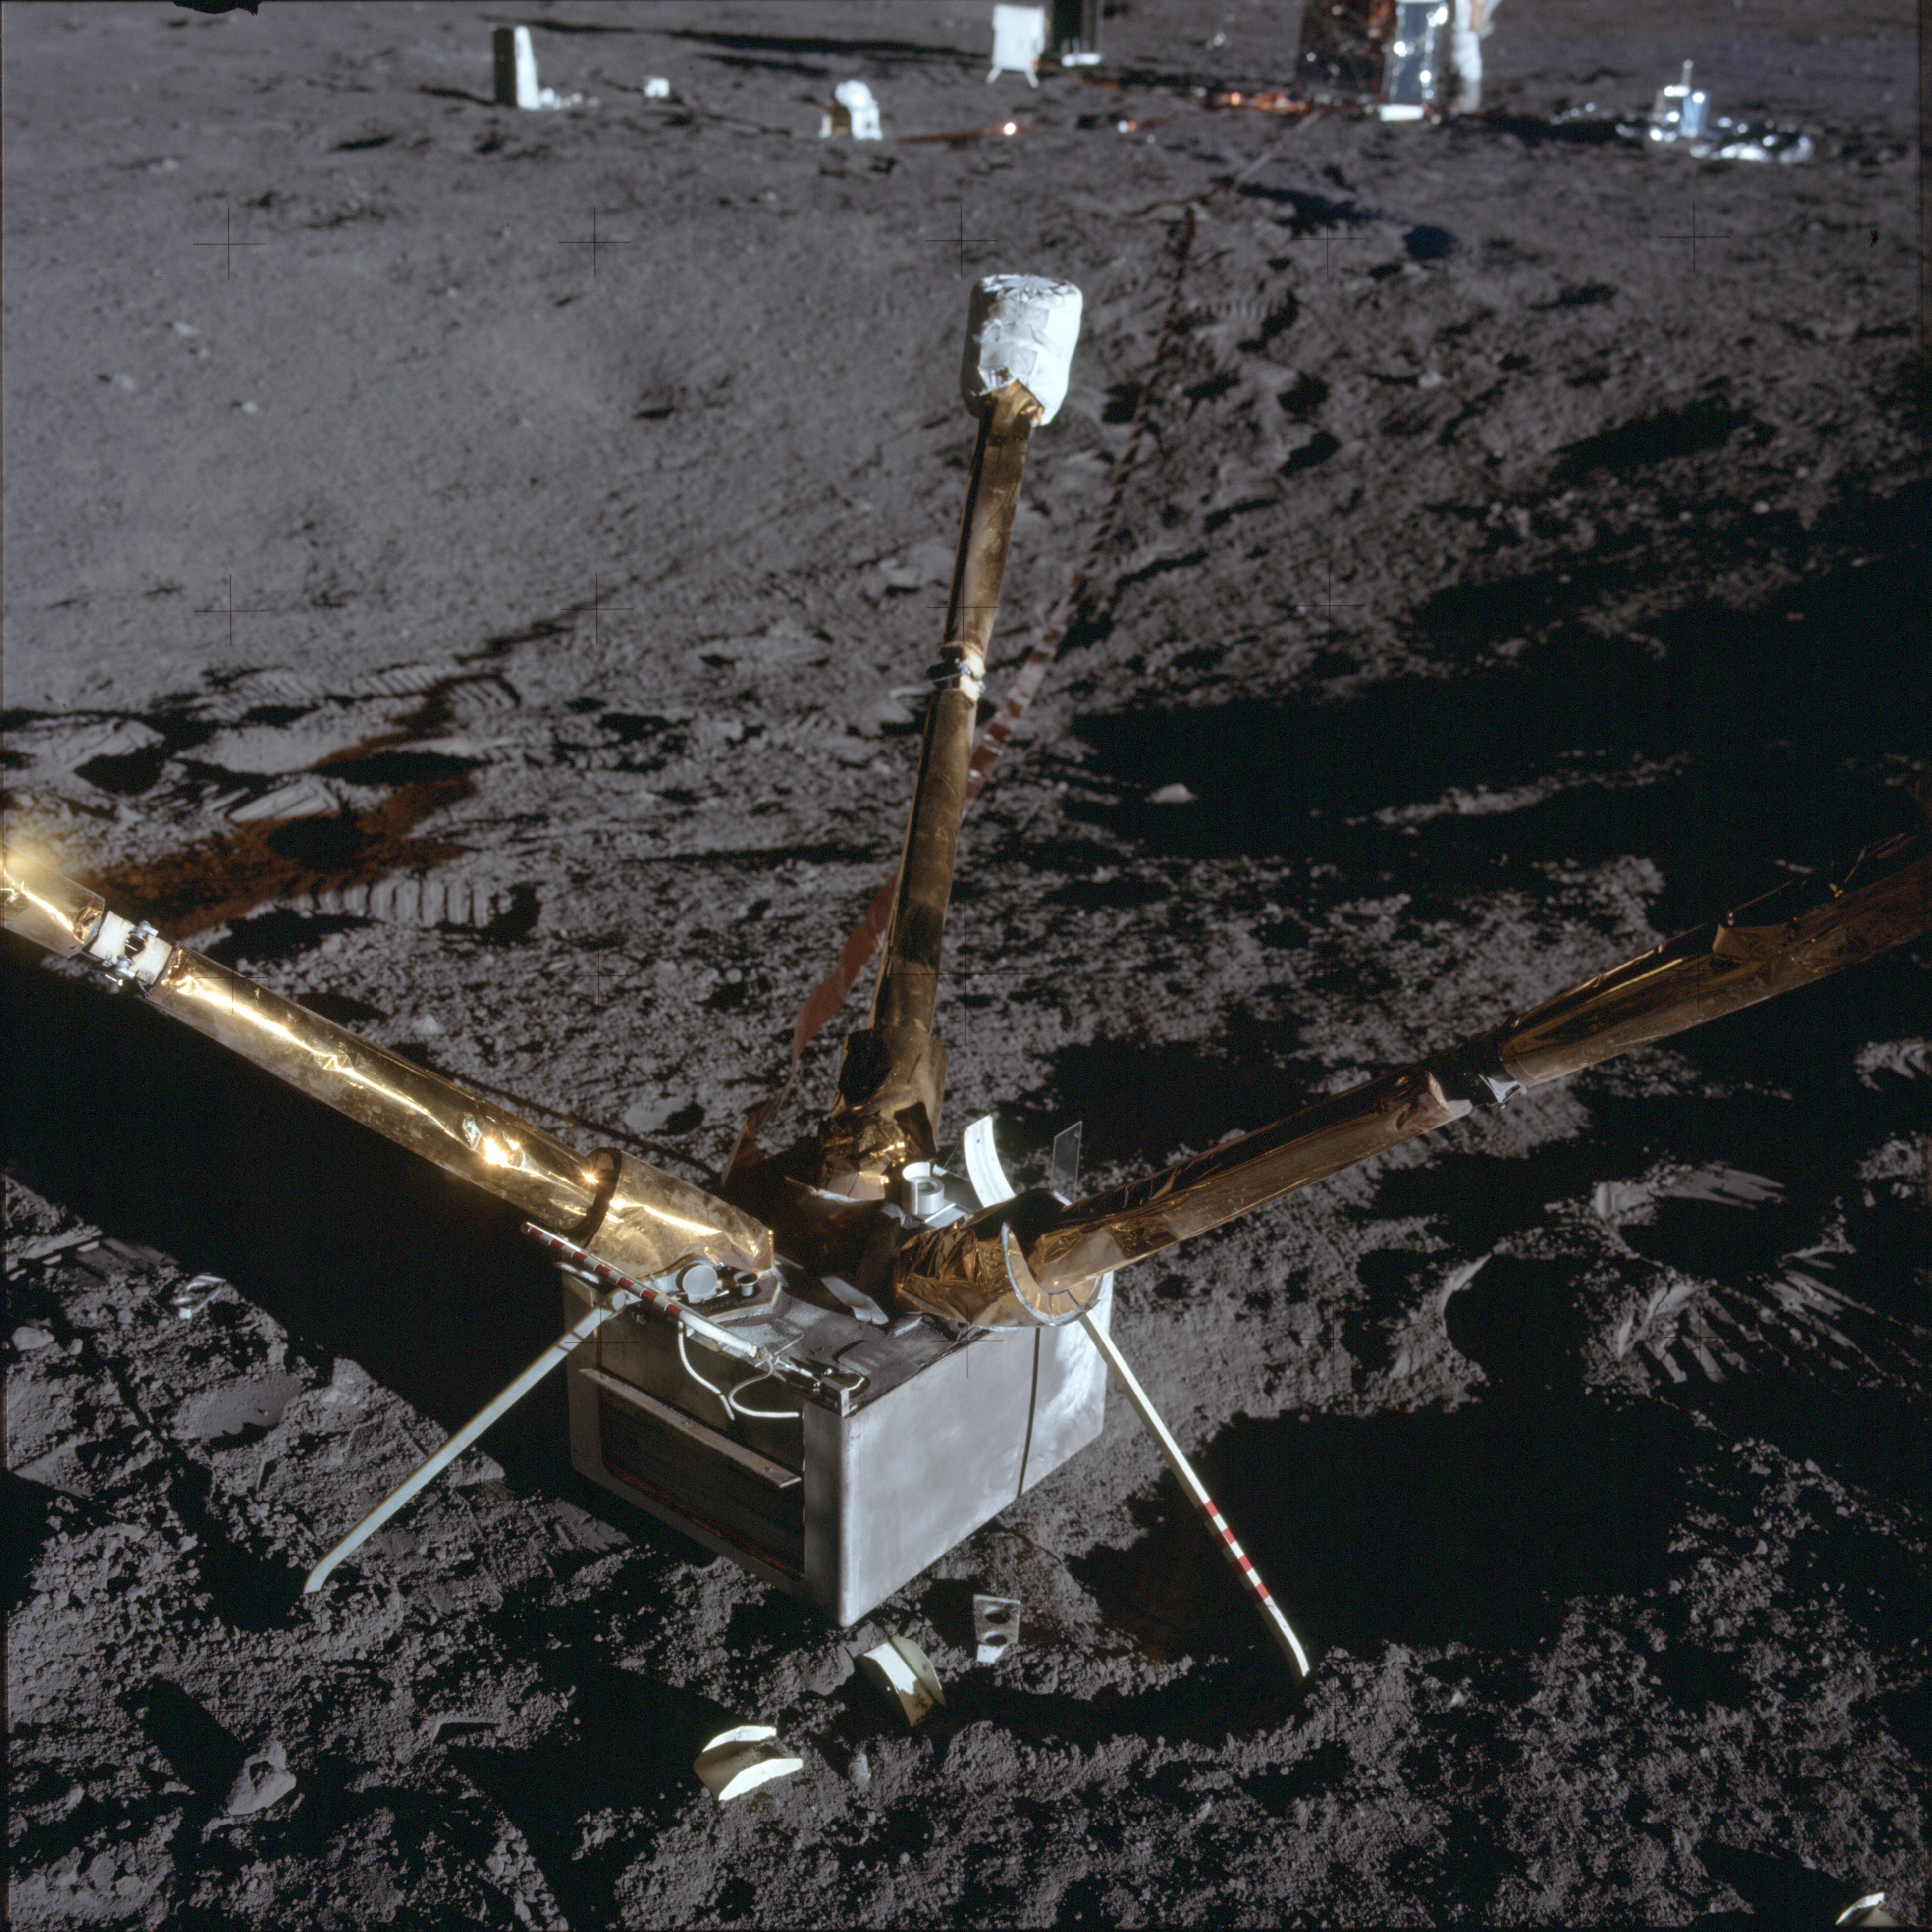 |
AS12-47-6920 Close up of the Lunar Surface Magnetometer after deployment. Image taken by Al Bean at about 117:41:00 GET. Image credit: Image Science and Analysis Laboratory, NASA-Johnson Space Center |
 |
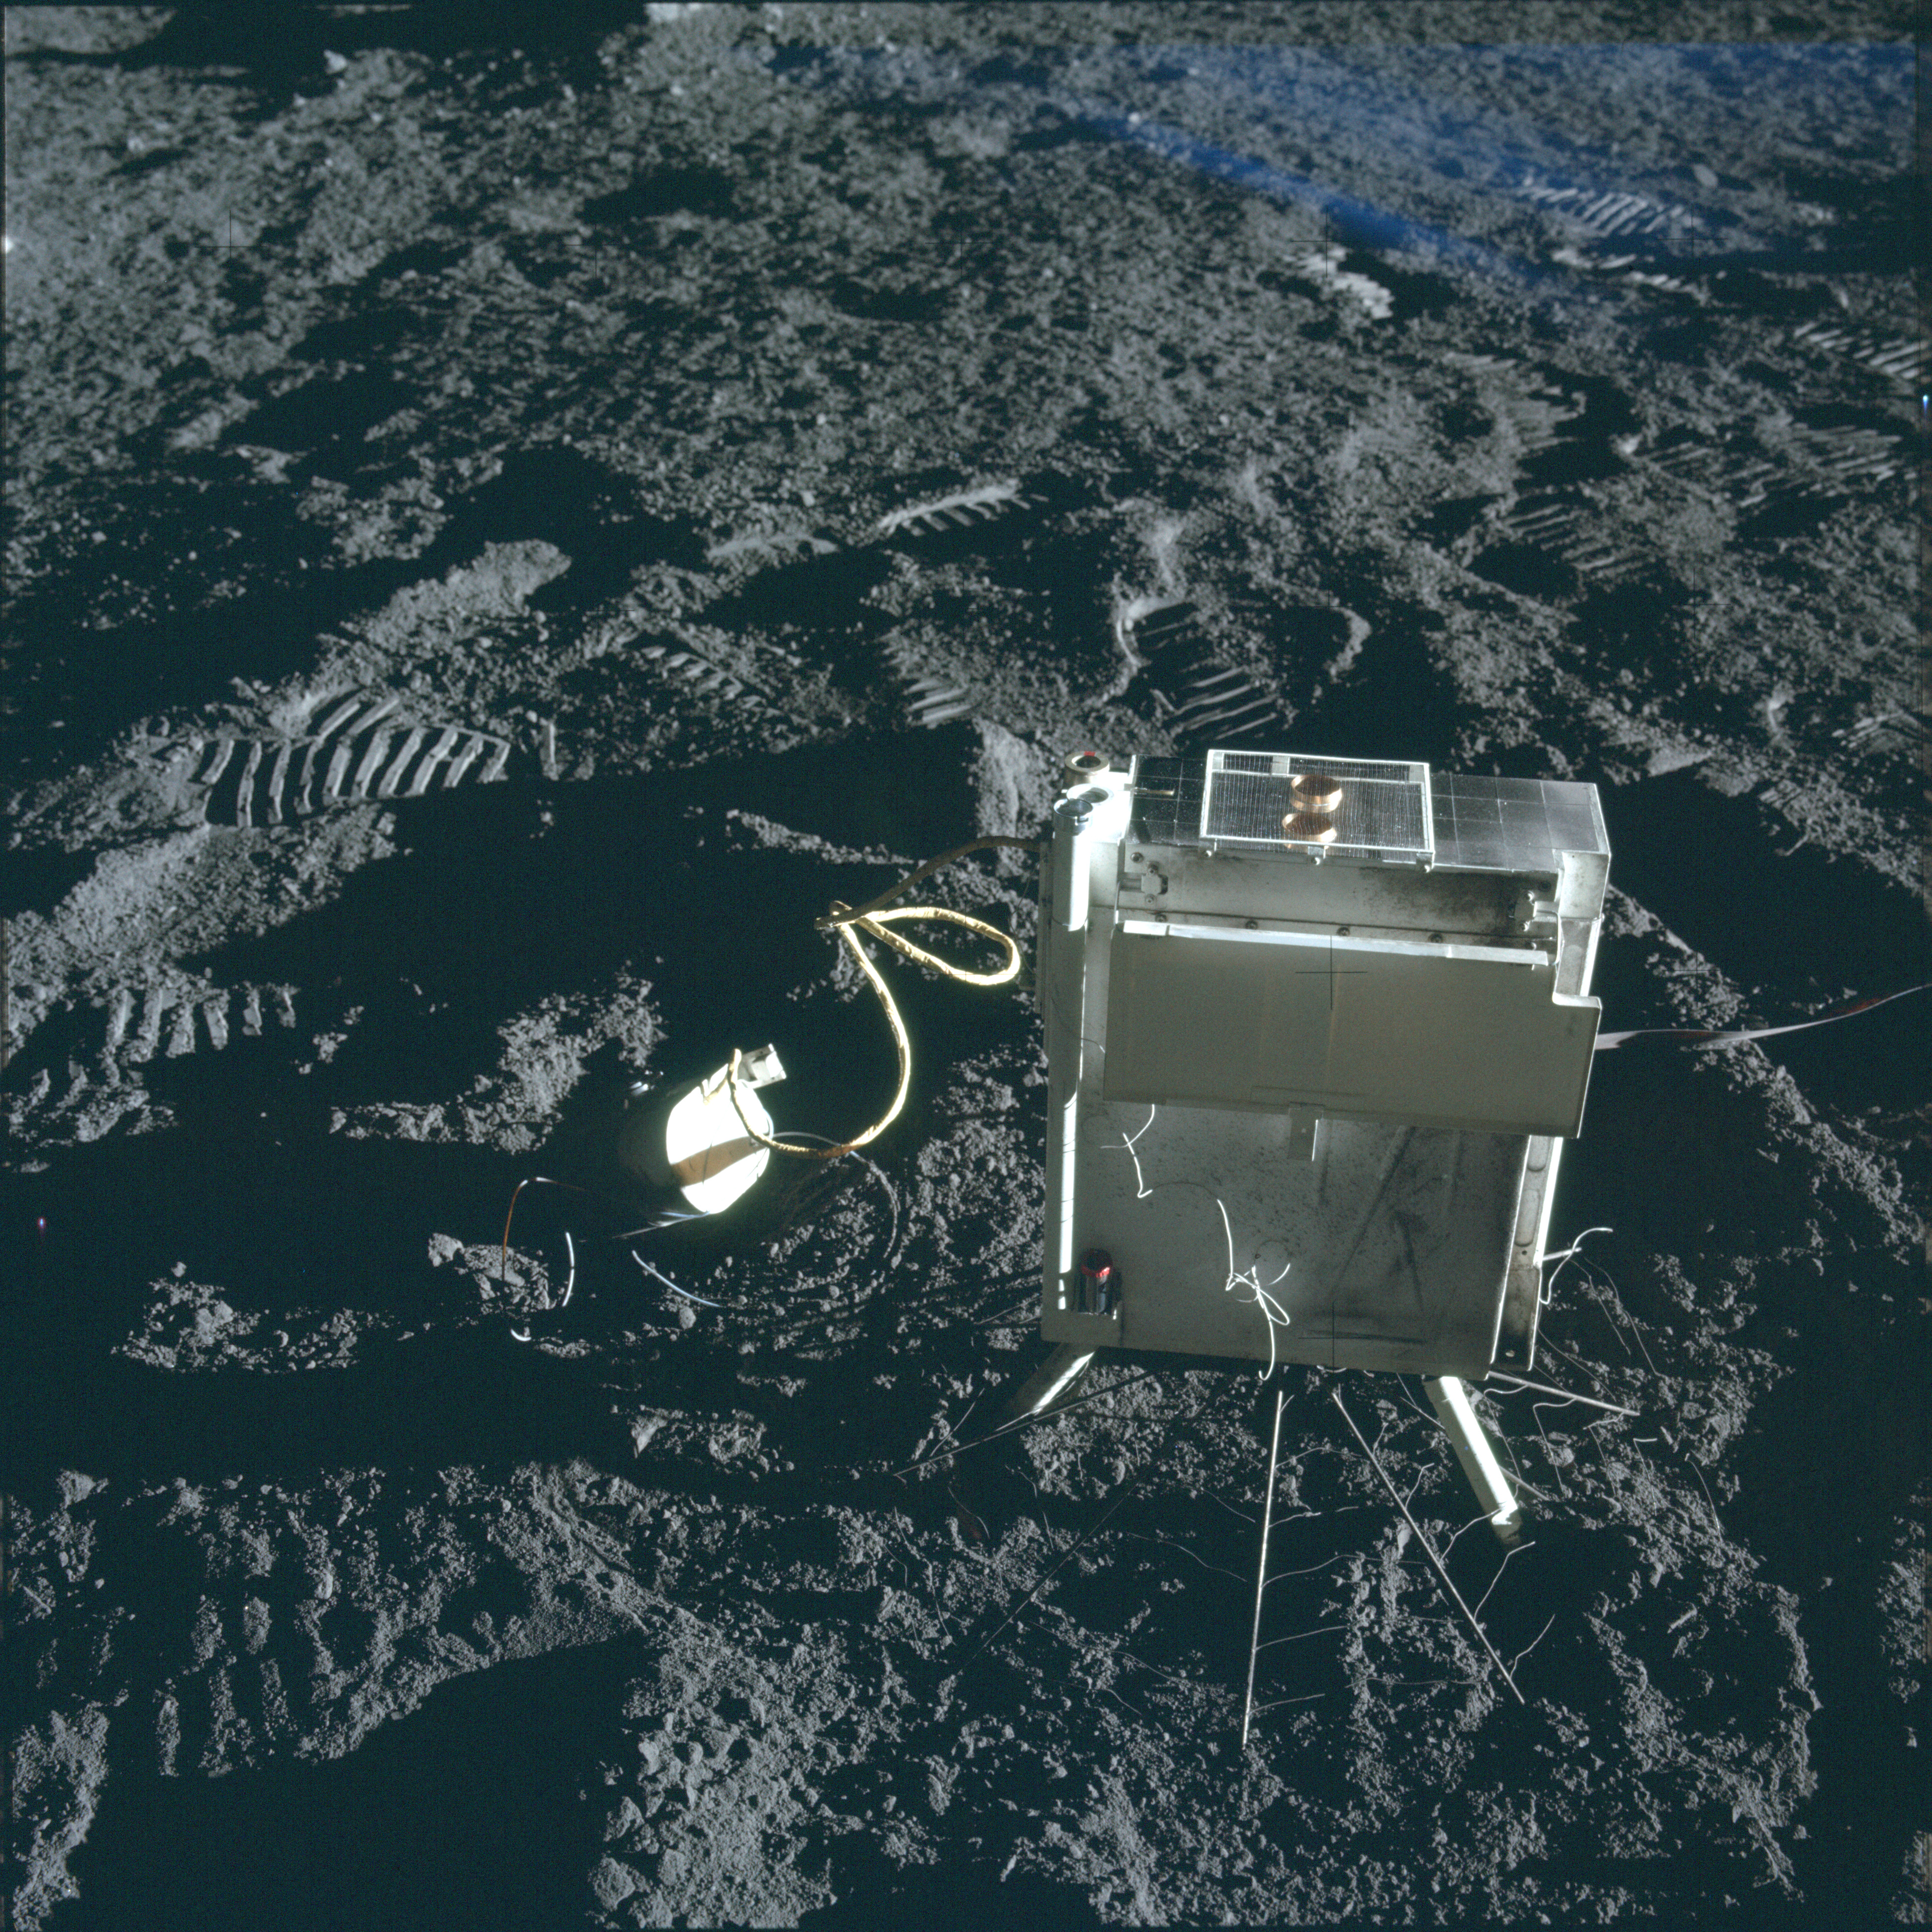
AS12-47-6921 Context image of the Lunar Surface Magnetometer after deployment. Image taken by Al Bean at about 117:41:00 GET. Image credit: Image Science and Analysis Laboratory, NASA-Johnson Space Center |
 |
AS12-47-6922 Close up of the CCIG (Cold Cathode Ion Gauge) and the SIDE (Suprathermal Ion Detection Equipment) after deployment. CCIG is the small istrument to the left of the box-like SIDE. Image taken by Al Bean at about 117:56:42 GET. Image credit: Image Science and Analysis Laboratory, NASA-Johnson Space Center |
 |
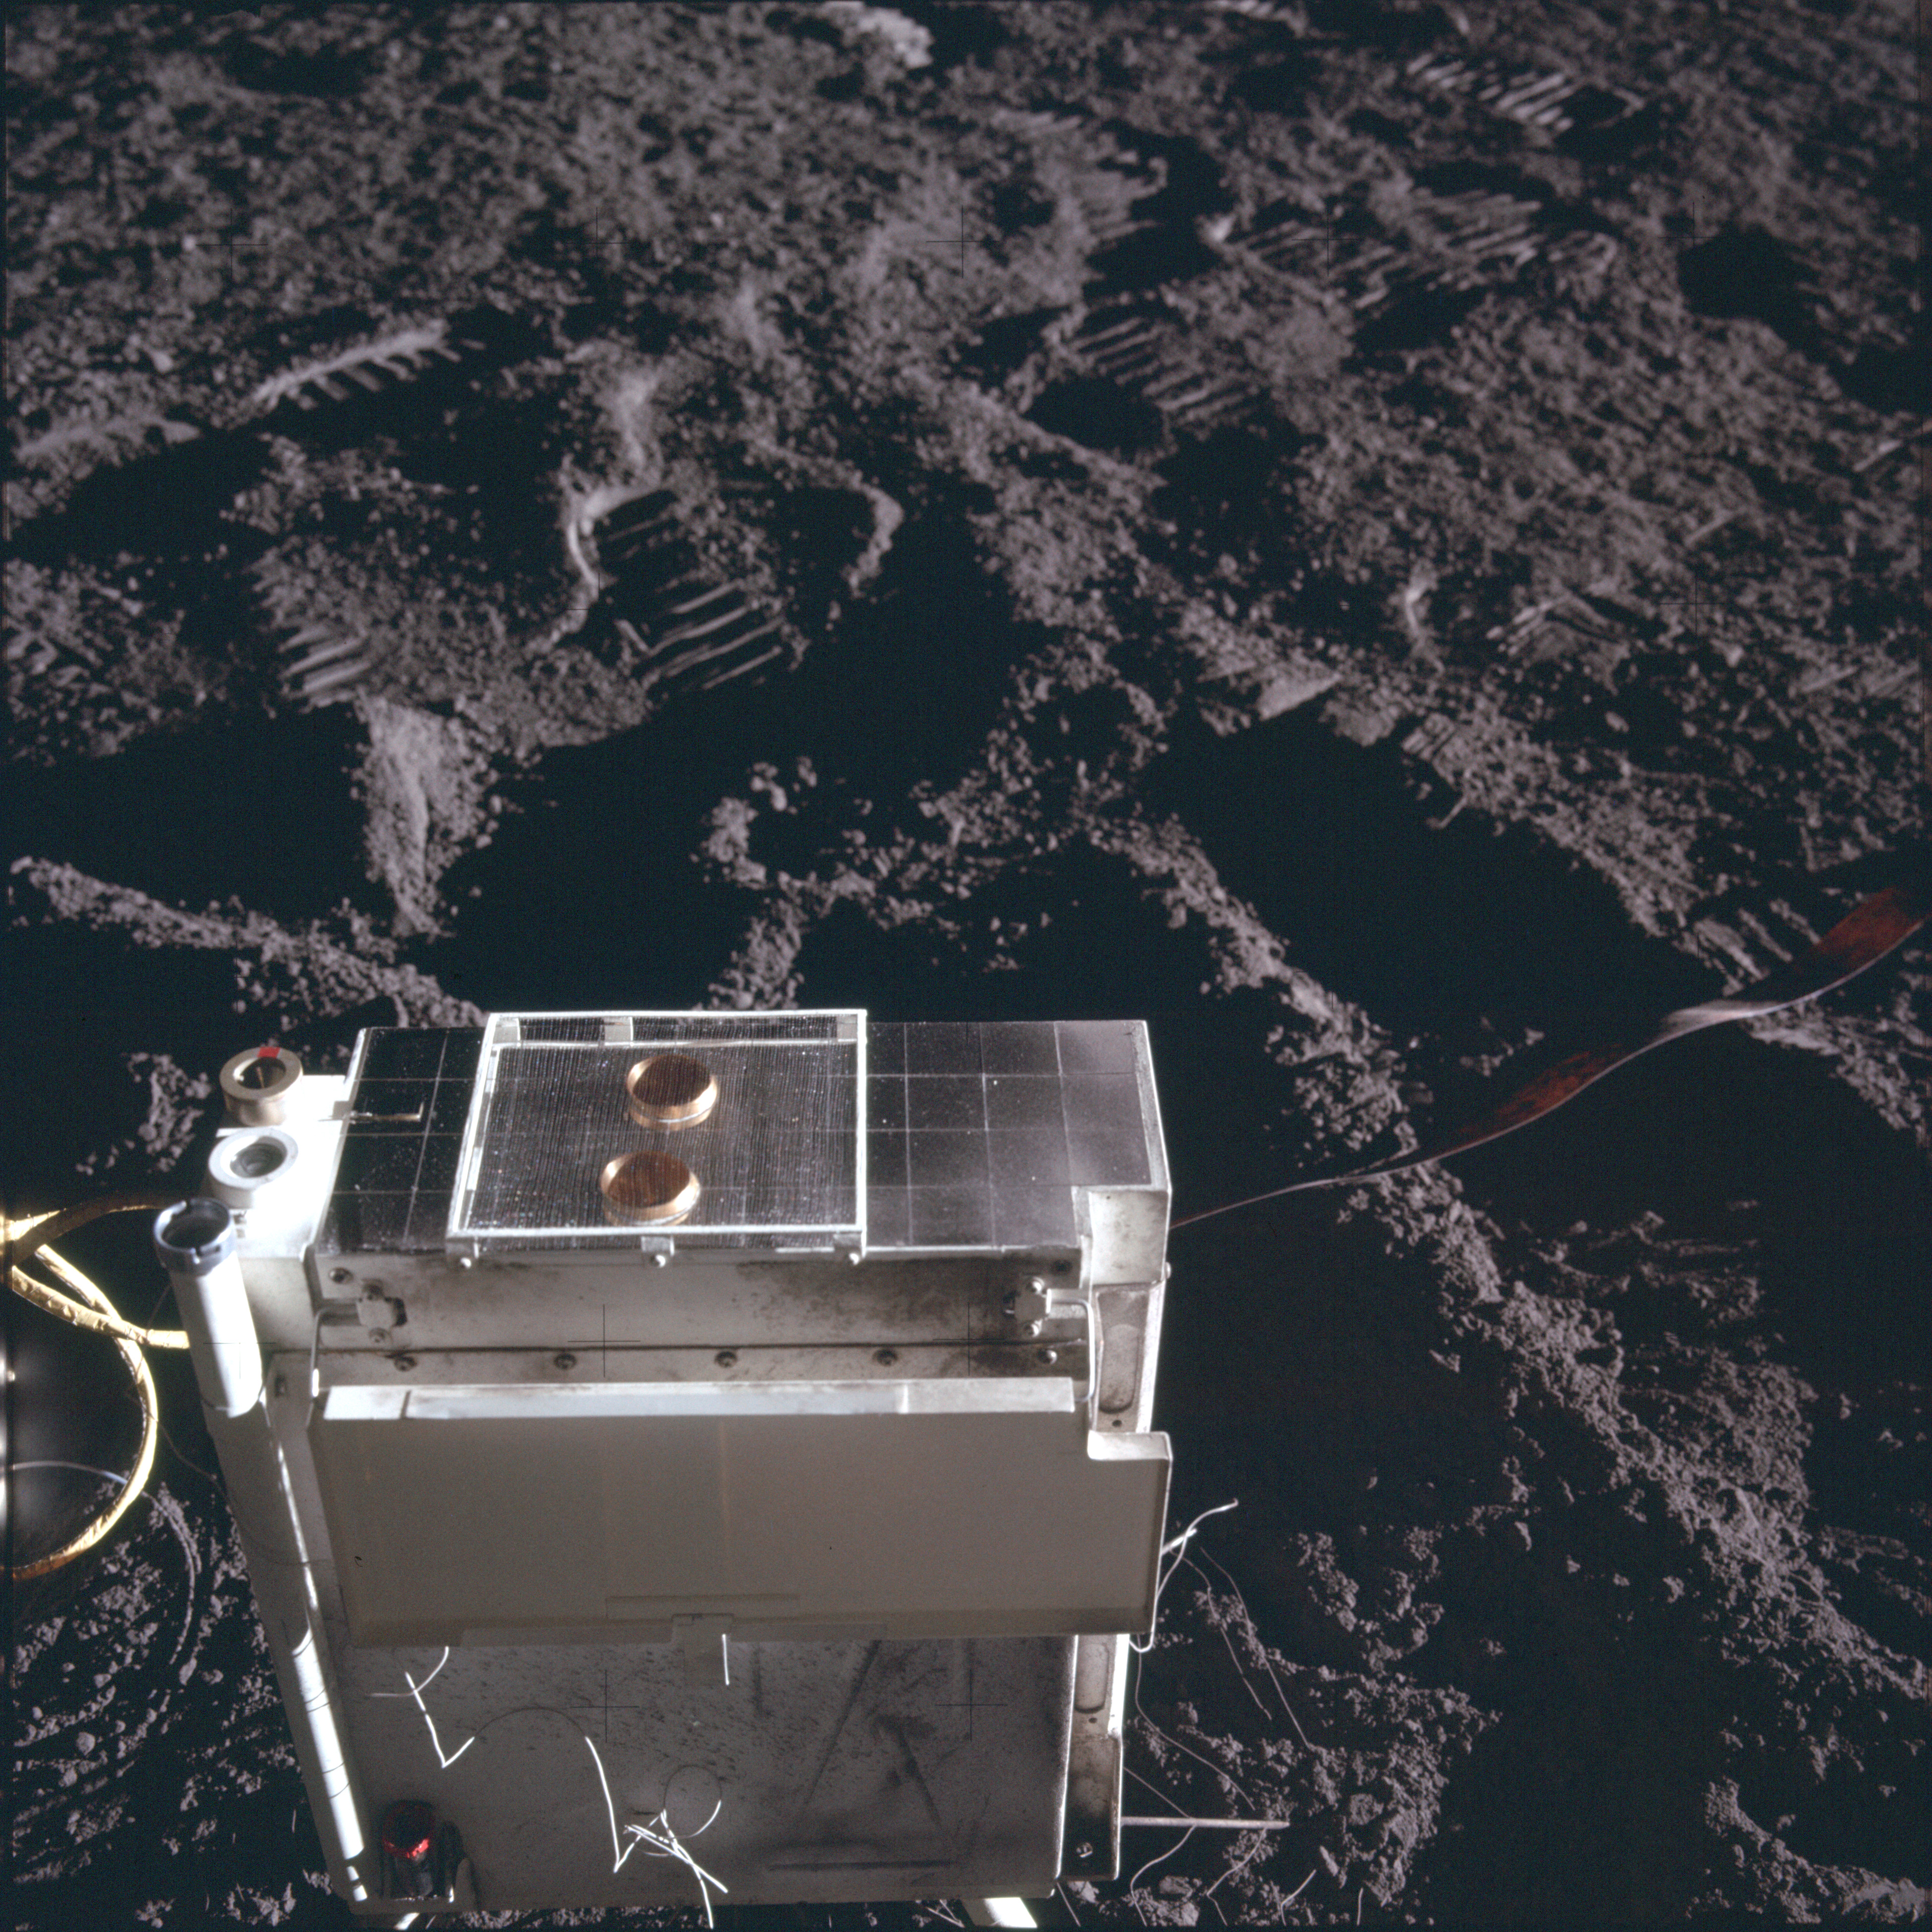
AS12-47-6923 Close up of the CCIG (Cold Cathode Ion Gauge - the small imstrument in the centre of the image) after deployment. Image taken by Al Bean at about 117:56:42 GET. Image credit: Image Science and Analysis Laboratory, NASA-Johnson Space Center |
 |
AS12-47-6924 Close up image of the top of SIDE (Suprathermal Ion Detection Equipment) after deployment. Image taken by Al Bean at about 117:56:53 GET. Image credit: Image Science and Analysis Laboratory, NASA-Johnson Space Center |
 |
AS12-47-6925 Close up of the top of the ALSEP Central Station and the S-band antenna. Just beyond is the Solar Wind Spectrometer (SWS). Image taken by Al Bean at about 118:04:00 GET. Image credit: Image Science and Analysis Laboratory, NASA-Johnson Space Center |
 |
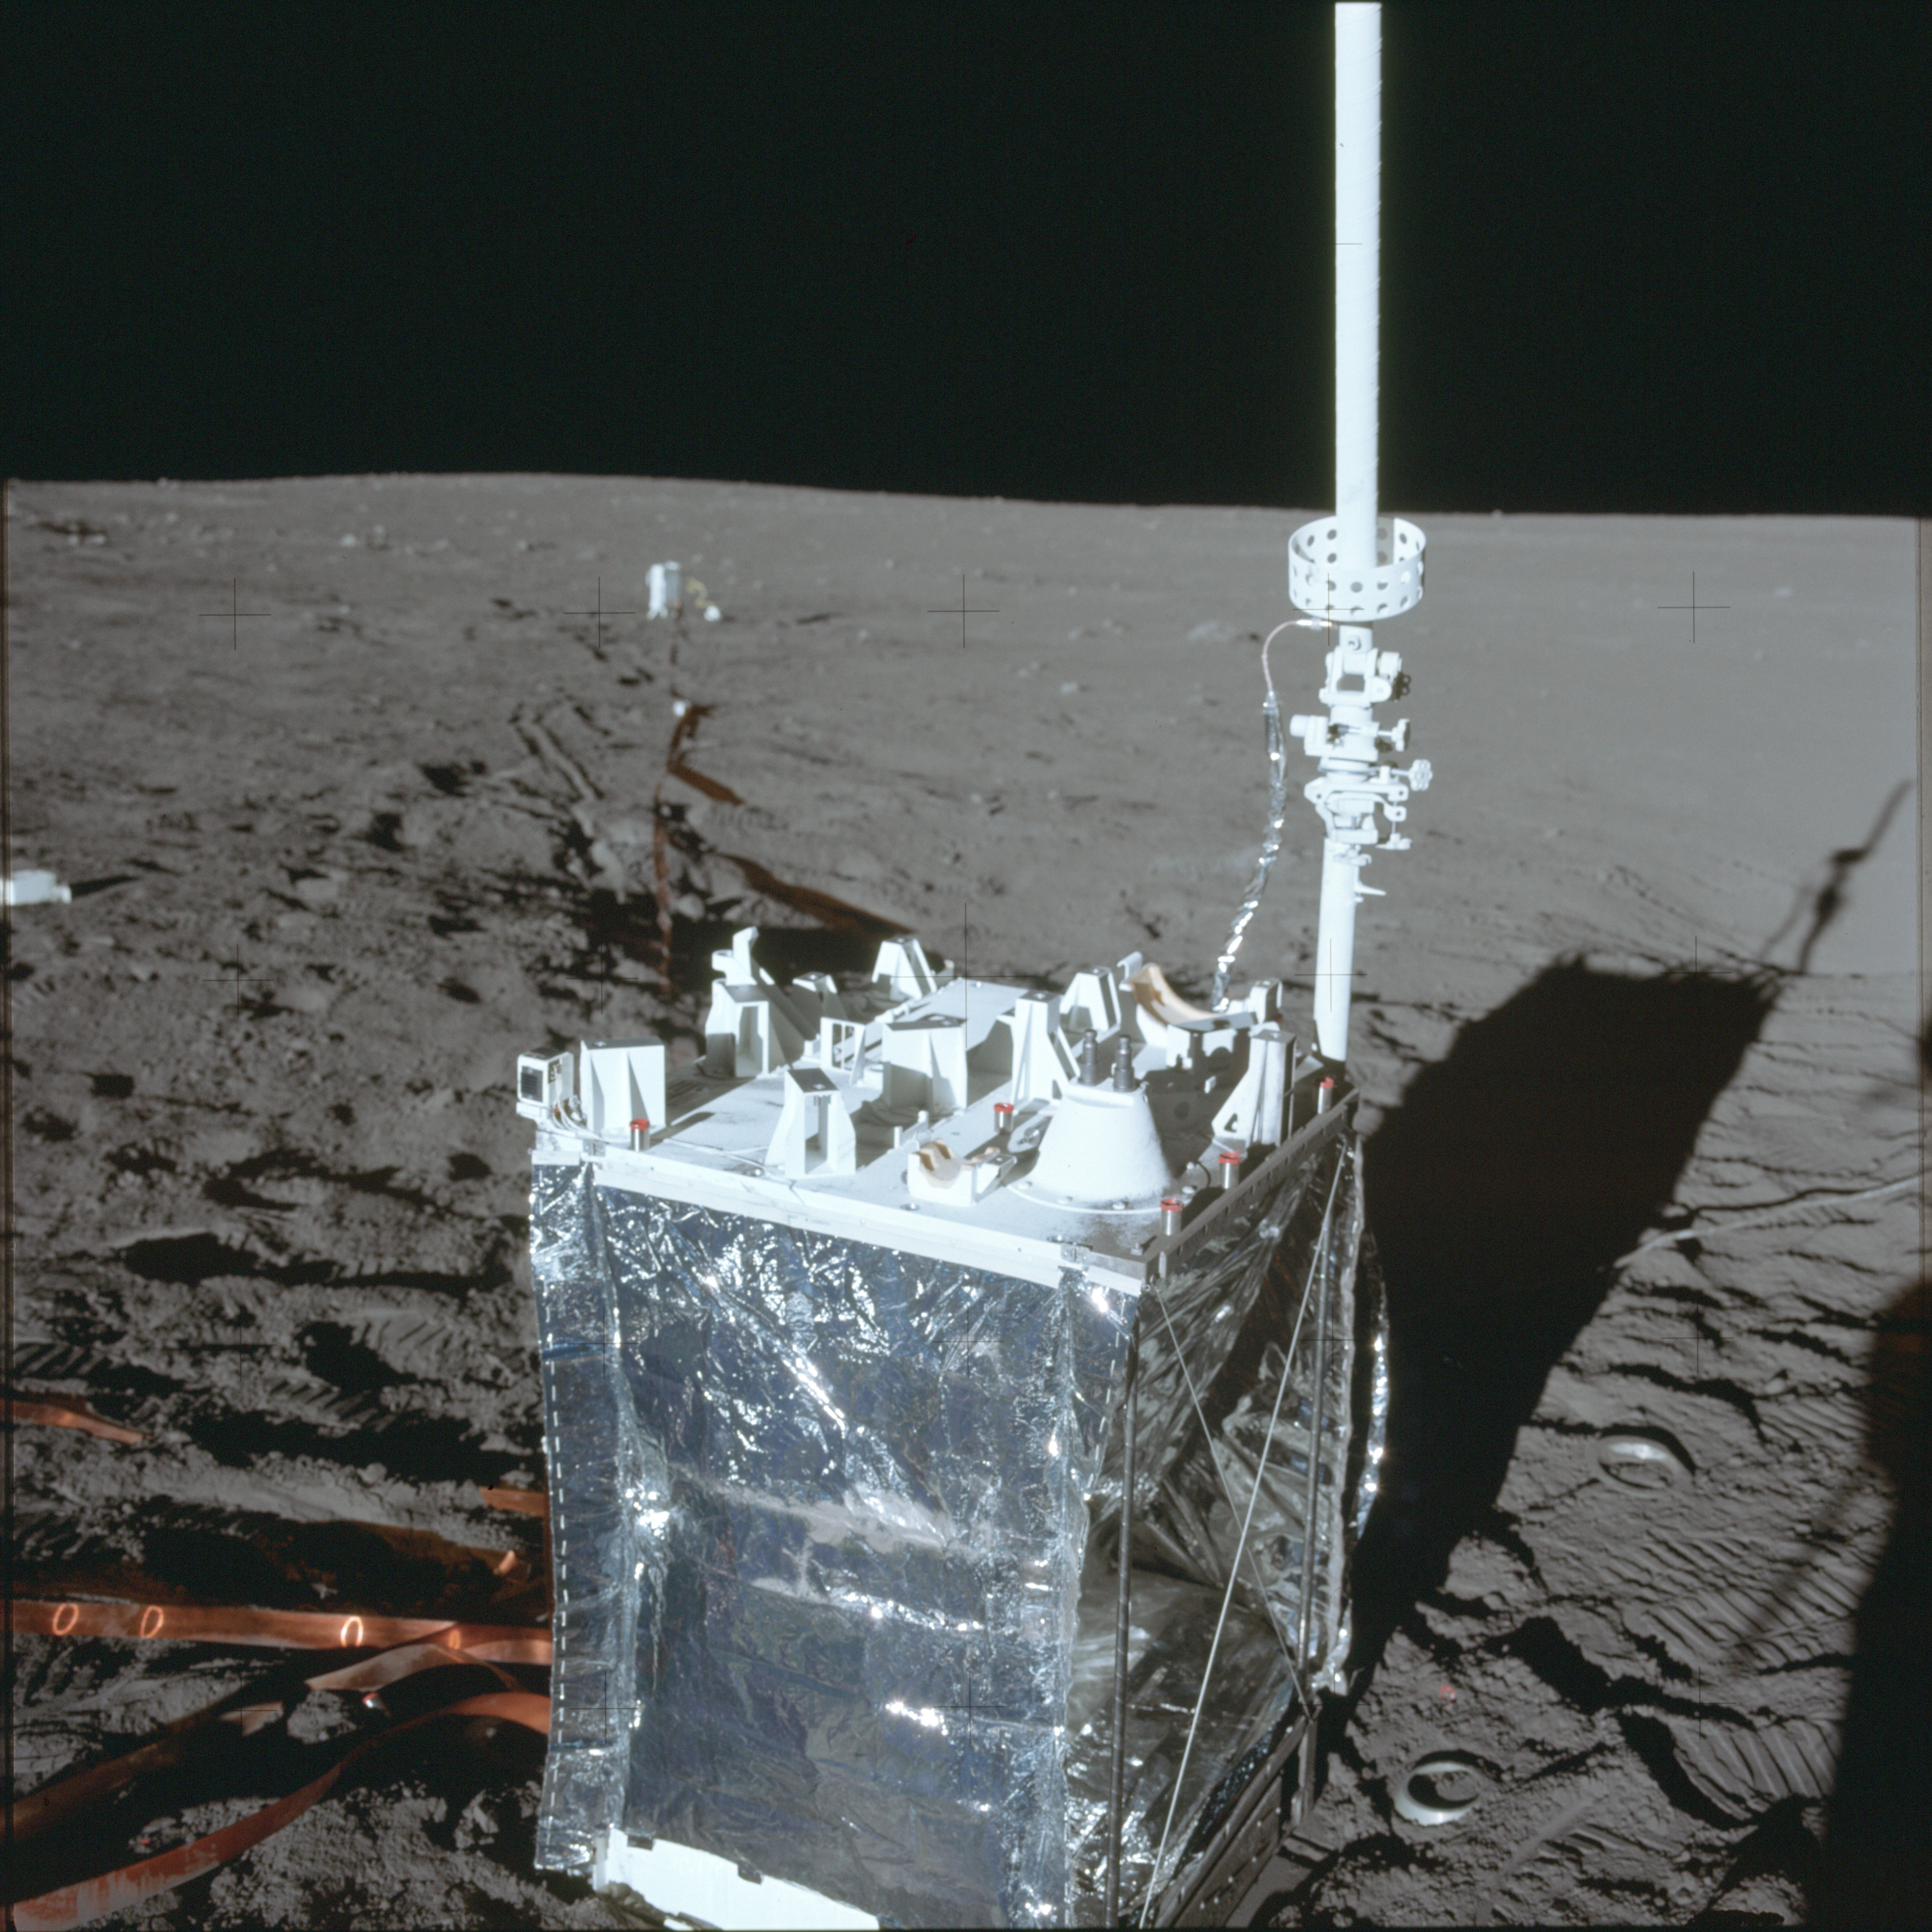
AS12-47-6926 Close up of the ALSEP Central Station and the S-band antenna. Just beyond is the Solar Wind Spectrometer (SWS). Image taken by Al Bean at about 118:04:00 GET. Image credit: Image Science and Analysis Laboratory, NASA-Johnson Space Center |
 |
AS12-47-6927 Close up of the ALSEP Central Station and the S-band antenna. Image taken by Al Bean at about 118:04:00 GET. Image credit: Image Science and Analysis Laboratory, NASA-Johnson Space Center |
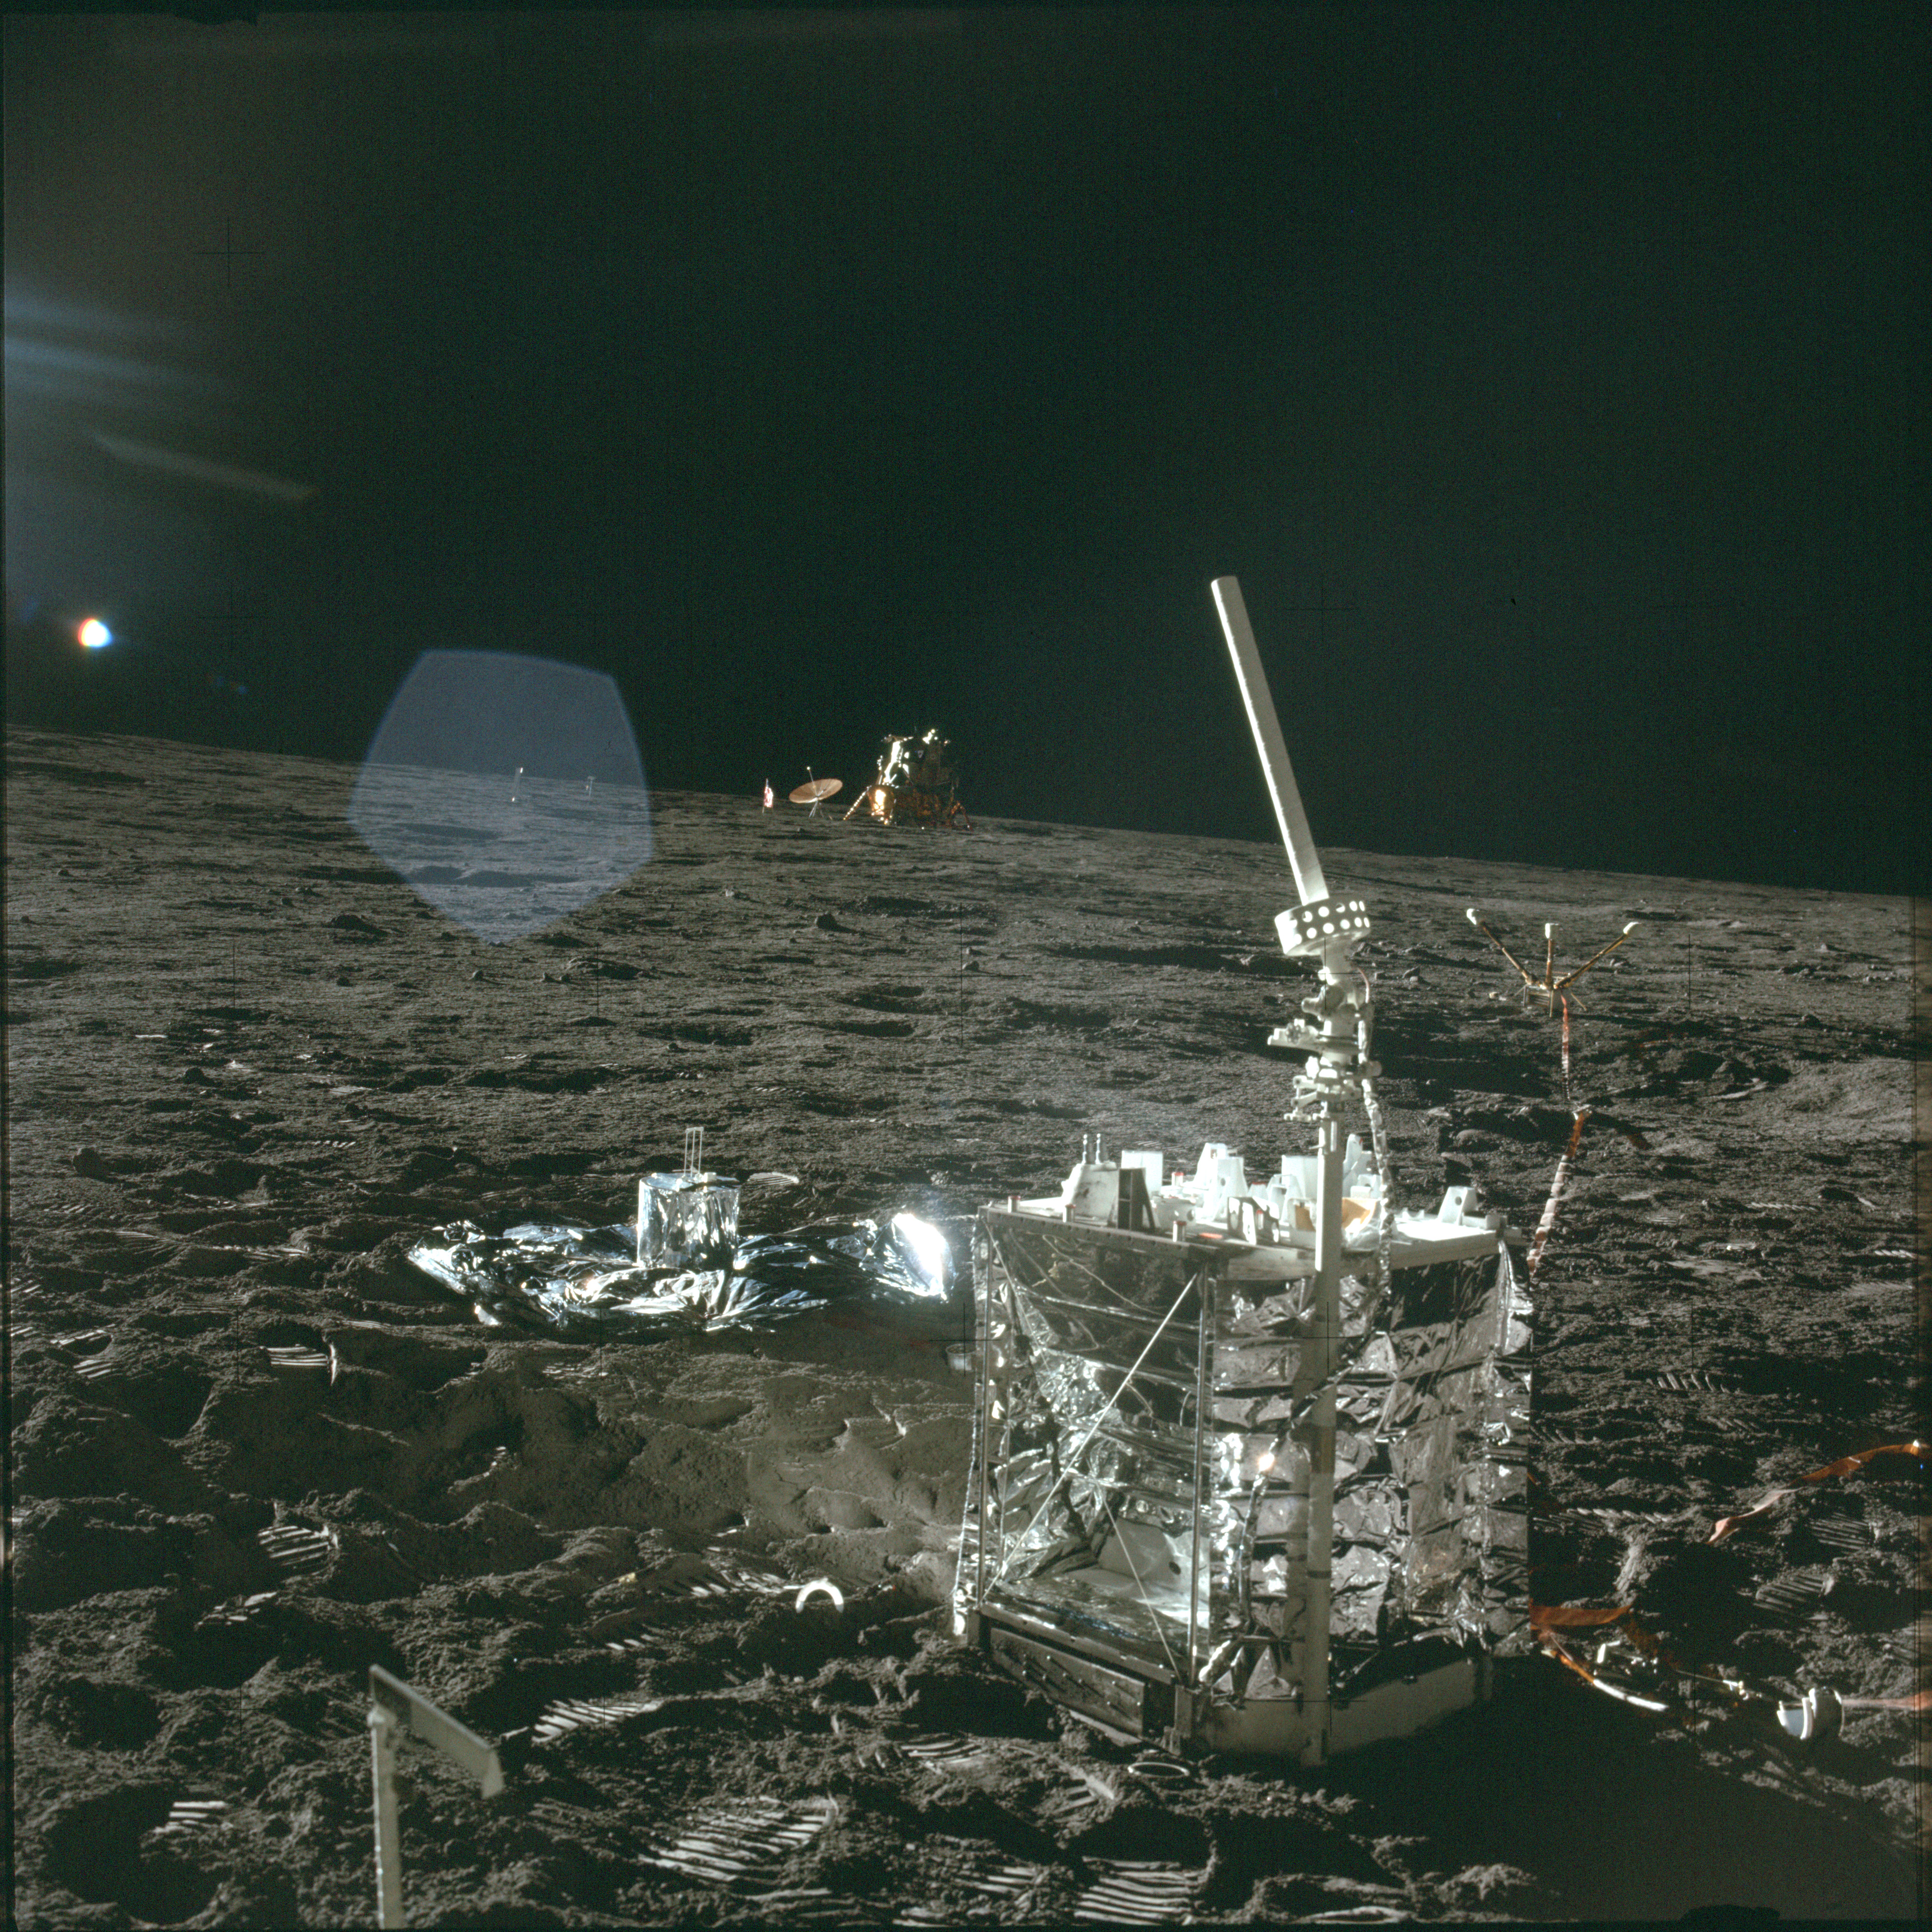 |
AS12-47-6928 Close up of the ALSEP Central Station and the S-band antenna. Just beyond and to its left is the seismometer. On the right is the magnetometer and in the distance are the solar wind experiment, the deployed main S-band antenna and the LM. Image taken by Al Bean at about 118:04:00 GET. Image credit: Image Science and Analysis Laboratory, NASA-Johnson Space Center |
 |
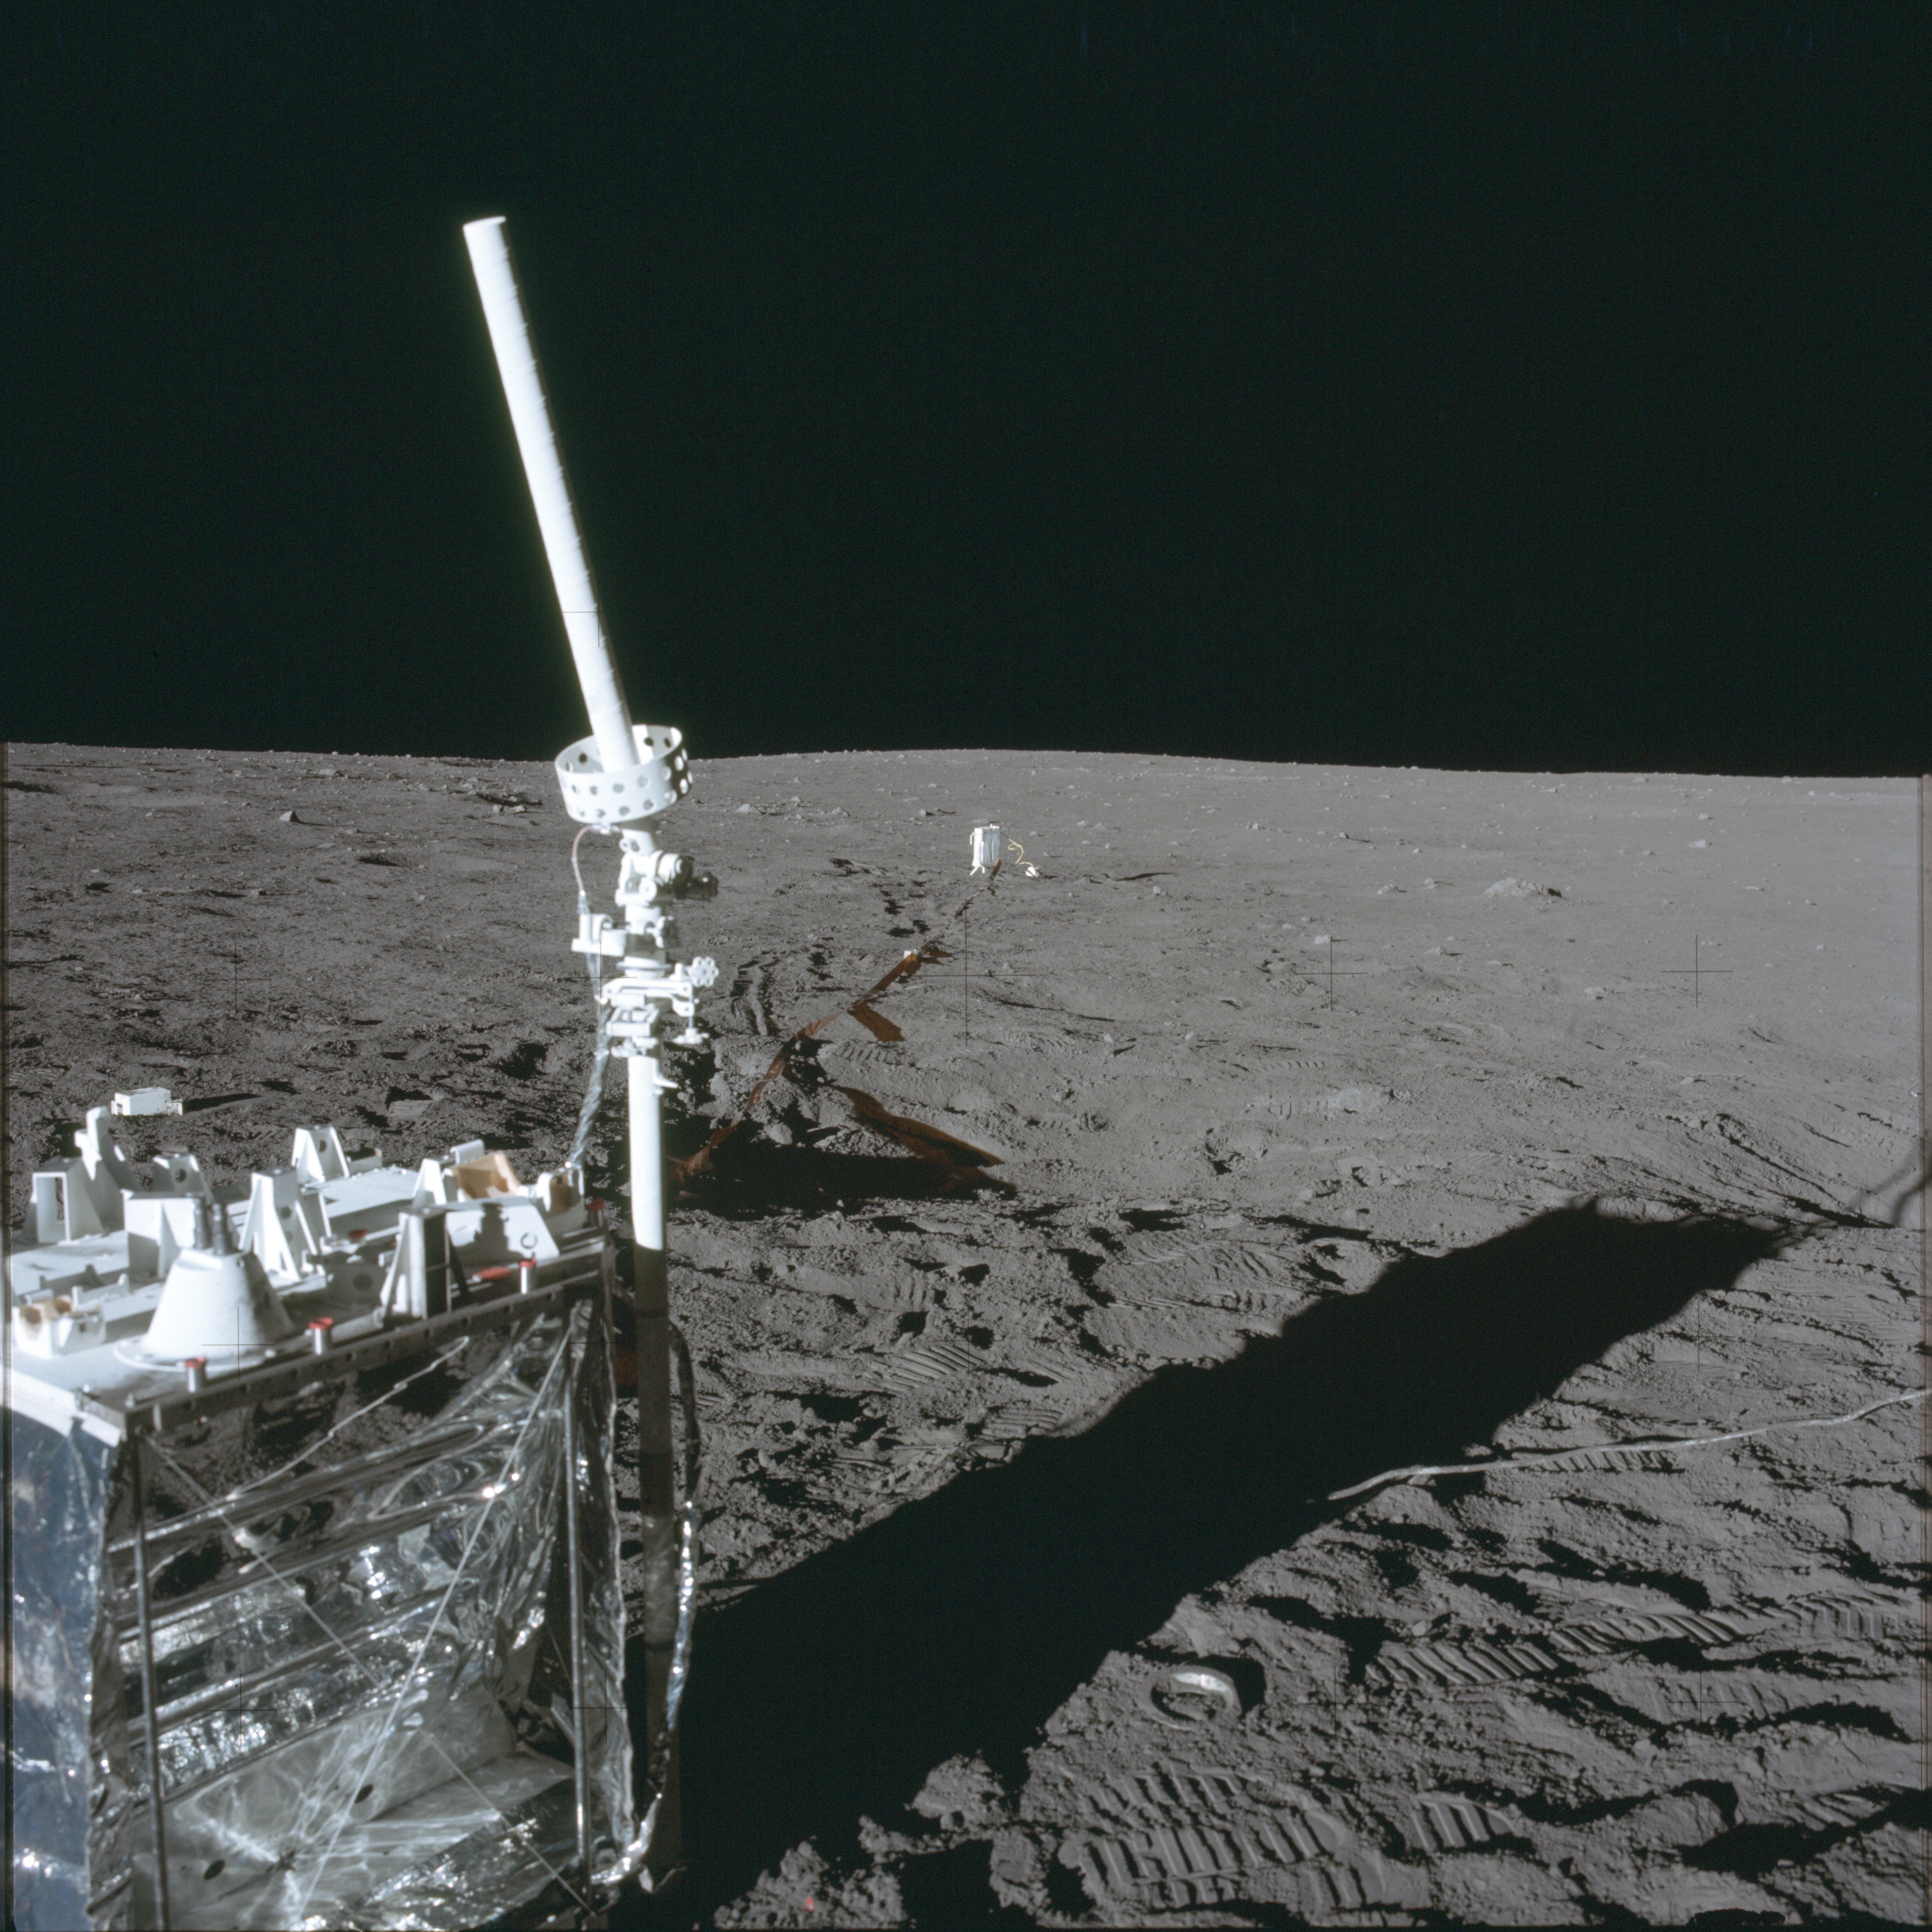
AS12-47-6929 Close up of the ALSEP Central Station and the S-band antenna. Just beyond is the Solar Wind Spectrometer (SWS). Image taken by Al Bean at about 118:04:00 GET. Image credit: Image Science and Analysis Laboratory, NASA-Johnson Space Center |
 |
AS12-47-6930 Close up of the ALSEP Central Station and the S-band antenna. In the distance is the SIDE and CCIG. Image taken by Al Bean at about 118:04:00 GET. Image credit: Image Science and Analysis Laboratory, NASA-Johnson Space Center |
 |
AS12-47-6931 Image of the ALSEP layout showing the seismometer near right and the magnetometer. Image taken by Al Bean at about 118:04:00 GET. Image credit: Image Science and Analysis Laboratory, NASA-Johnson Space Center |
 |
AS12-47-6932 Cross-Sun pre-sampling image taken by Al Bean at about 118:08:16 GET. Pete Conrads legs and sampling tongs are visible. Image credit: Image Science and Analysis Laboratory, NASA-Johnson Space Center |
 |
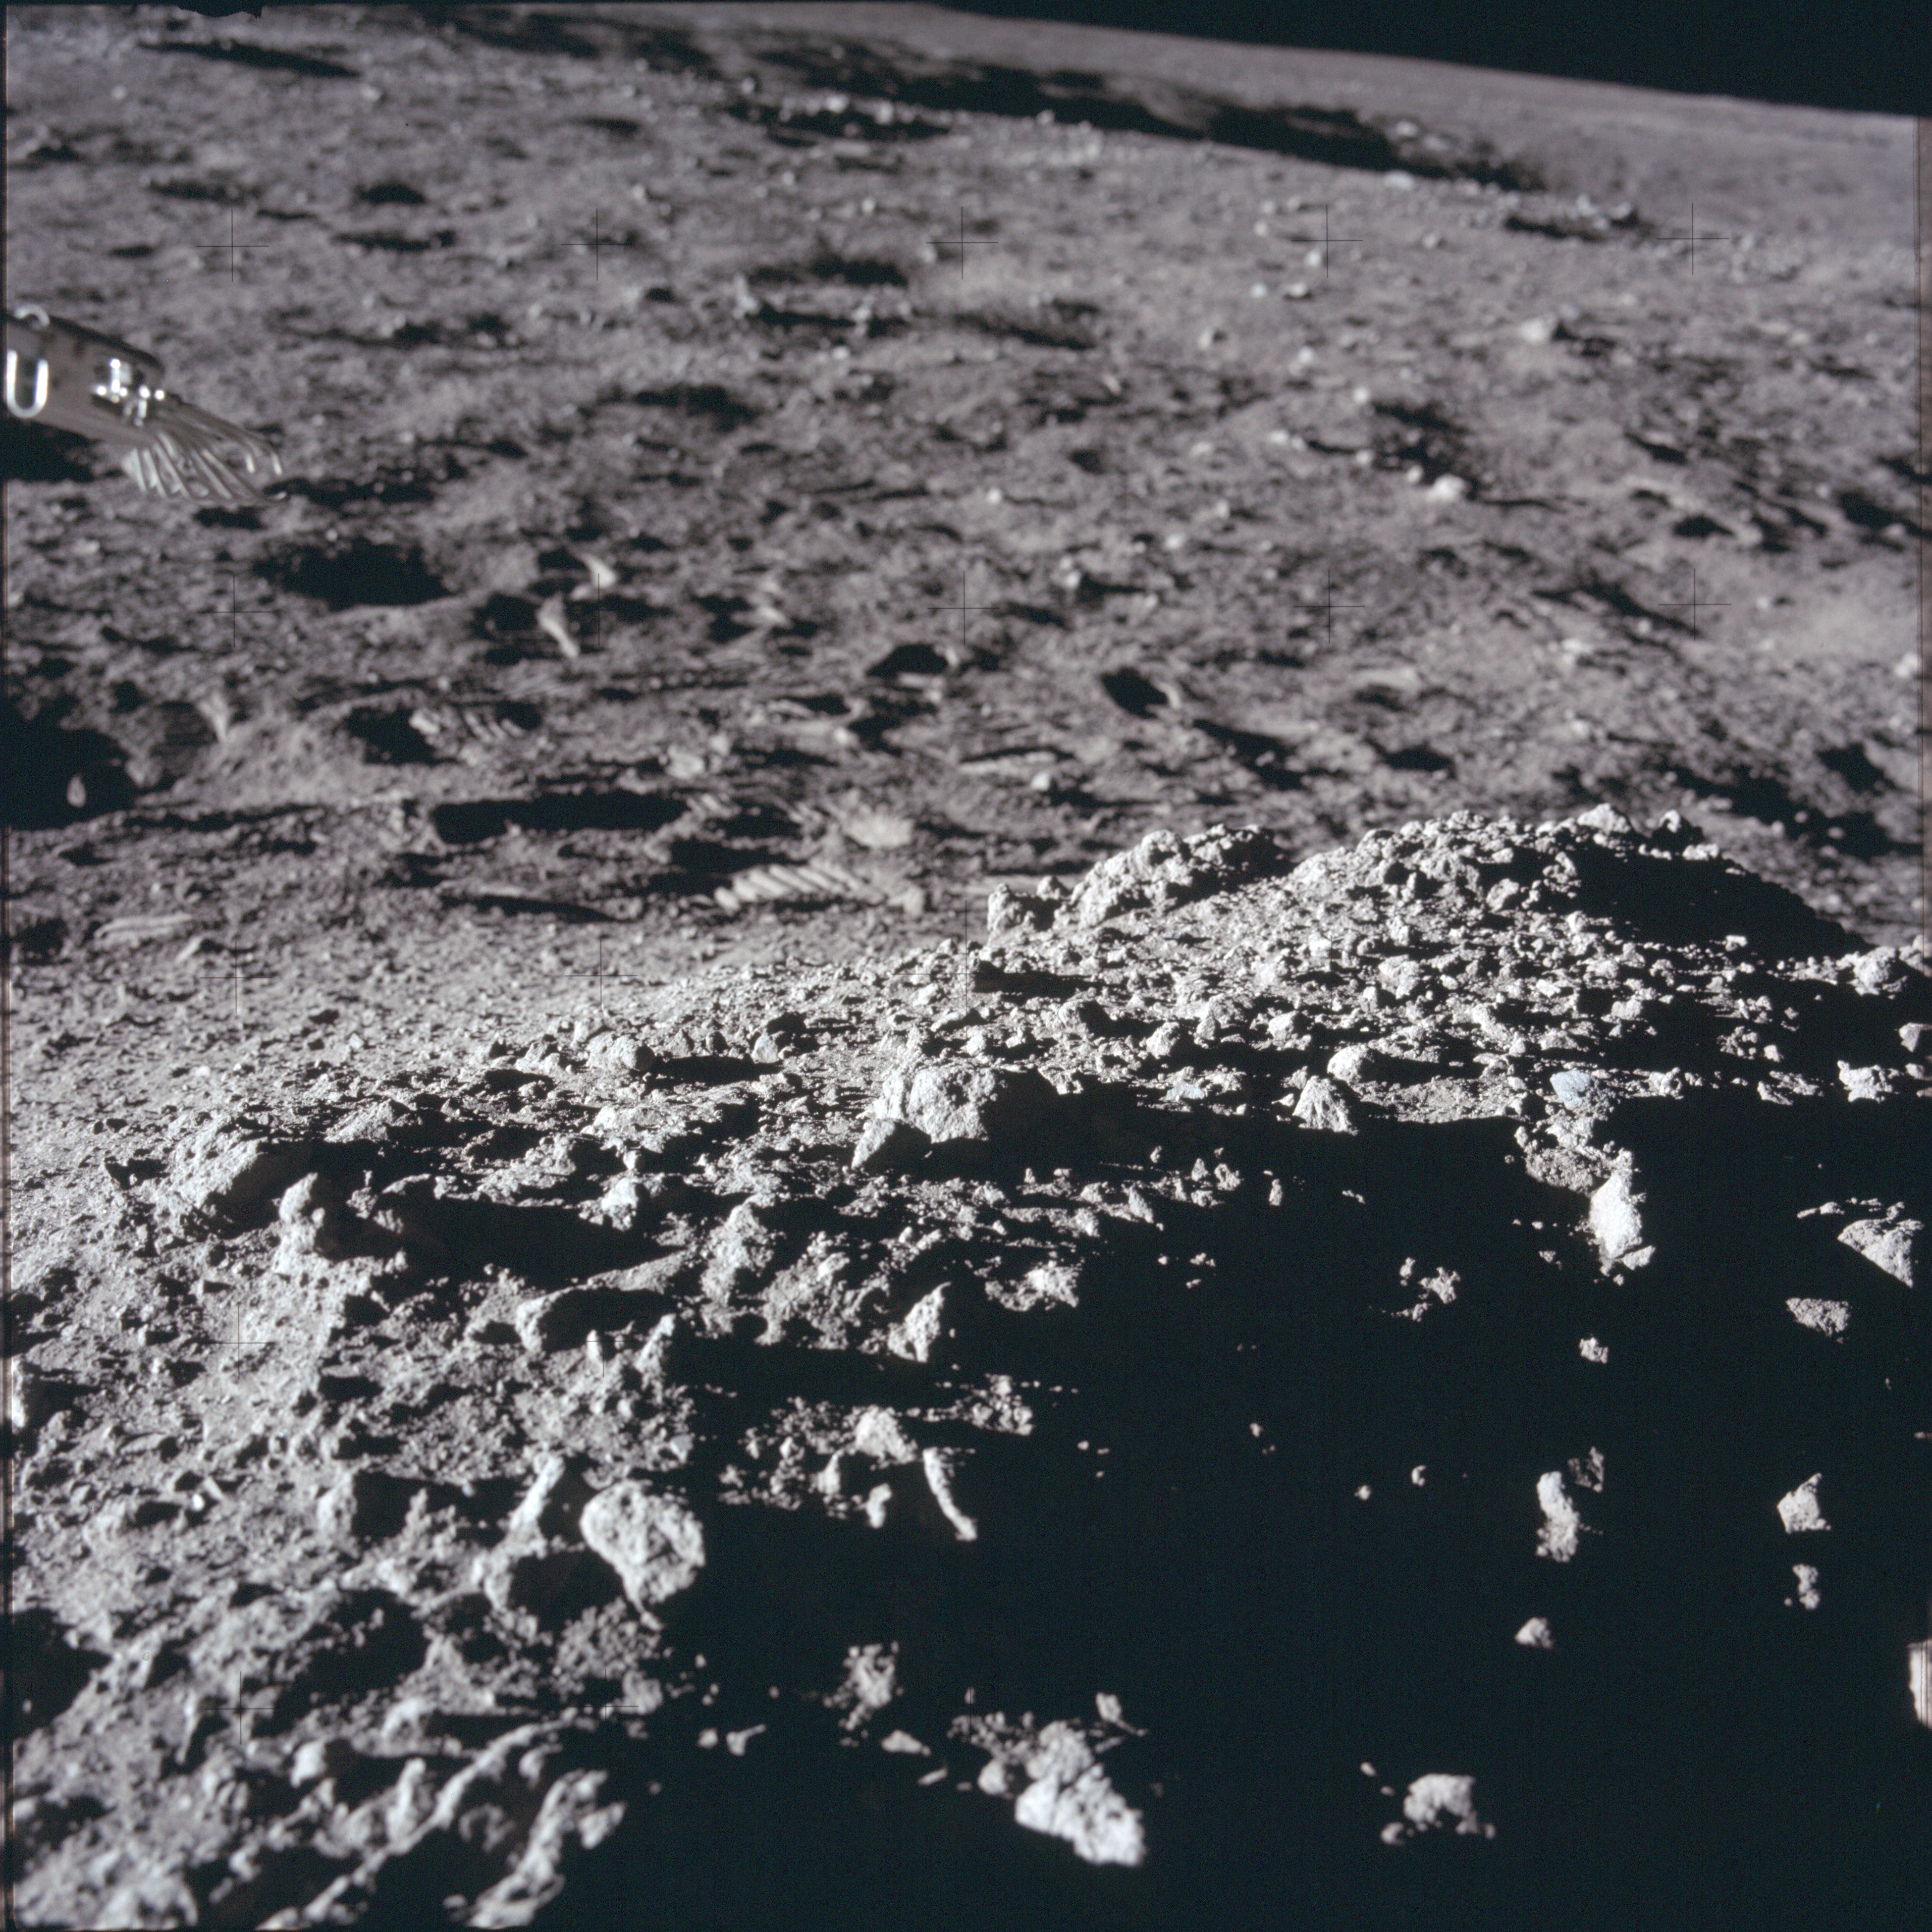
AS12-47-6933 Al Bean's image of a mound near the ALSEP site. Taken at about 118:09:30 GET. Image credit: Image Science and Analysis Laboratory, NASA-Johnson Space Center |
 |
AS12-47-6934 Al Bean's image of a mound near the ALSEP site. Taken at about 118:09:30 GET. Image credit: Image Science and Analysis Laboratory, NASA-Johnson Space Center |
 |
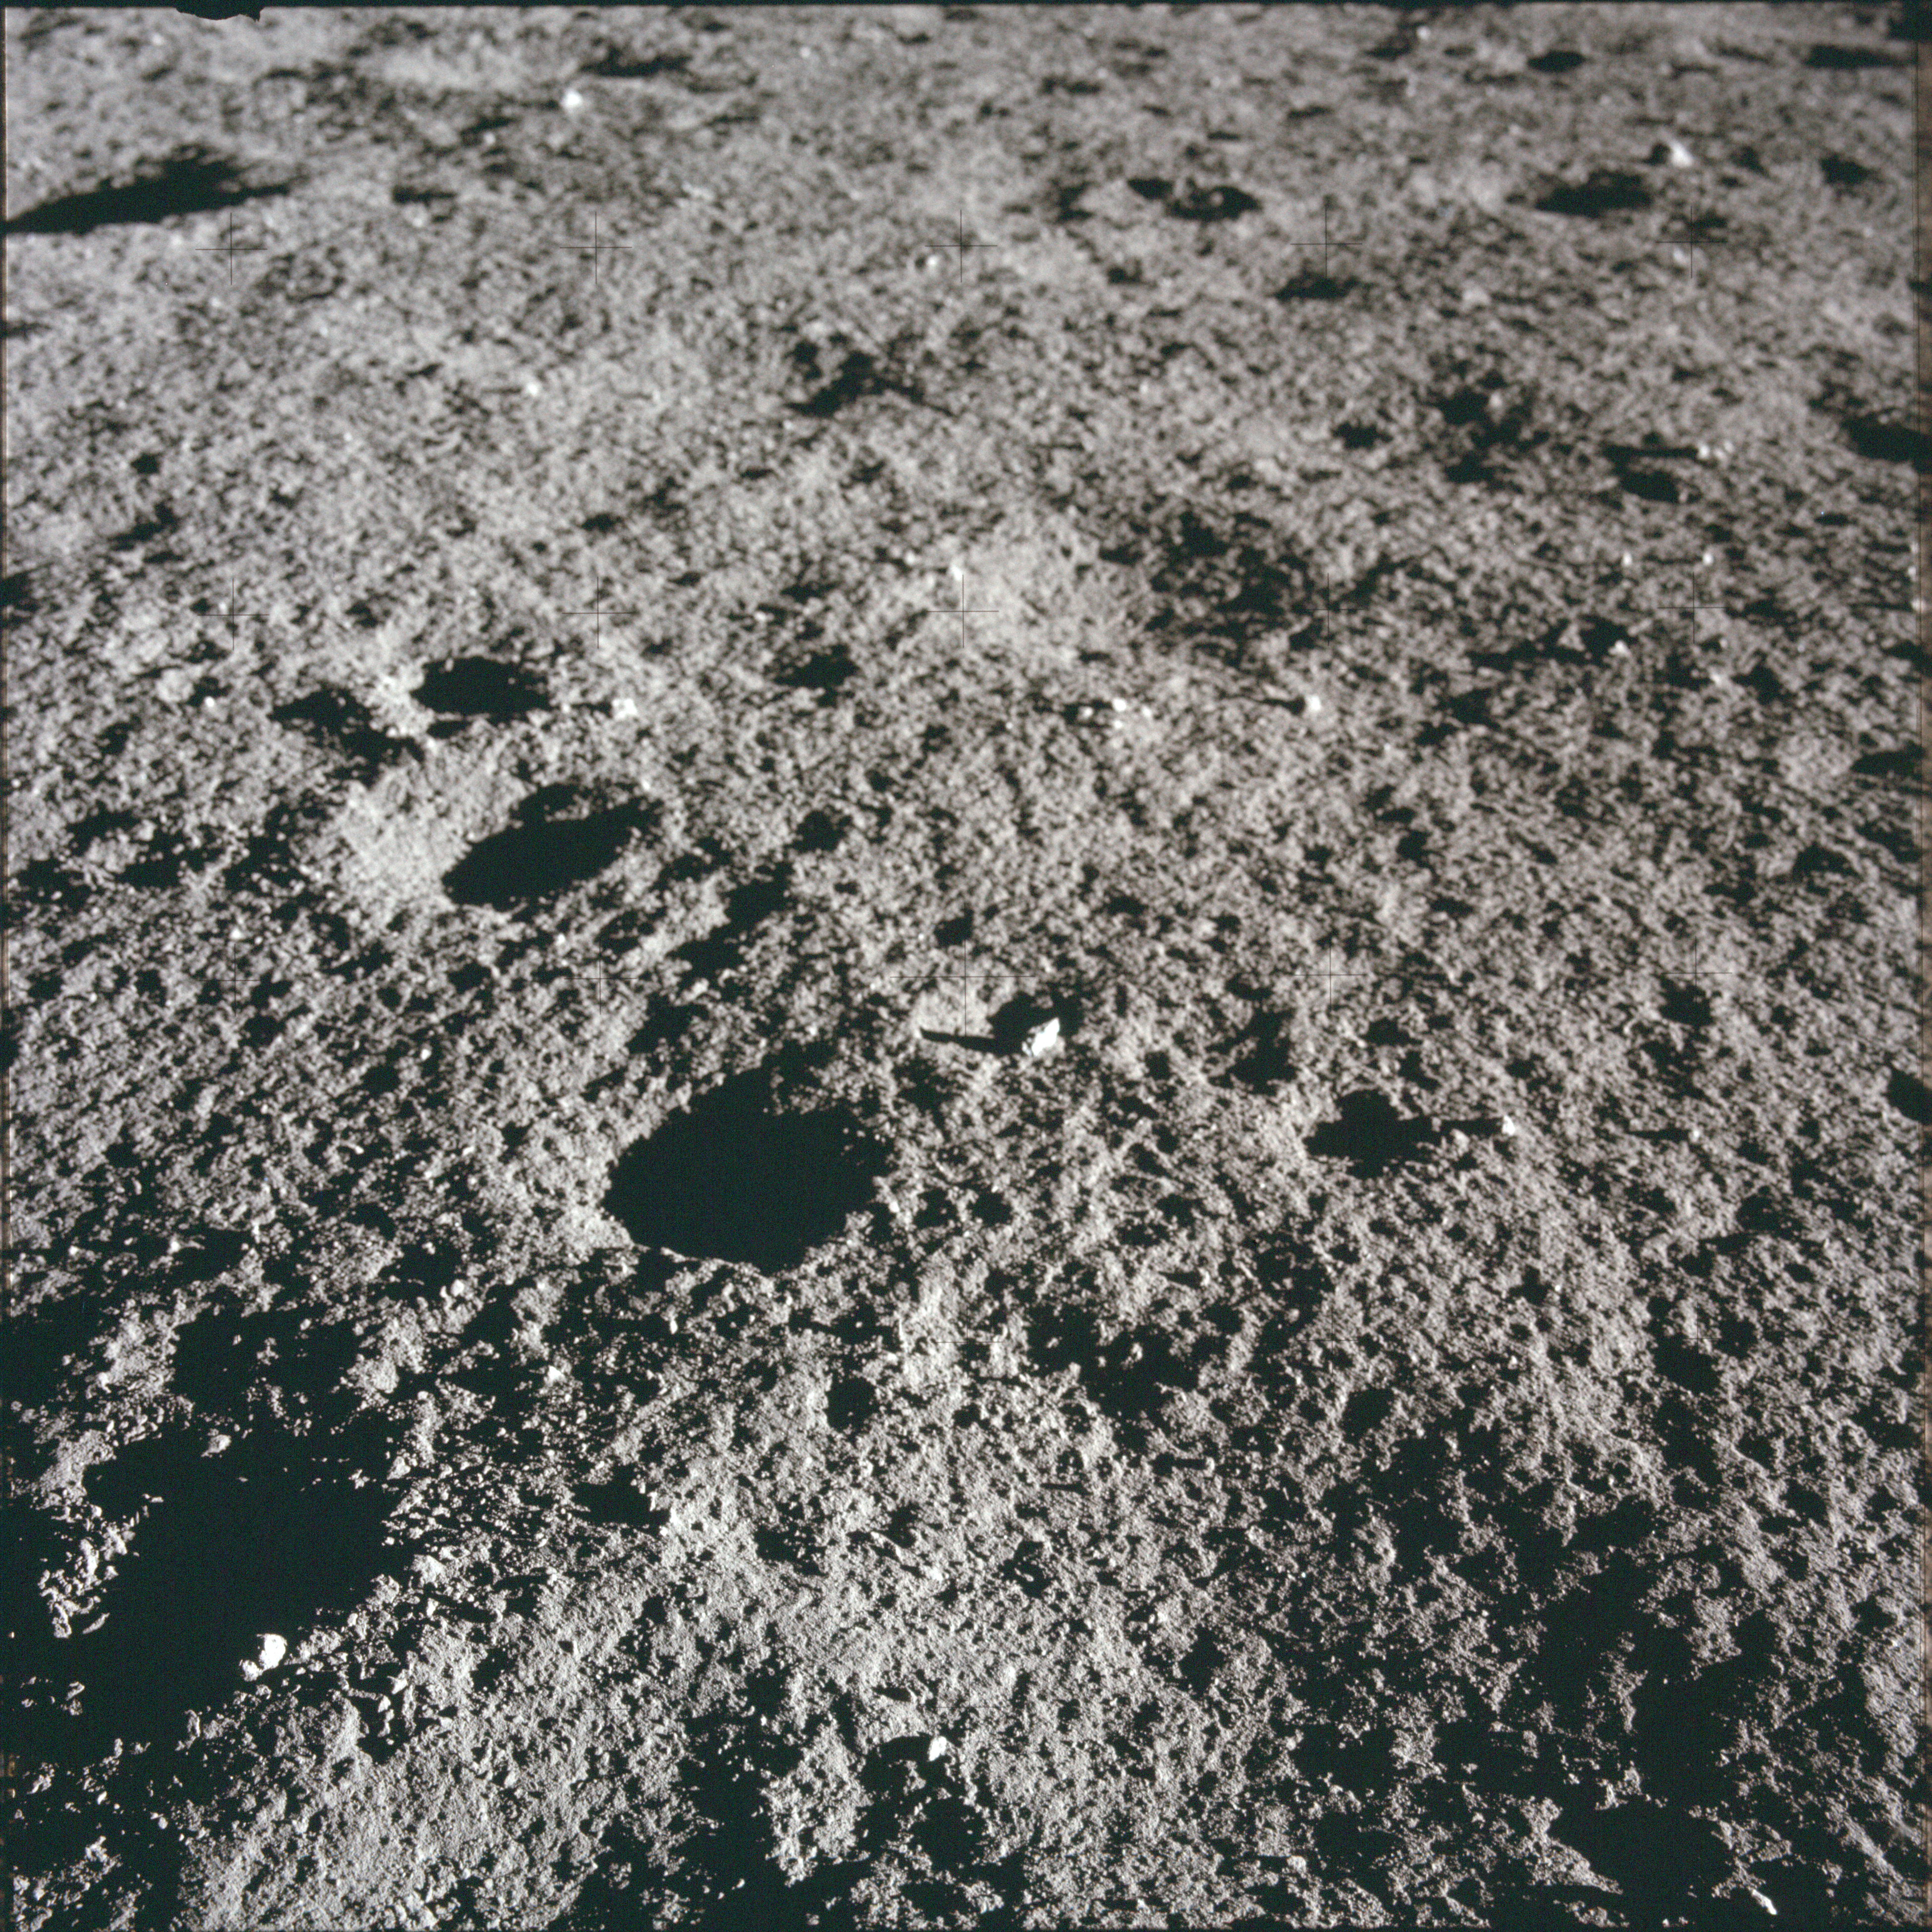
AS12-47-6935 Al Bean's image of a mound near the ALSEP site. Taken at about 118:09:30 GET. Image credit: Image Science and Analysis Laboratory, NASA-Johnson Space Center |
 |
AS12-47-6936 Image may show an area of linear patterns described by Al Bean at 118:14:46 GET. Image credit: Image Science and Analysis Laboratory, NASA-Johnson Space Center |
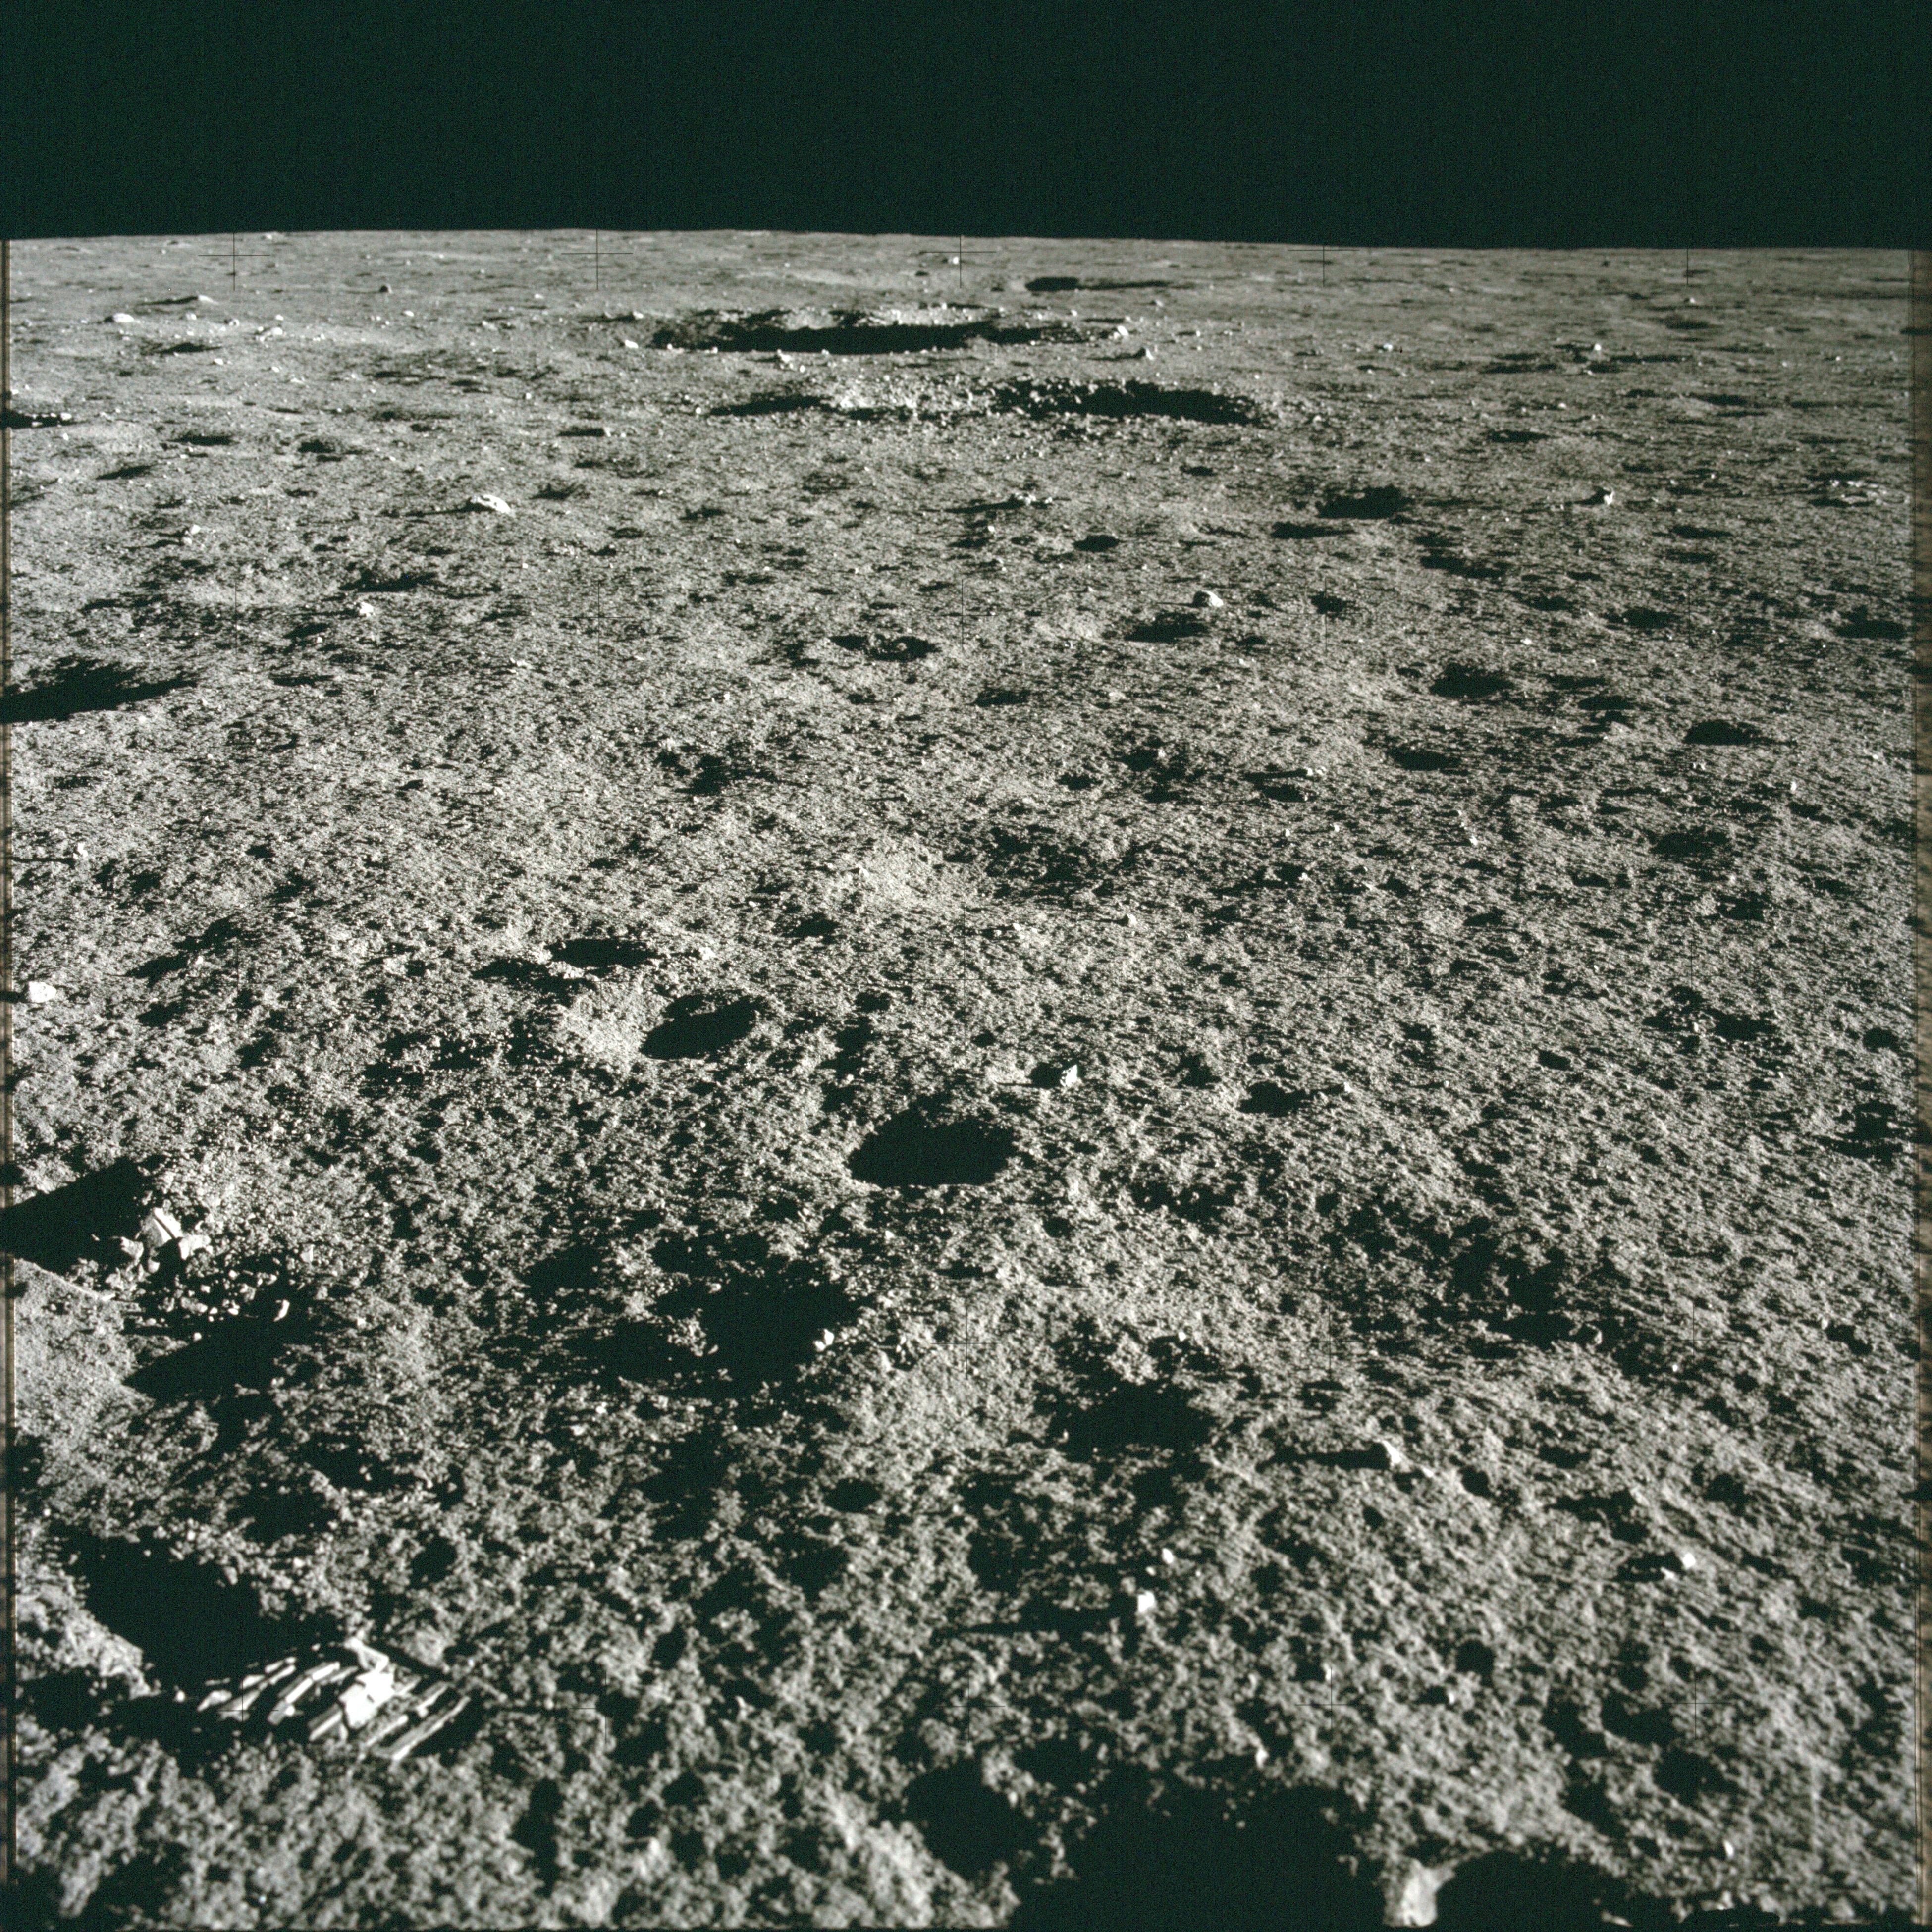 |
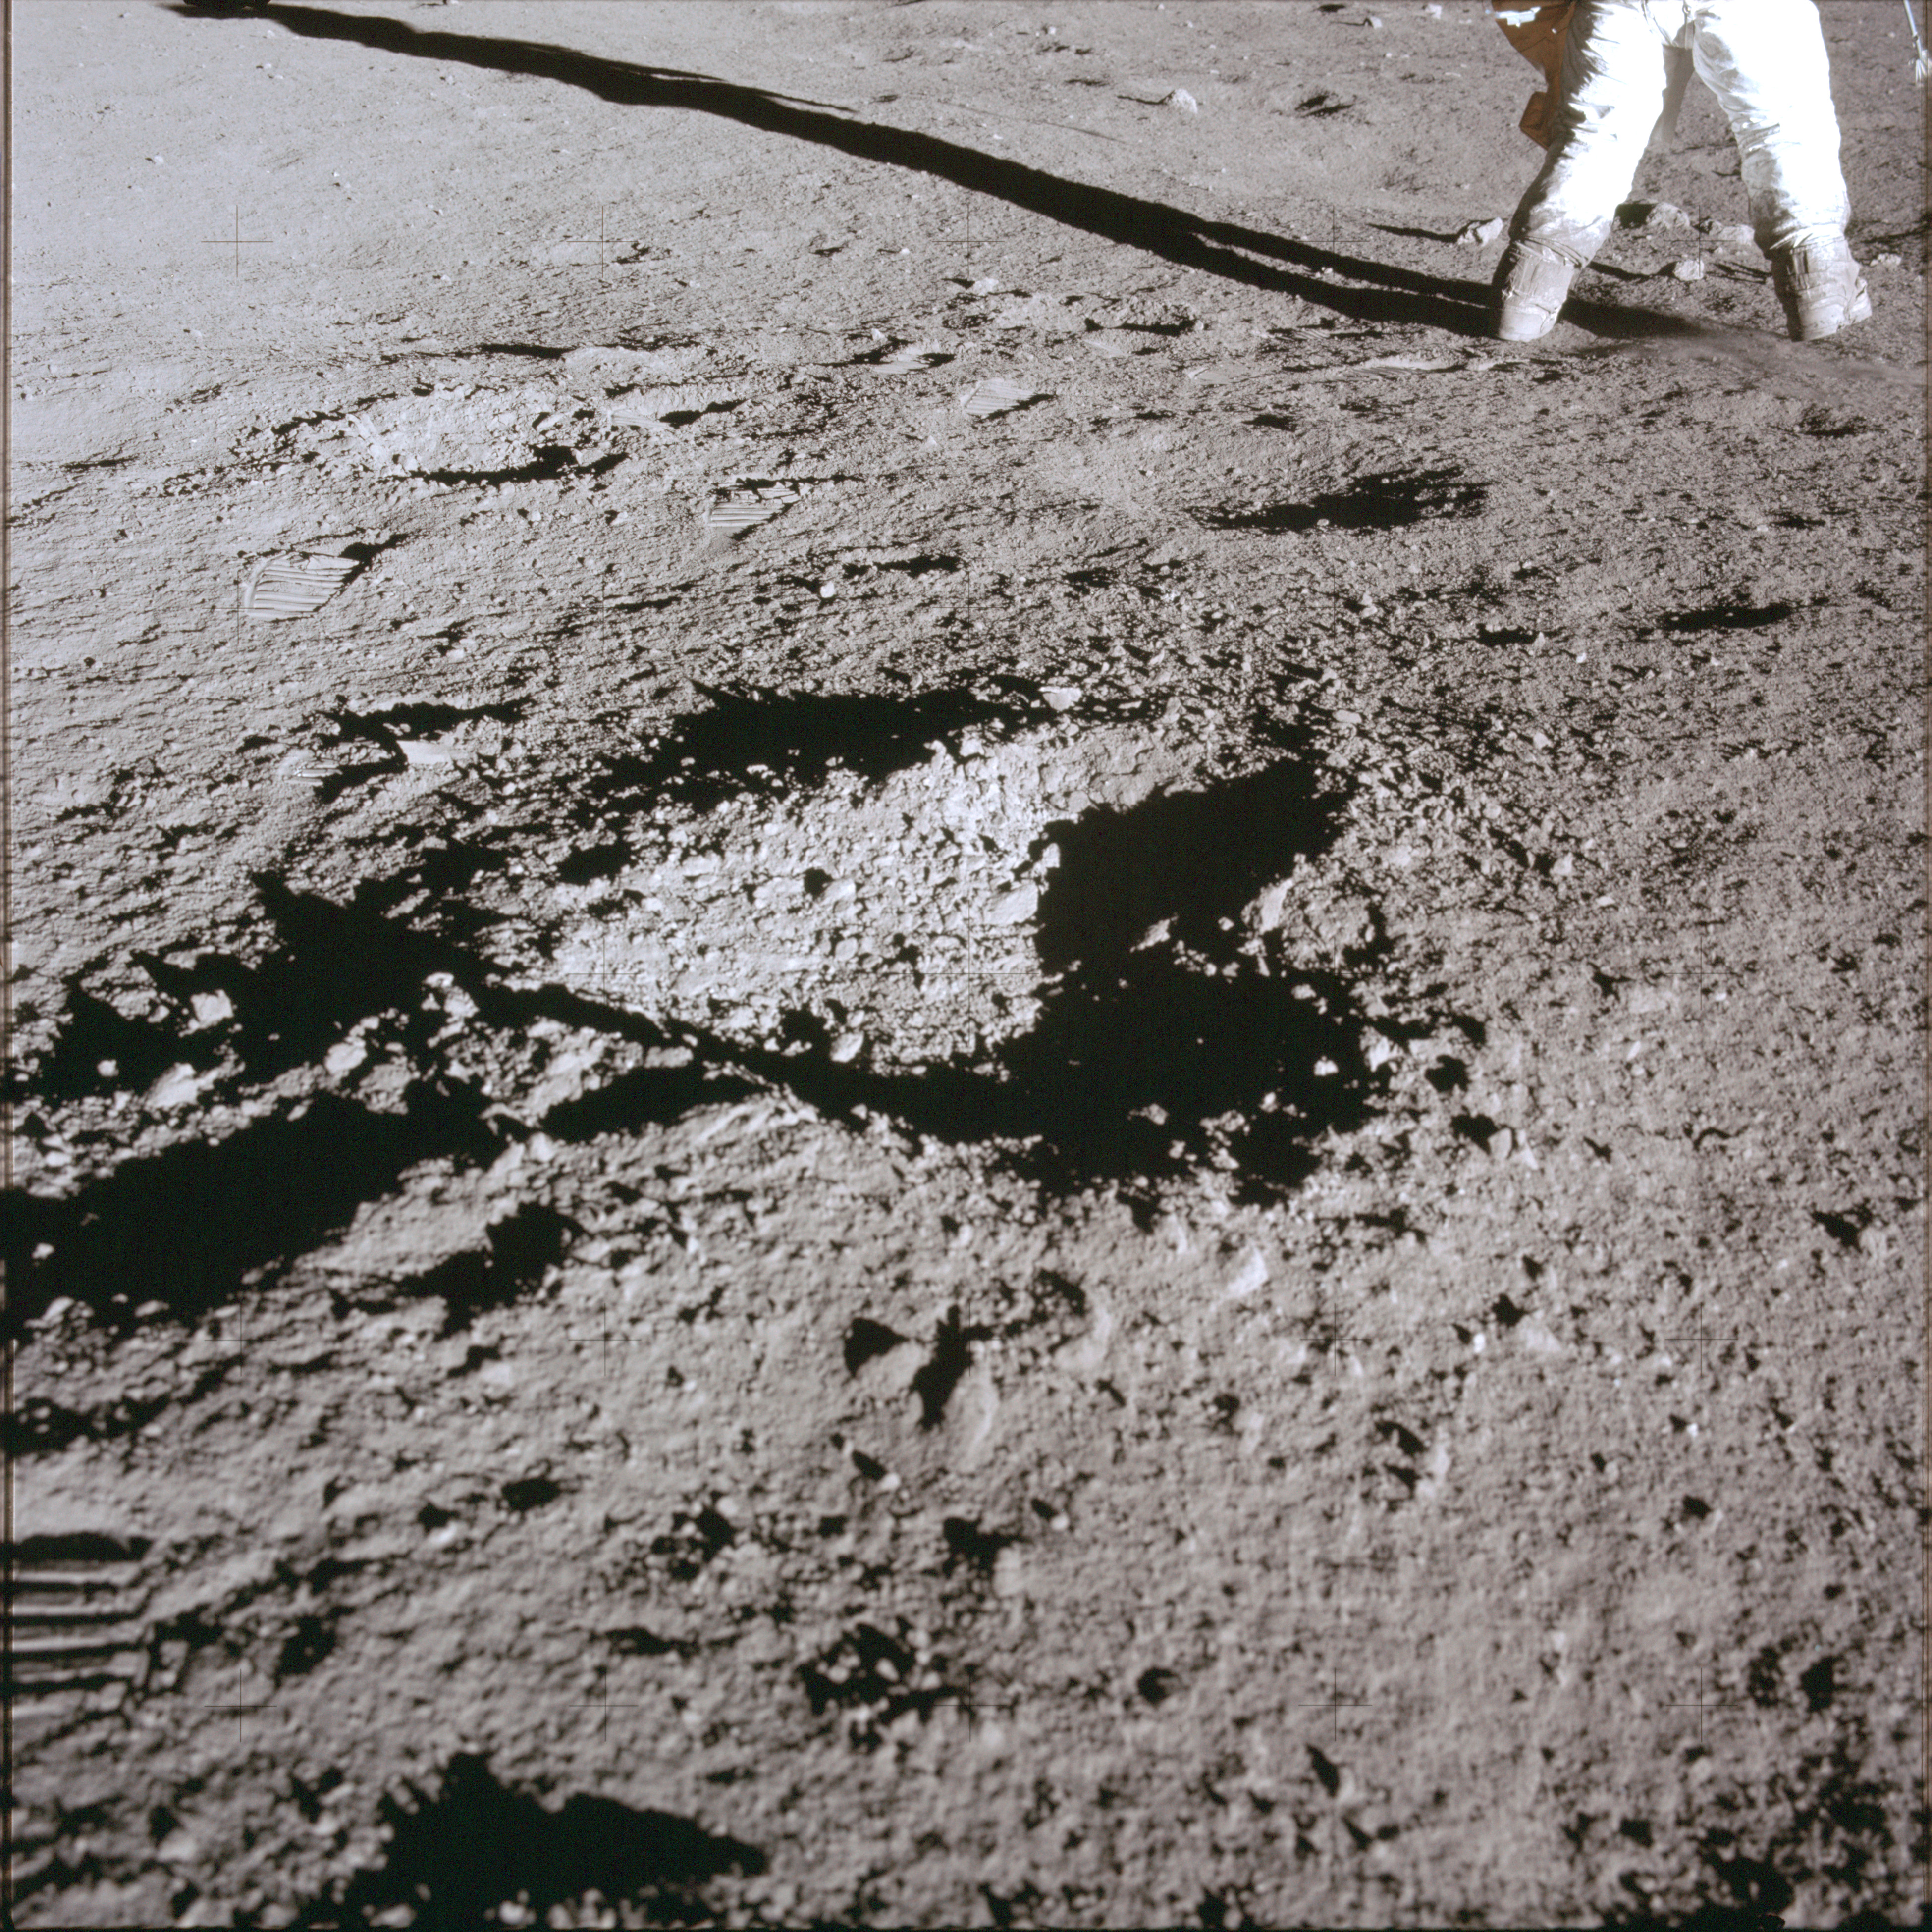
AS12-47-6937 Image may show an area of linear patterns described by Al Bean at 118:14:46 GET. Image credit: Image Science and Analysis Laboratory, NASA-Johnson Space Center |
 |
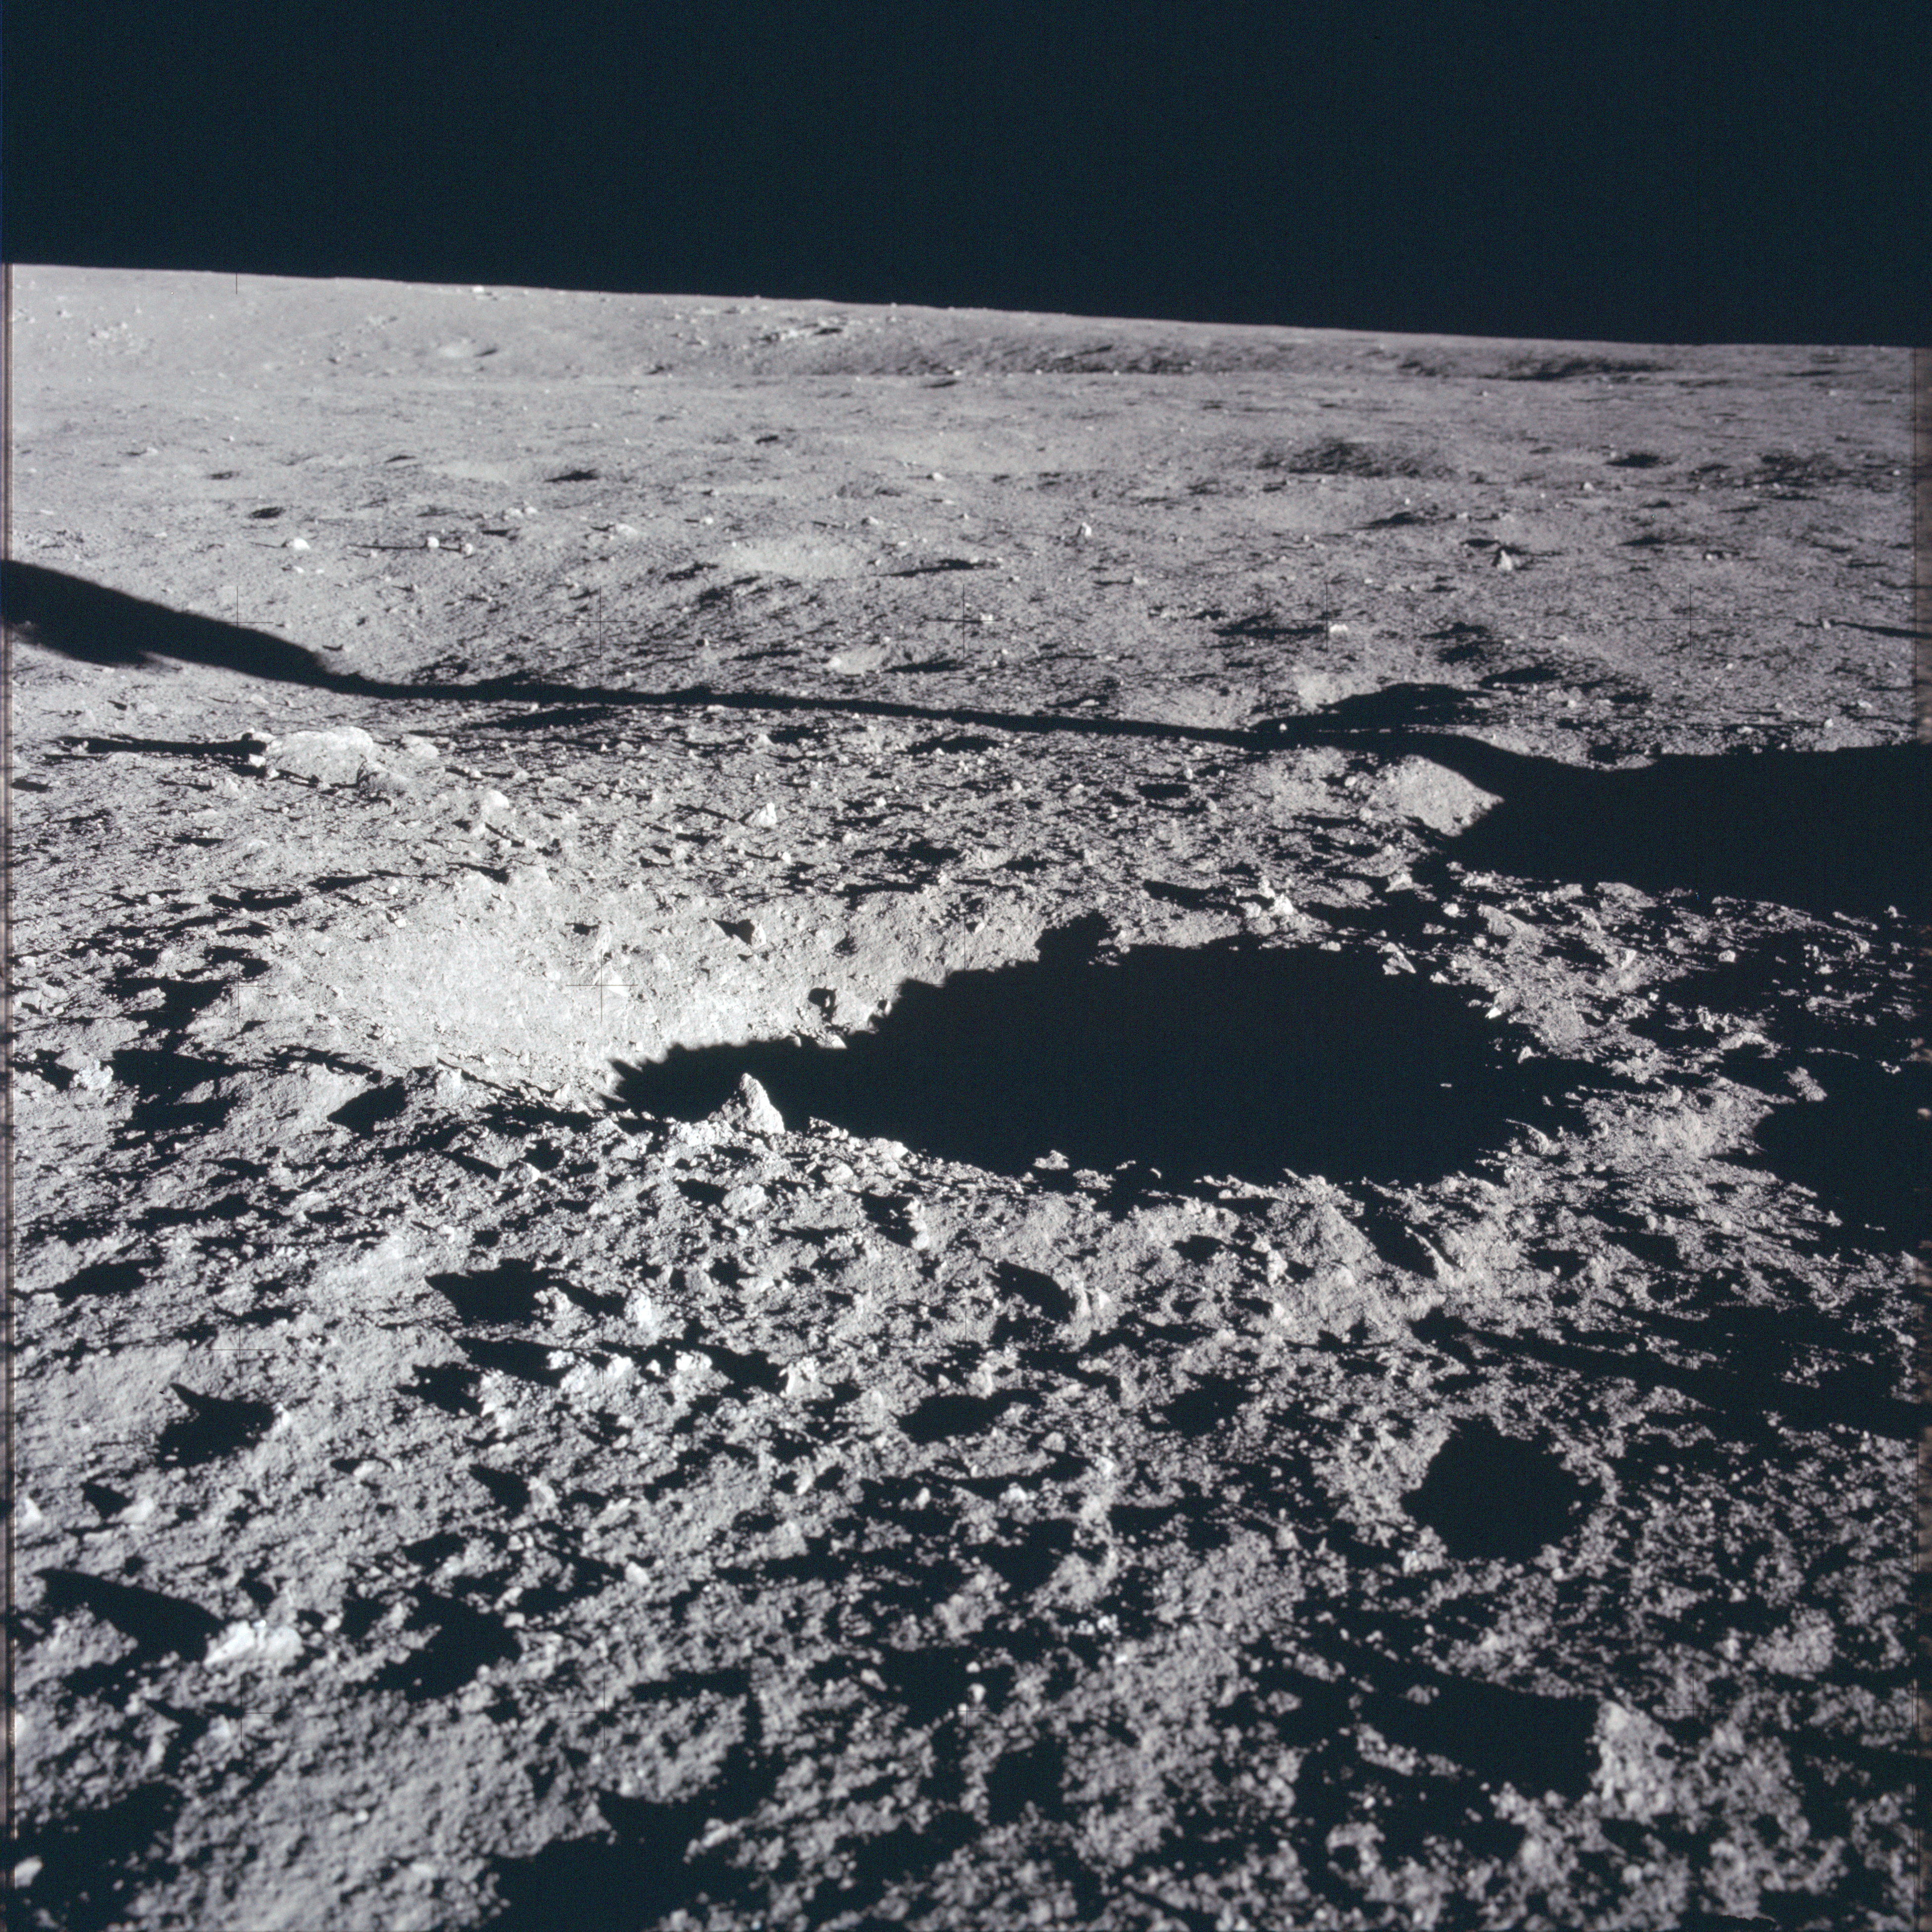
AS12-47-6938 Al Bean's image of small, apparently fresh impact crater, taken at about 118:15:30 GET. Image credit: Image Science and Analysis Laboratory, NASA-Johnson Space Center |
 |
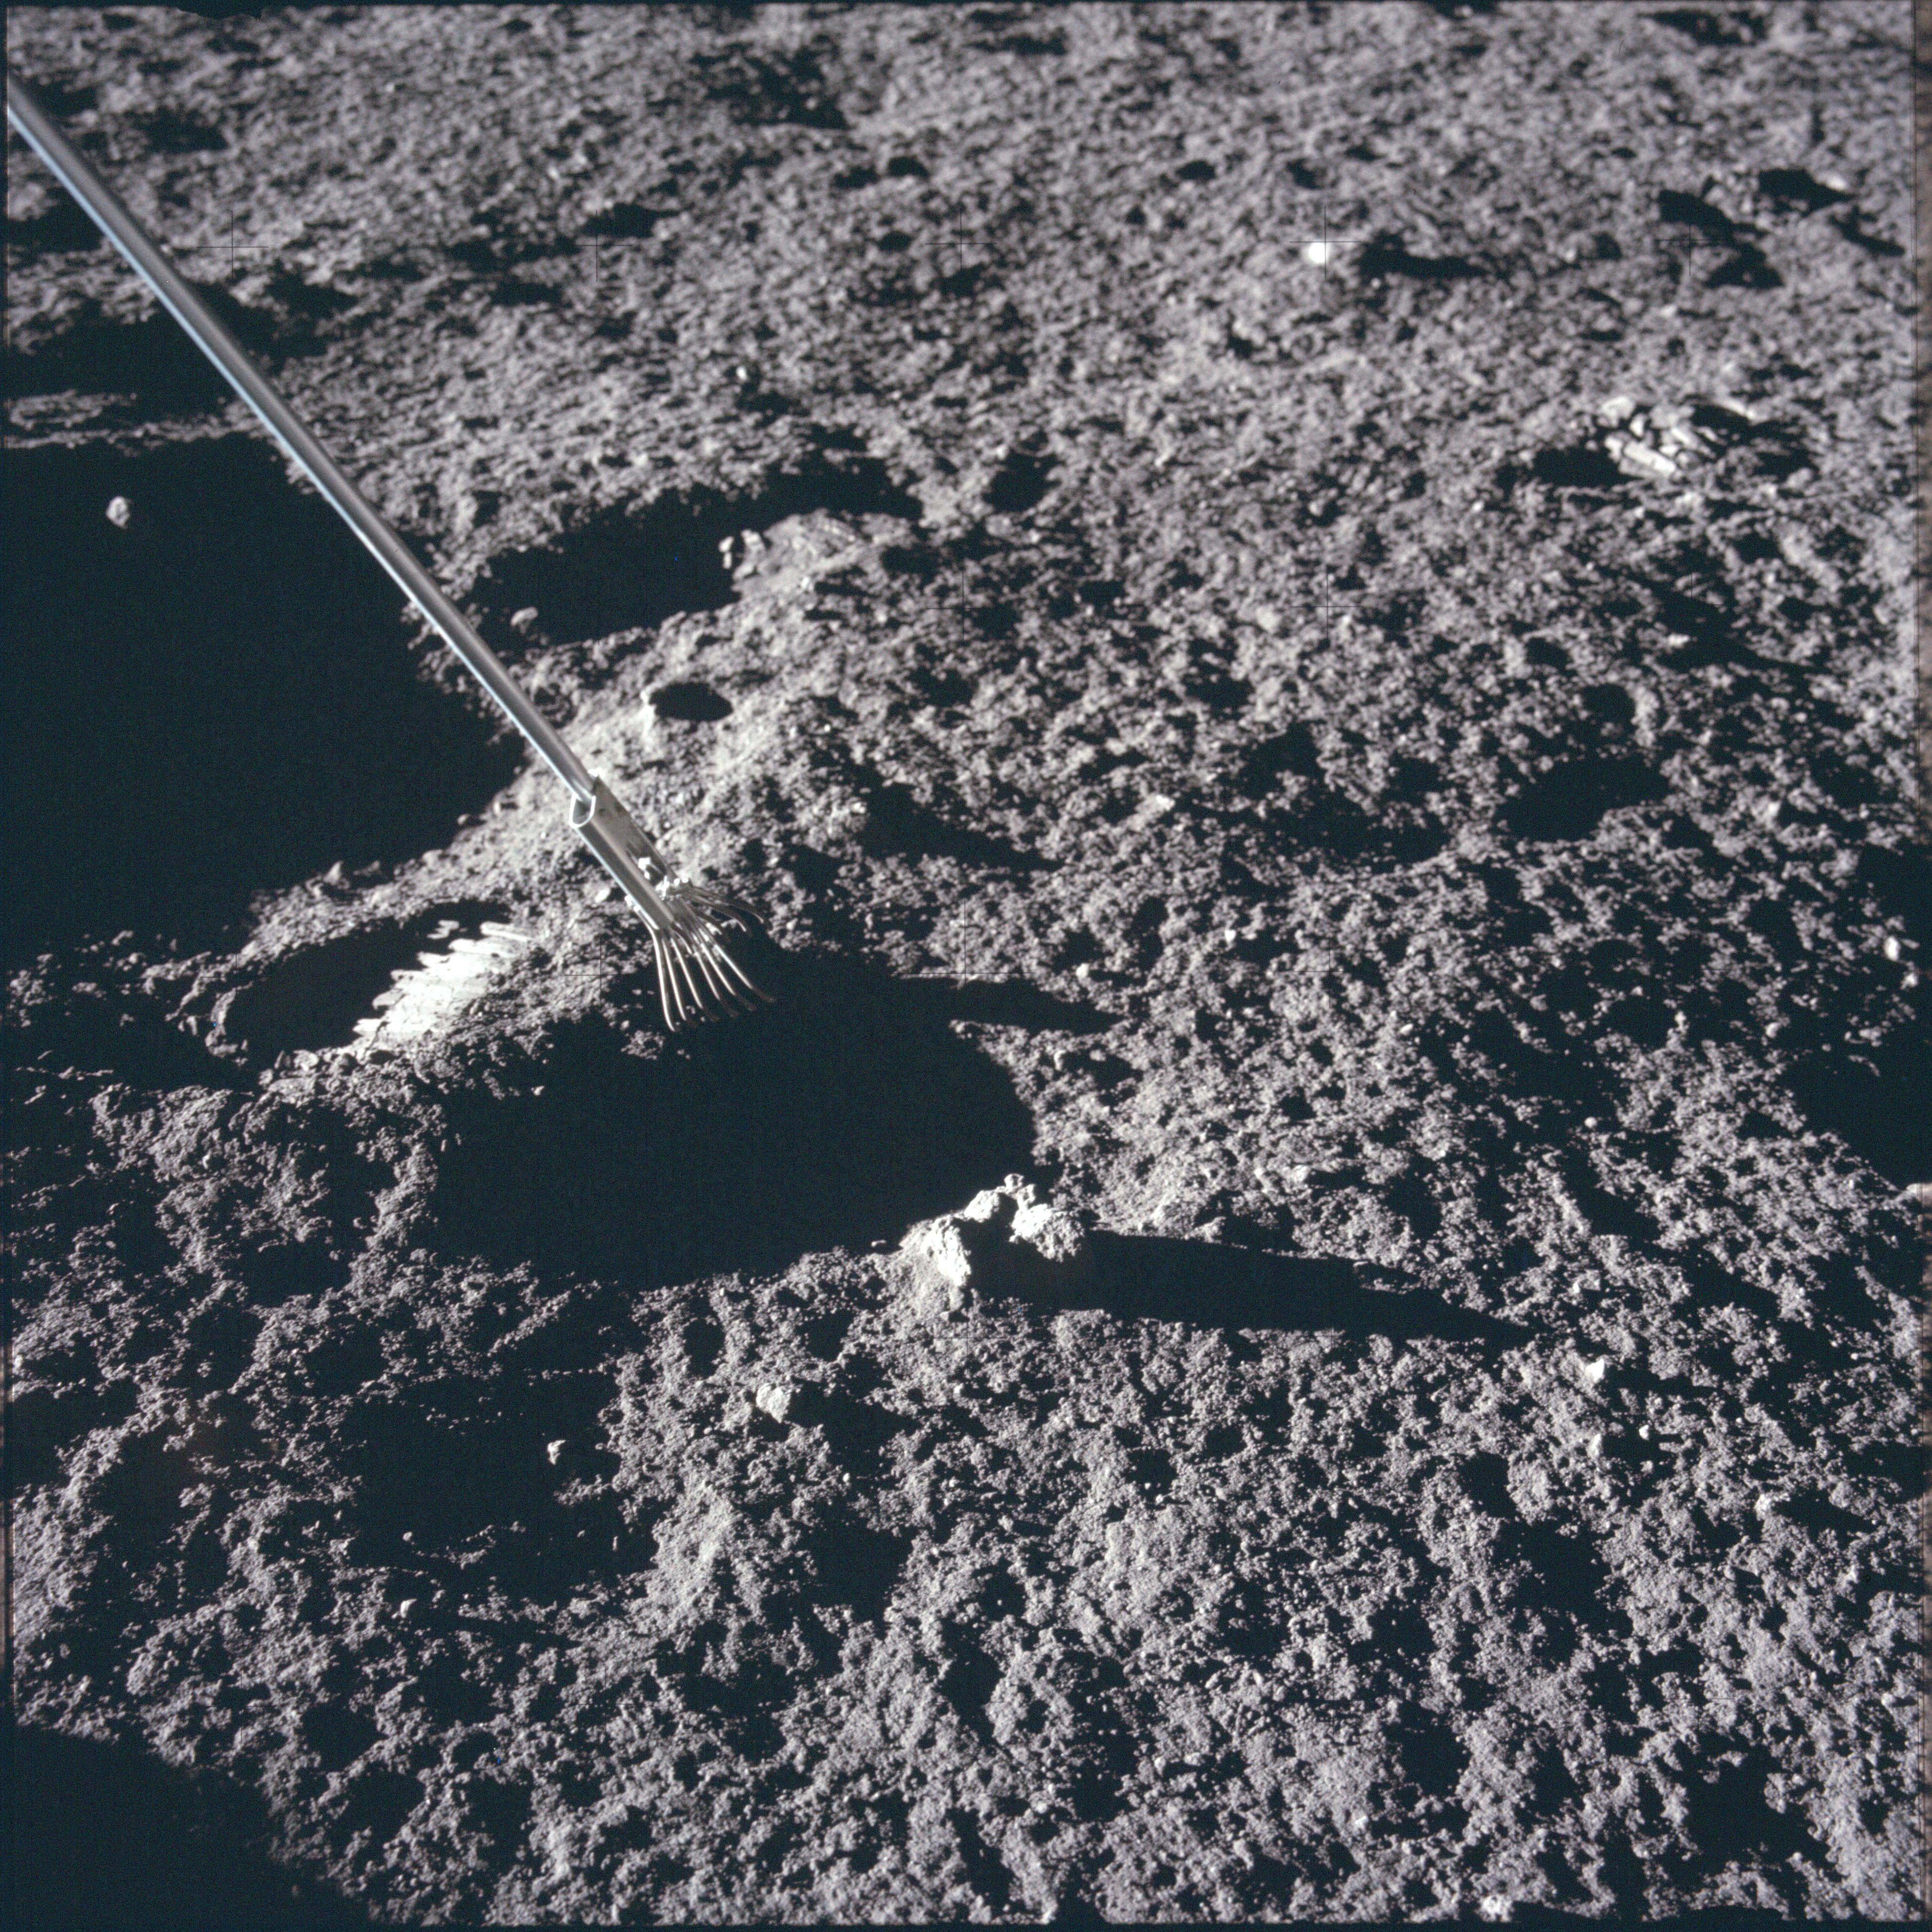
AS12-47-6939 An apparently fresh impact crater, taken by Al Bean at about 118:16:30 GET. Image credit: Image Science and Analysis Laboratory, NASA-Johnson Space Center |
 |
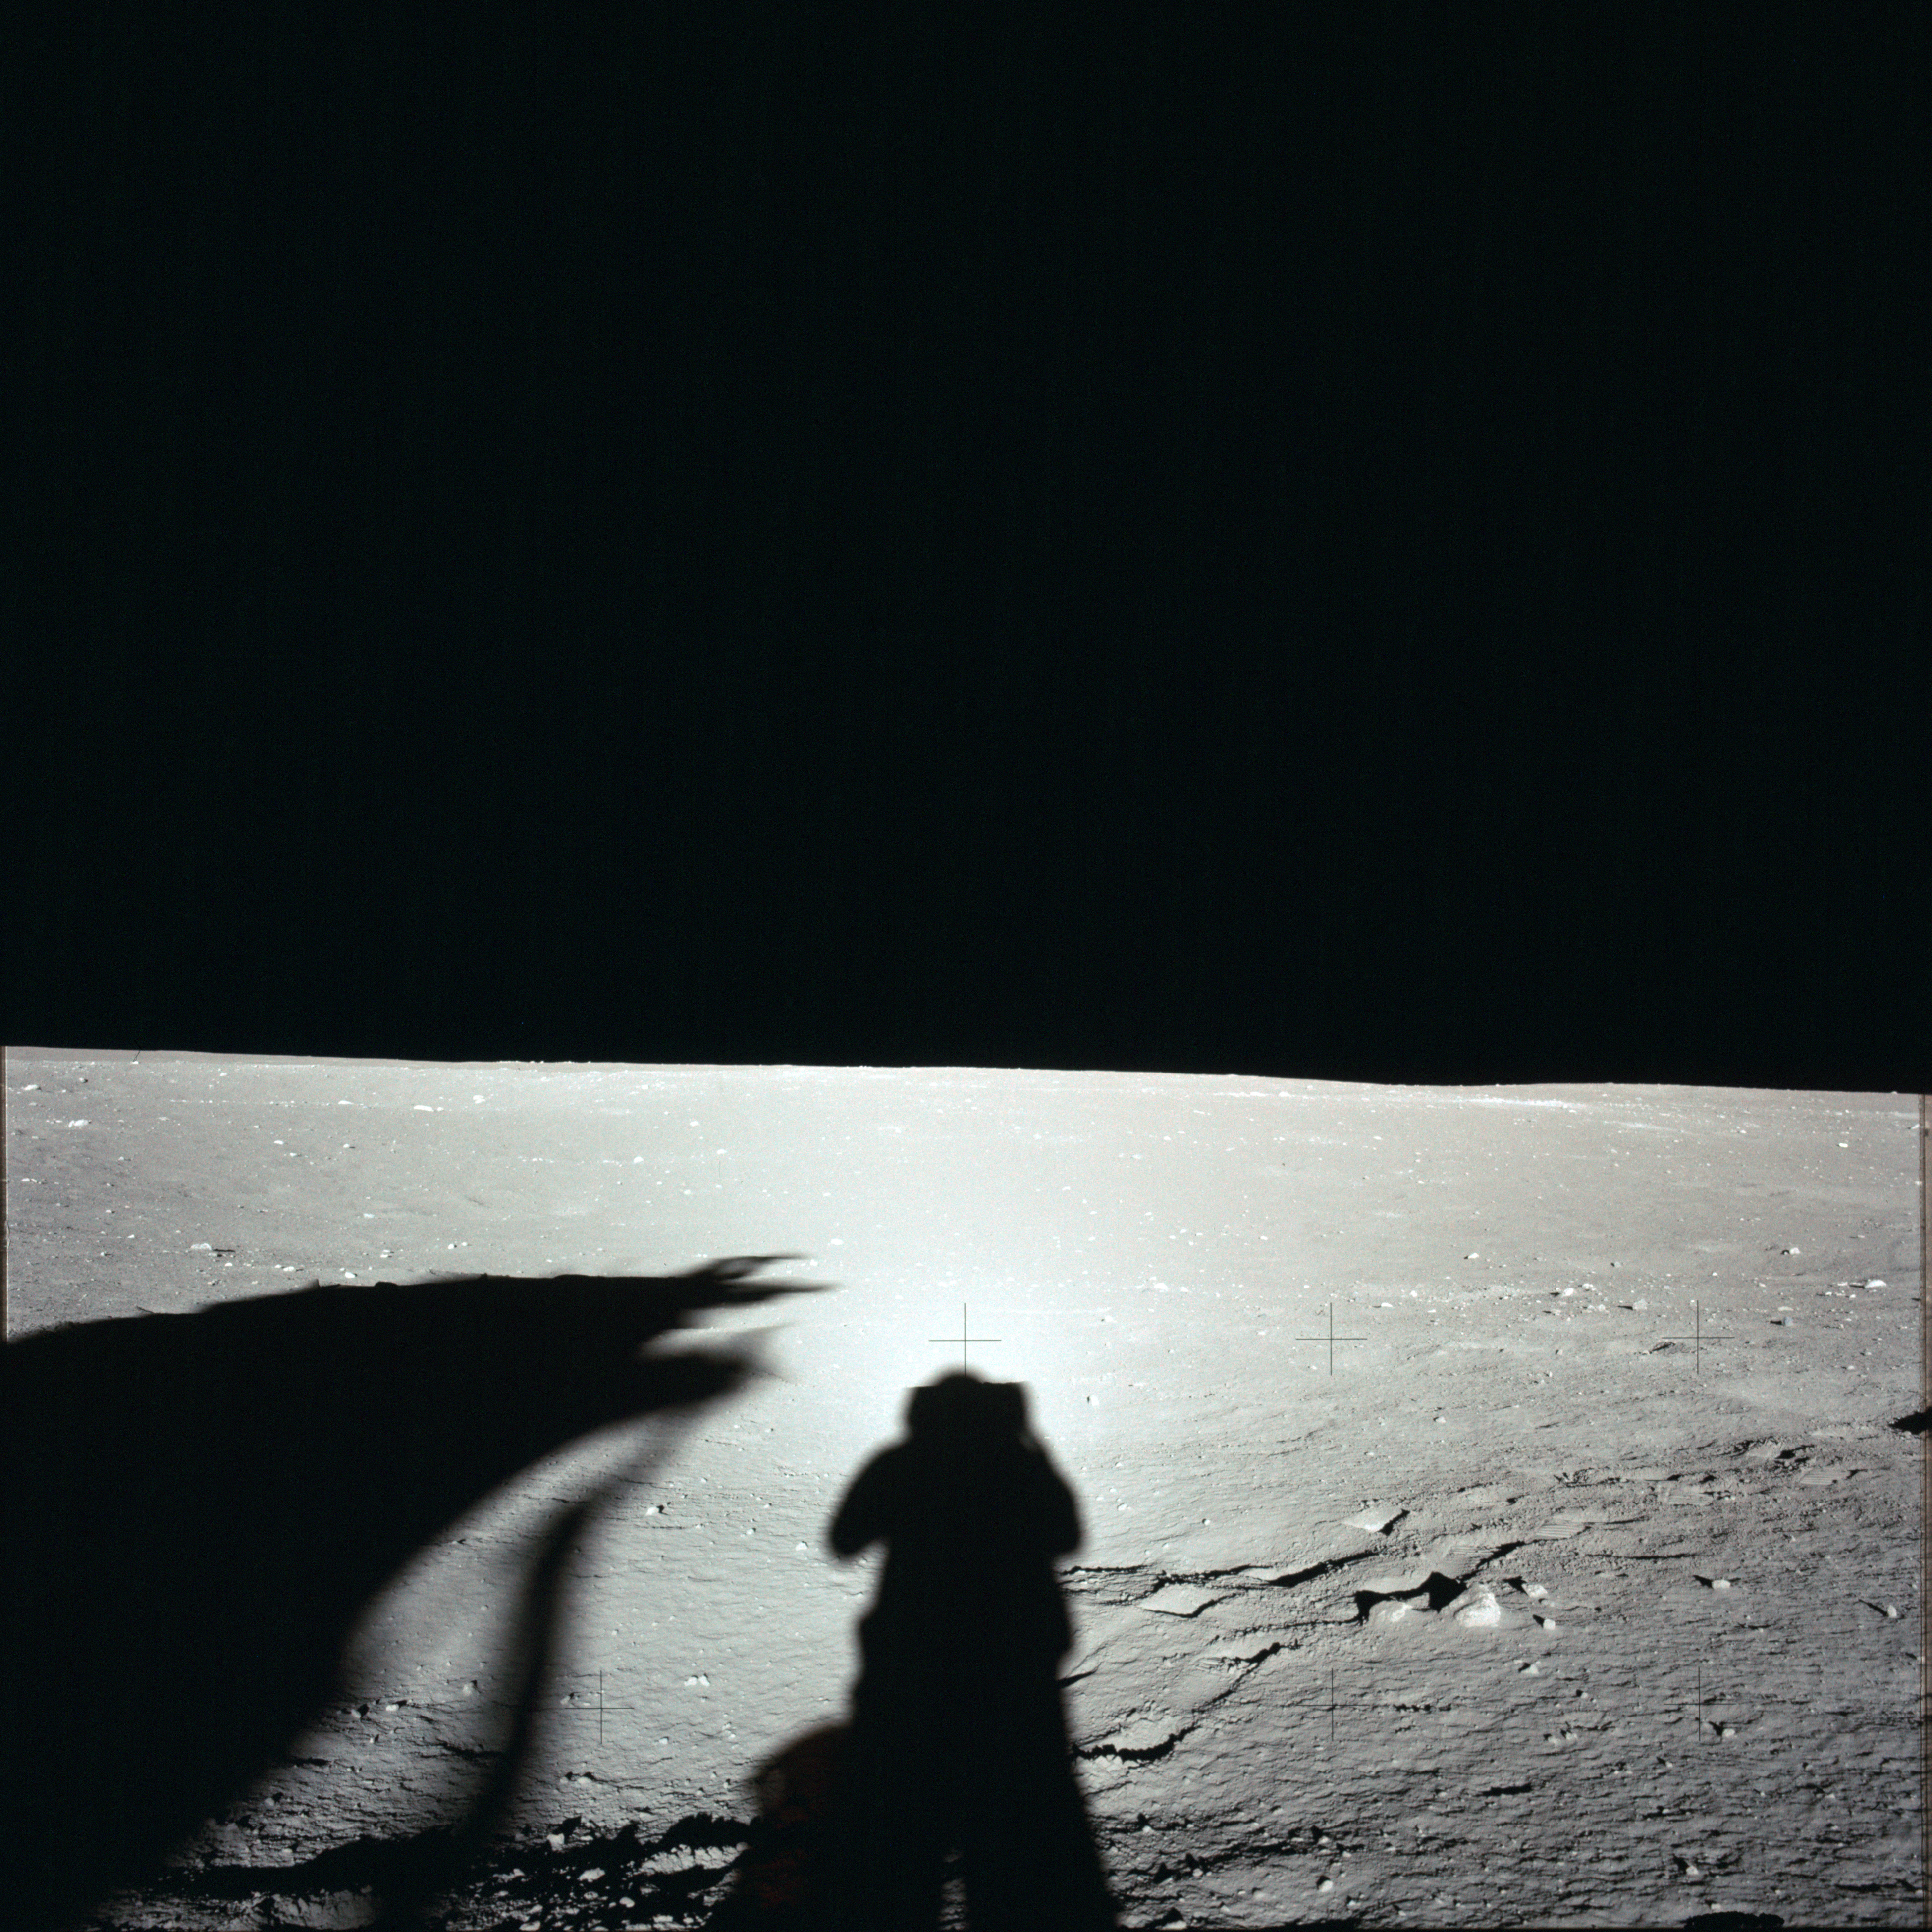
AS12-47-6940 Sampling picture by Al Bean taken at about 118:23:49 GET. Tongs are used for scale. Image credit: Image Science and Analysis Laboratory, NASA-Johnson Space Center |
 |
AS12-47-6941 First image in Al Bean's 12 O'Clock Pan, taken at about 118:27:54 GET. This name refers to it being taken from directly in front of the LM. View to the west. Image credit: Image Science and Analysis Laboratory, NASA-Johnson Space Center |
 |
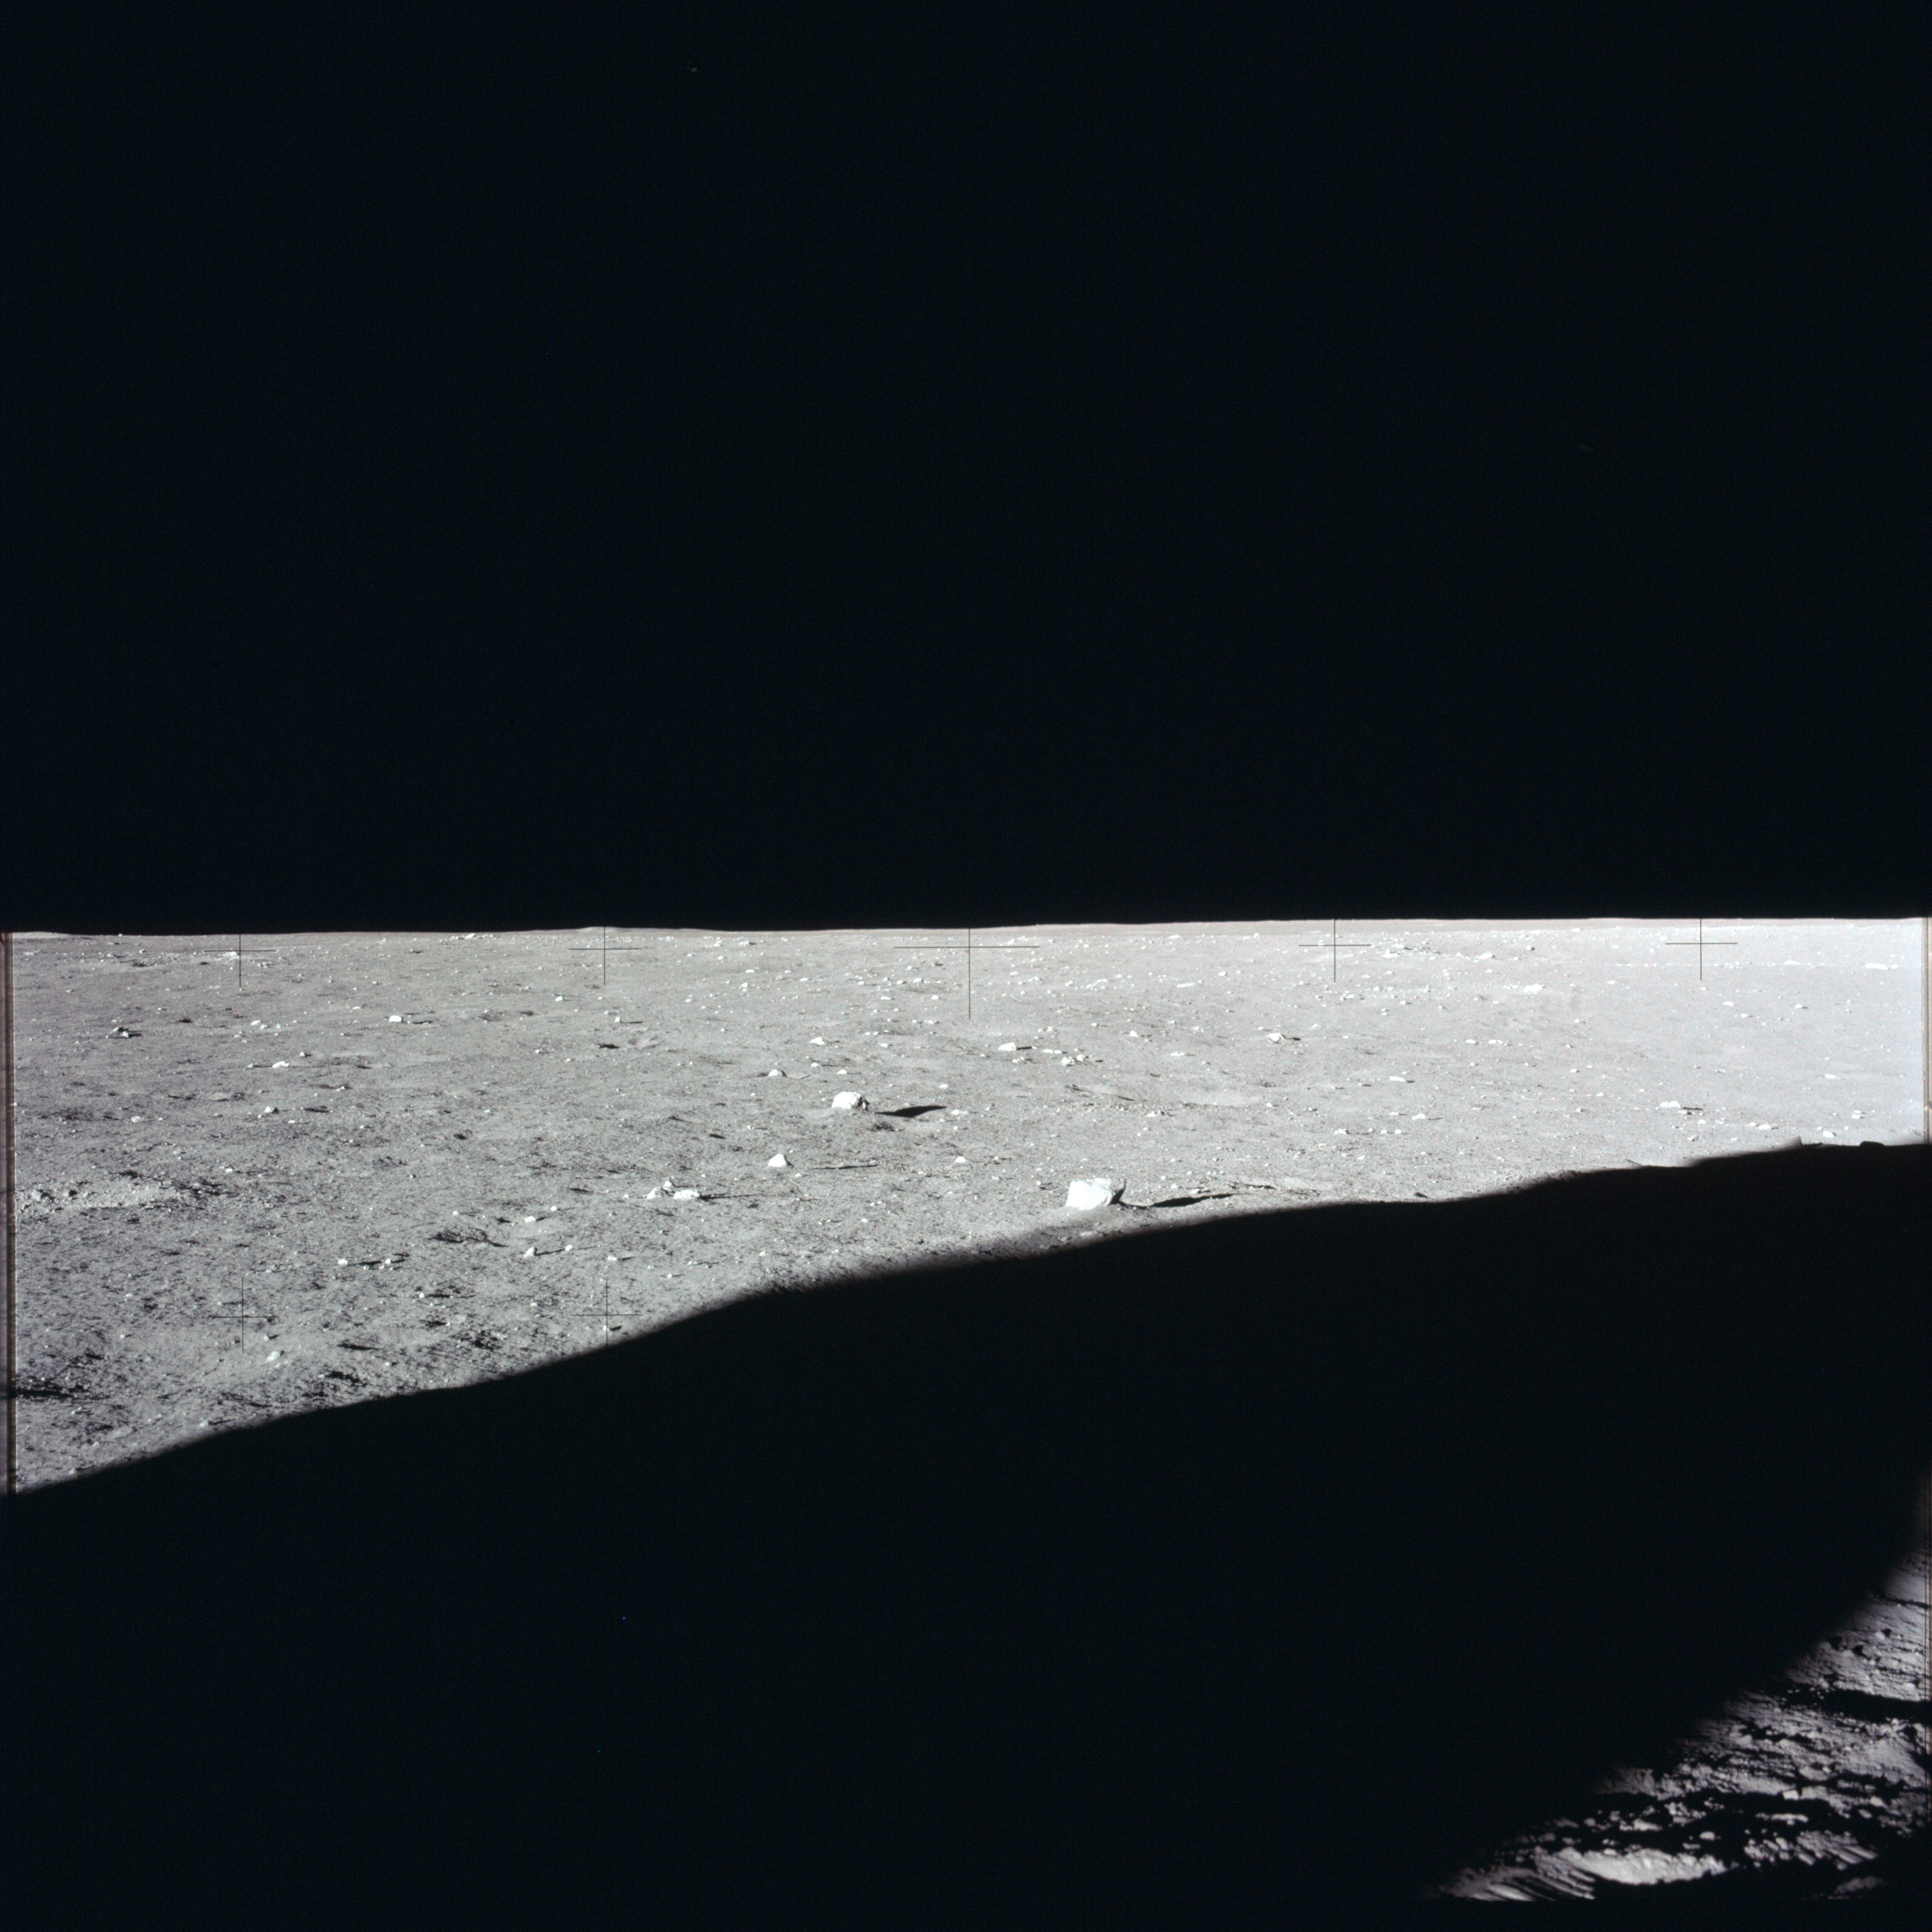
AS12-47-6942 Leftward of 6941. Image credit: Image Science and Analysis Laboratory, NASA-Johnson Space Center |
 |
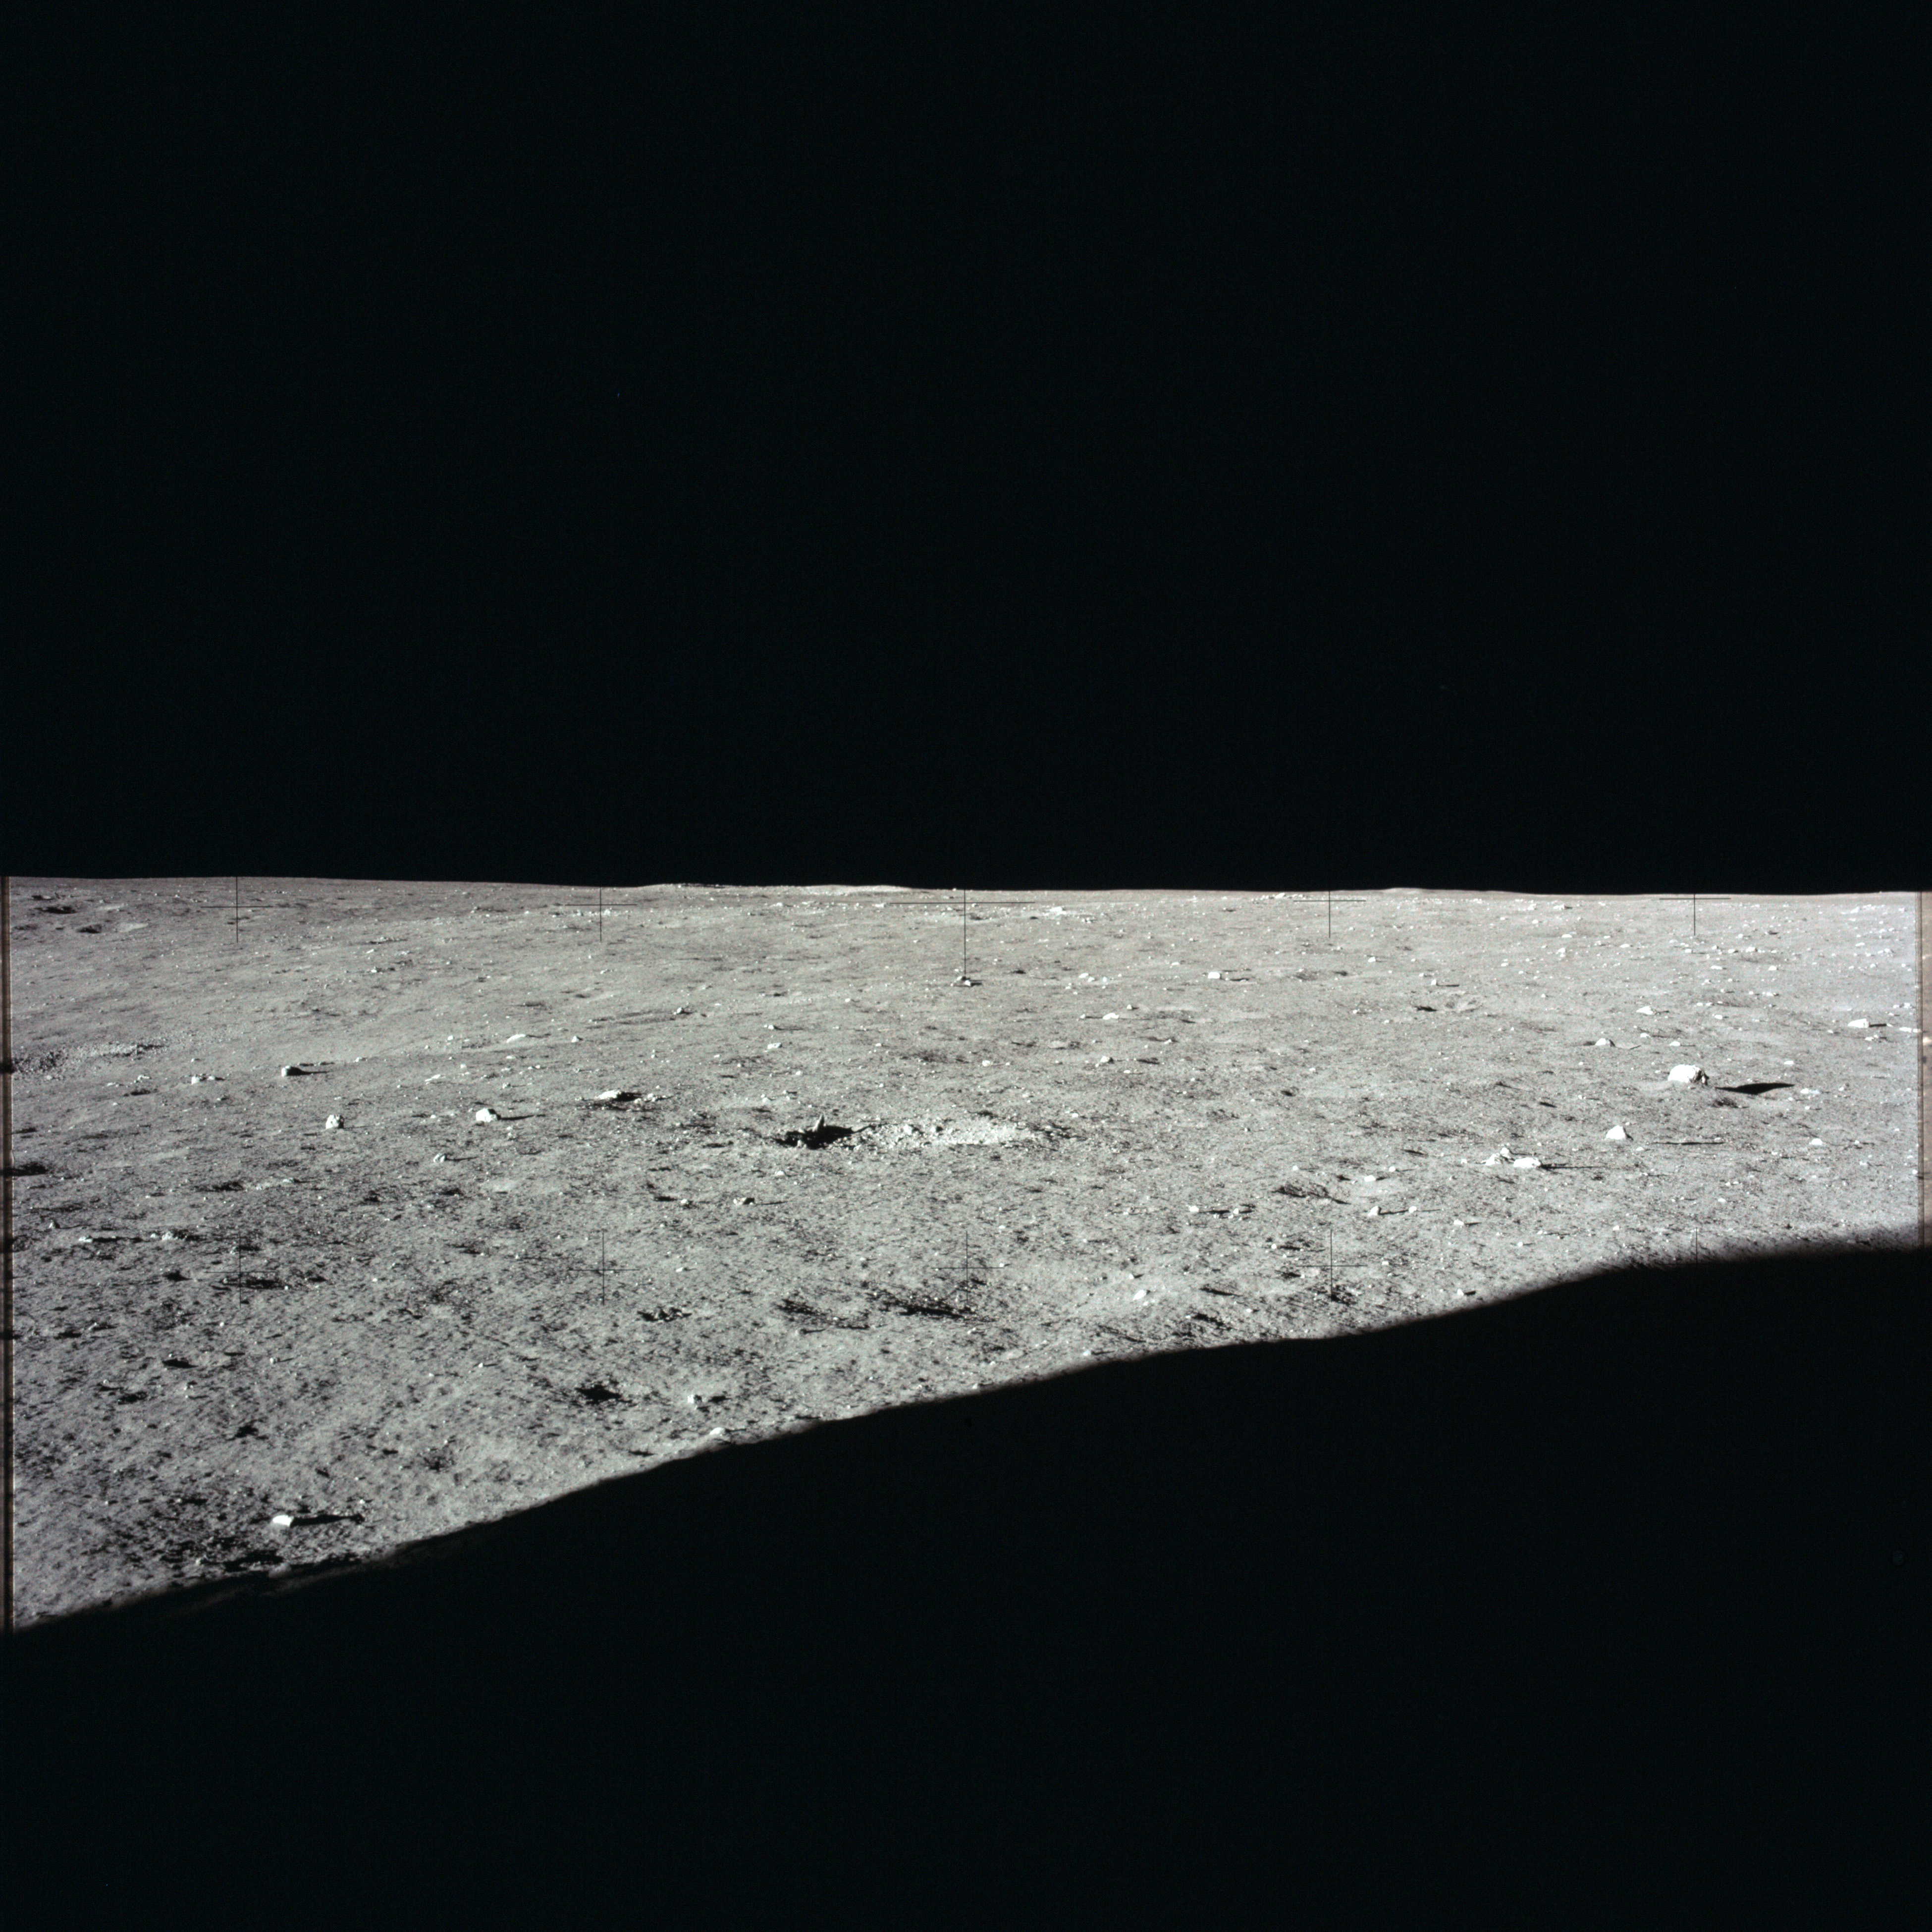
AS12-47-6943 Leftward of 6942. View southwest. Image credit: Image Science and Analysis Laboratory, NASA-Johnson Space Center |
 |
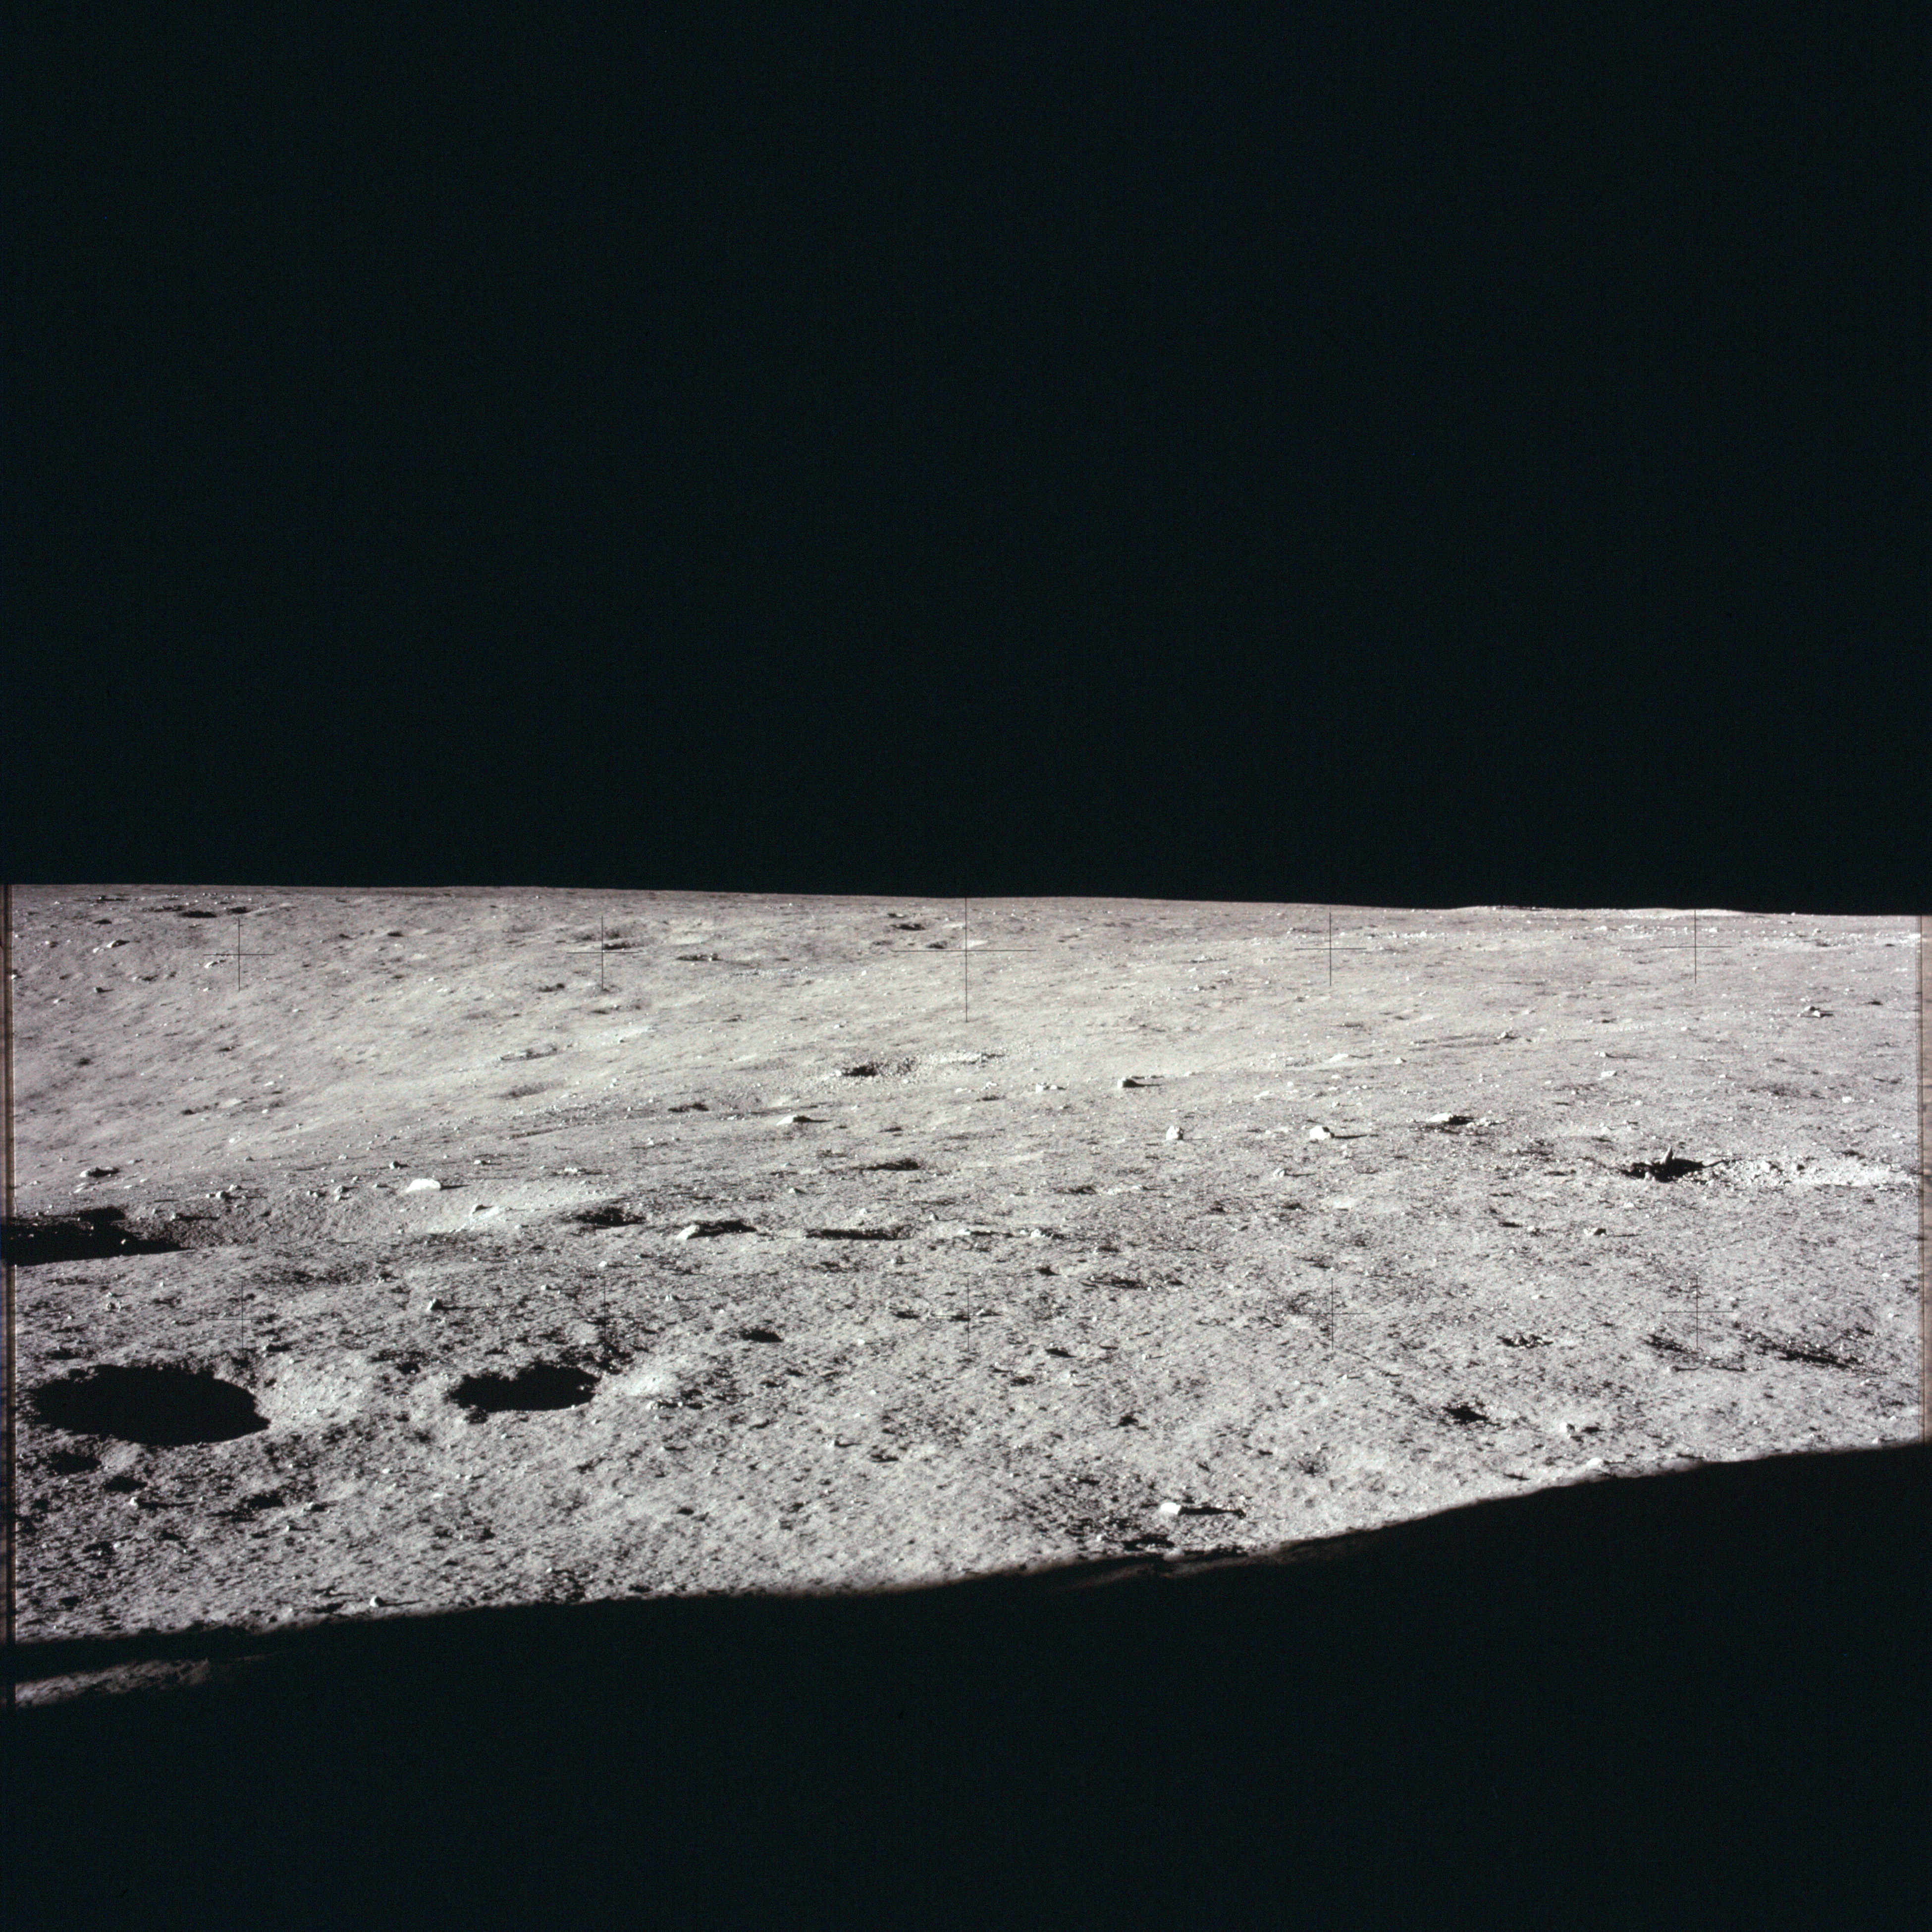
AS12-47-6944 Leftward of 6943. Image credit: Image Science and Analysis Laboratory, NASA-Johnson Space Center |
 |
AS12-47-6945 Leftward of 6944. View across west rim of Surveyor Crater. Image credit: Image Science and Analysis Laboratory, NASA-Johnson Space Center |
 |
AS12-47-6946 Leftward of 6945. View across west rim of Surveyor Crater. Image credit: Image Science and Analysis Laboratory, NASA-Johnson Space Center |
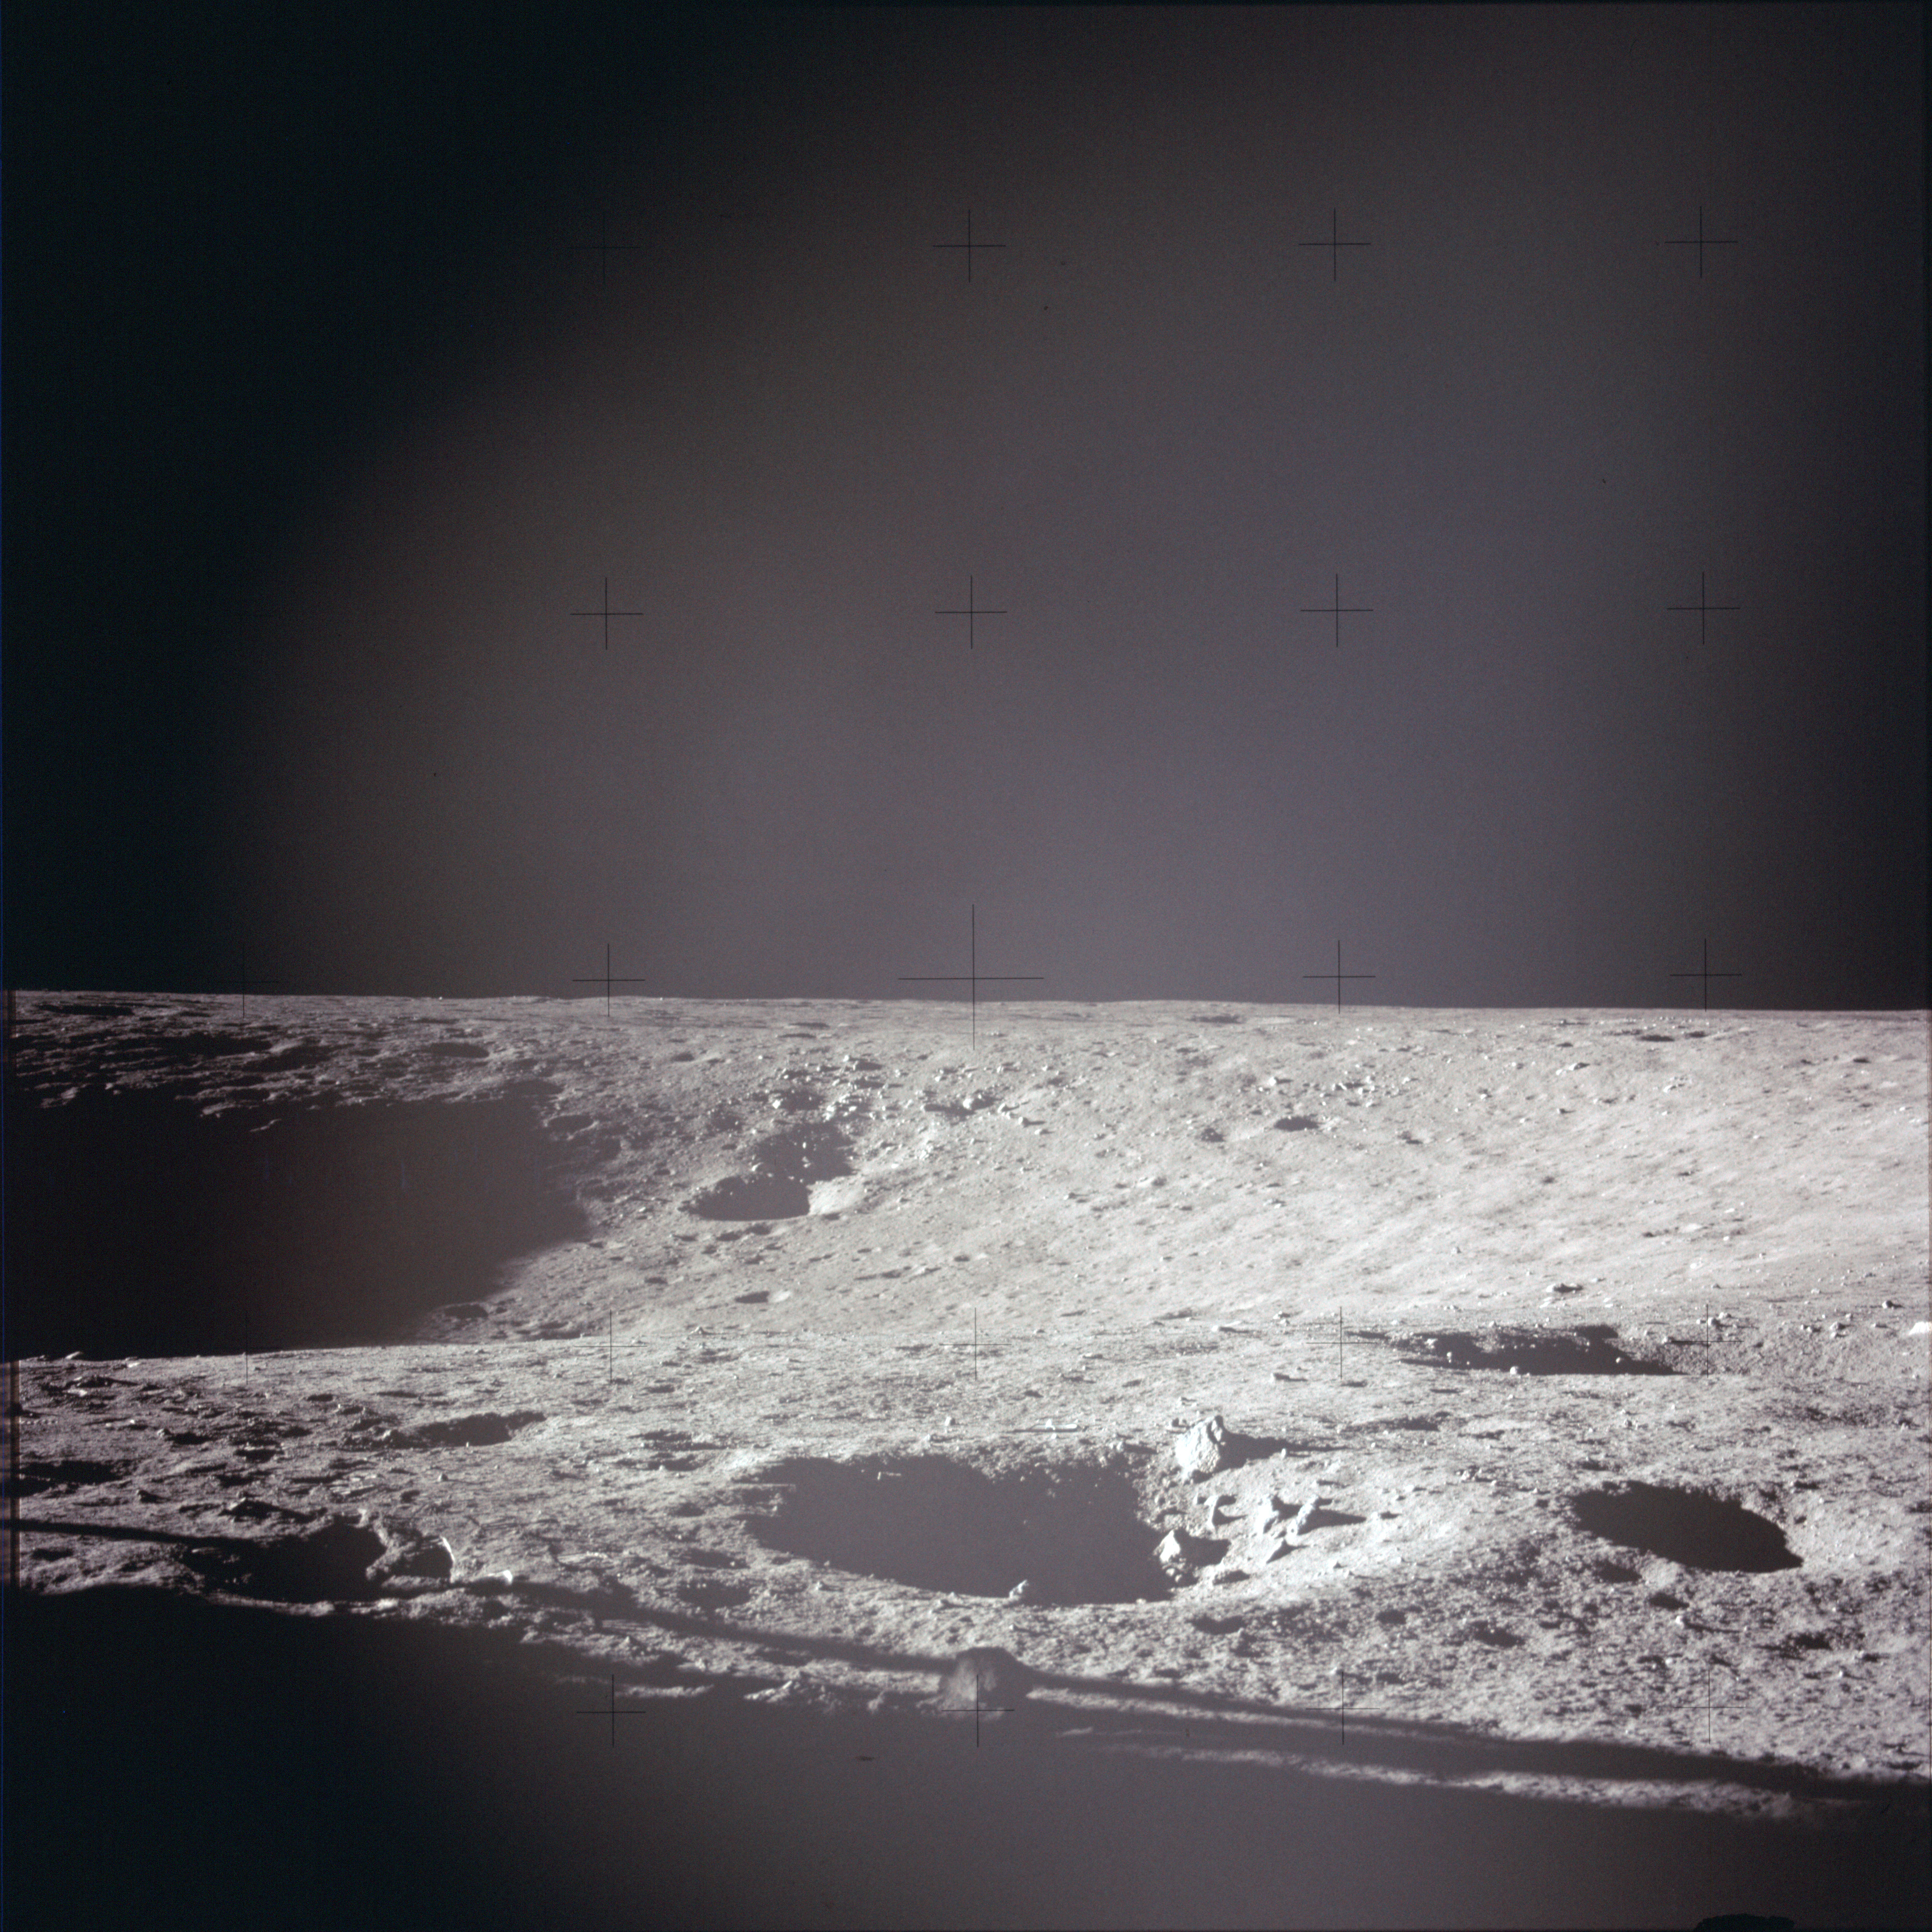 |
AS12-47-6947 Leftward of 6946. View south across west rim of Surveyor Crater. Image credit: Image Science and Analysis Laboratory, NASA-Johnson Space Center |
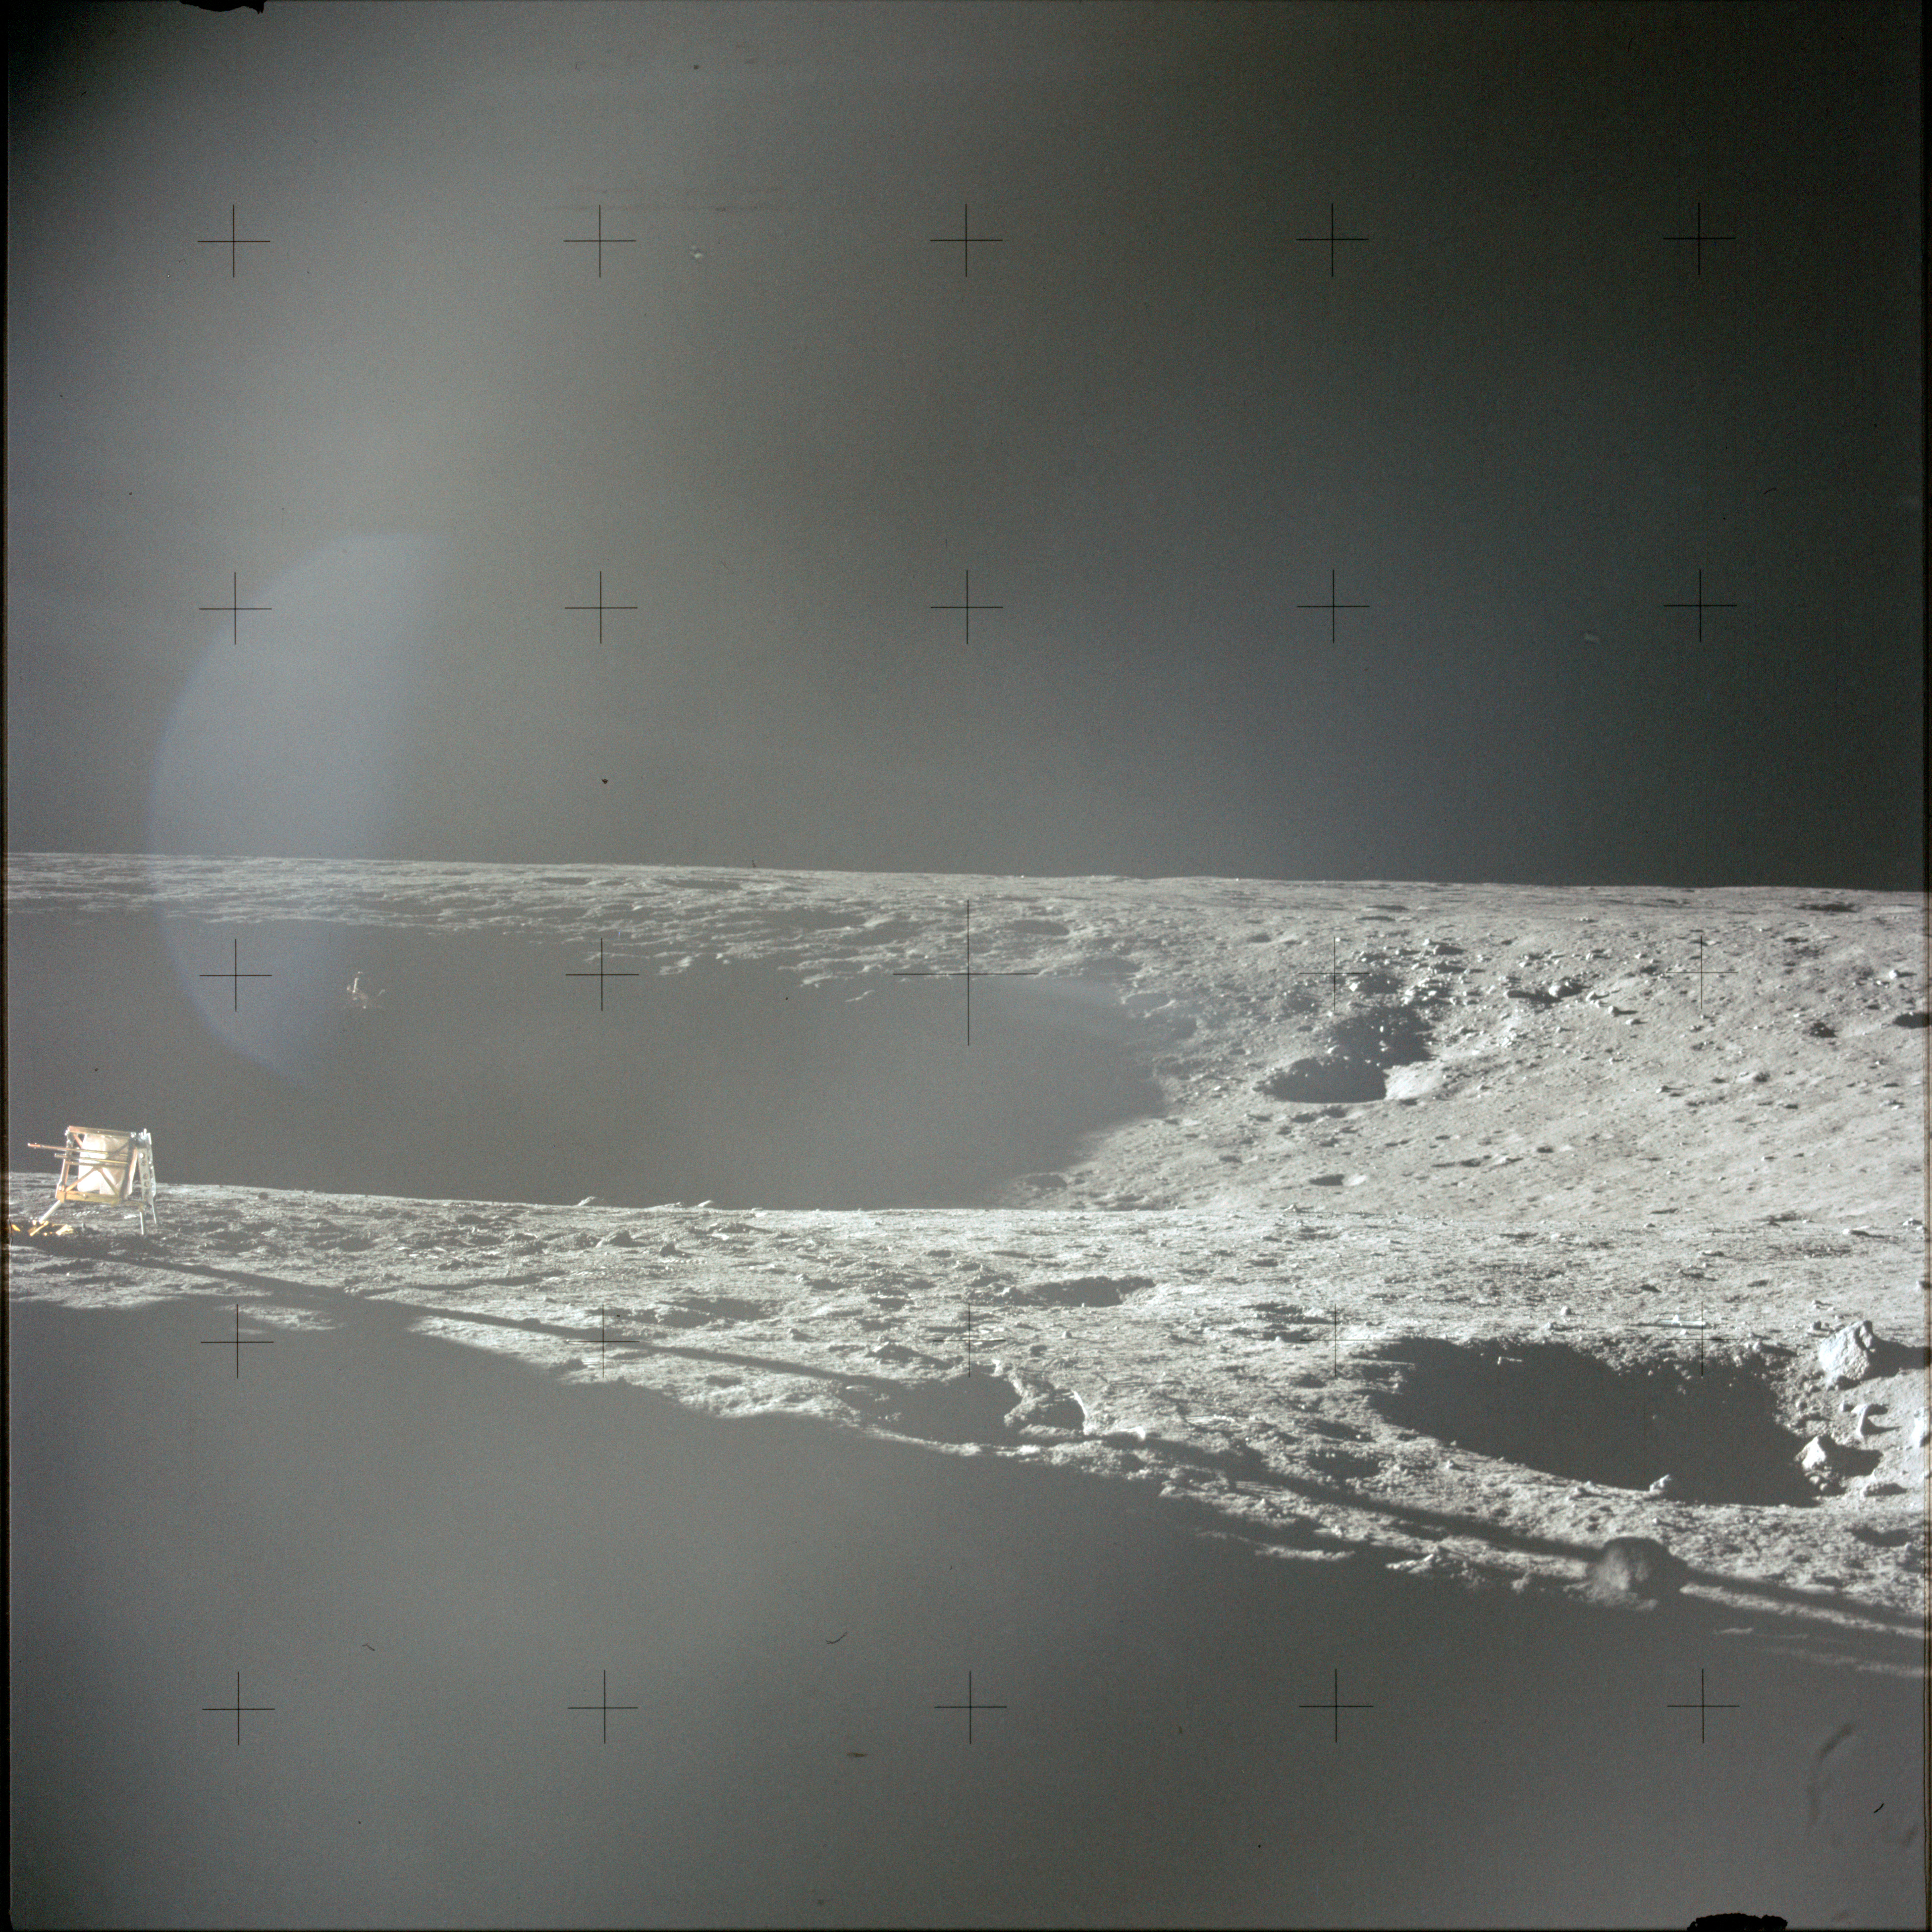 |
AS12-47-6948 Leftward of 6947. View southeast across Surveyor Crater. Image credit: Image Science and Analysis Laboratory, NASA-Johnson Space Center |
 |
AS12-47-6949 Leftward of 6948. View southeast across Surveyor Crater. Image credit: Image Science and Analysis Laboratory, NASA-Johnson Space Center |
 |
AS12-47-6950 Leftward of 6949. Up-Sun view towards LM. Washed out by lens flare. Image credit: Image Science and Analysis Laboratory, NASA-Johnson Space Center |
 |
AS12-47-6951 Leftward of 6950. Up-Sun view towards LM. Washed out by lens flare. Image credit: Image Science and Analysis Laboratory, NASA-Johnson Space Center |
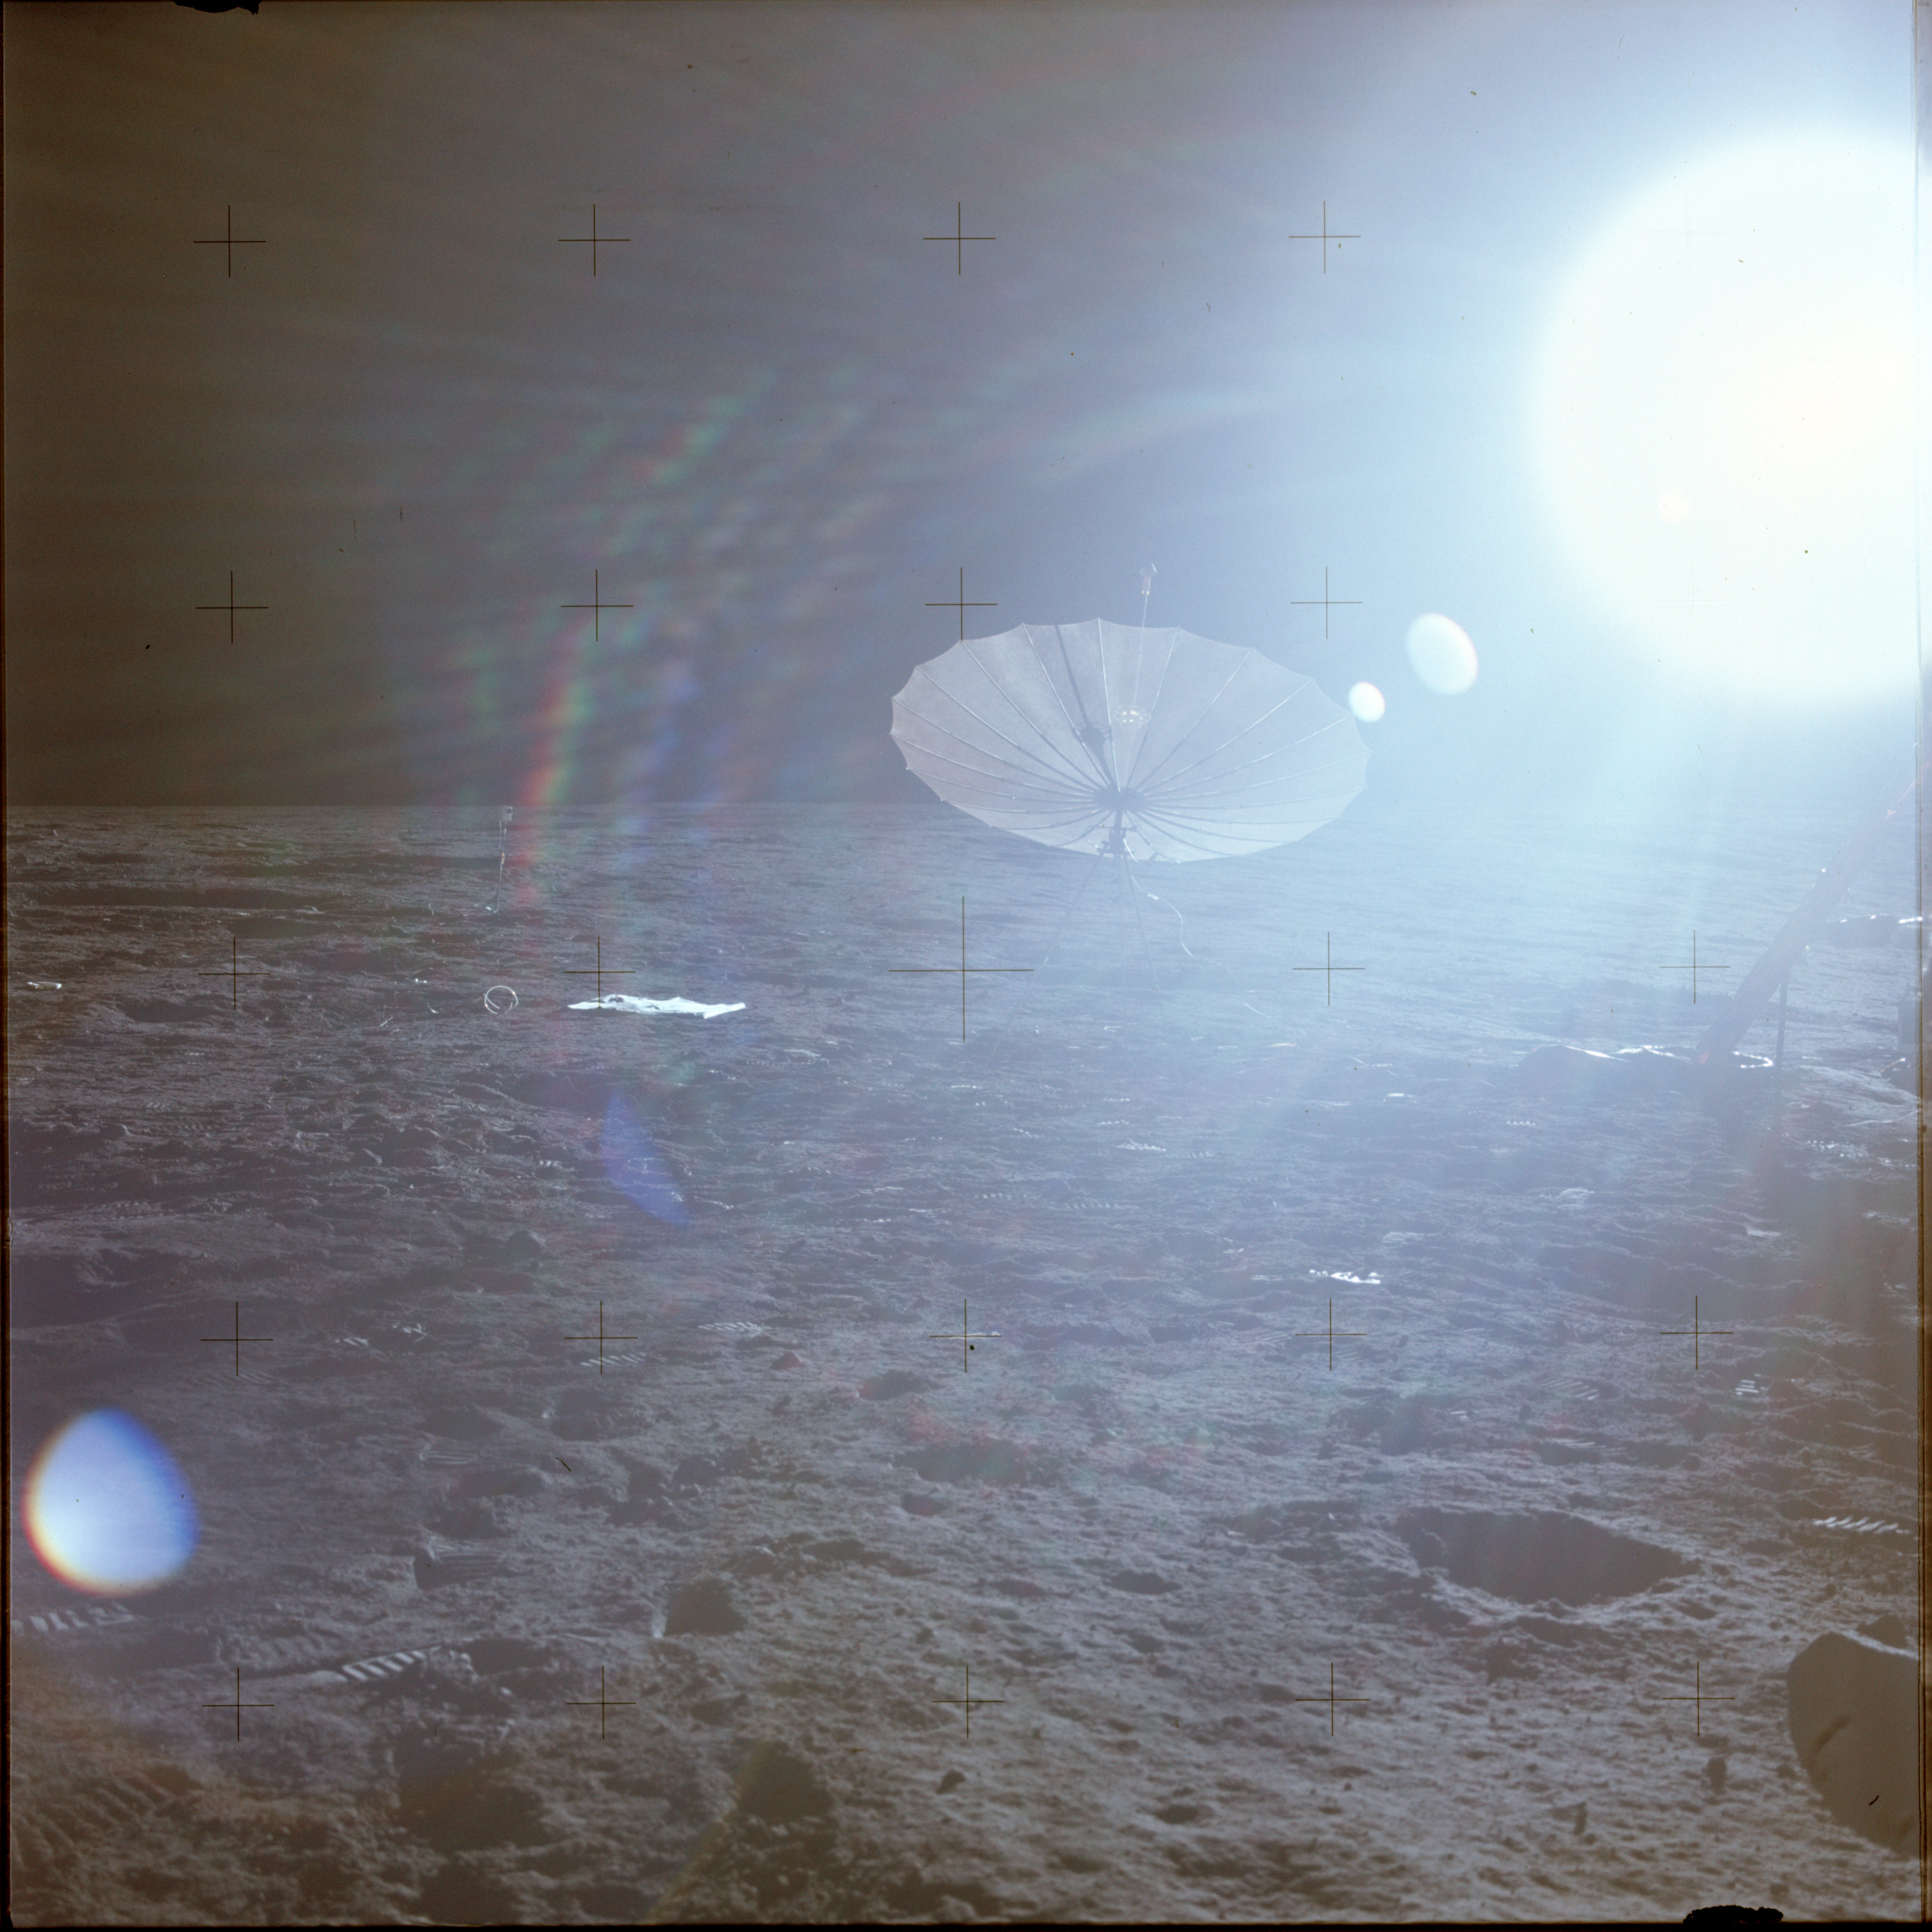 |
AS12-47-6952 Leftward of 6951. Up-Sun view towards LM. Washed out by lens flare. Image credit: Image Science and Analysis Laboratory, NASA-Johnson Space Center |
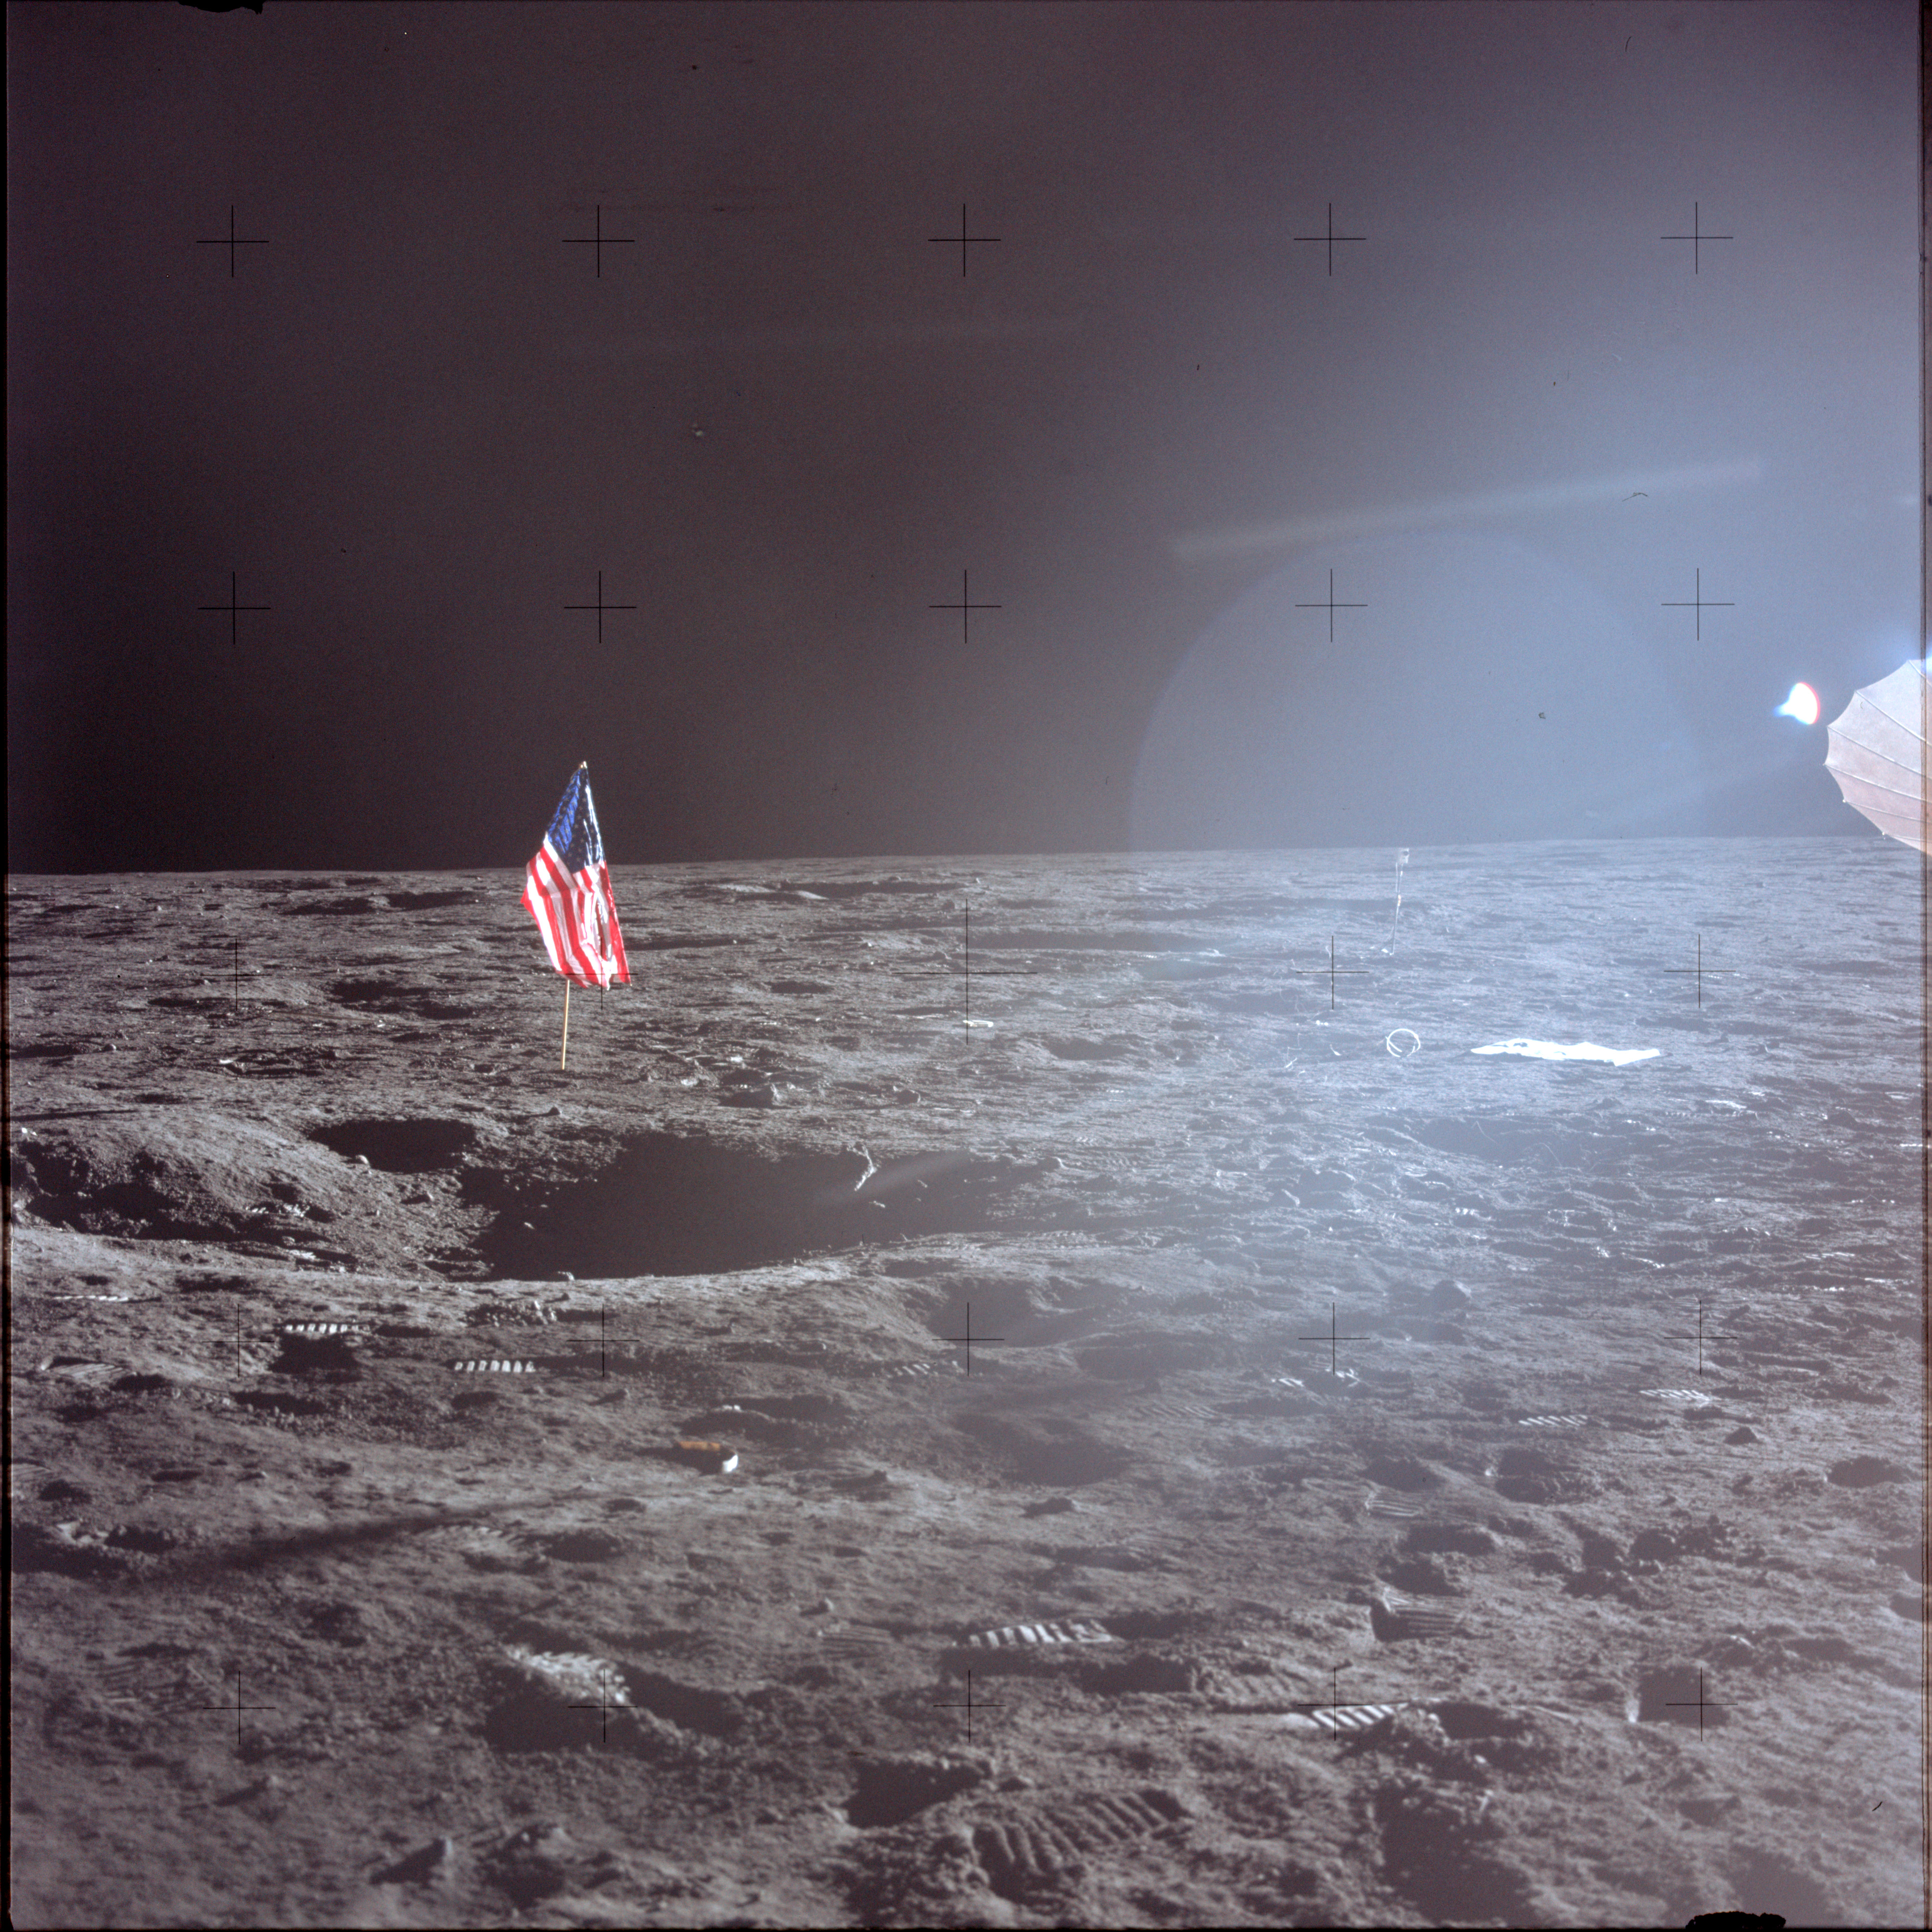 |
AS12-47-6953 Leftward of 6952. View northeast, with flag. Image credit: Image Science and Analysis Laboratory, NASA-Johnson Space Center |
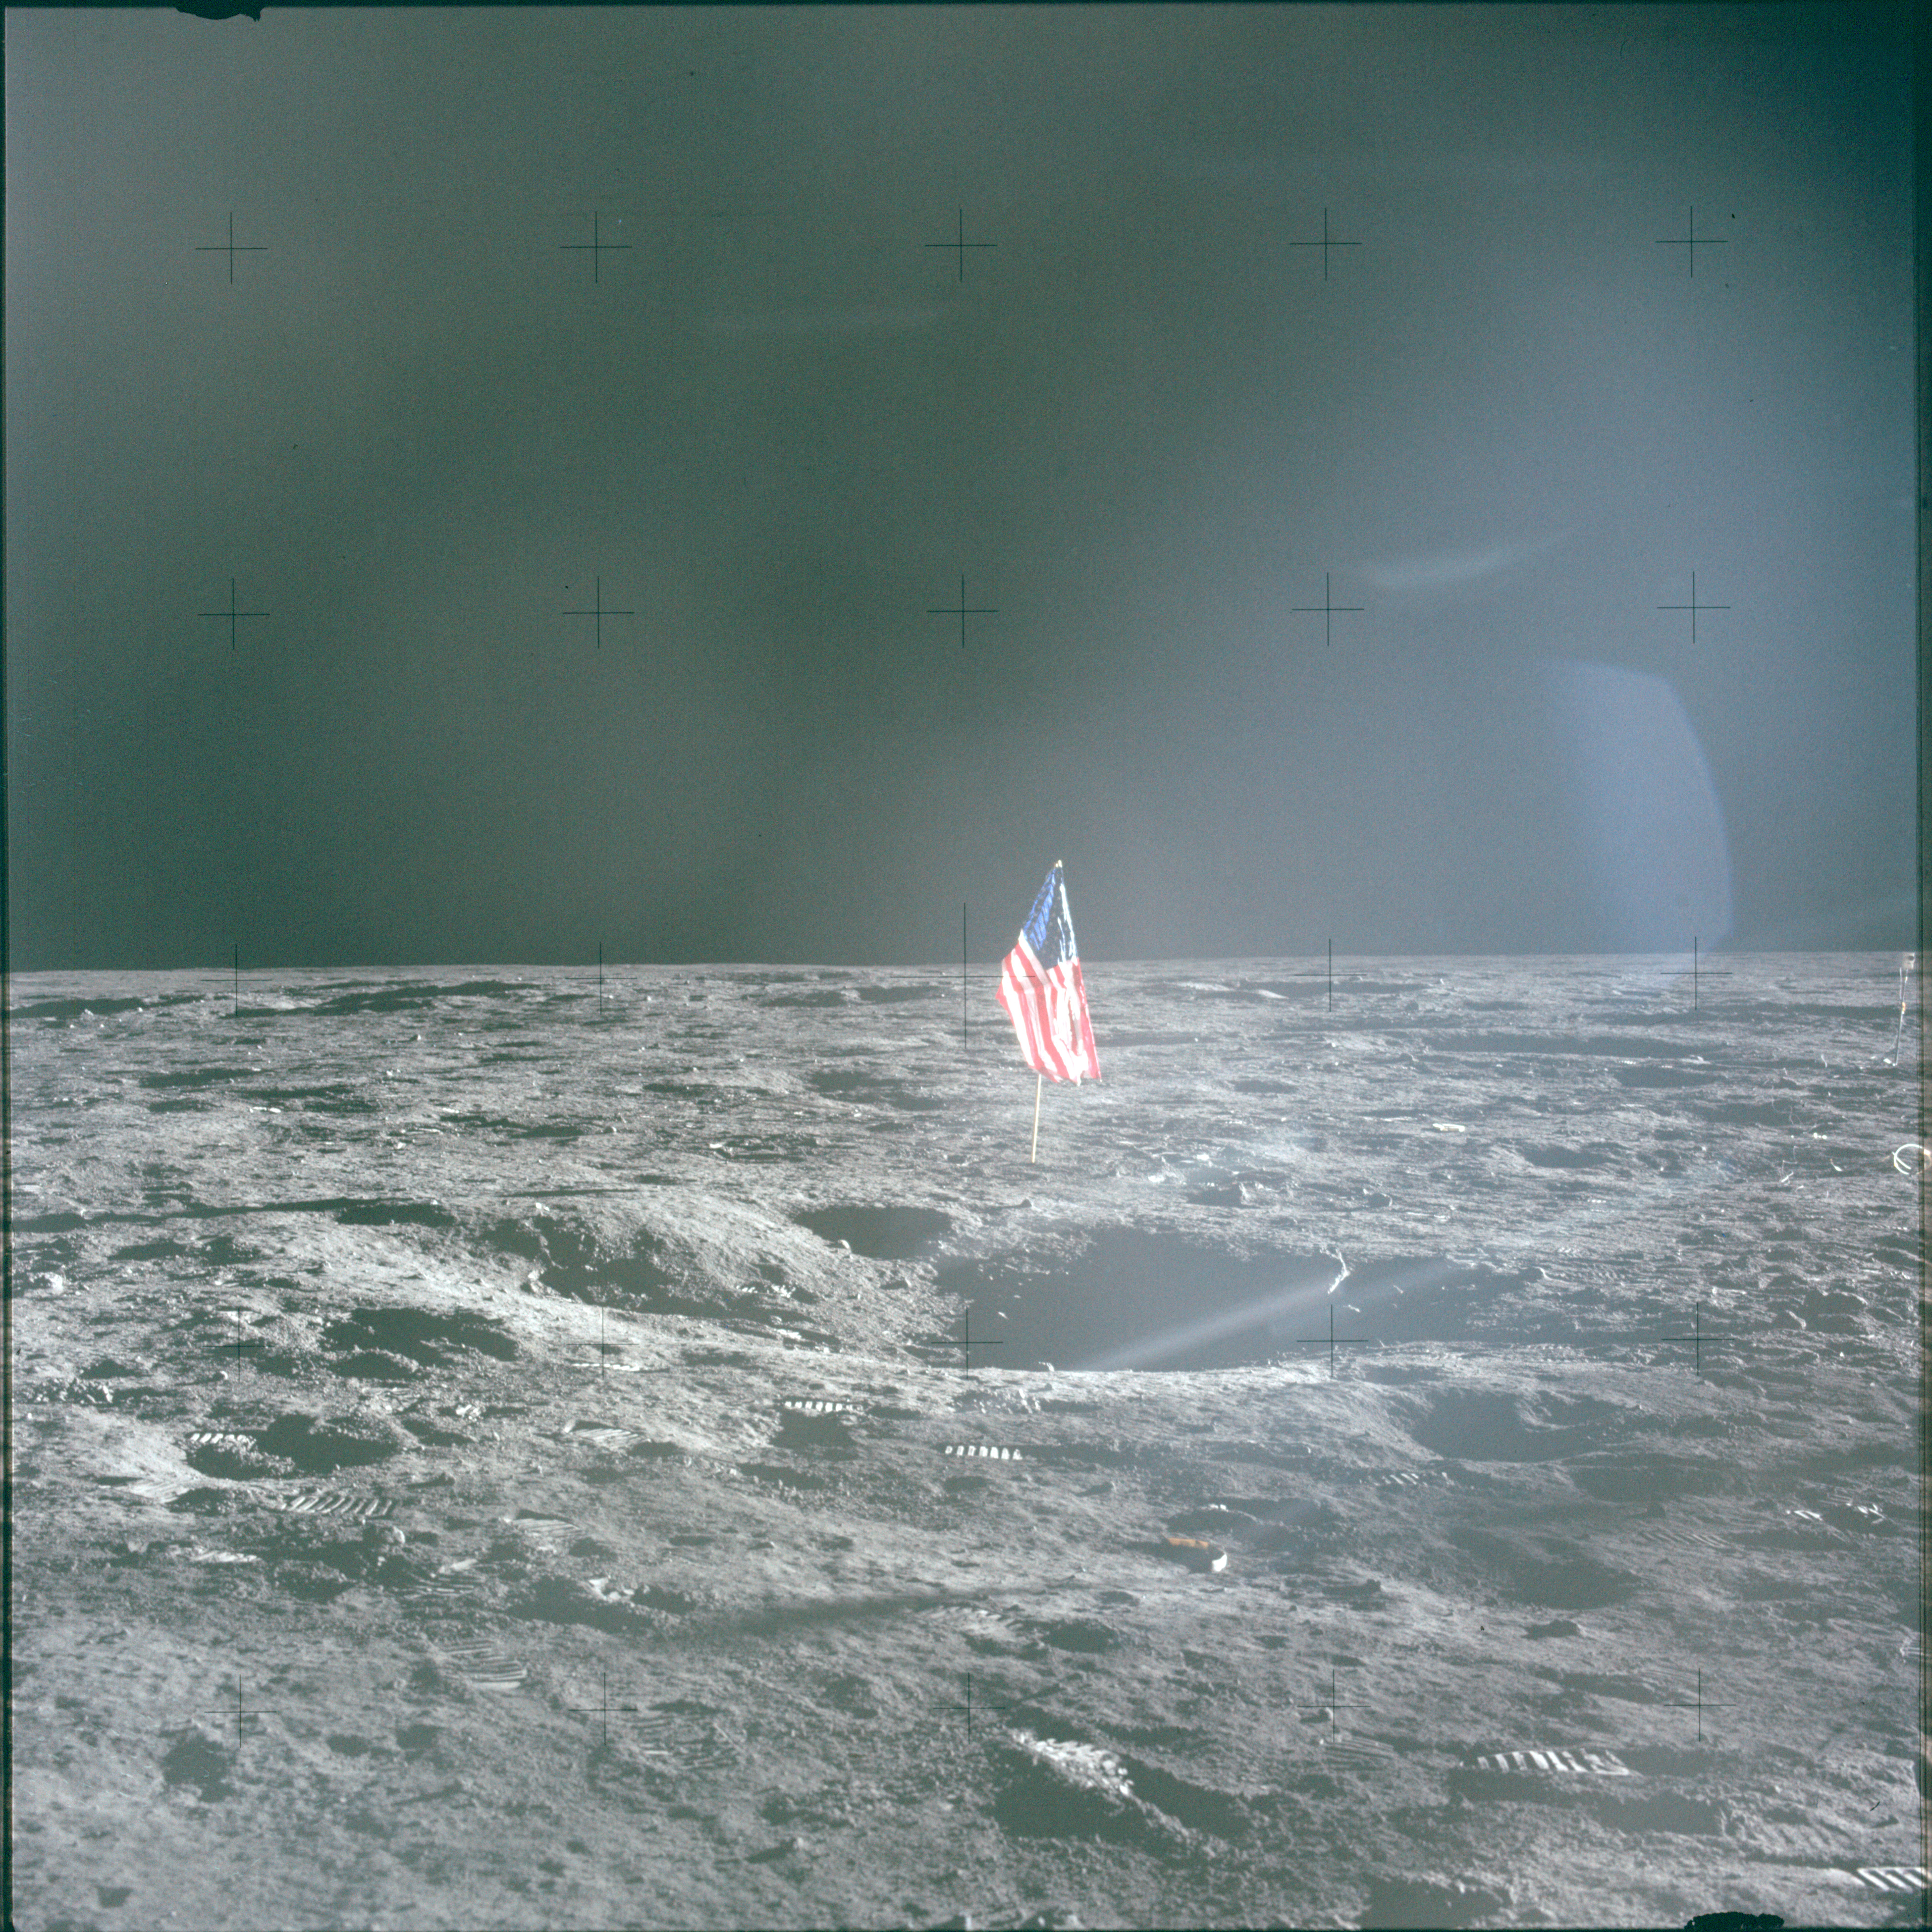 |
AS12-47-6954 Leftward of 6953. View northeast, with flag. Image credit: Image Science and Analysis Laboratory, NASA-Johnson Space Center |
 |
AS12-47-6955 Leftward of 6954. View north, with flag. Image credit: Image Science and Analysis Laboratory, NASA-Johnson Space Center |
 |
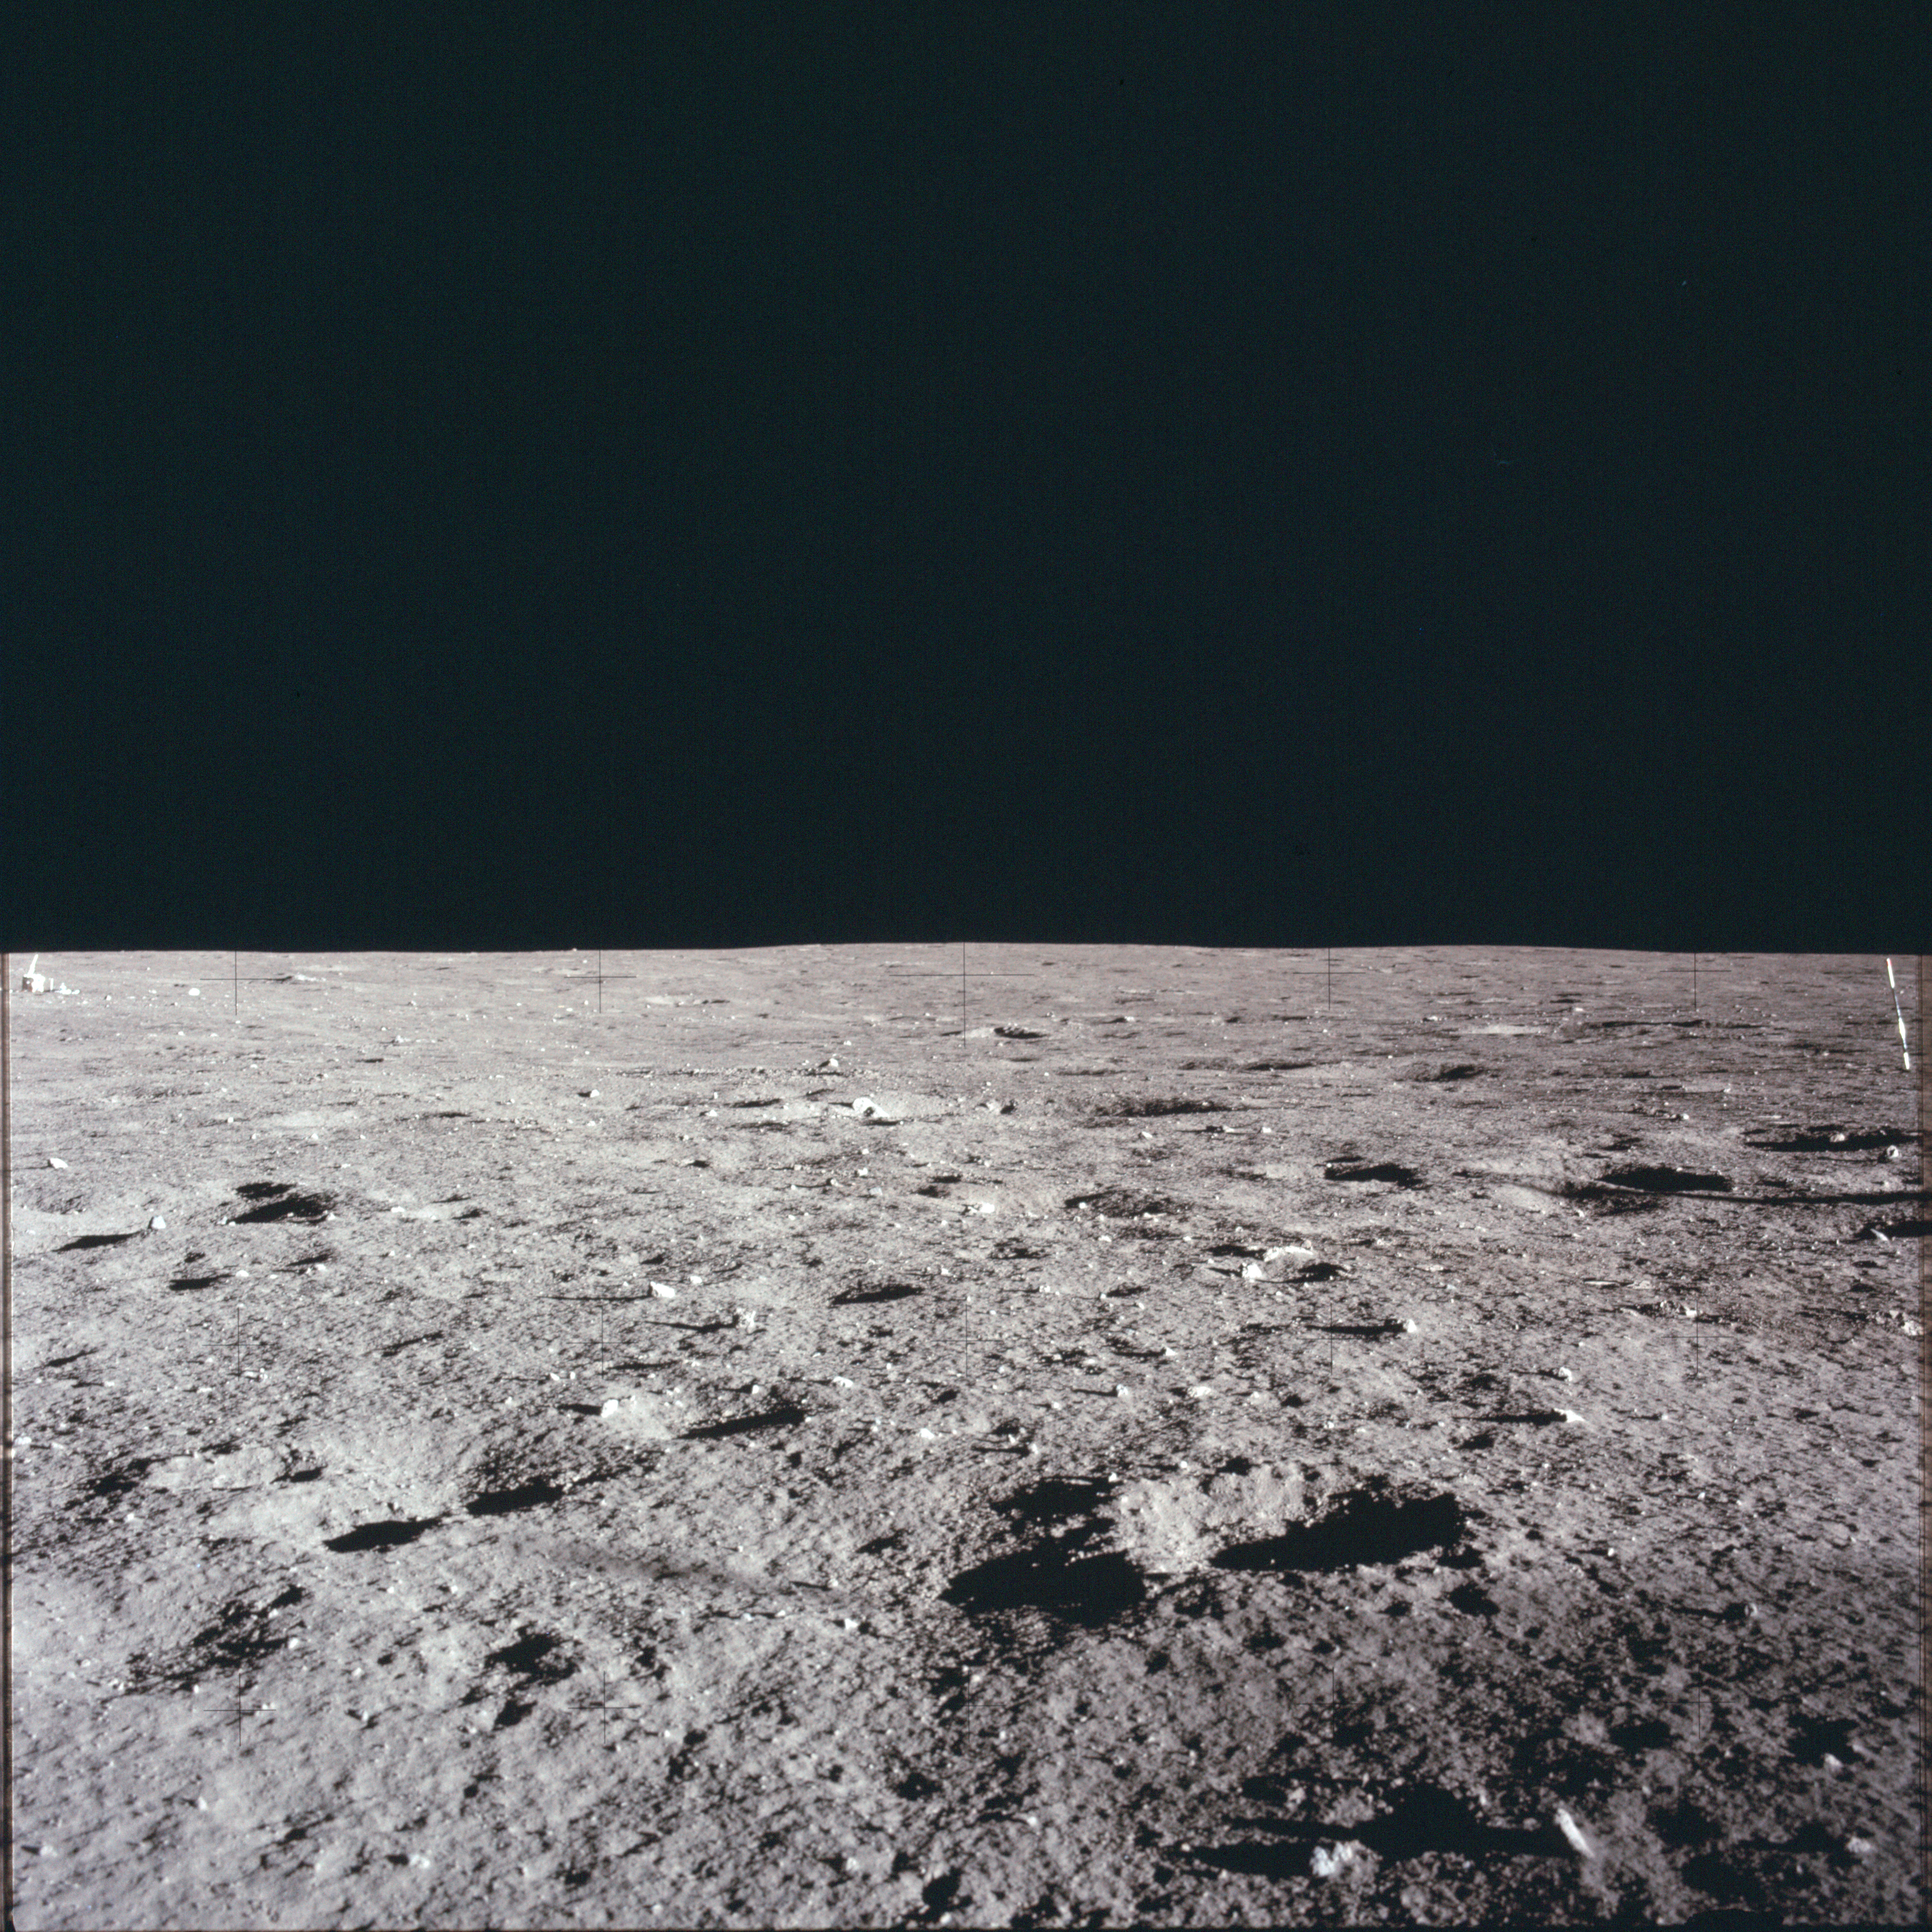
AS12-47-6956 Leftward of 6955. View north, with solar wind experiment. Image credit: Image Science and Analysis Laboratory, NASA-Johnson Space Center |
 |
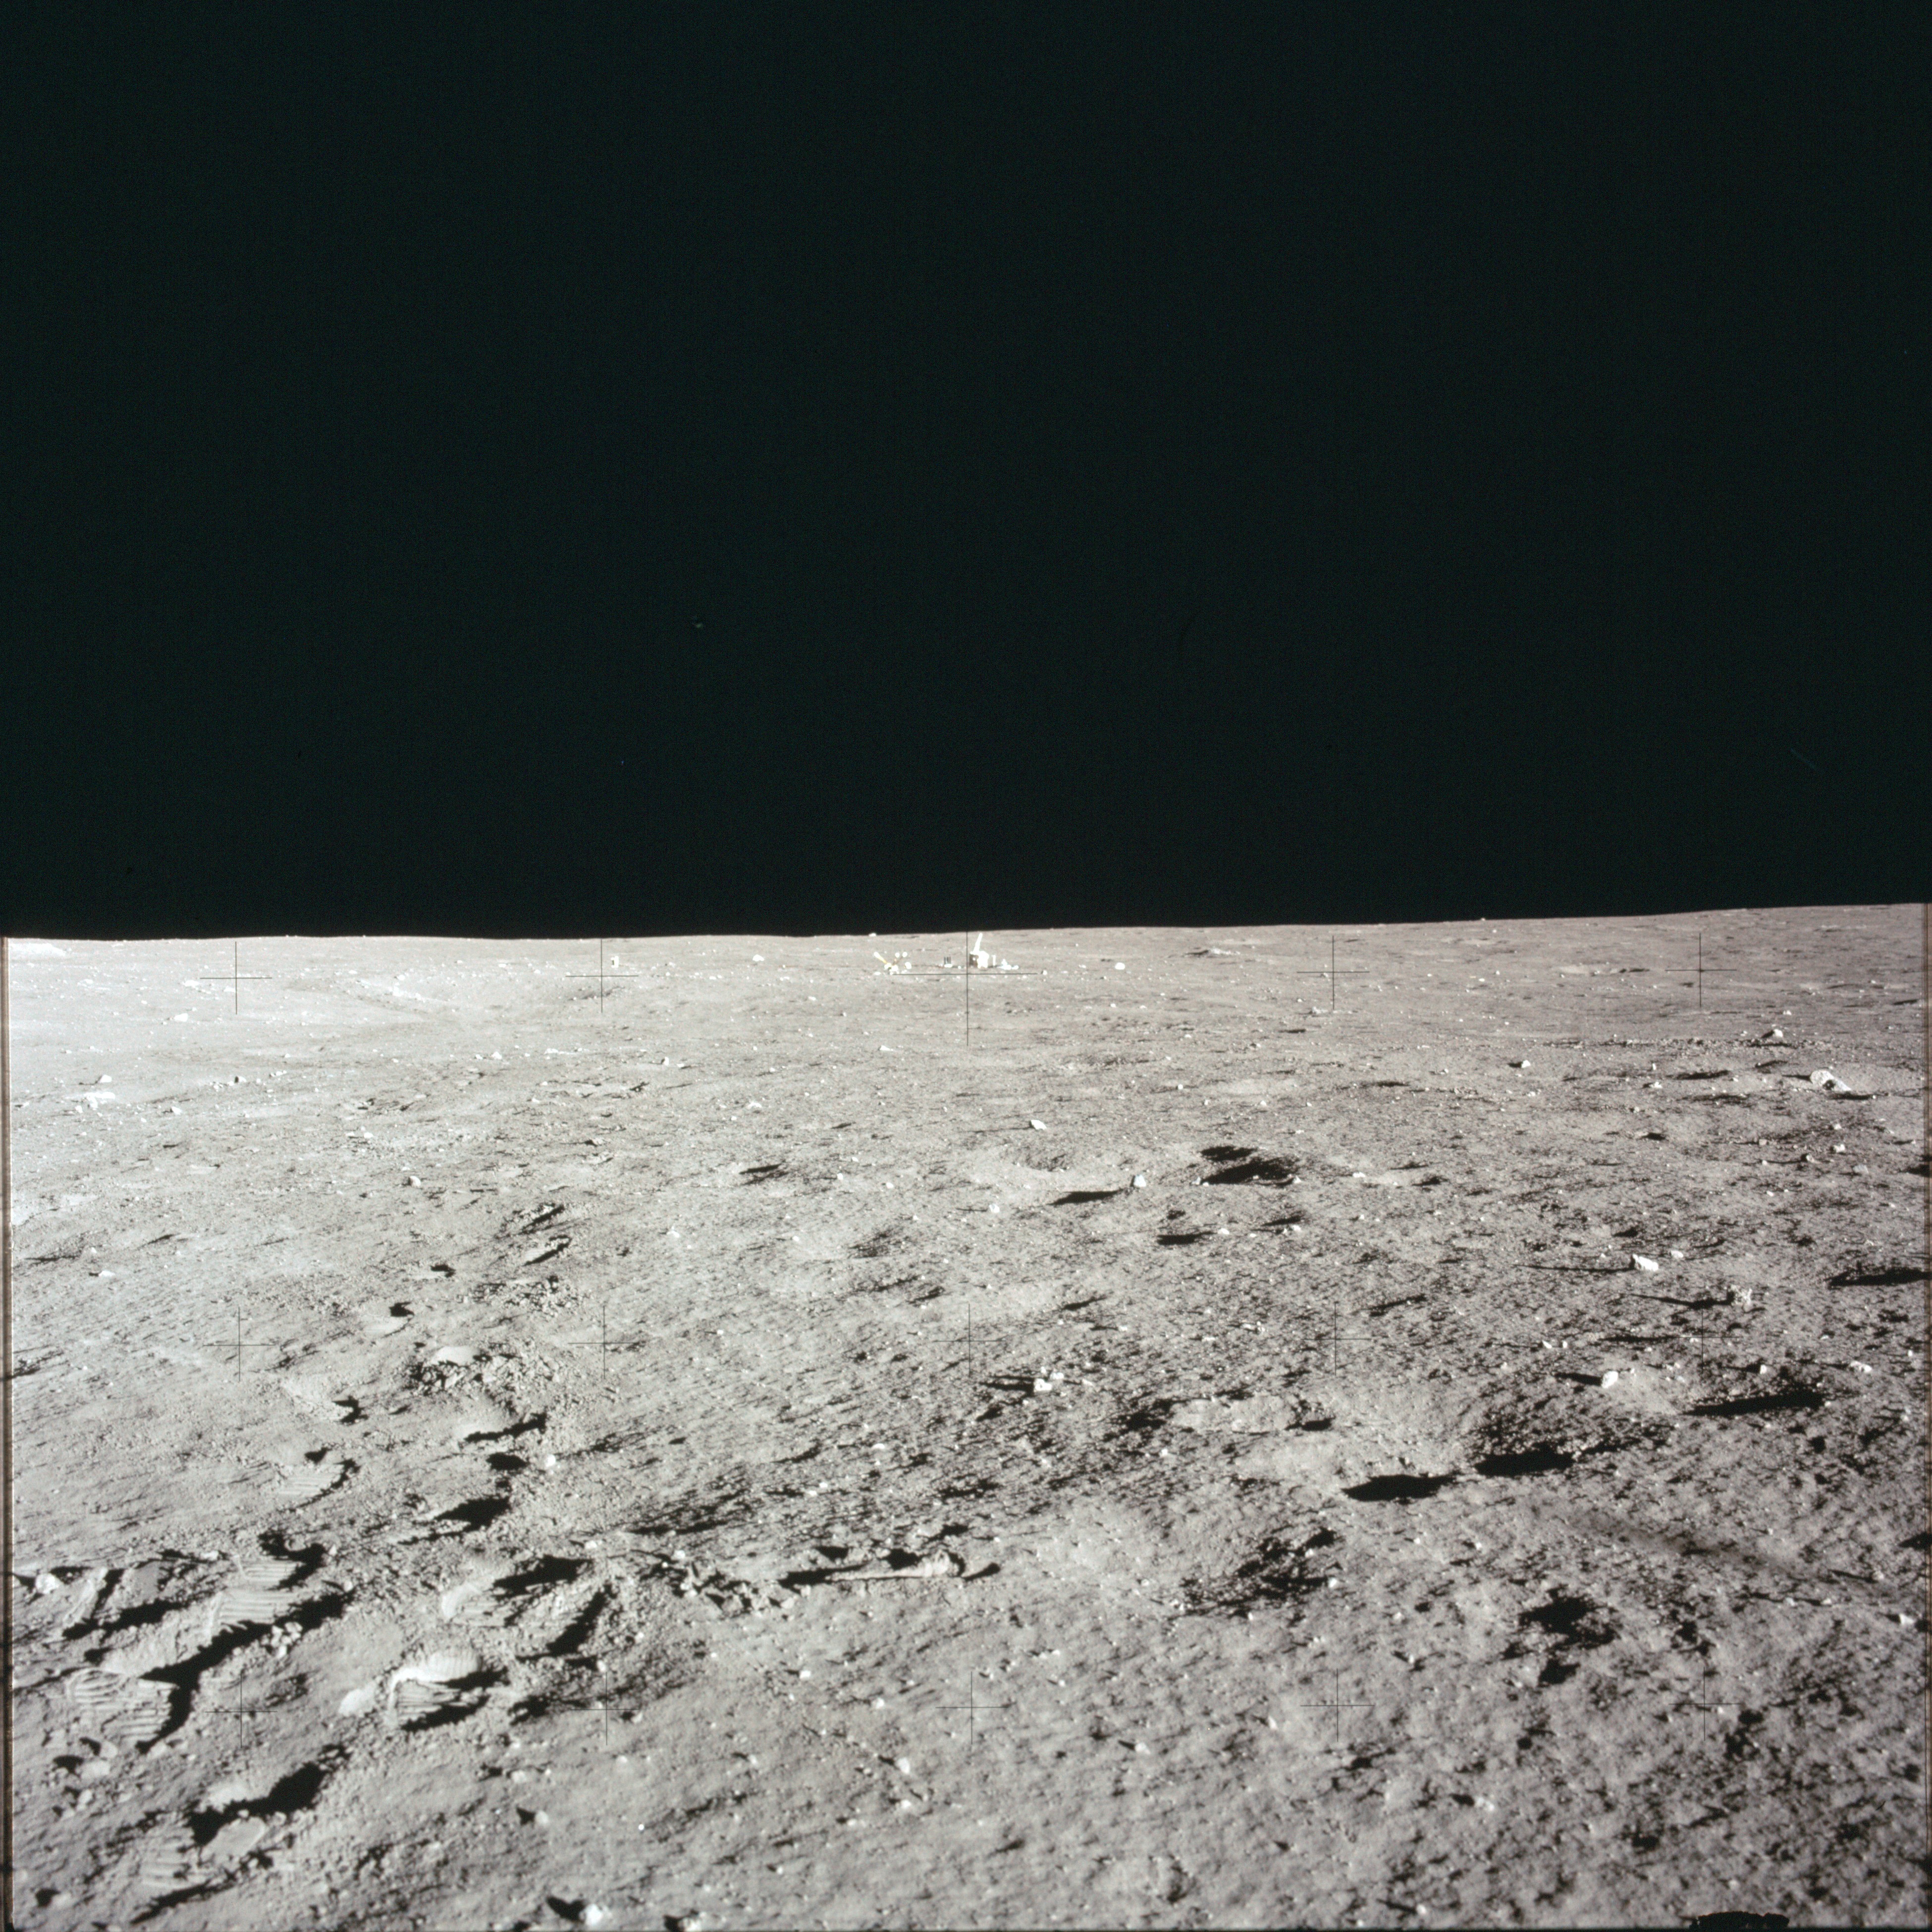
AS12-47-6957 Leftward of 6956. View northwest with ALSEP in the distance extreme left. Image credit: Image Science and Analysis Laboratory, NASA-Johnson Space Center |
 |
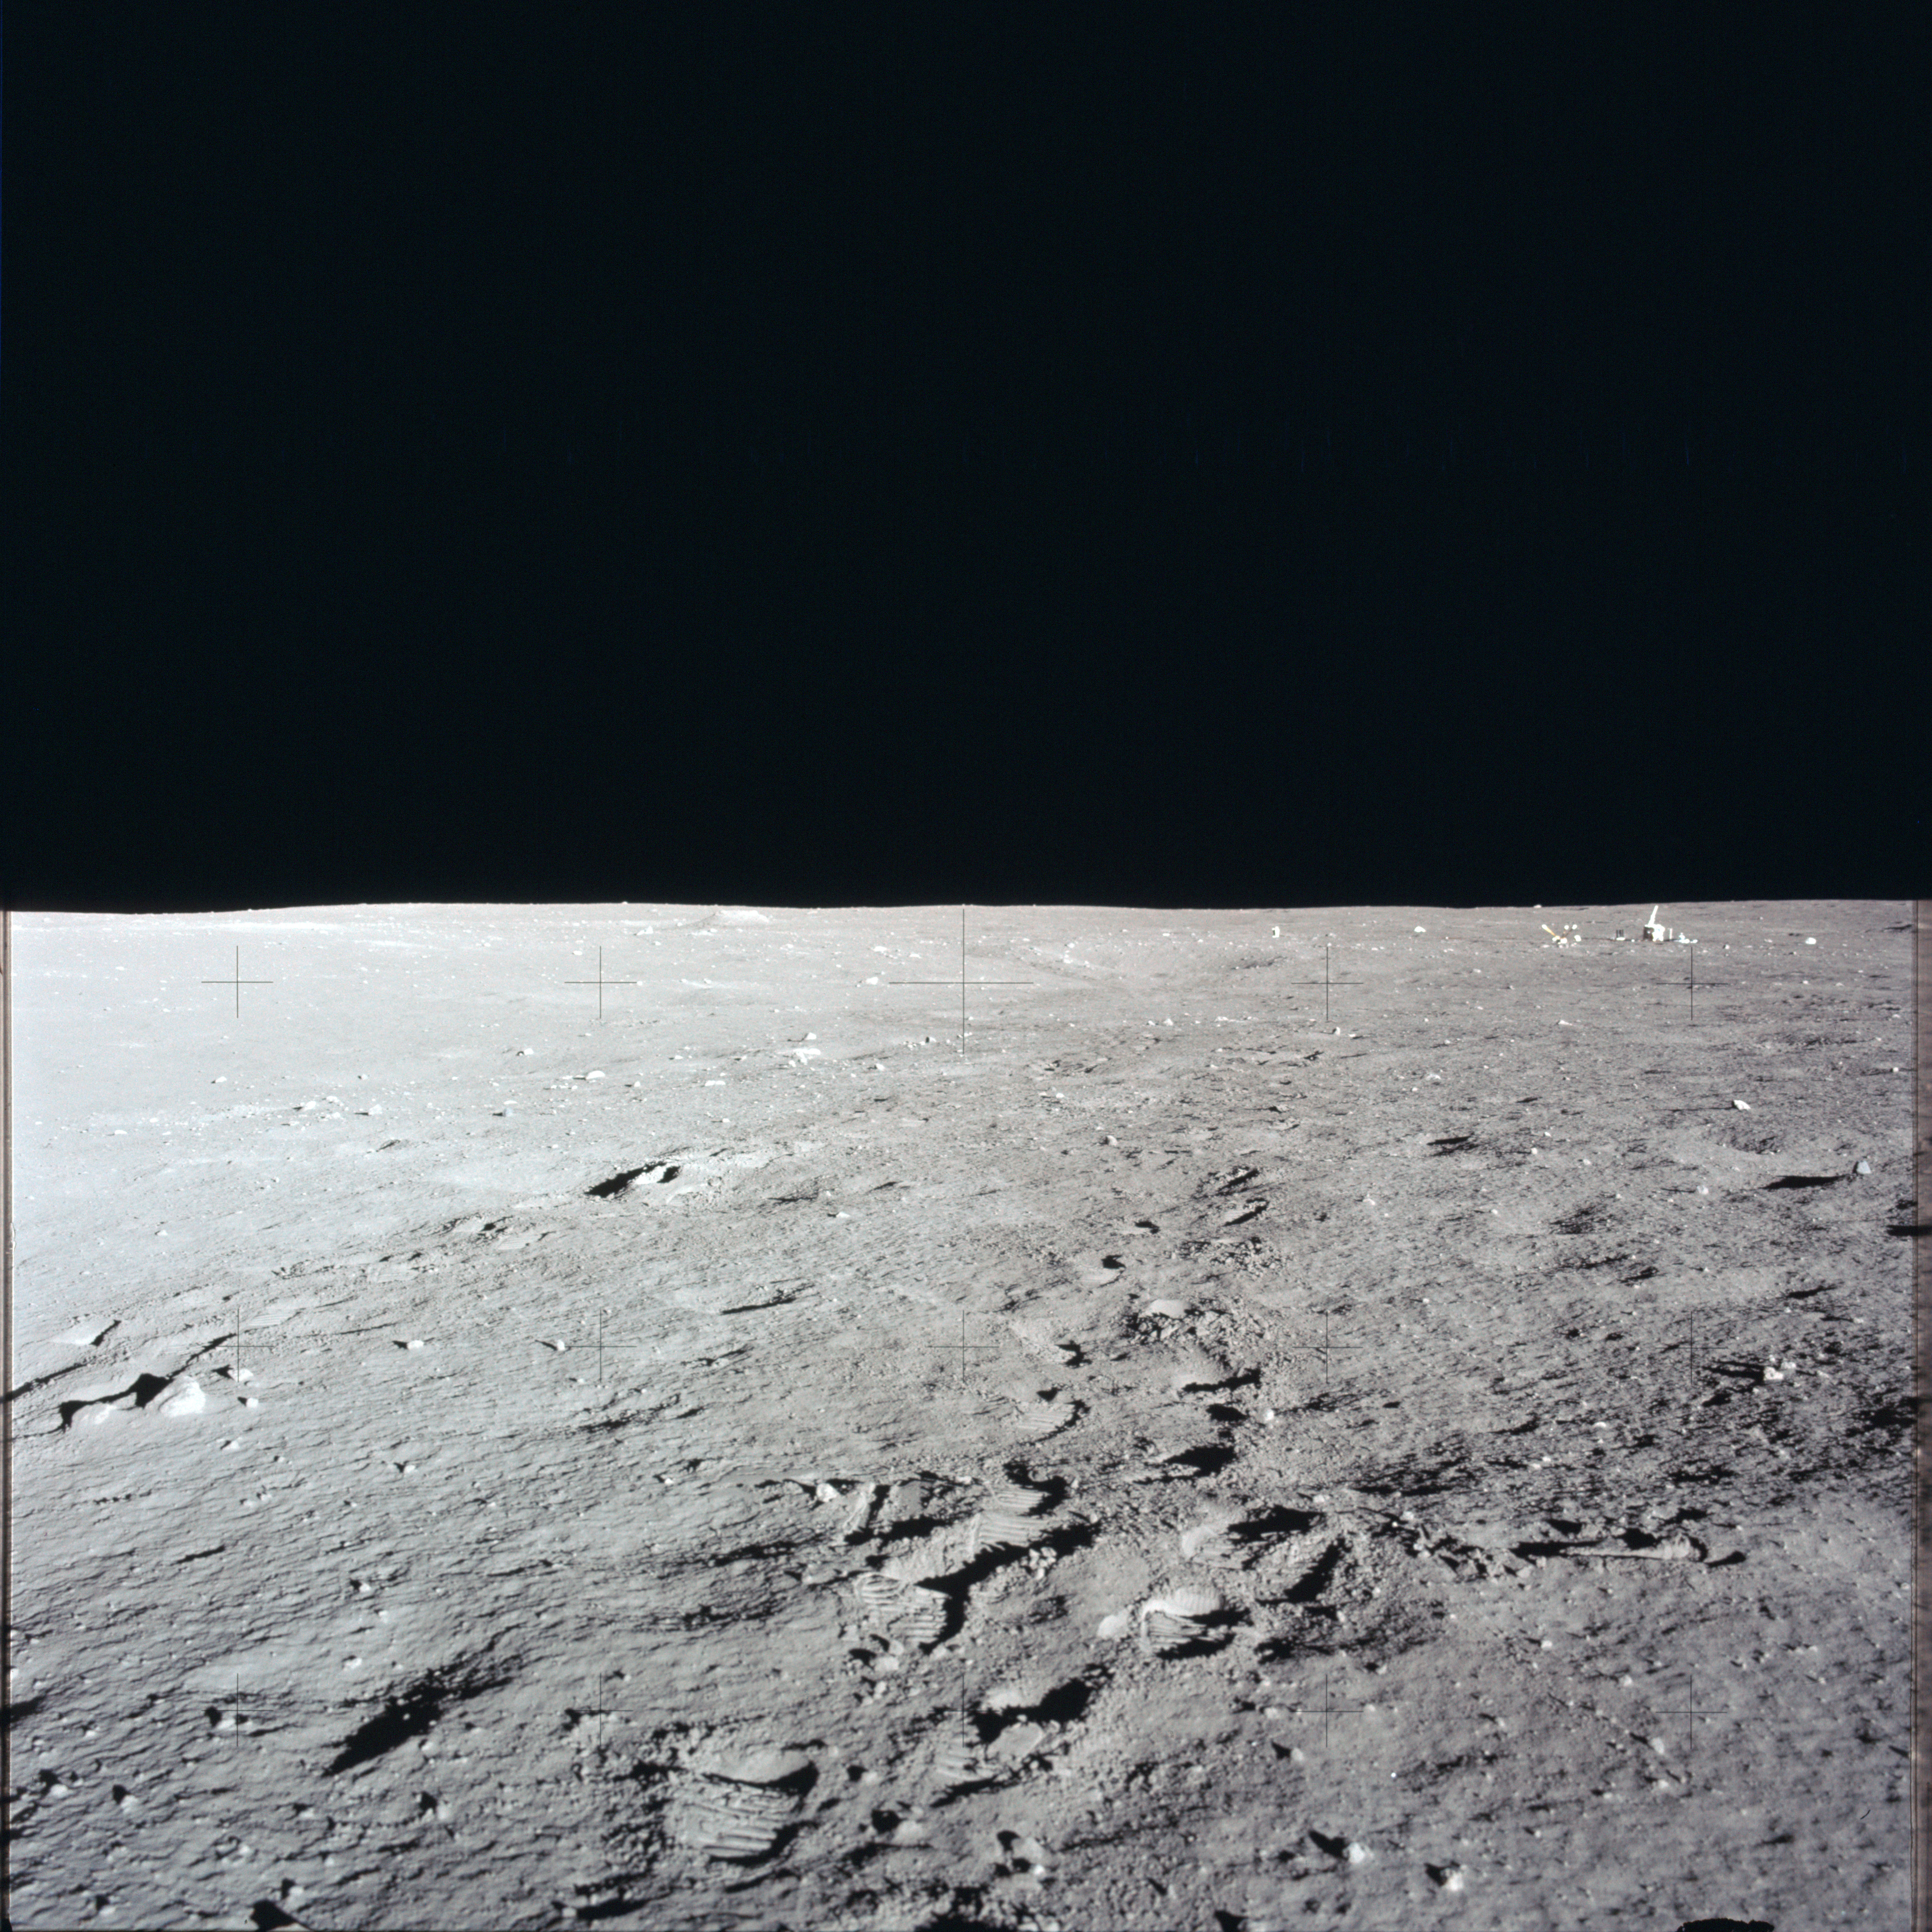
AS12-47-6958 Leftward of 6957. View northwest with ALSEP in the distance. Image credit: Image Science and Analysis Laboratory, NASA-Johnson Space Center |
 |
AS12-47-6959 Leftward of 6958. View west with ALSEP in the distance on the right. Image credit: Image Science and Analysis Laboratory, NASA-Johnson Space Center |
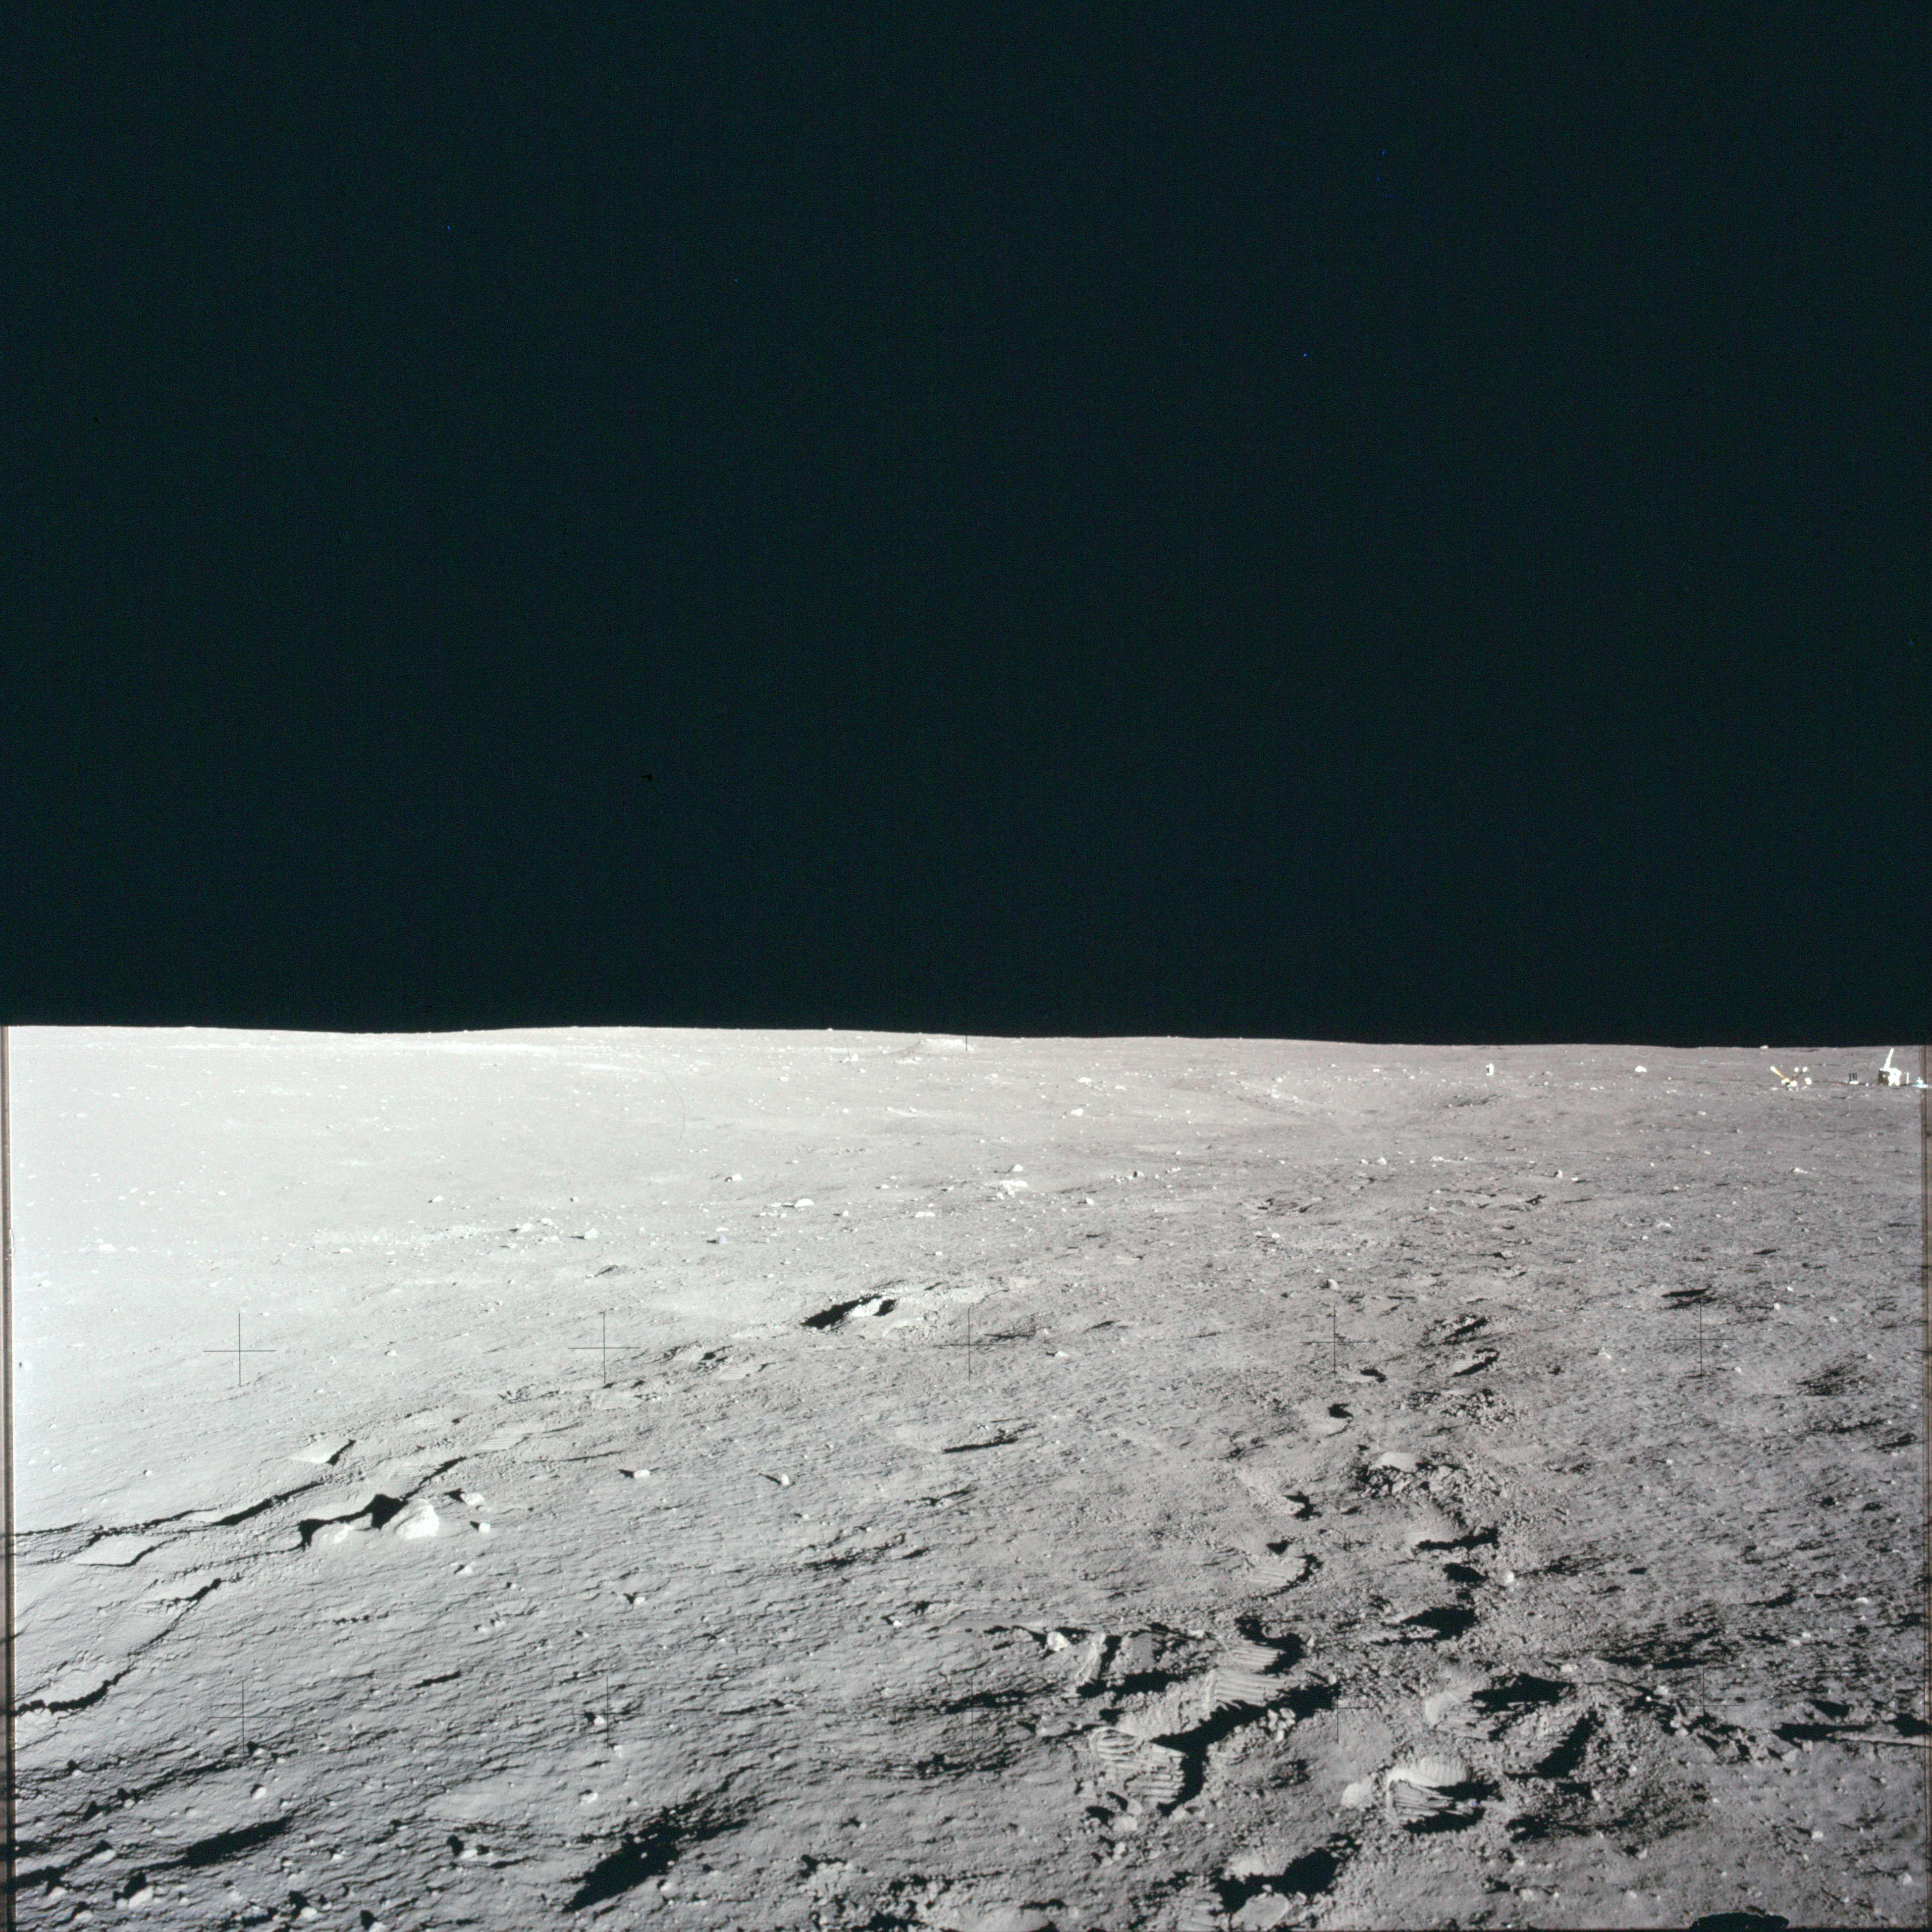 |
AS12-47-6960 Slightly leftward of 6959. View west with ALSEP in the distance on the extreme right. Last frame of Al Bean's 12 O'Clock Pan. Image credit: Image Science and Analysis Laboratory, NASA-Johnson Space Center |
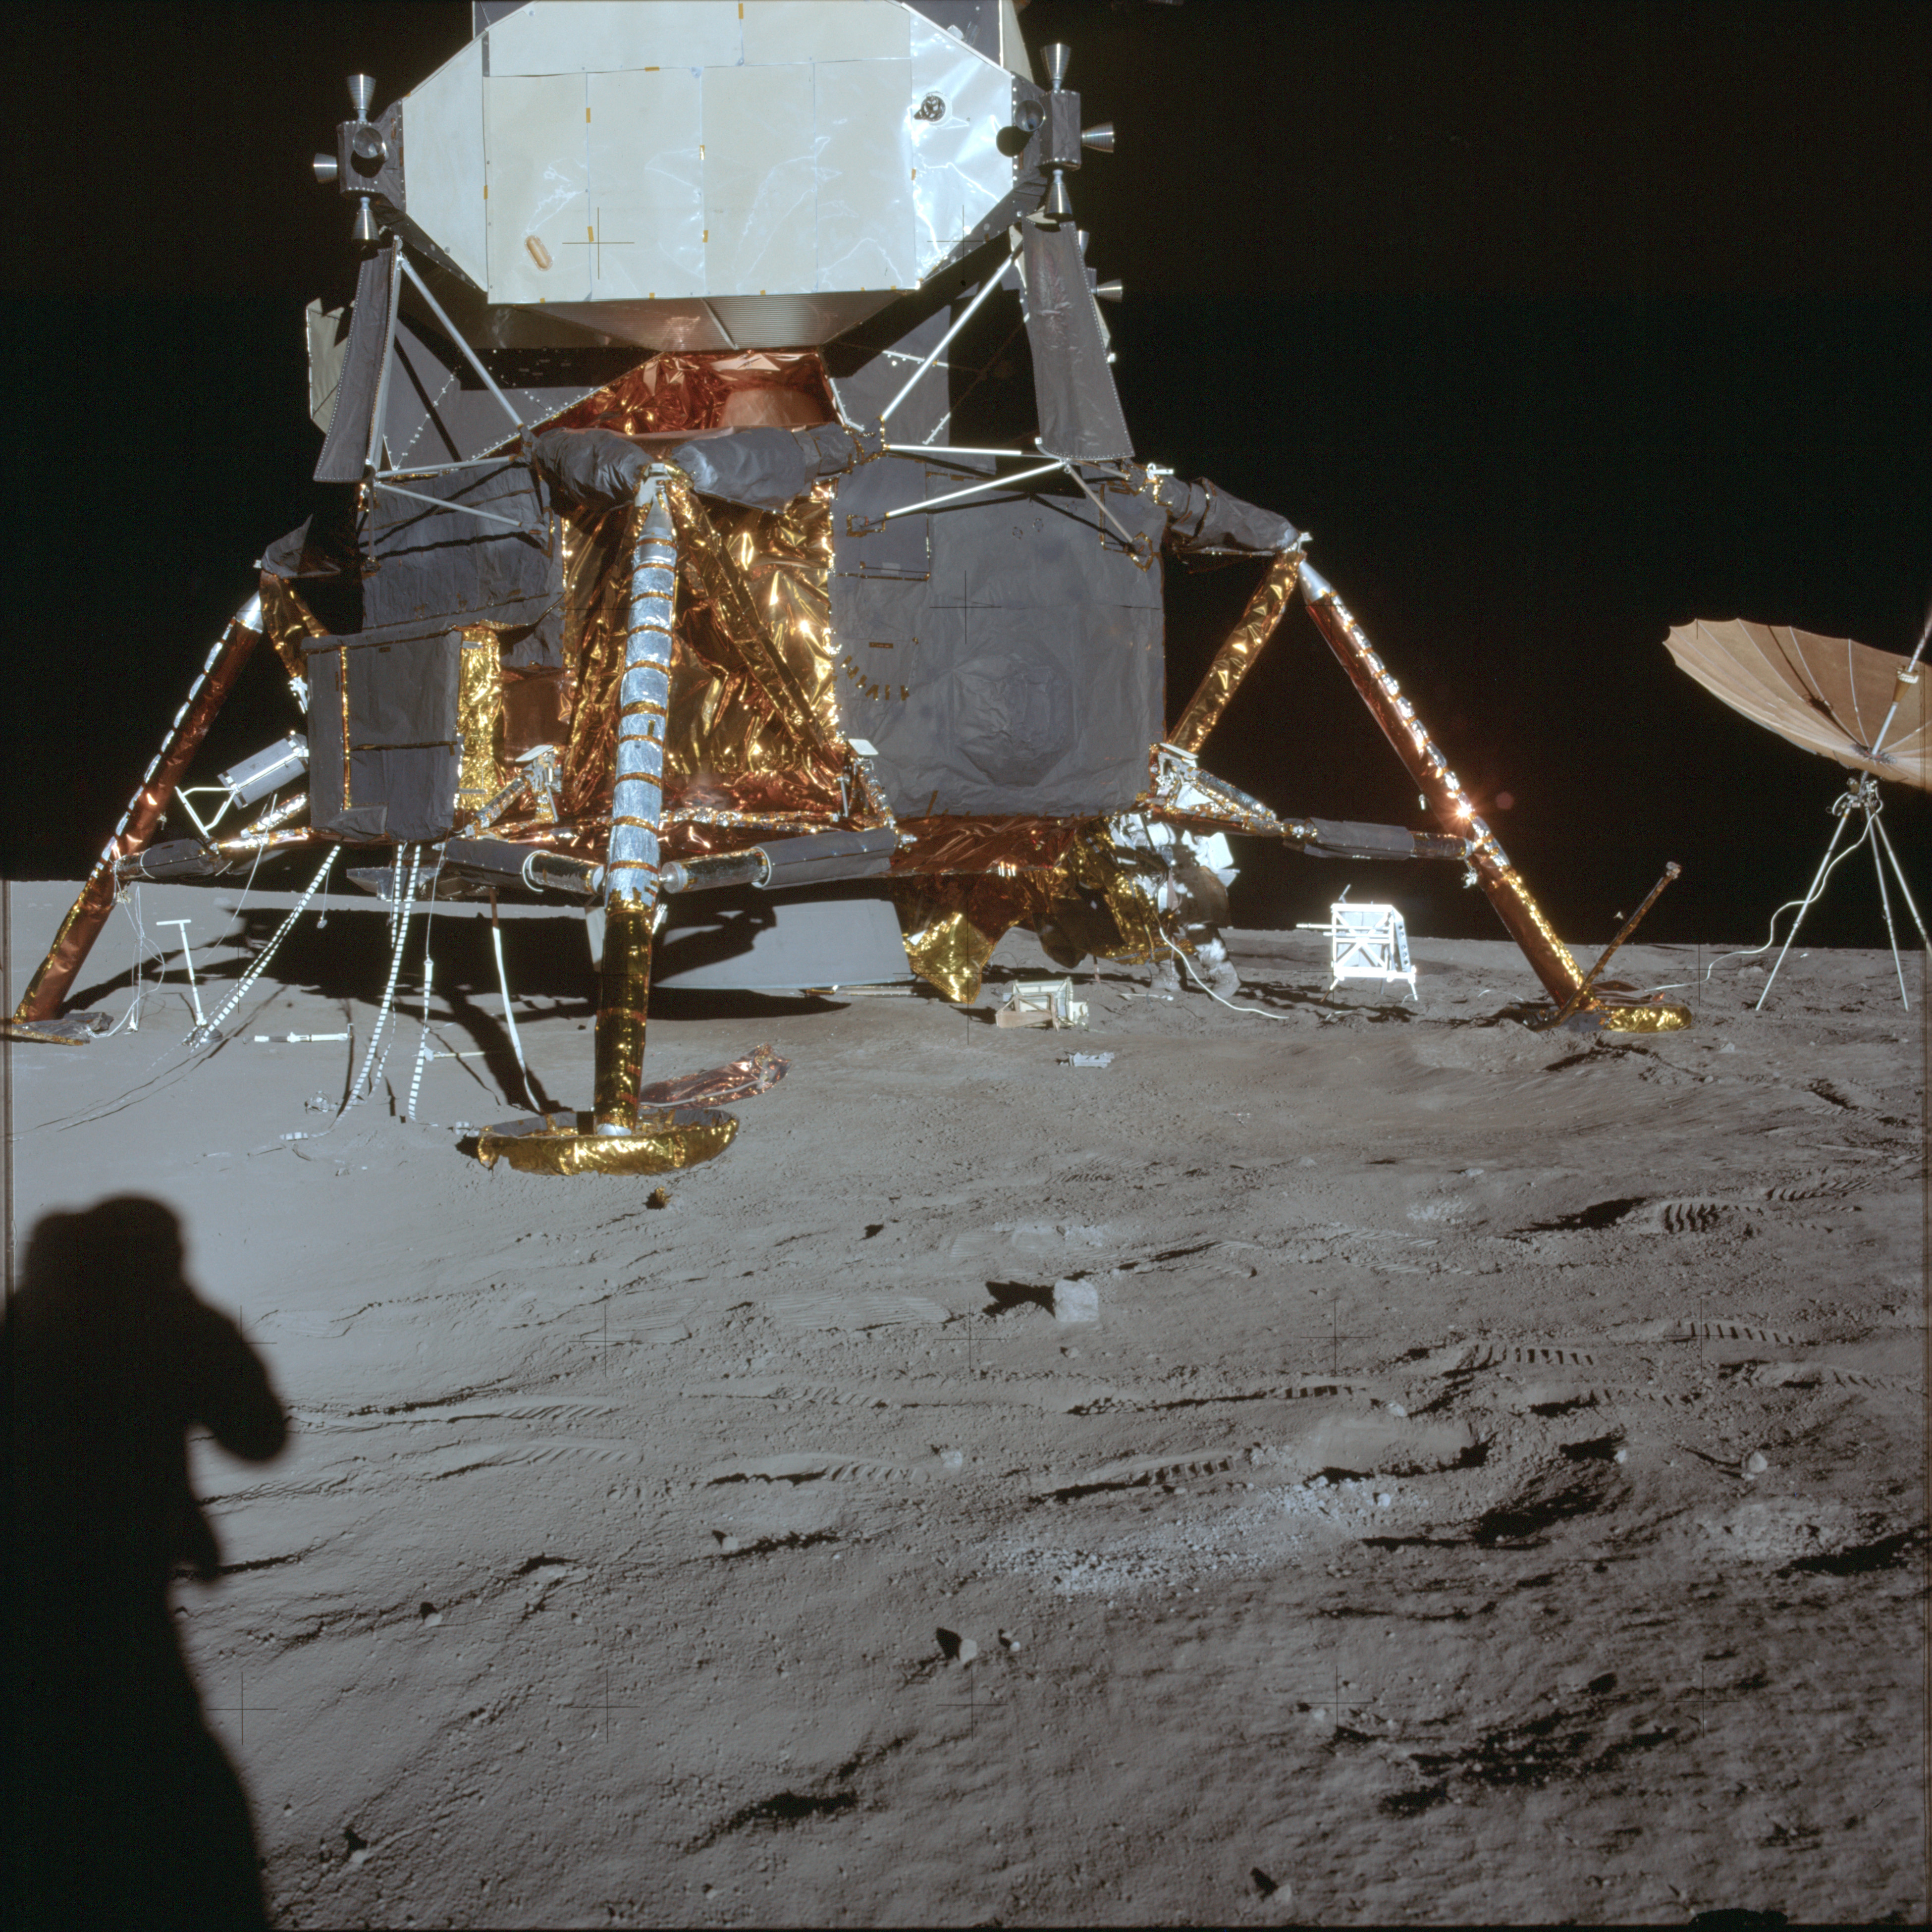 |
AS12-47-6961 First image in Al Bean's 6 O'Clock Pan, taken at about 118:30:43 GET. This name refers to it being taken from directly behind the LM. View to the west includes LM. Image credit: Image Science and Analysis Laboratory, NASA-Johnson Space Center |
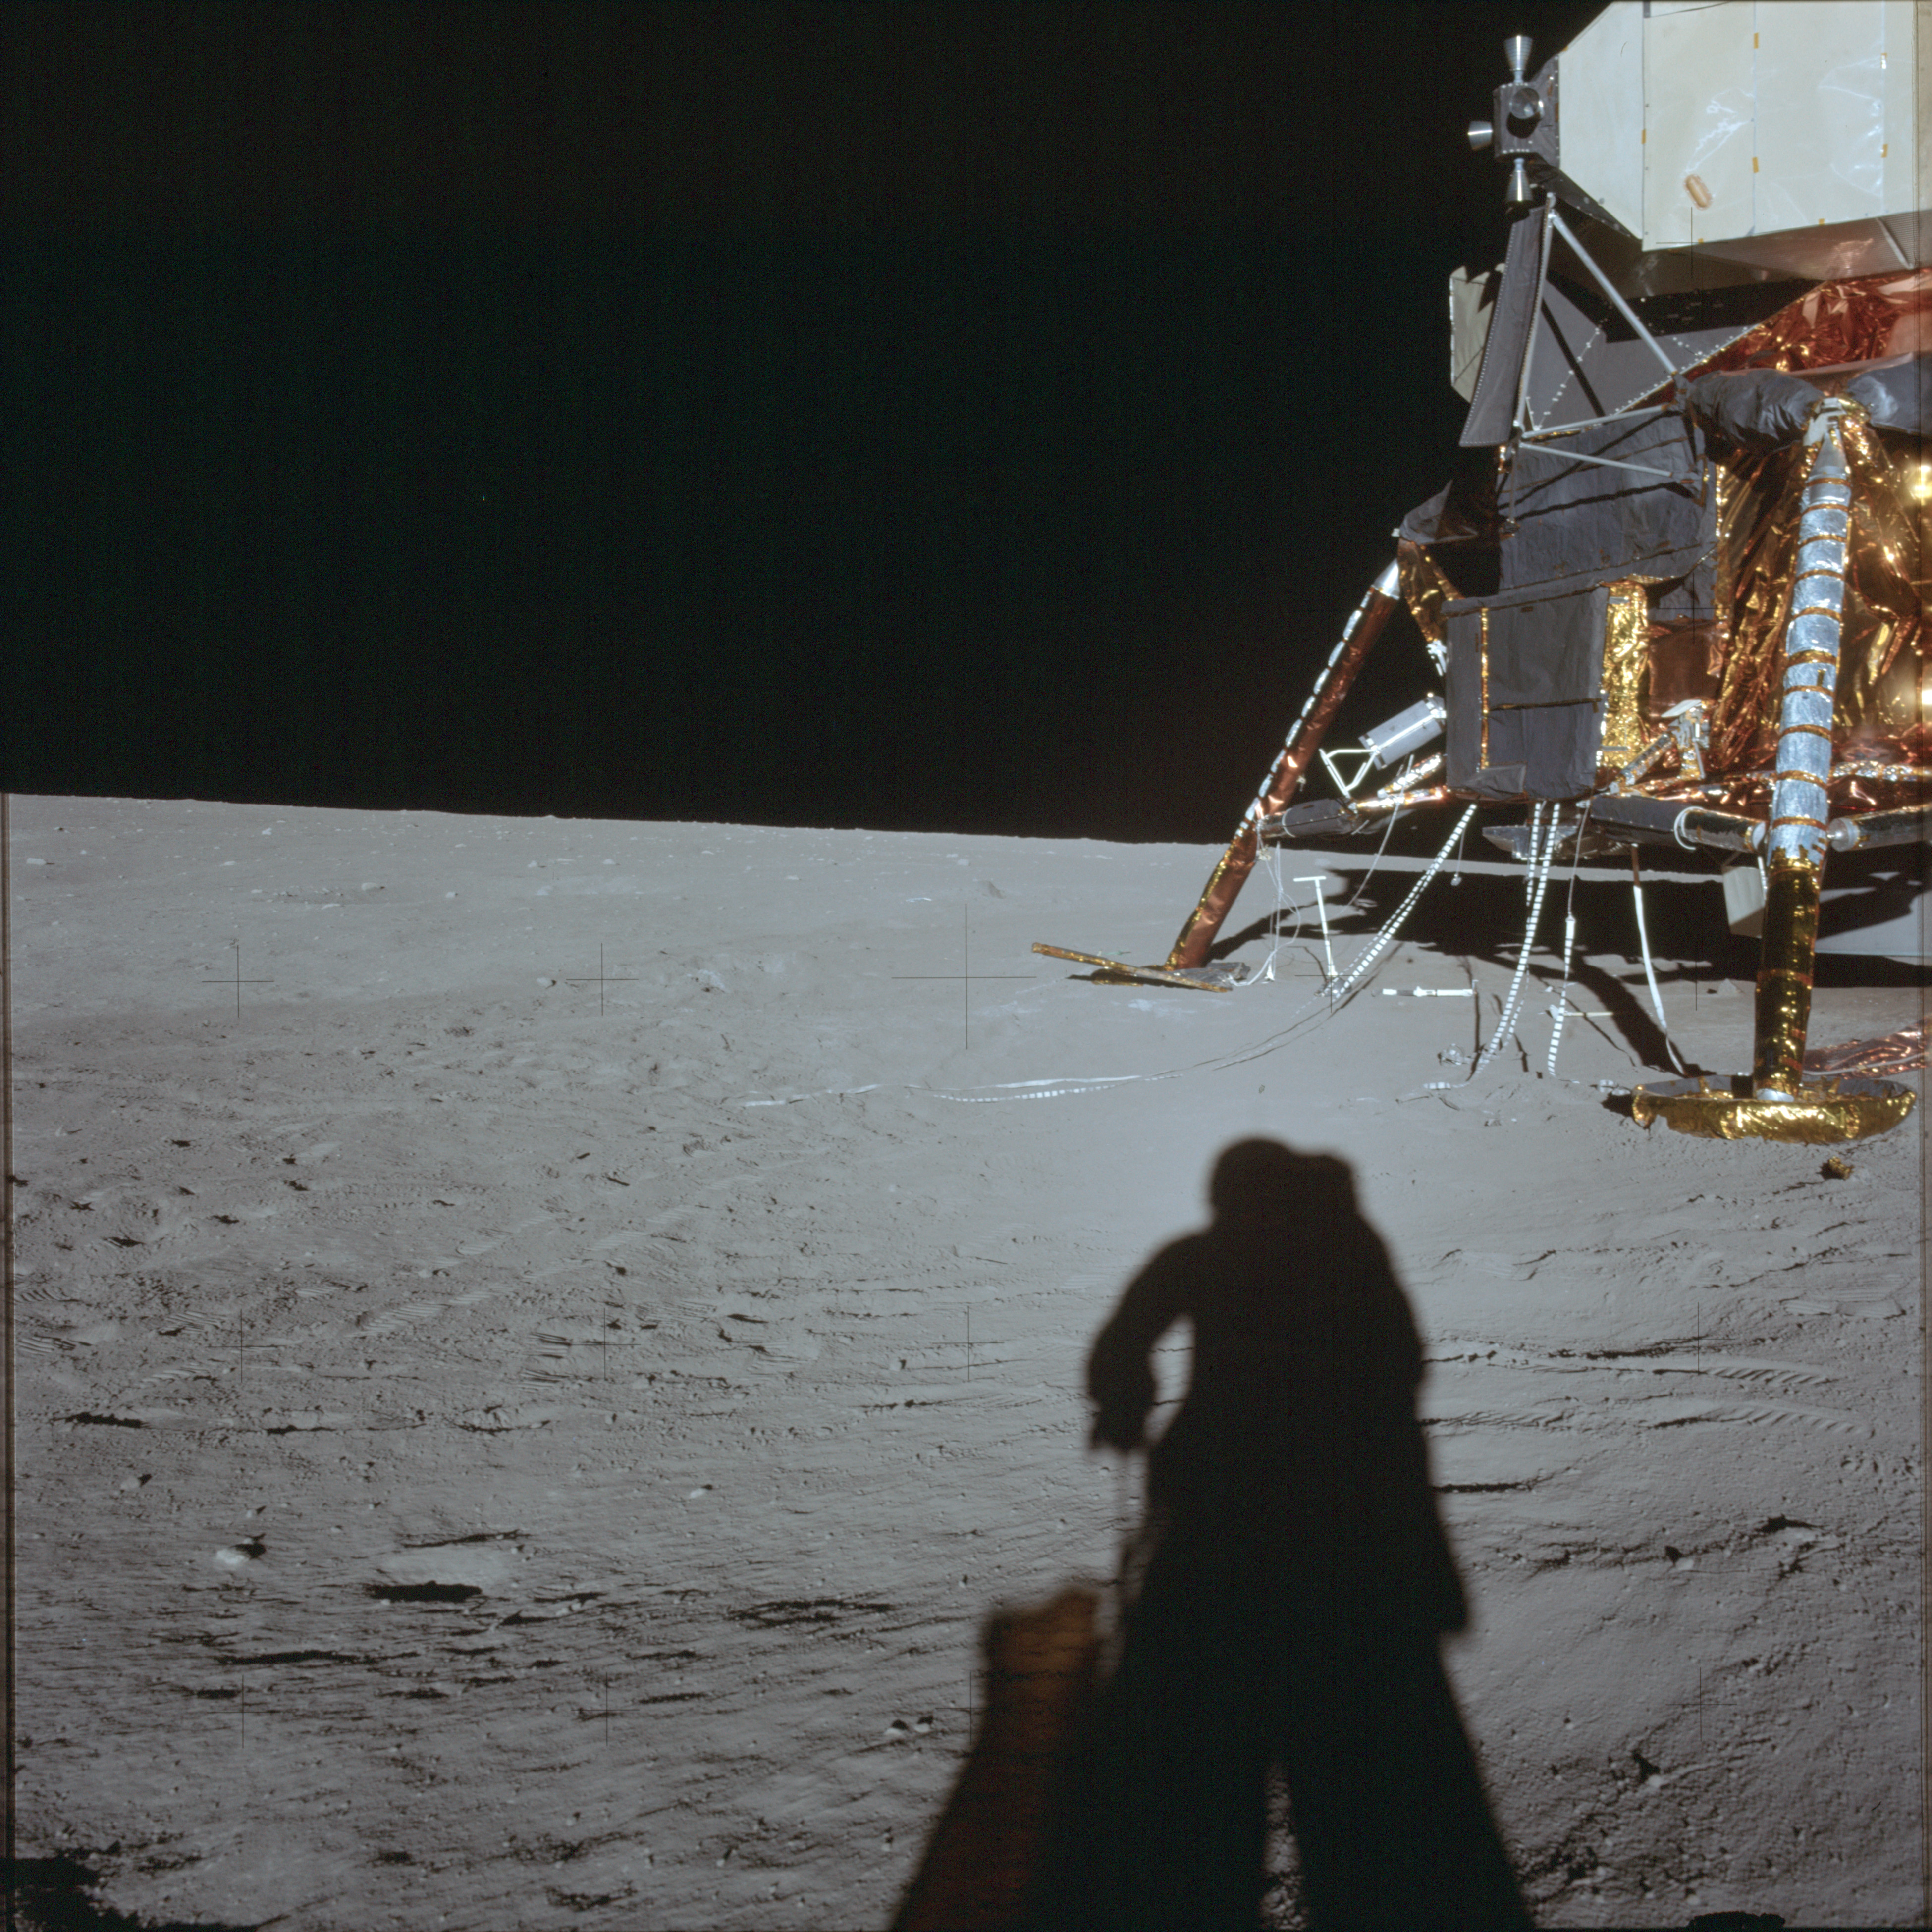 |
AS12-47-6962 Leftward of 6961. View west including the LM. Image credit: Image Science and Analysis Laboratory, NASA-Johnson Space Center |
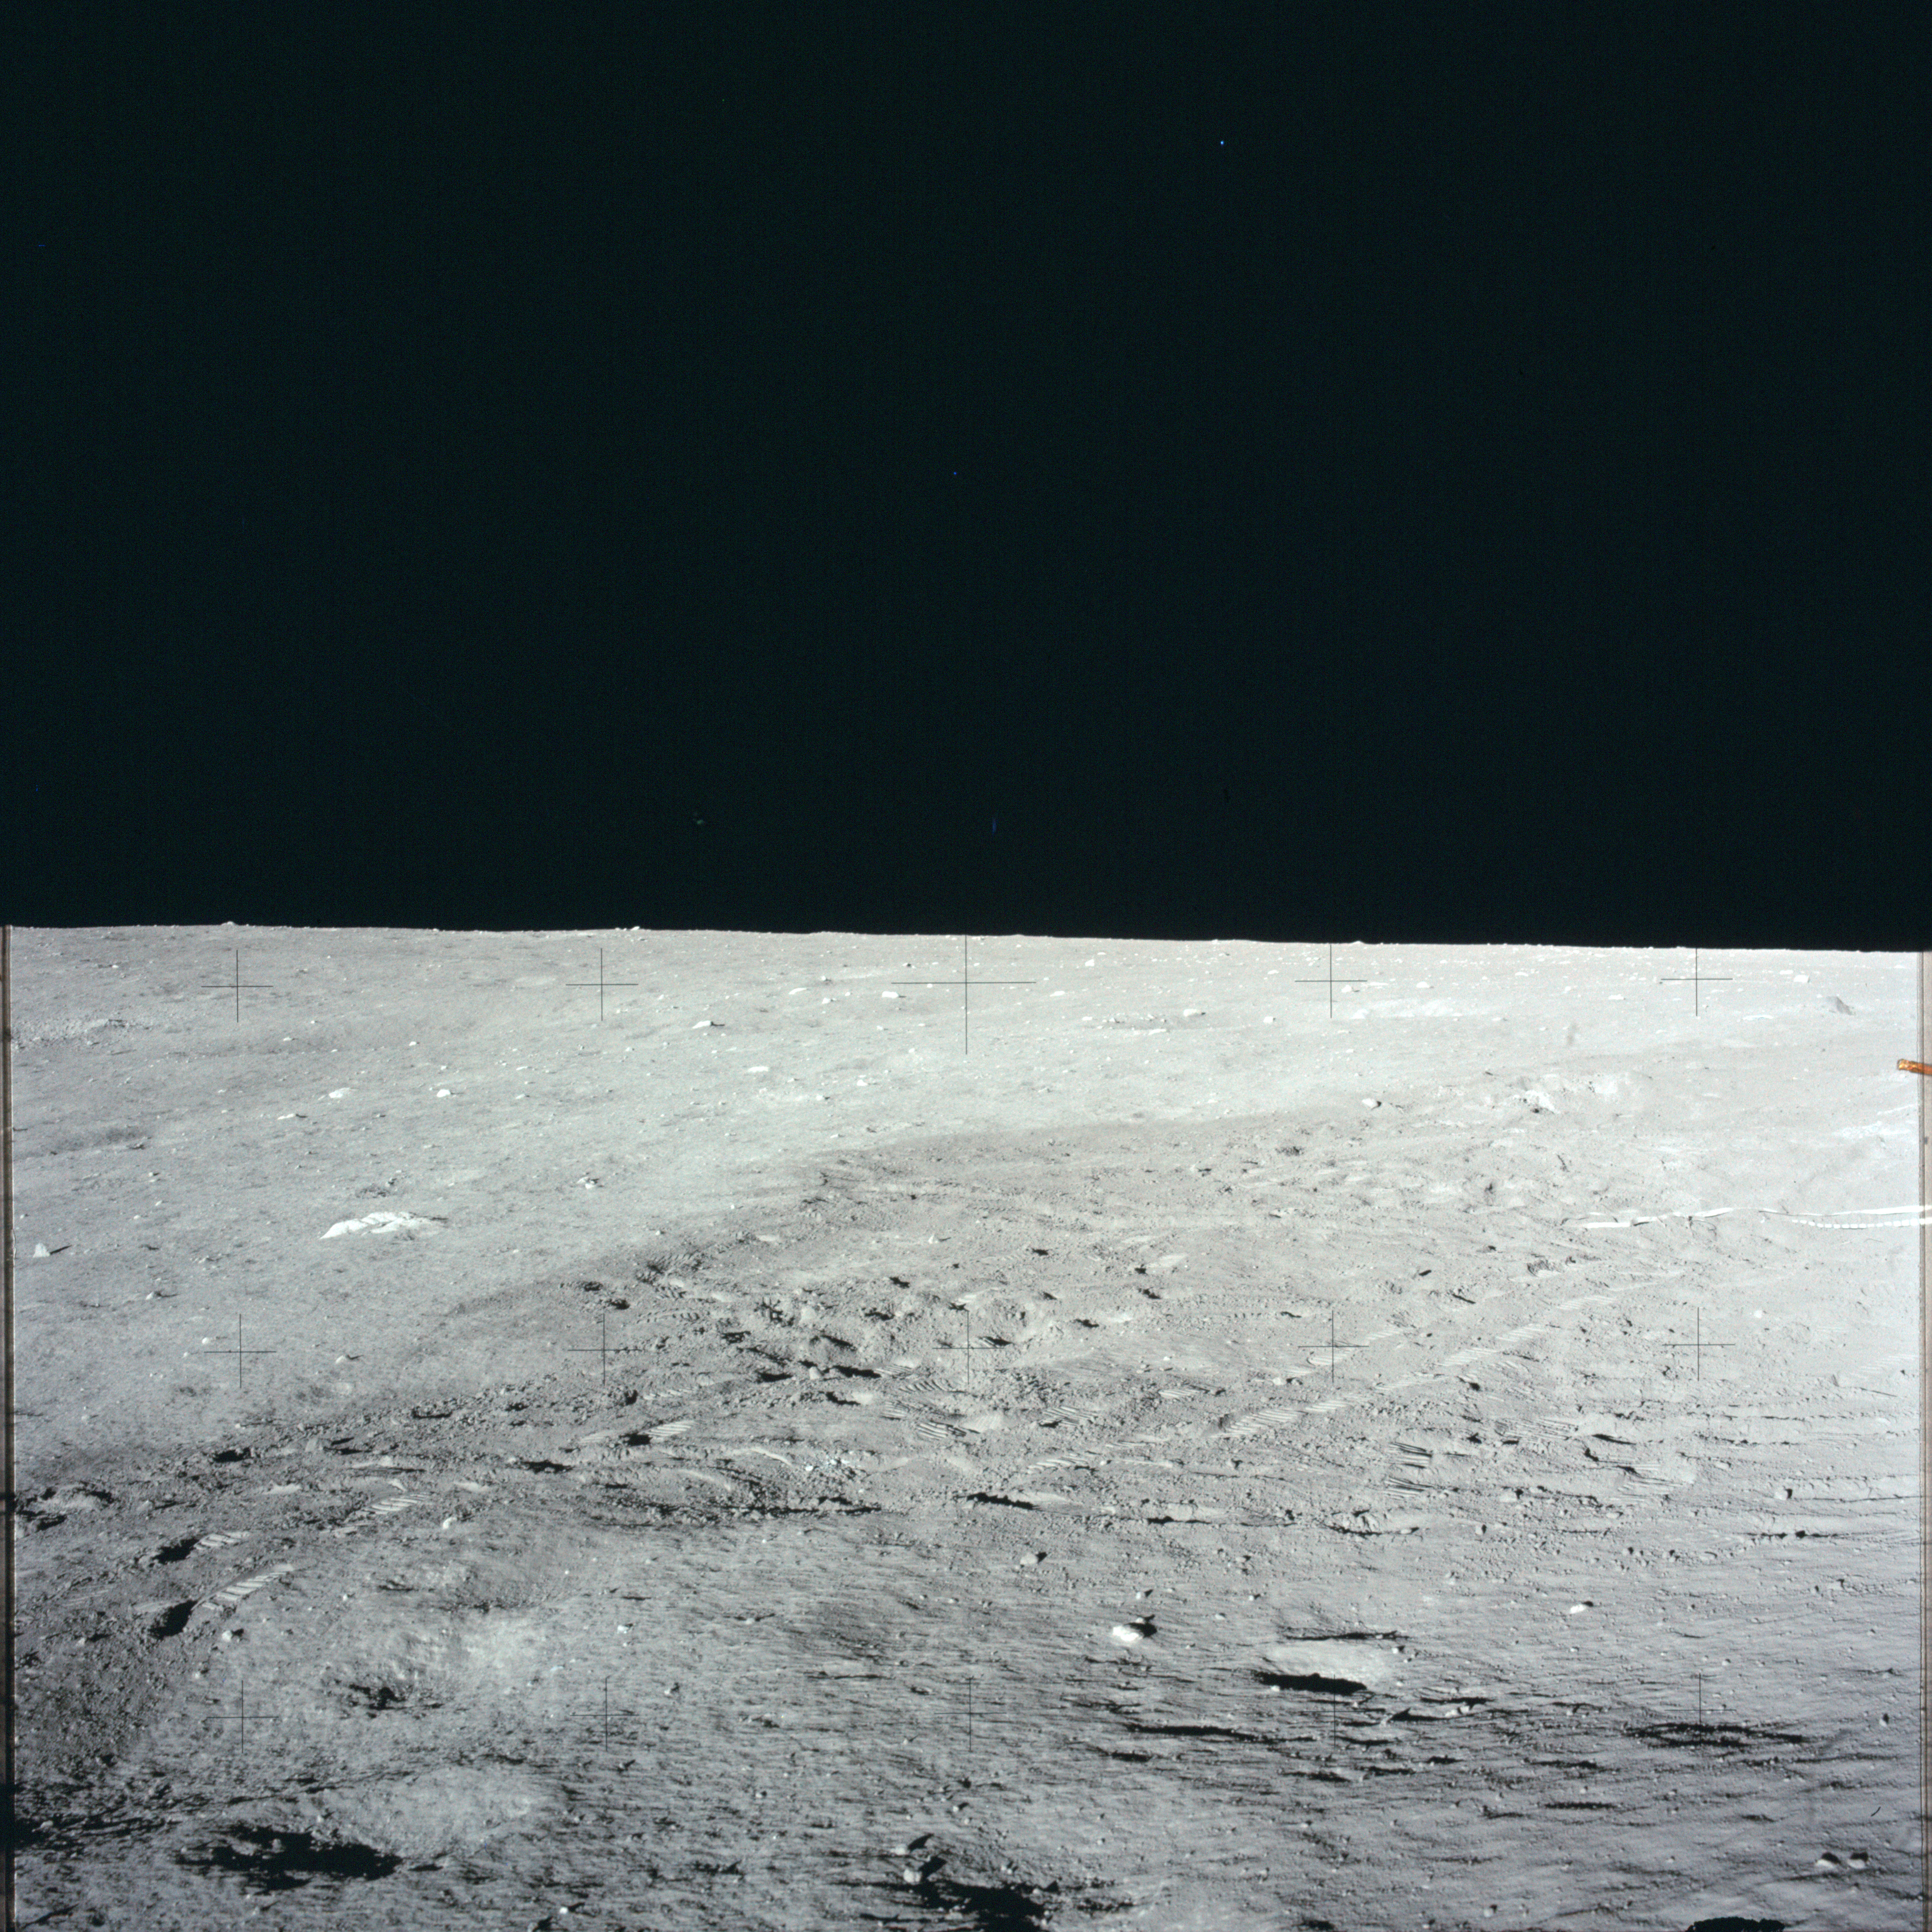 |
AS12-47-6963 Leftward of 6962. Image credit: Image Science and Analysis Laboratory, NASA-Johnson Space Center |
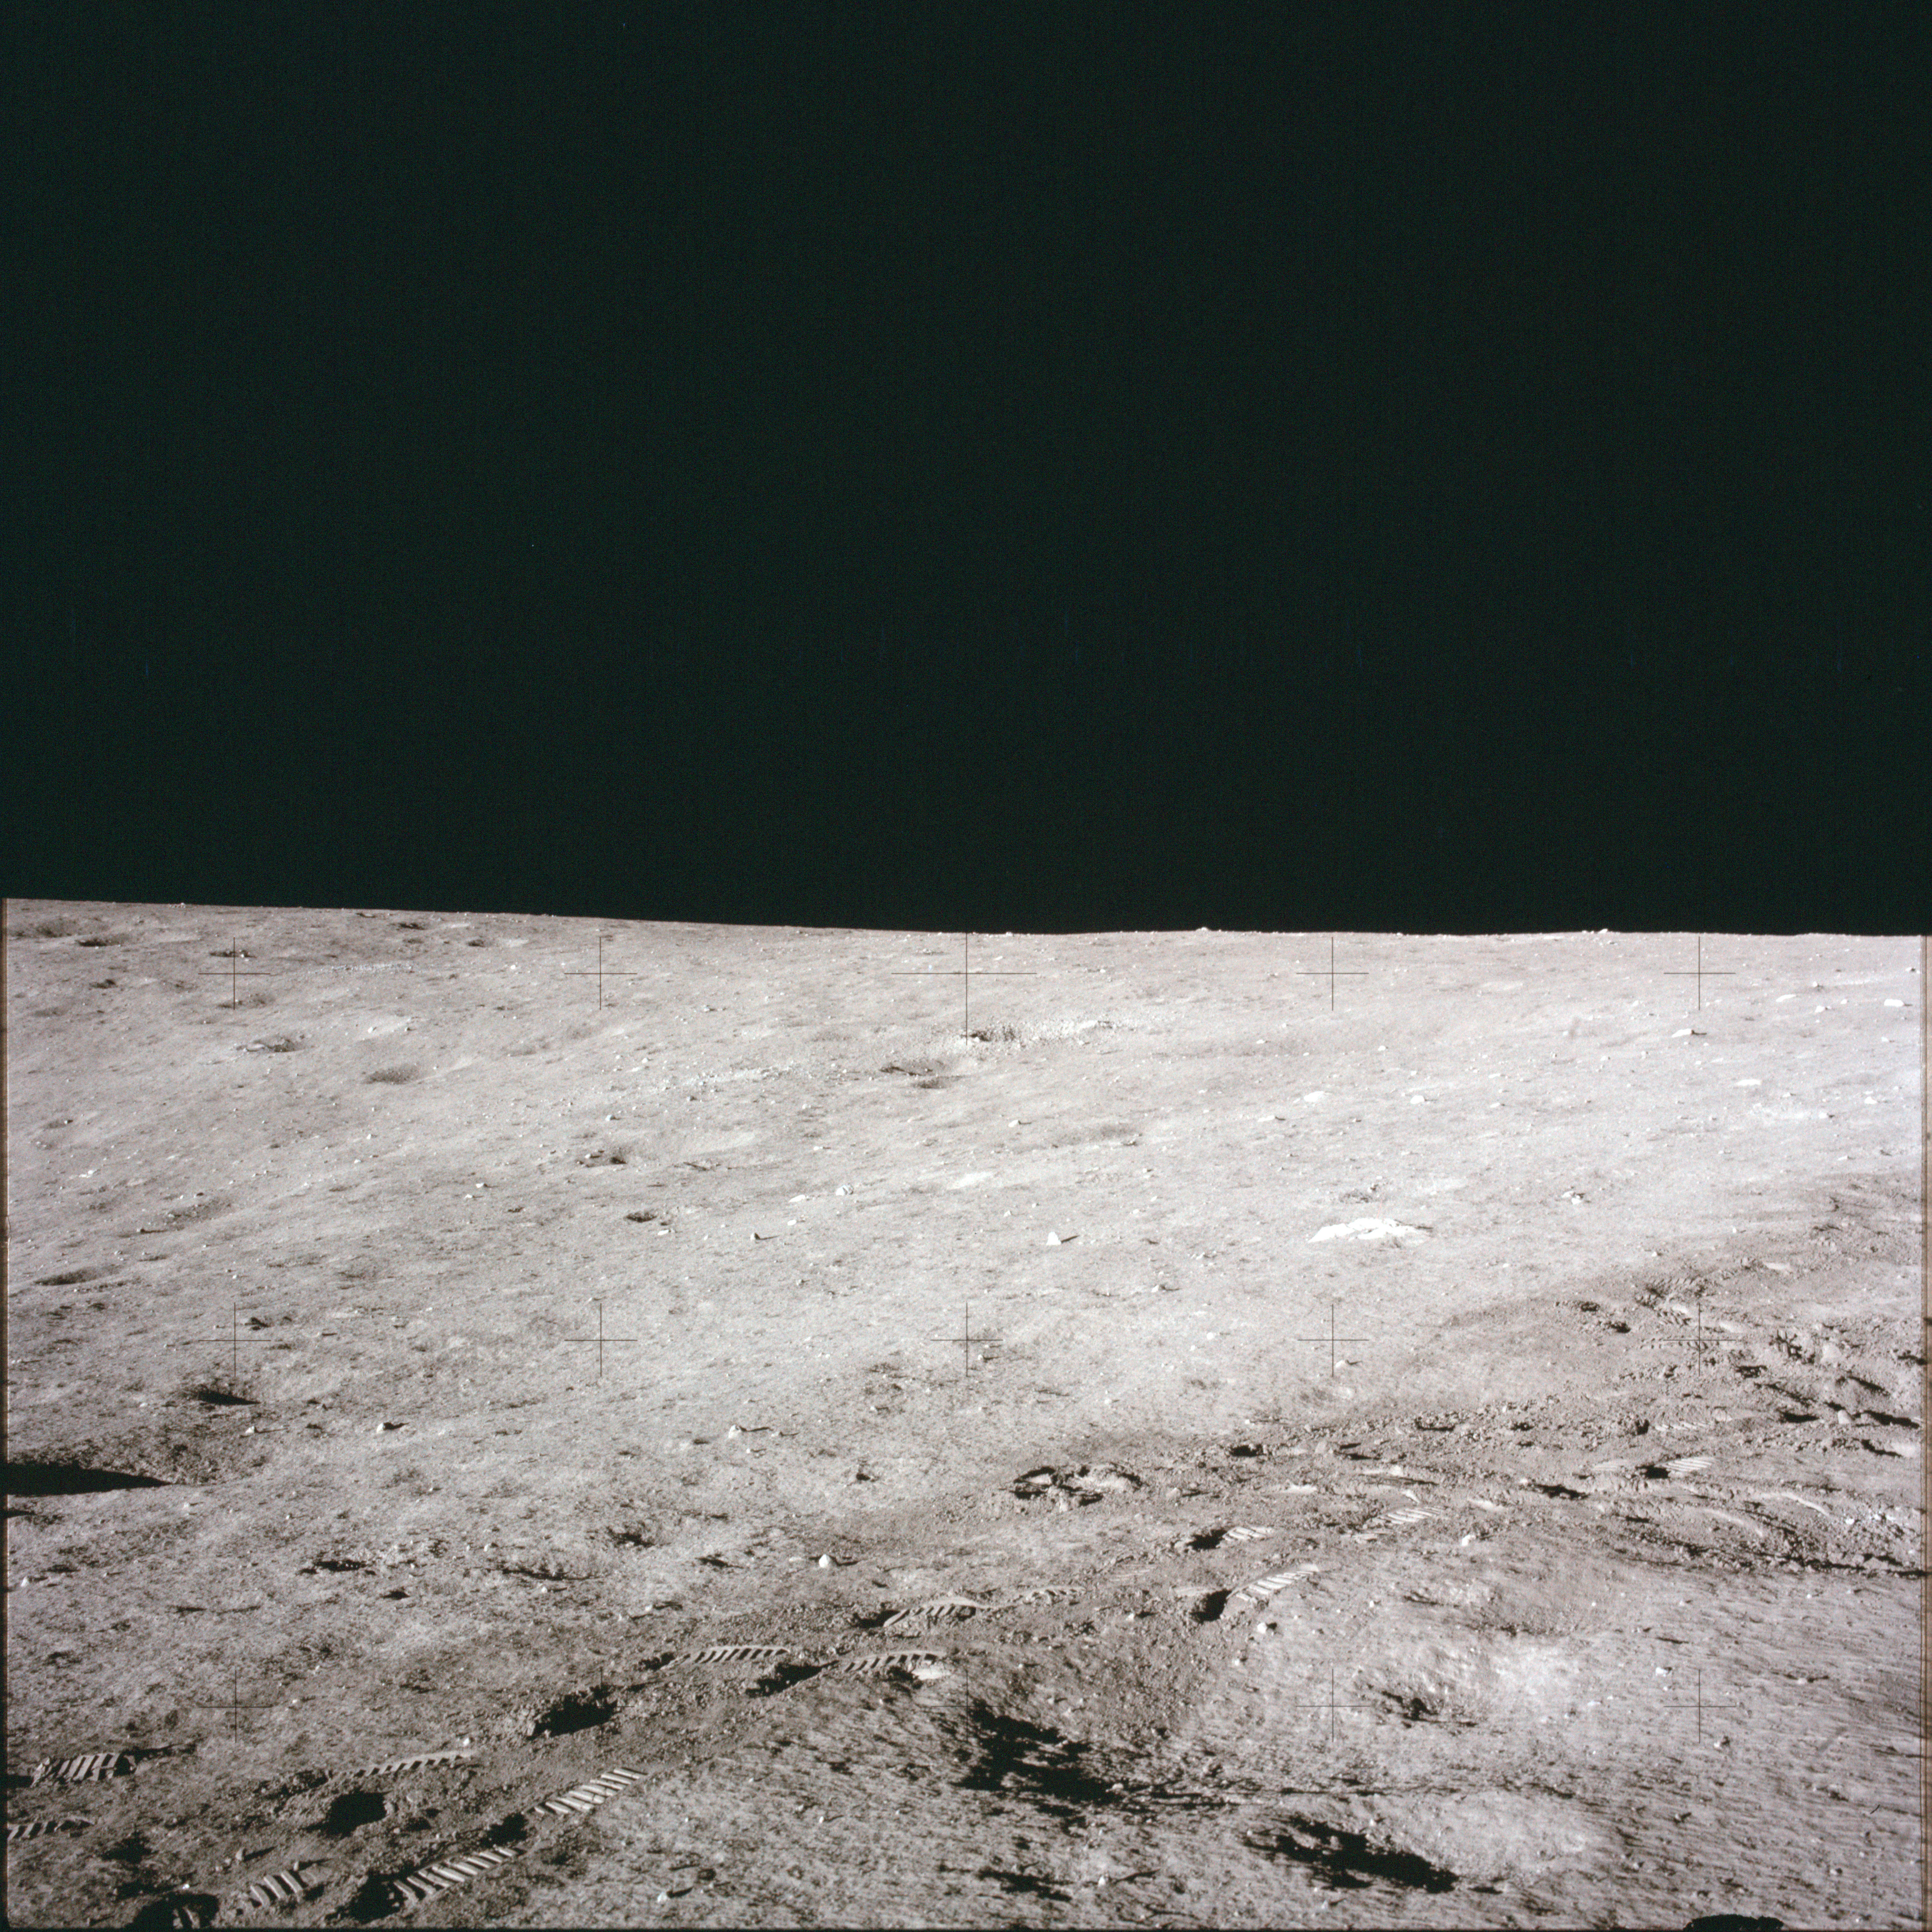 |
AS12-47-6964 Leftward of 6963. Image credit: Image Science and Analysis Laboratory, NASA-Johnson Space Center |
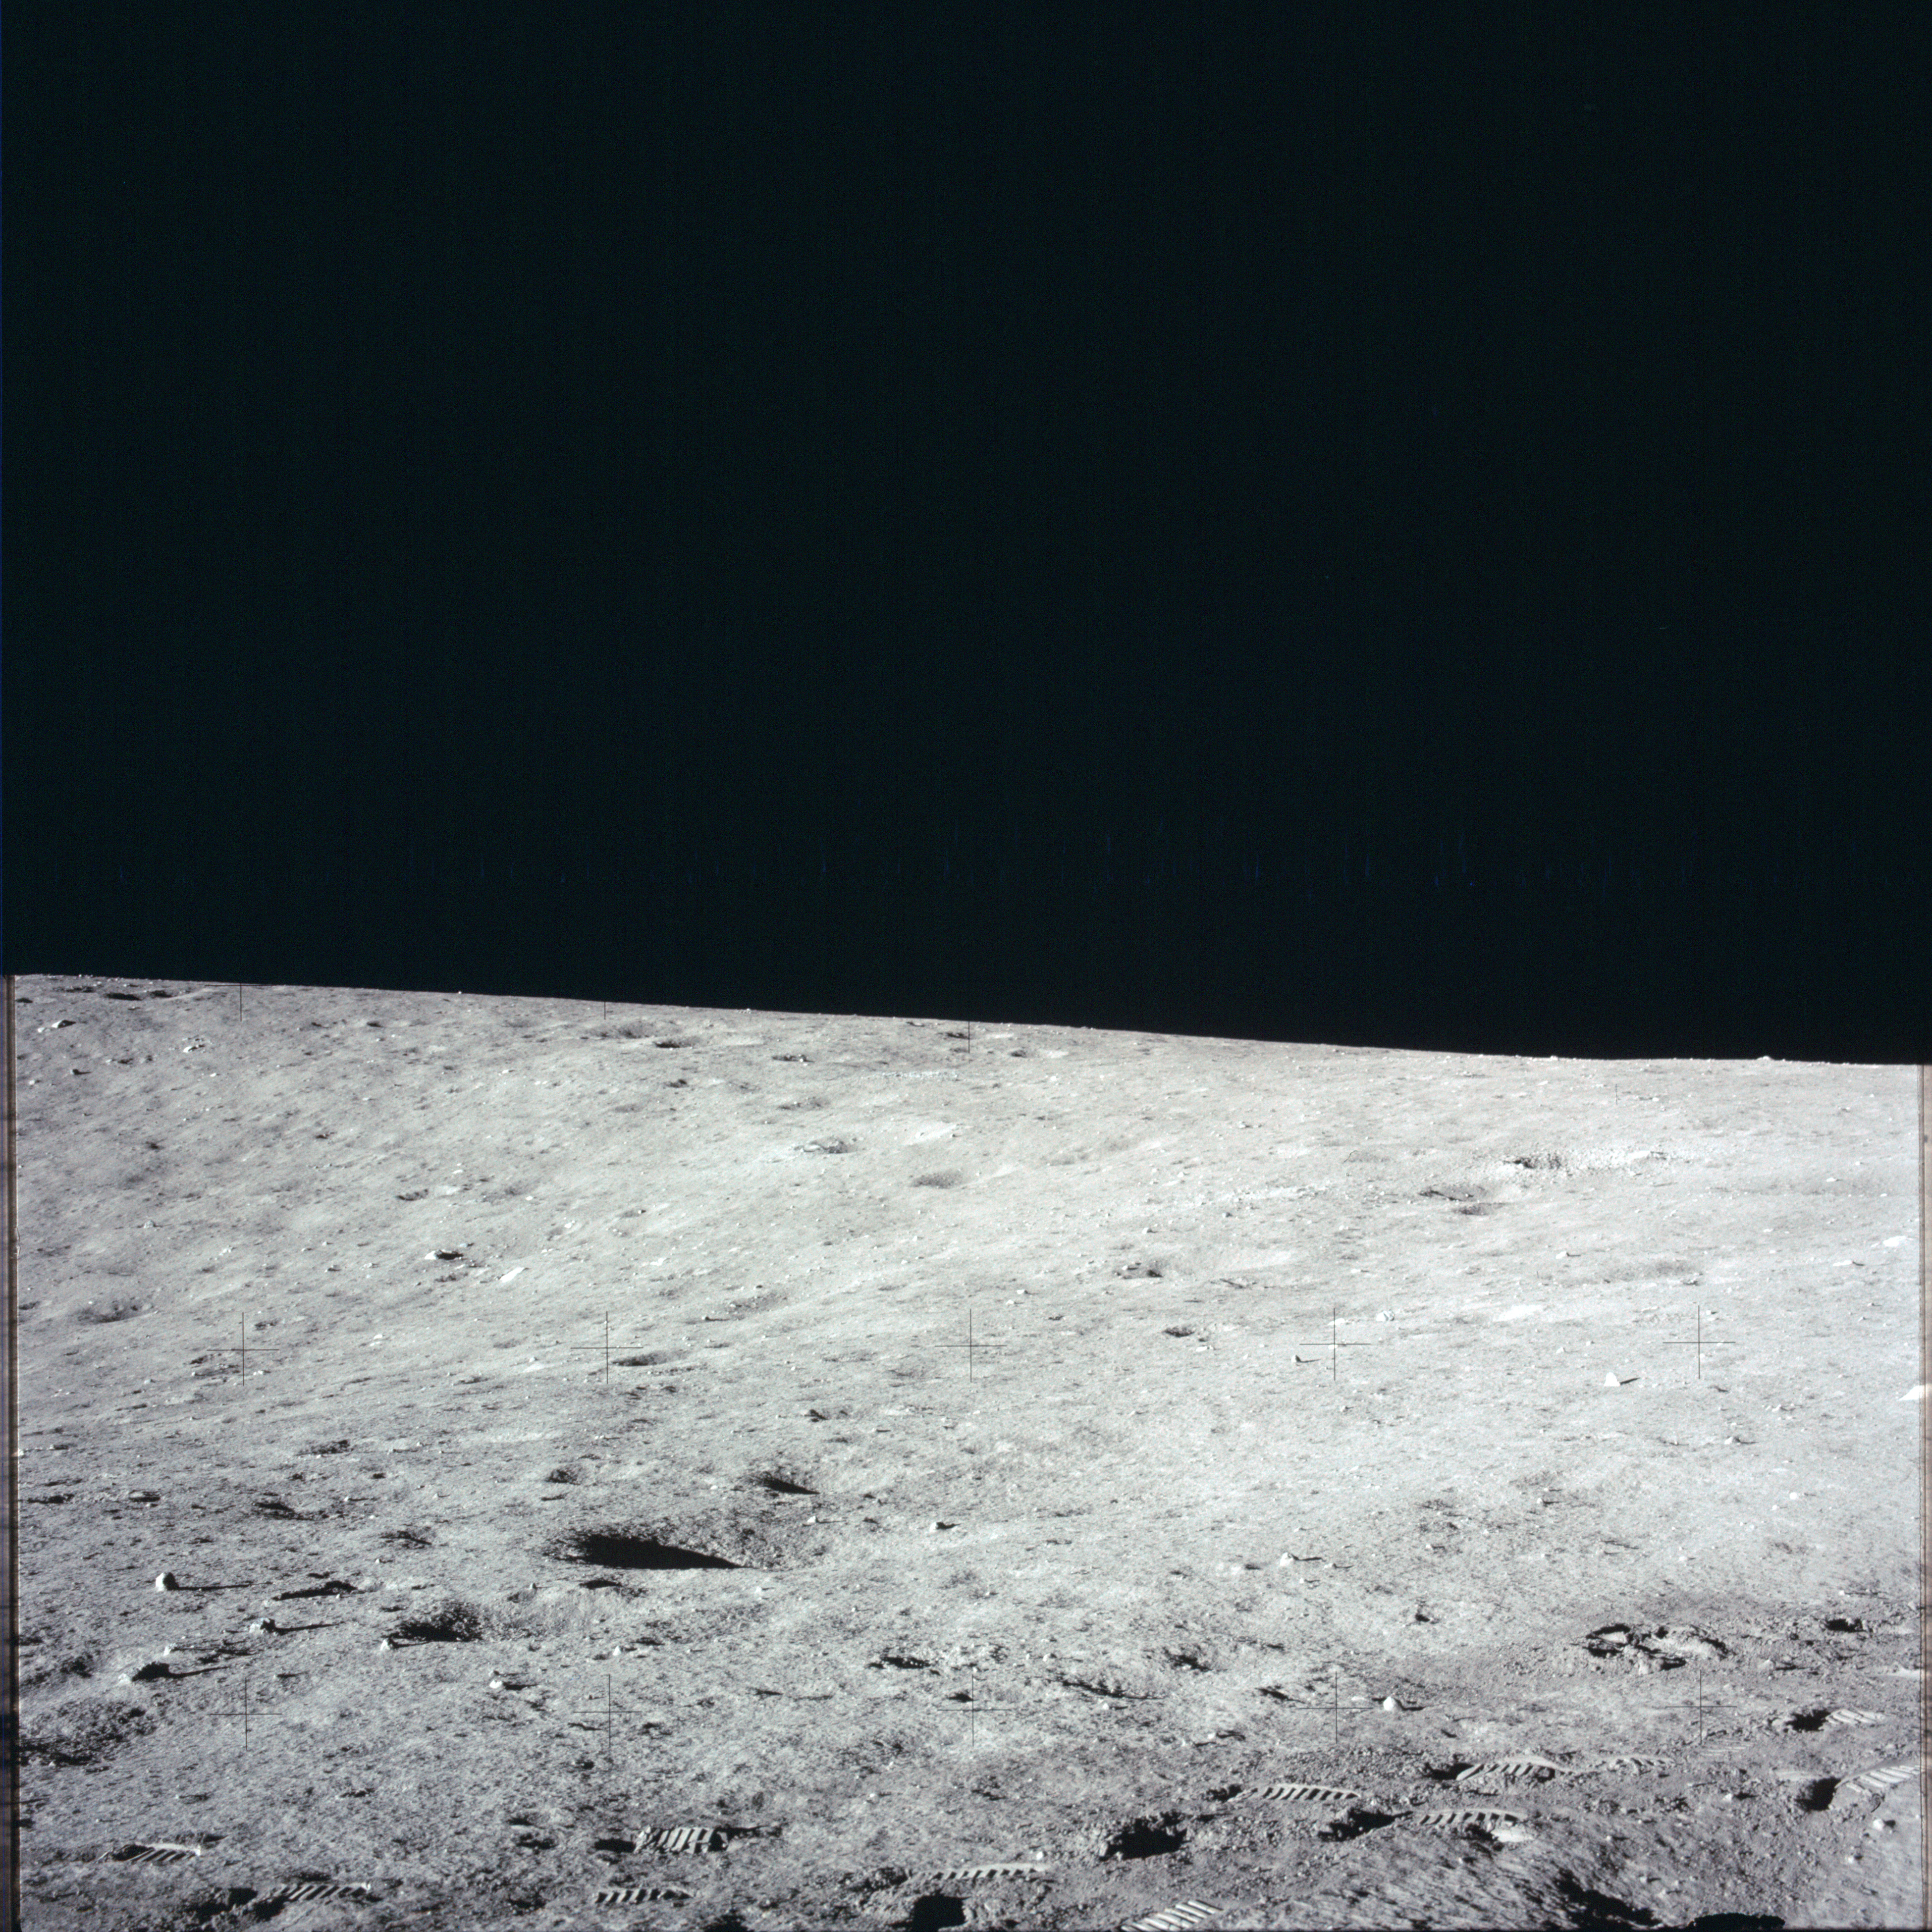 |
AS12-47-6965 Leftward of 6964. Image credit: Image Science and Analysis Laboratory, NASA-Johnson Space Center |
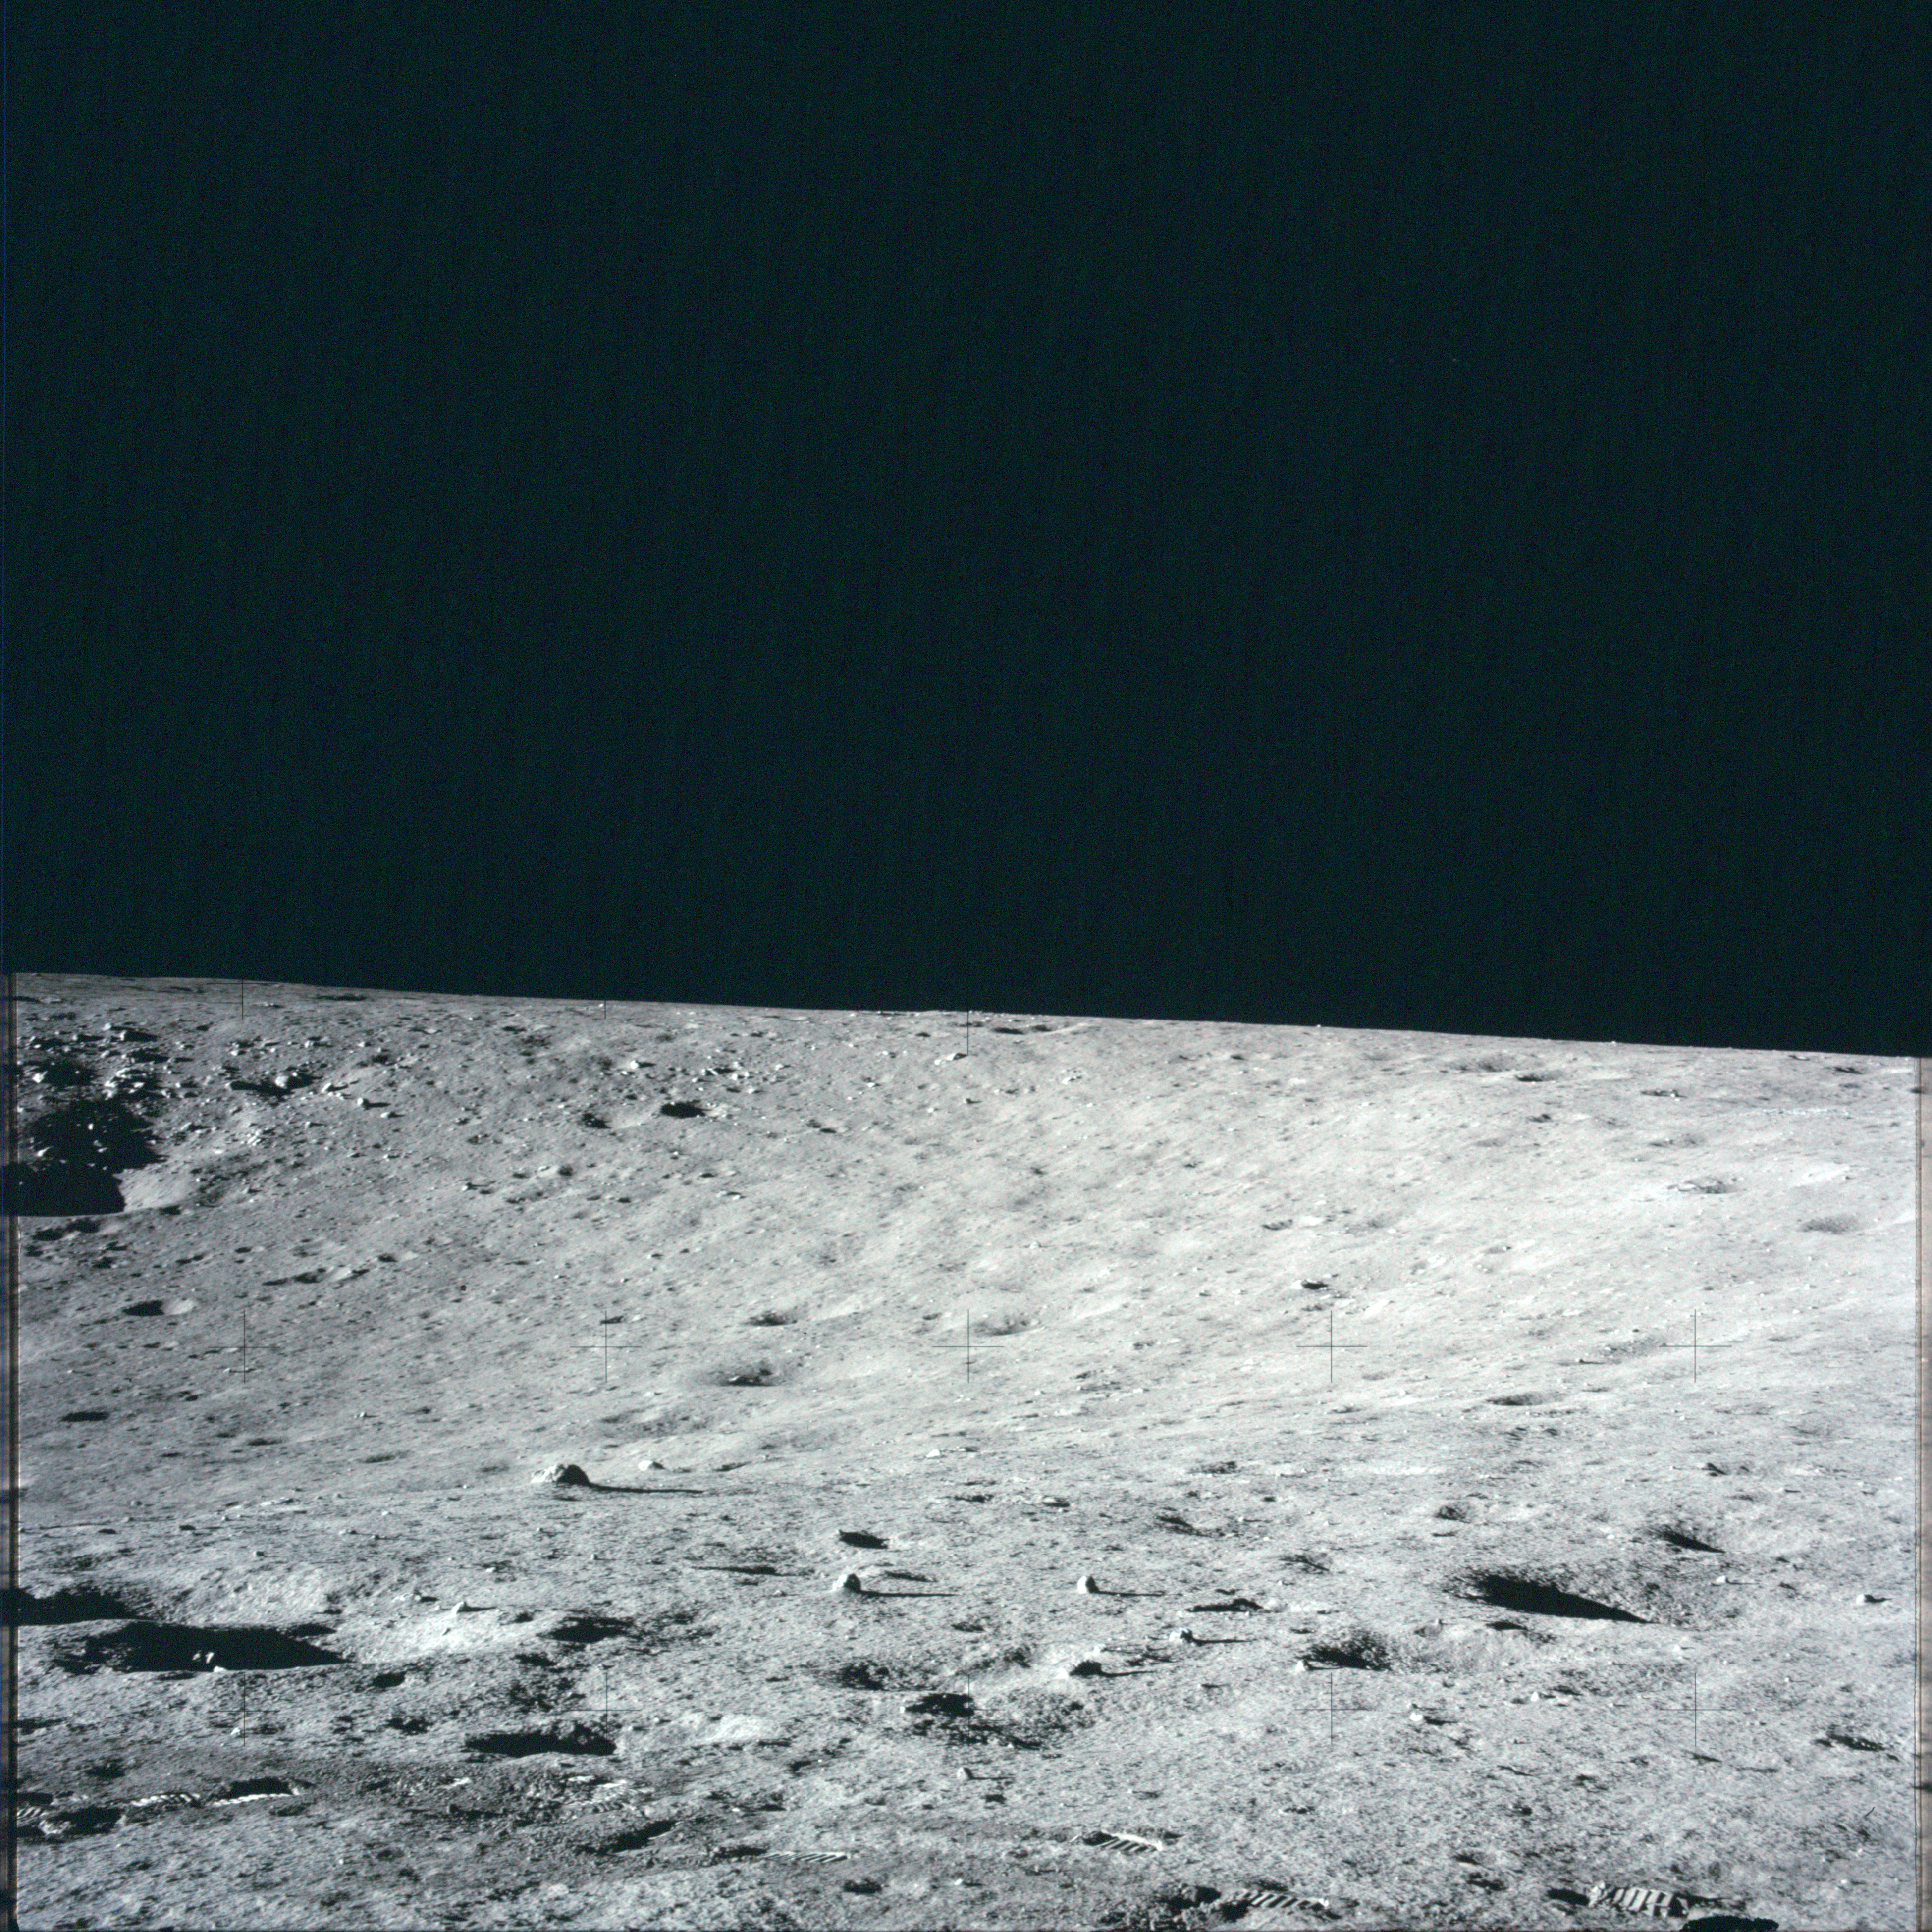 |
AS12-47-6966 Leftward of 6965. View south across western rim of Surveyor Crater. Image credit: Image Science and Analysis Laboratory, NASA-Johnson Space Center |
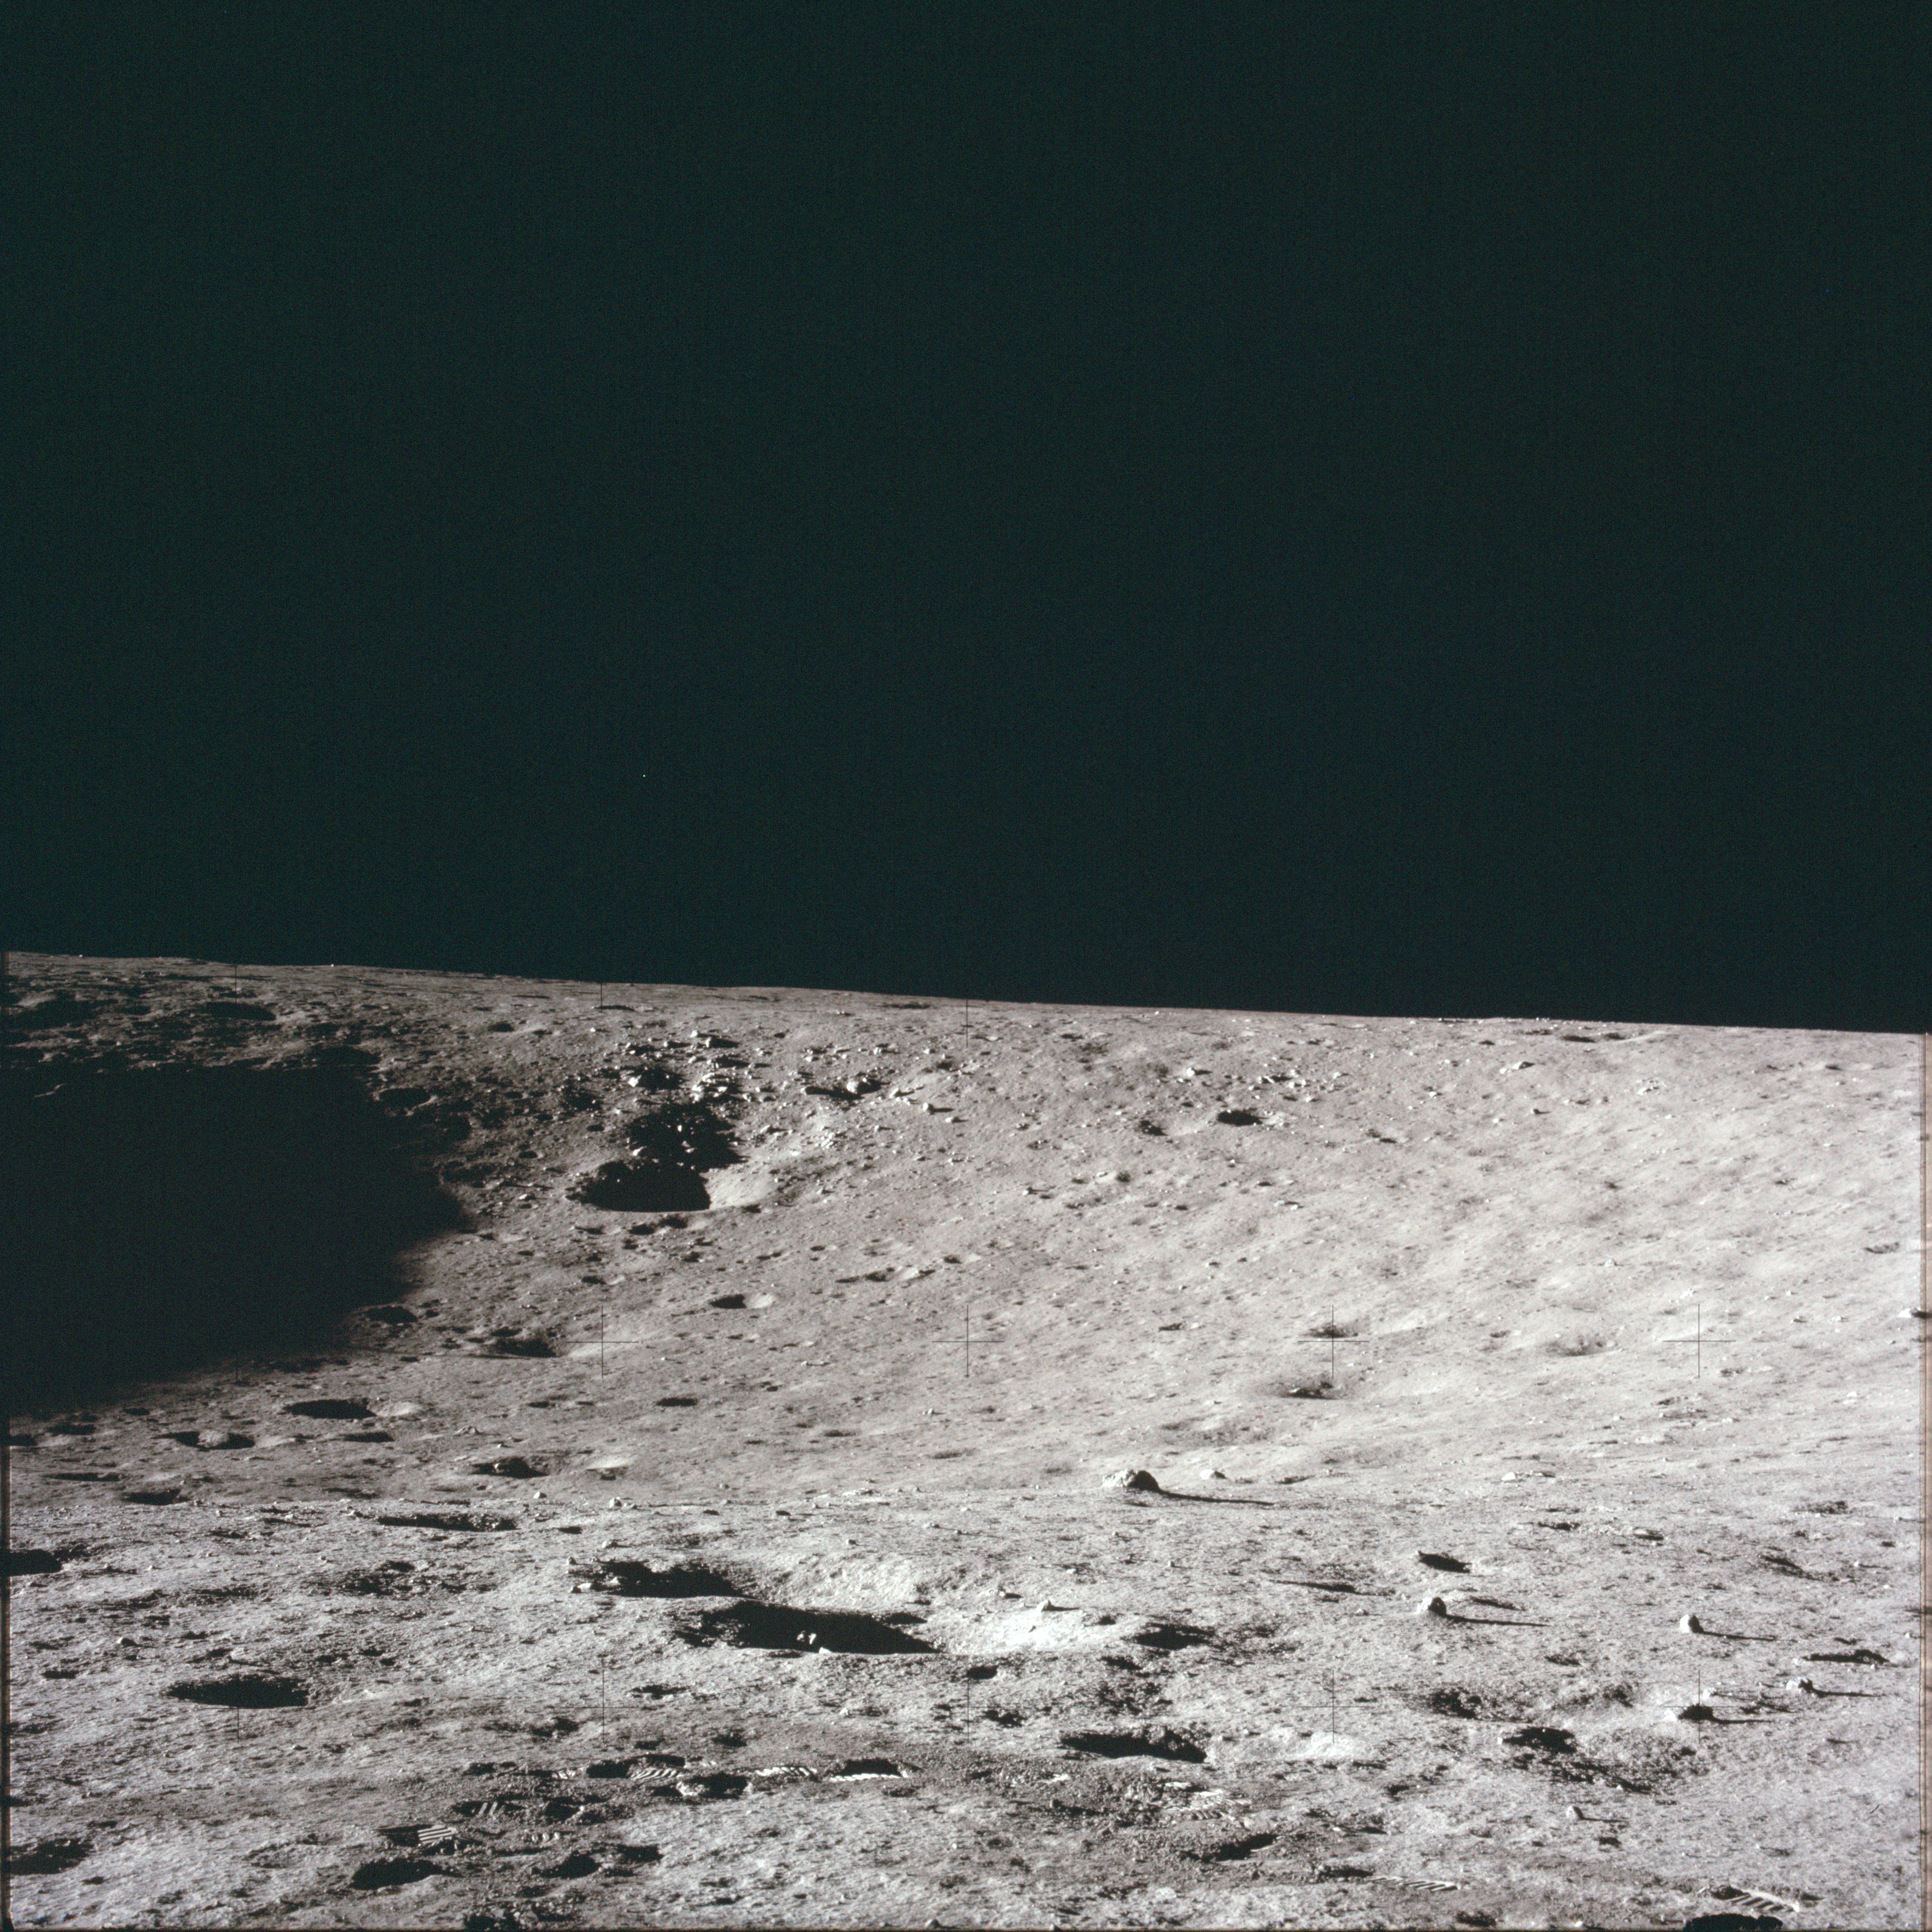 |
AS12-47-6967 Leftward of 6966. View across Surveyor Crater. Image credit: Image Science and Analysis Laboratory, NASA-Johnson Space Center |
 |
AS12-47-6968 Leftward of 6967. View southeast across Surveyor Crater. Image credit: Image Science and Analysis Laboratory, NASA-Johnson Space Center |
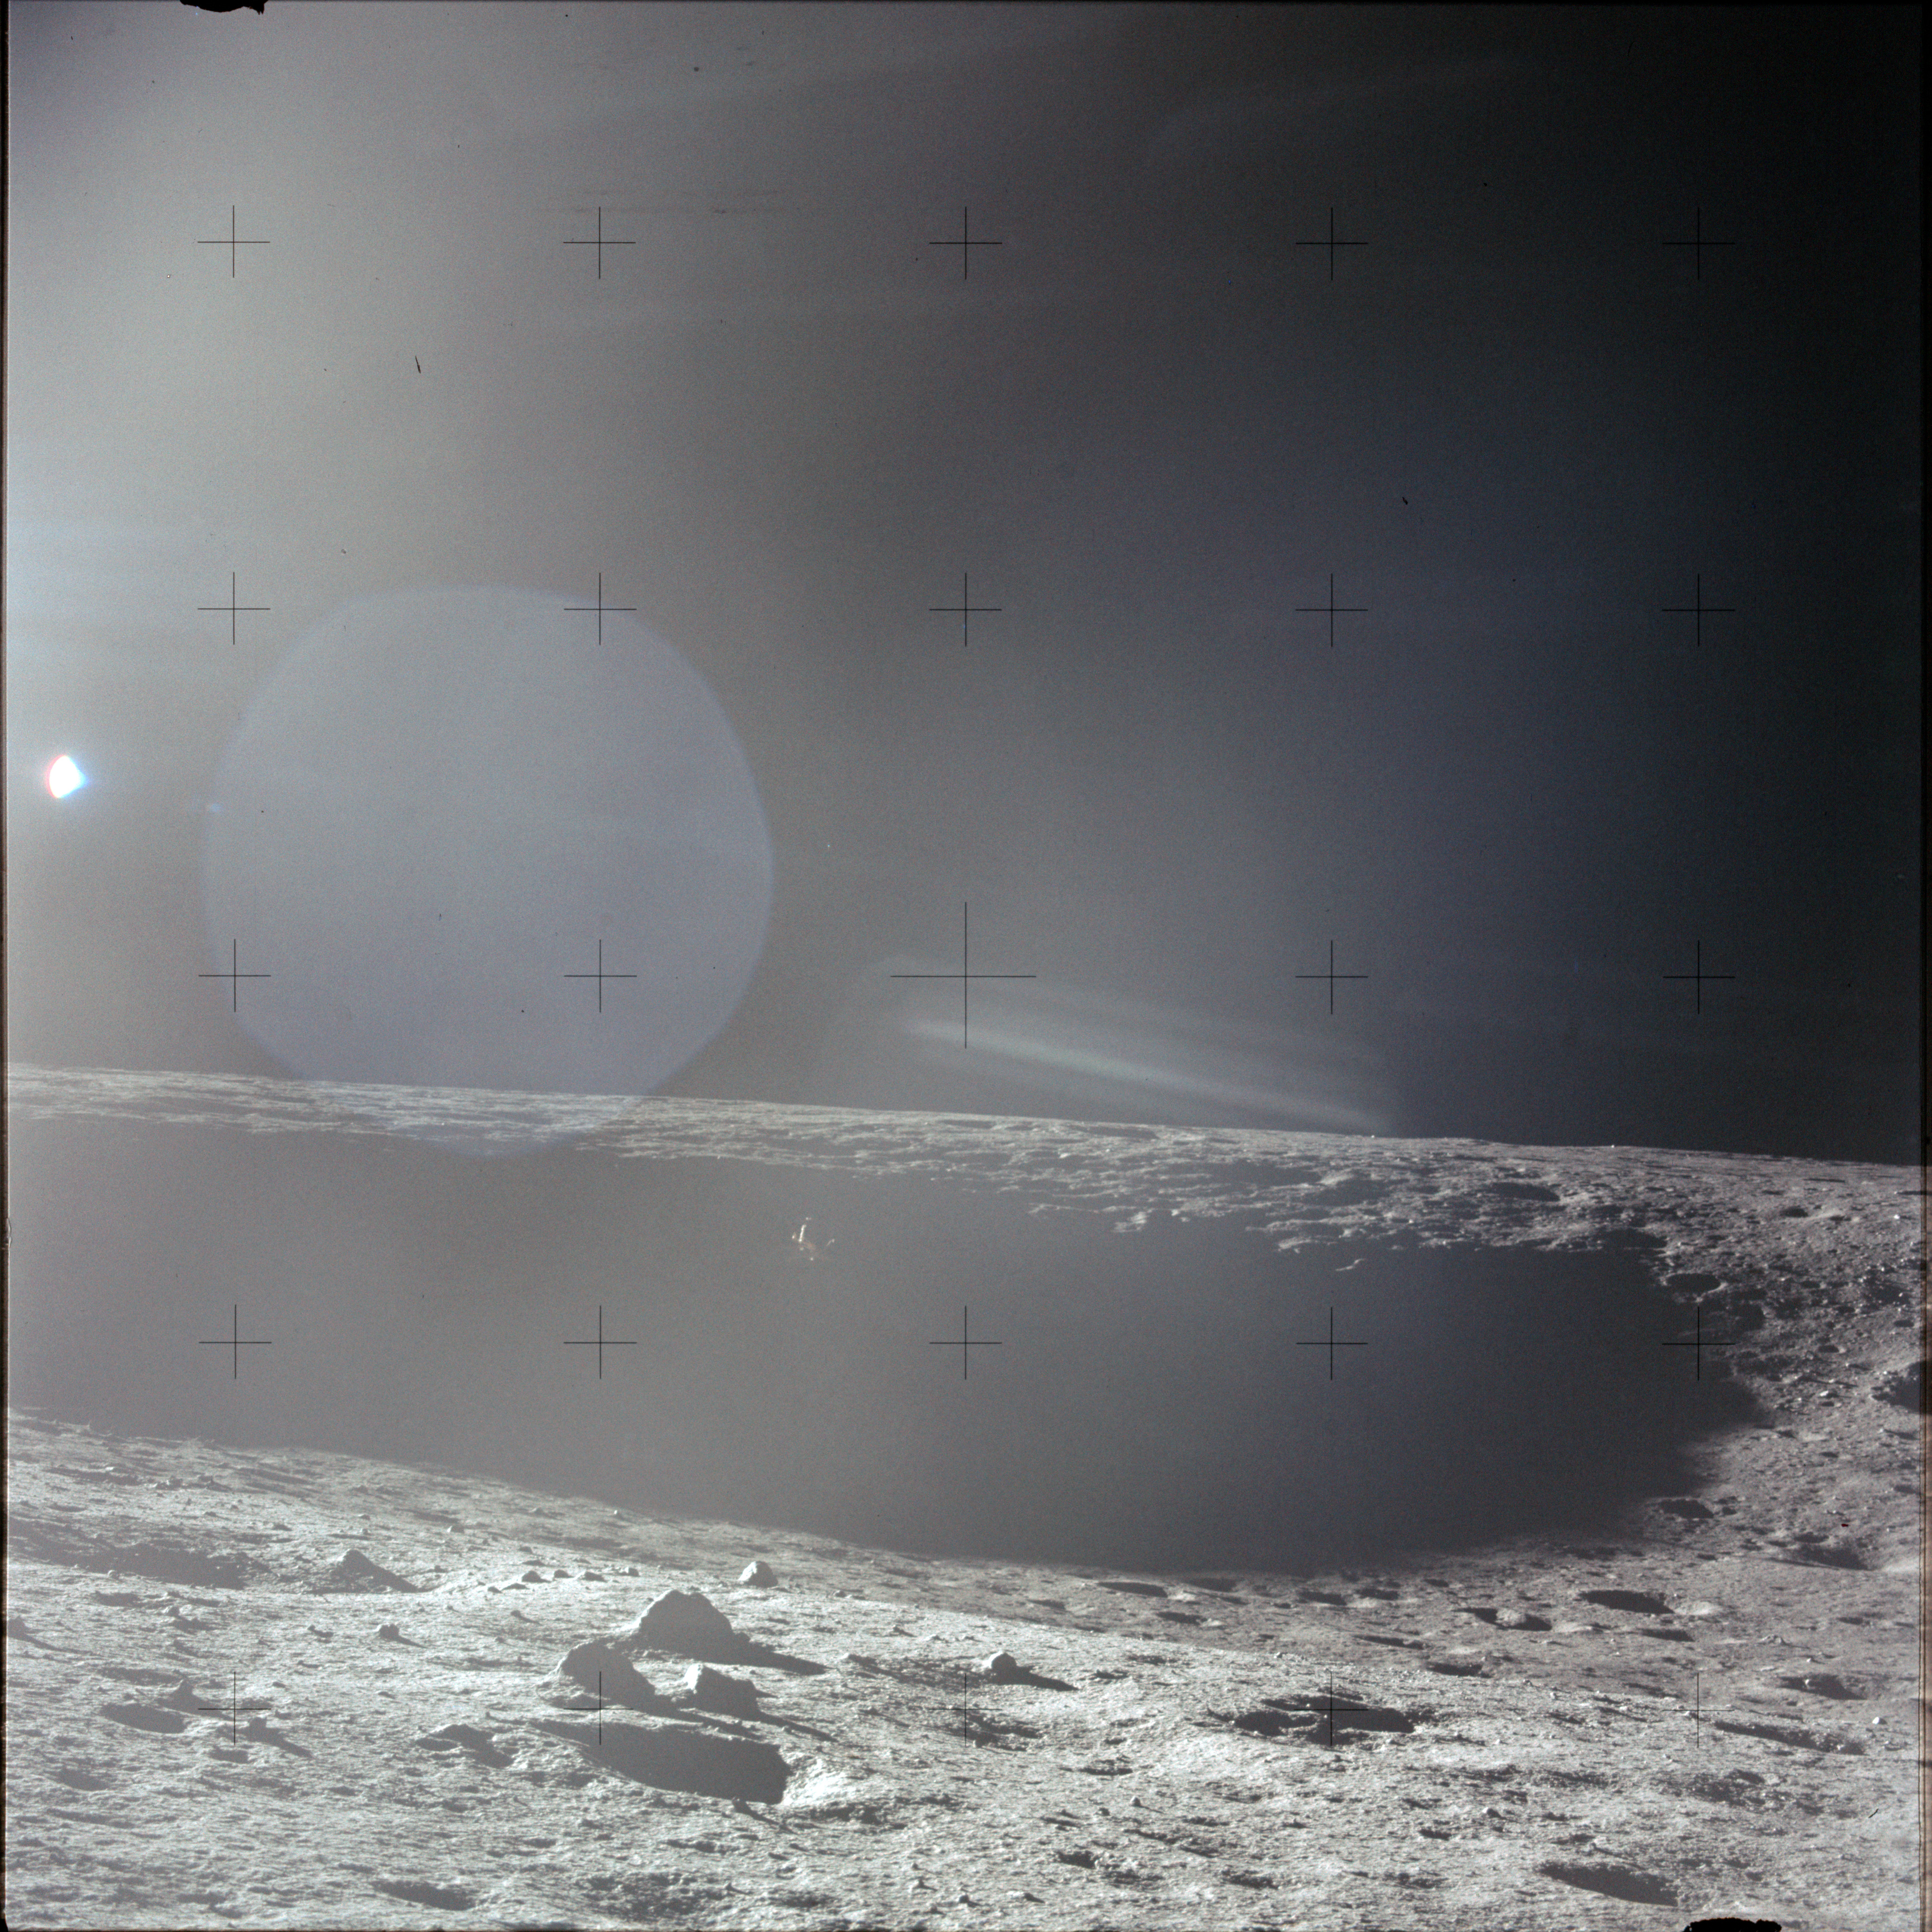 |
AS12-47-6969 Leftward of 6968. View southeast across Surveyor Crater. Image credit: Image Science and Analysis Laboratory, NASA-Johnson Space Center |
 |
AS12-47-6970 Leftward of 6969. Near down-Sun view across north rim of Surveyor Crater. Image credit: Image Science and Analysis Laboratory, NASA-Johnson Space Center |
 |
AS12-47-6971 Leftward of 6970. Down-Sun view across north rim of Surveyor Crater. Image credit: Image Science and Analysis Laboratory, NASA-Johnson Space Center |
 |
AS12-47-6972 Leftward of 6971. Up-Sun view to the east. Image credit: Image Science and Analysis Laboratory, NASA-Johnson Space Center |
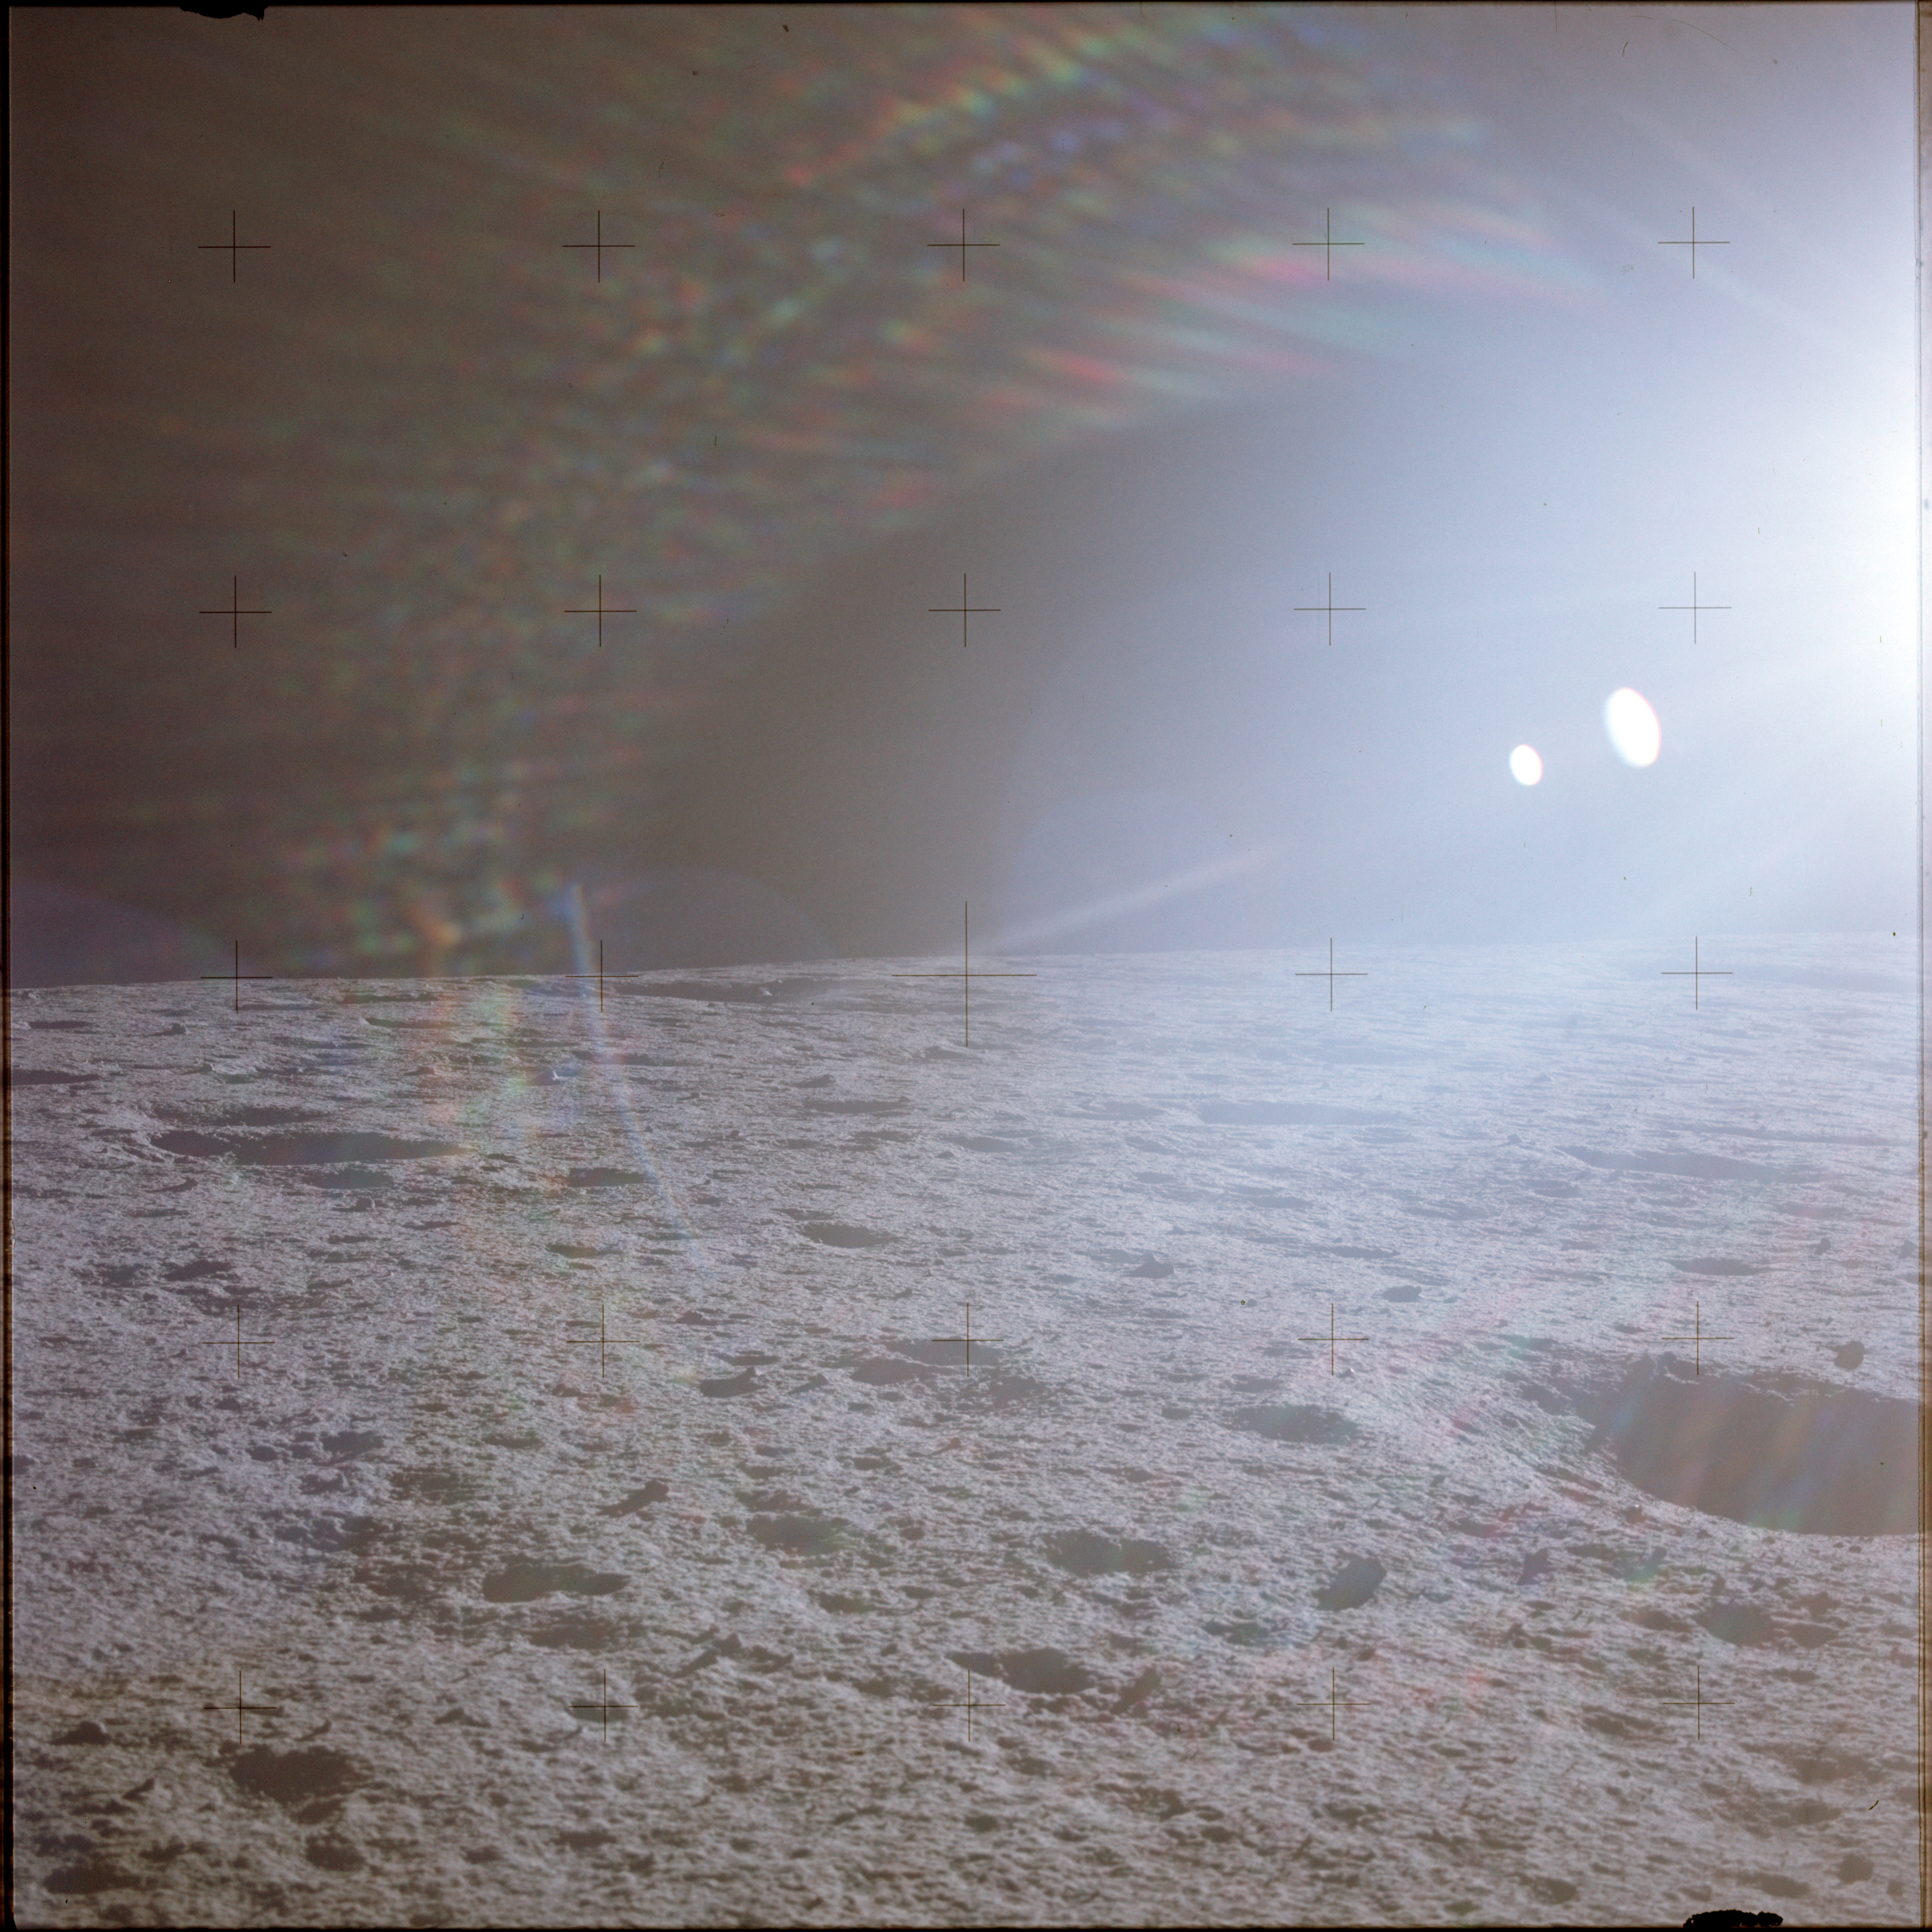 |
AS12-47-6973 Leftward of 6972. Up-Sun view to the east. Image credit: Image Science and Analysis Laboratory, NASA-Johnson Space Center |
 |
AS12-47-6974 Leftward of 6973. View to the northeast. Image credit: Image Science and Analysis Laboratory, NASA-Johnson Space Center |
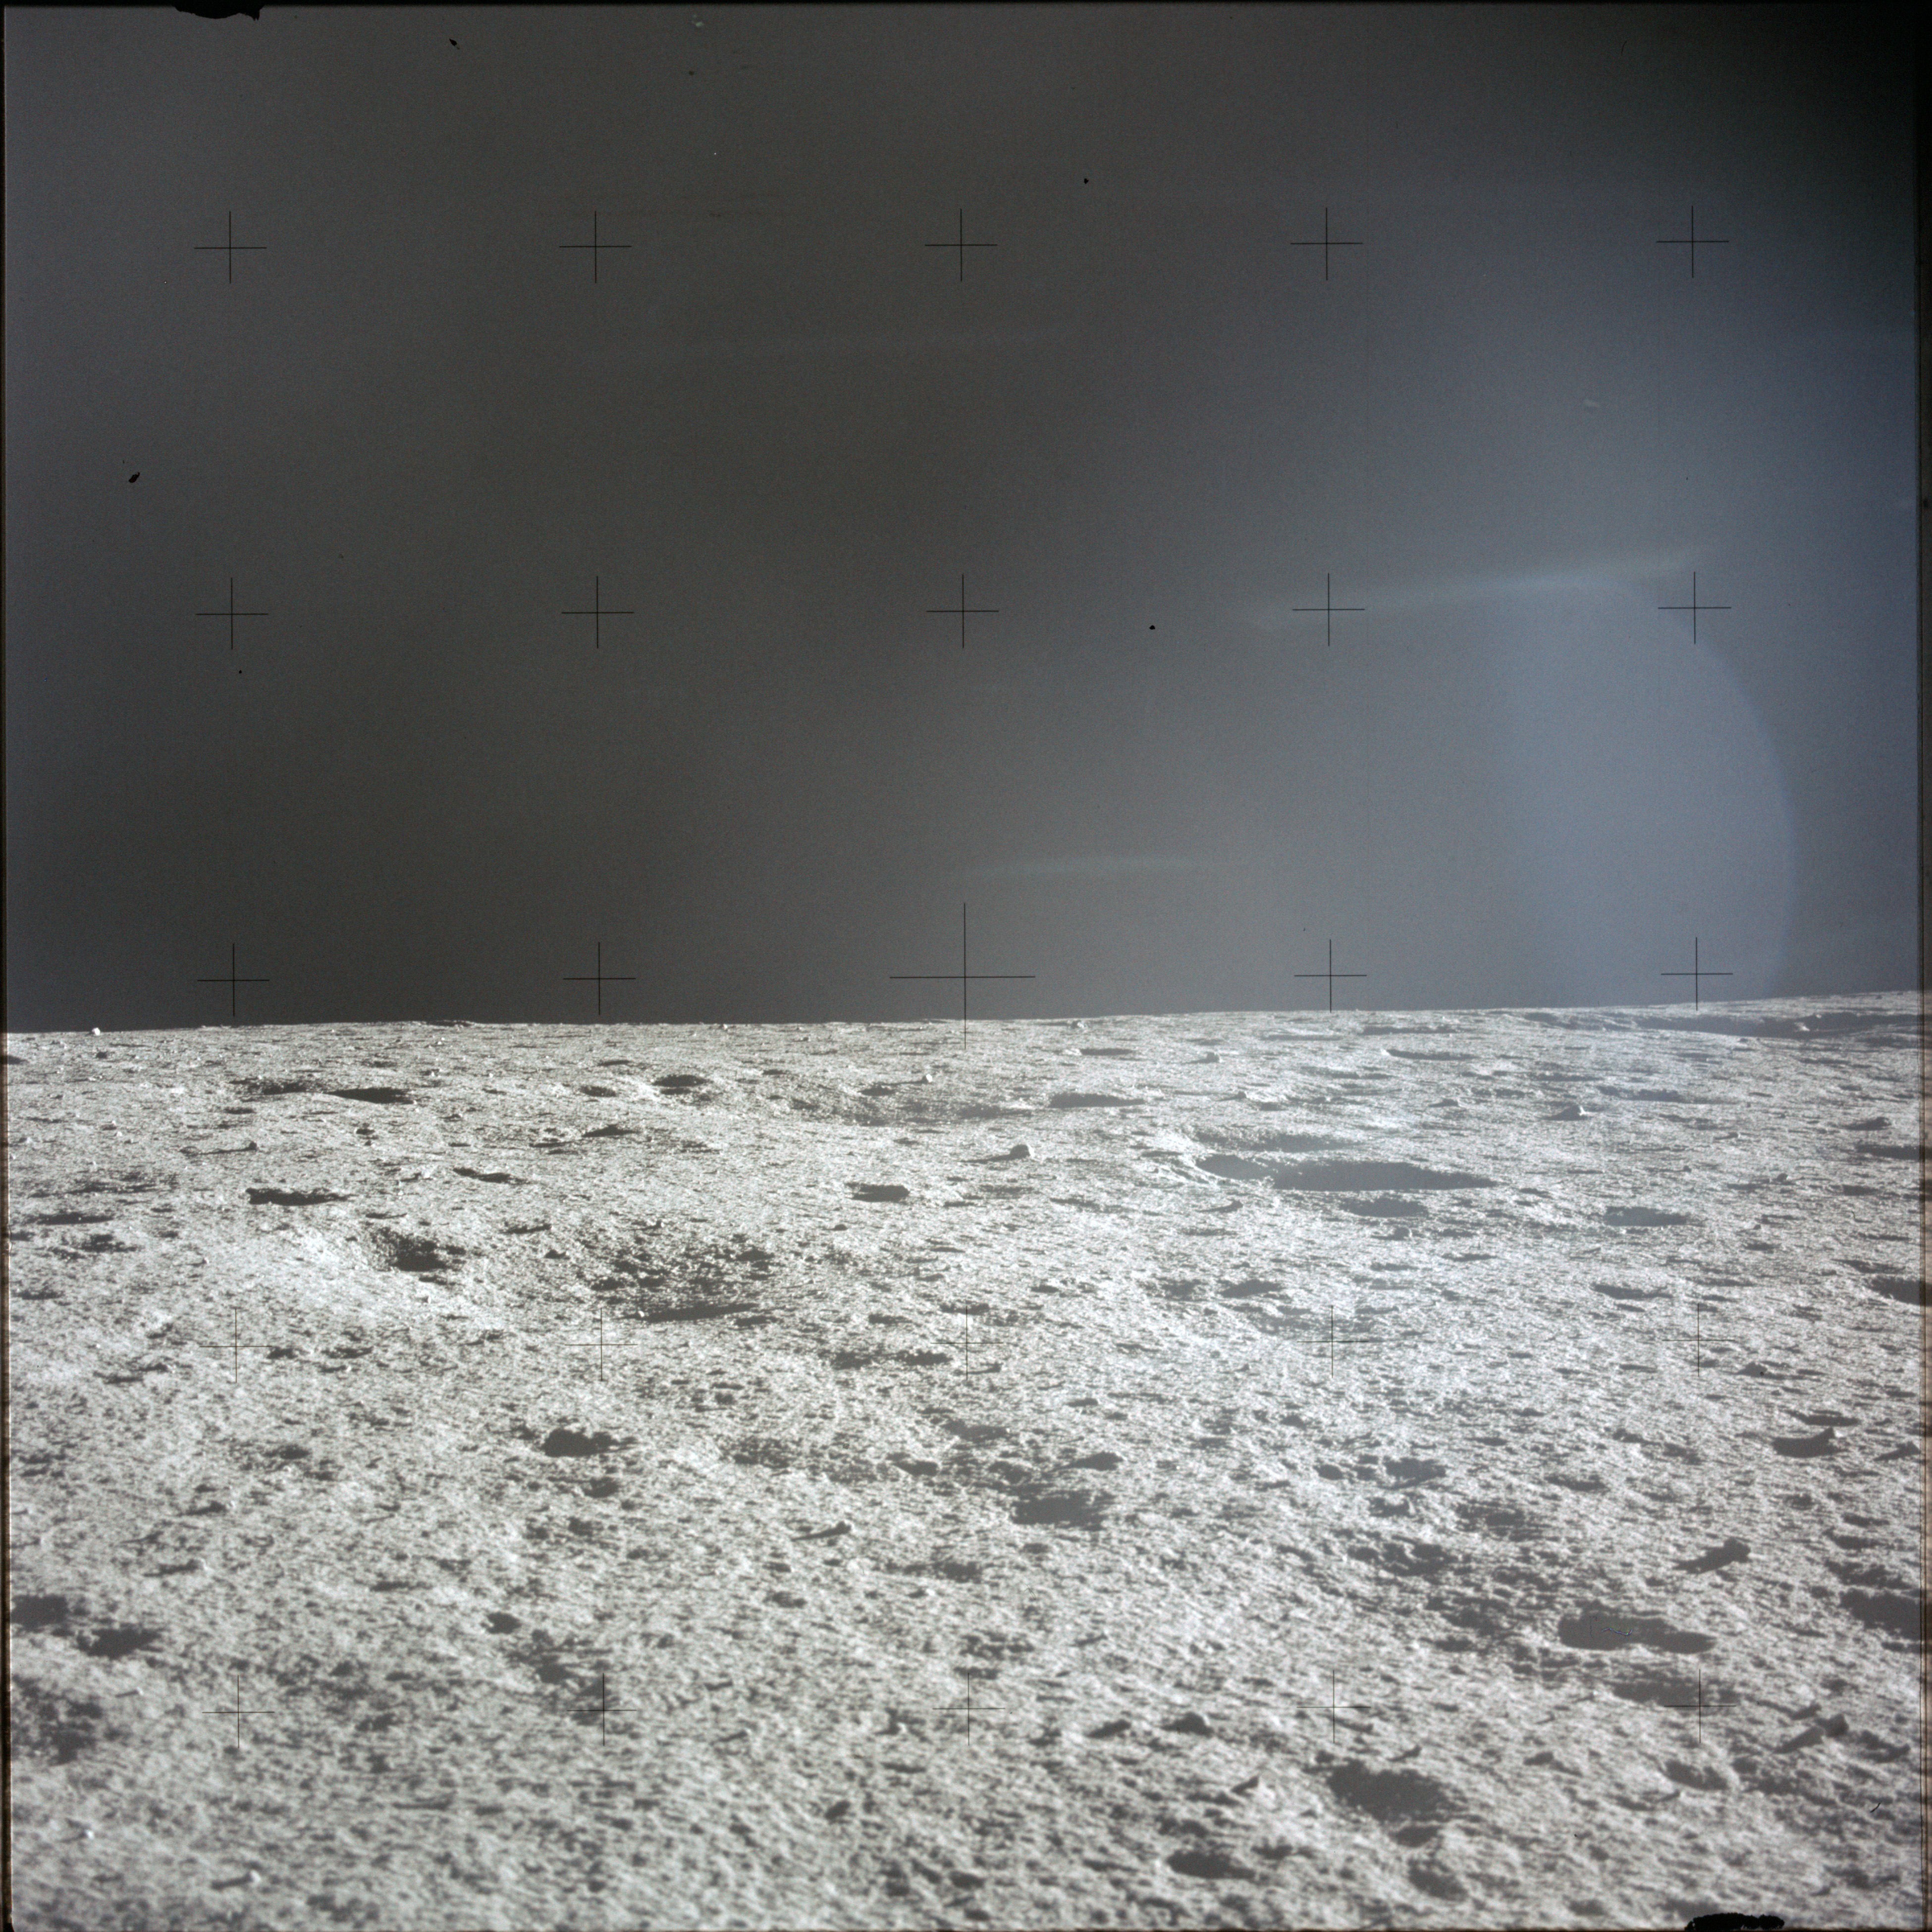 |
AS12-47-6975 Leftward of 6974. View to the northeast. Image credit: Image Science and Analysis Laboratory, NASA-Johnson Space Center |
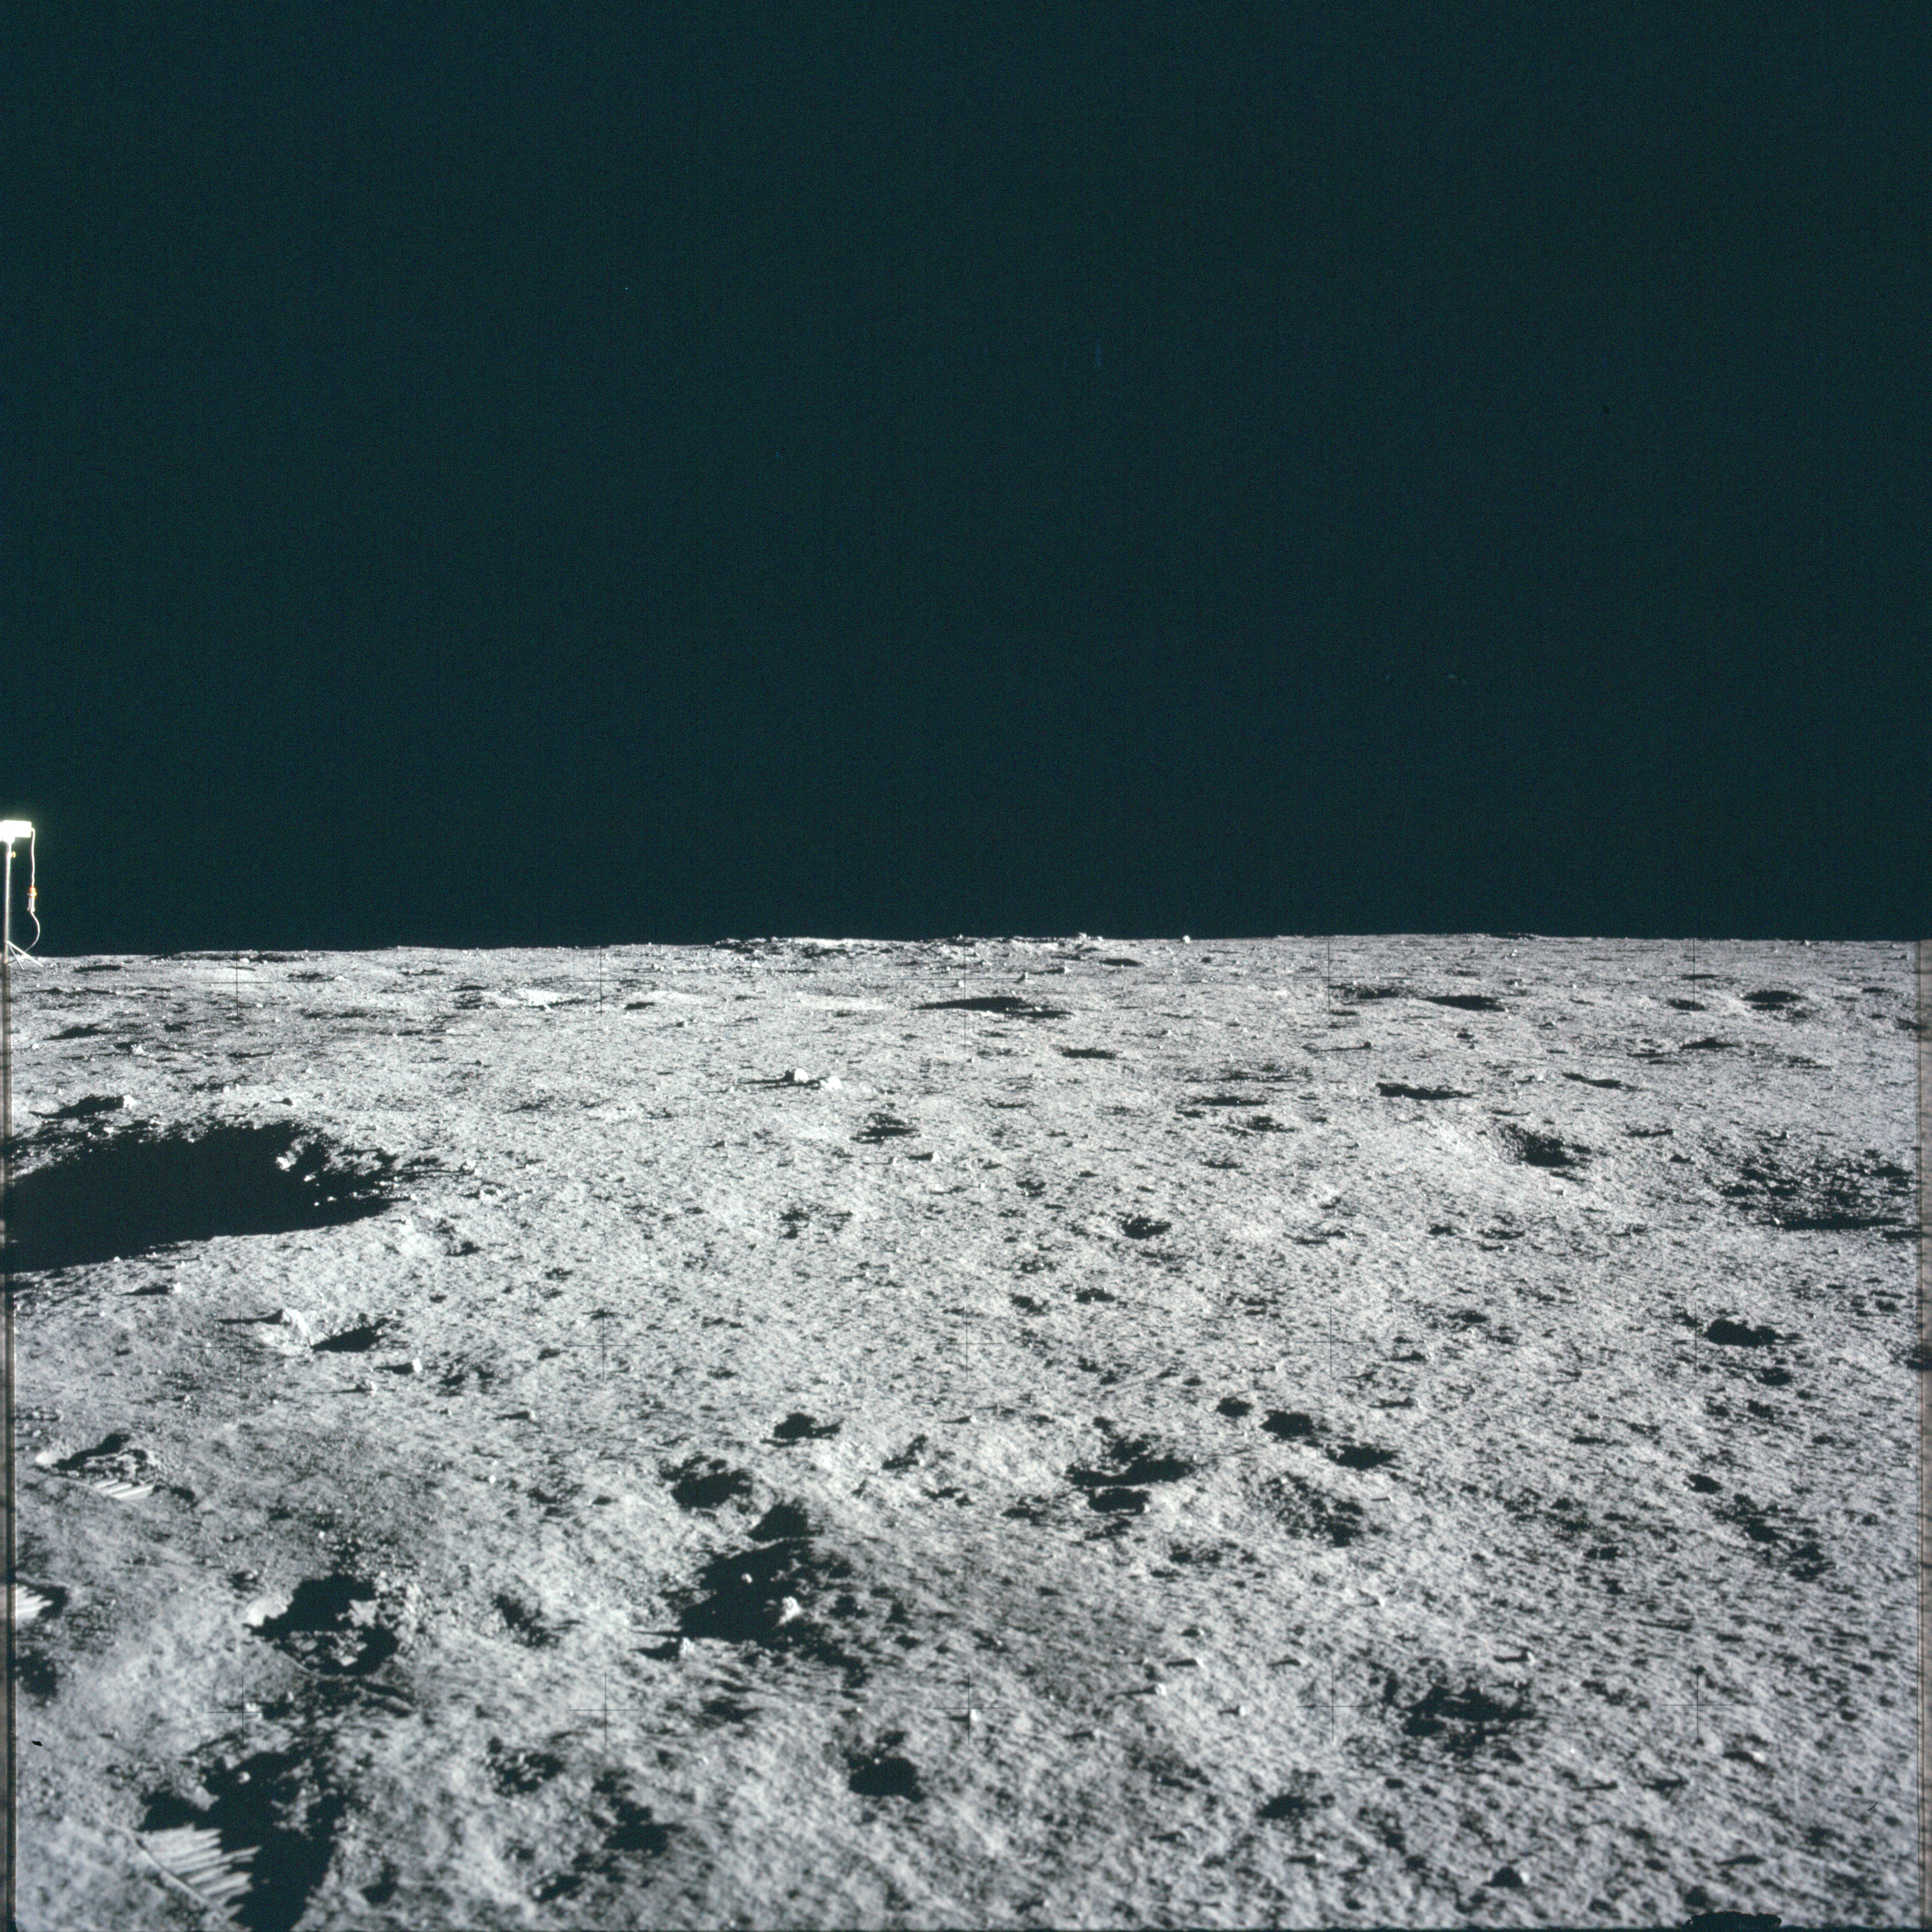 |
AS12-47-6976 Leftward of 6975. View to the north. TV camera visible to extreme left. Image credit: Image Science and Analysis Laboratory, NASA-Johnson Space Center |
 |
AS12-47-6977 Leftward of 6976. View to the north including TV camera. Image credit: Image Science and Analysis Laboratory, NASA-Johnson Space Center |
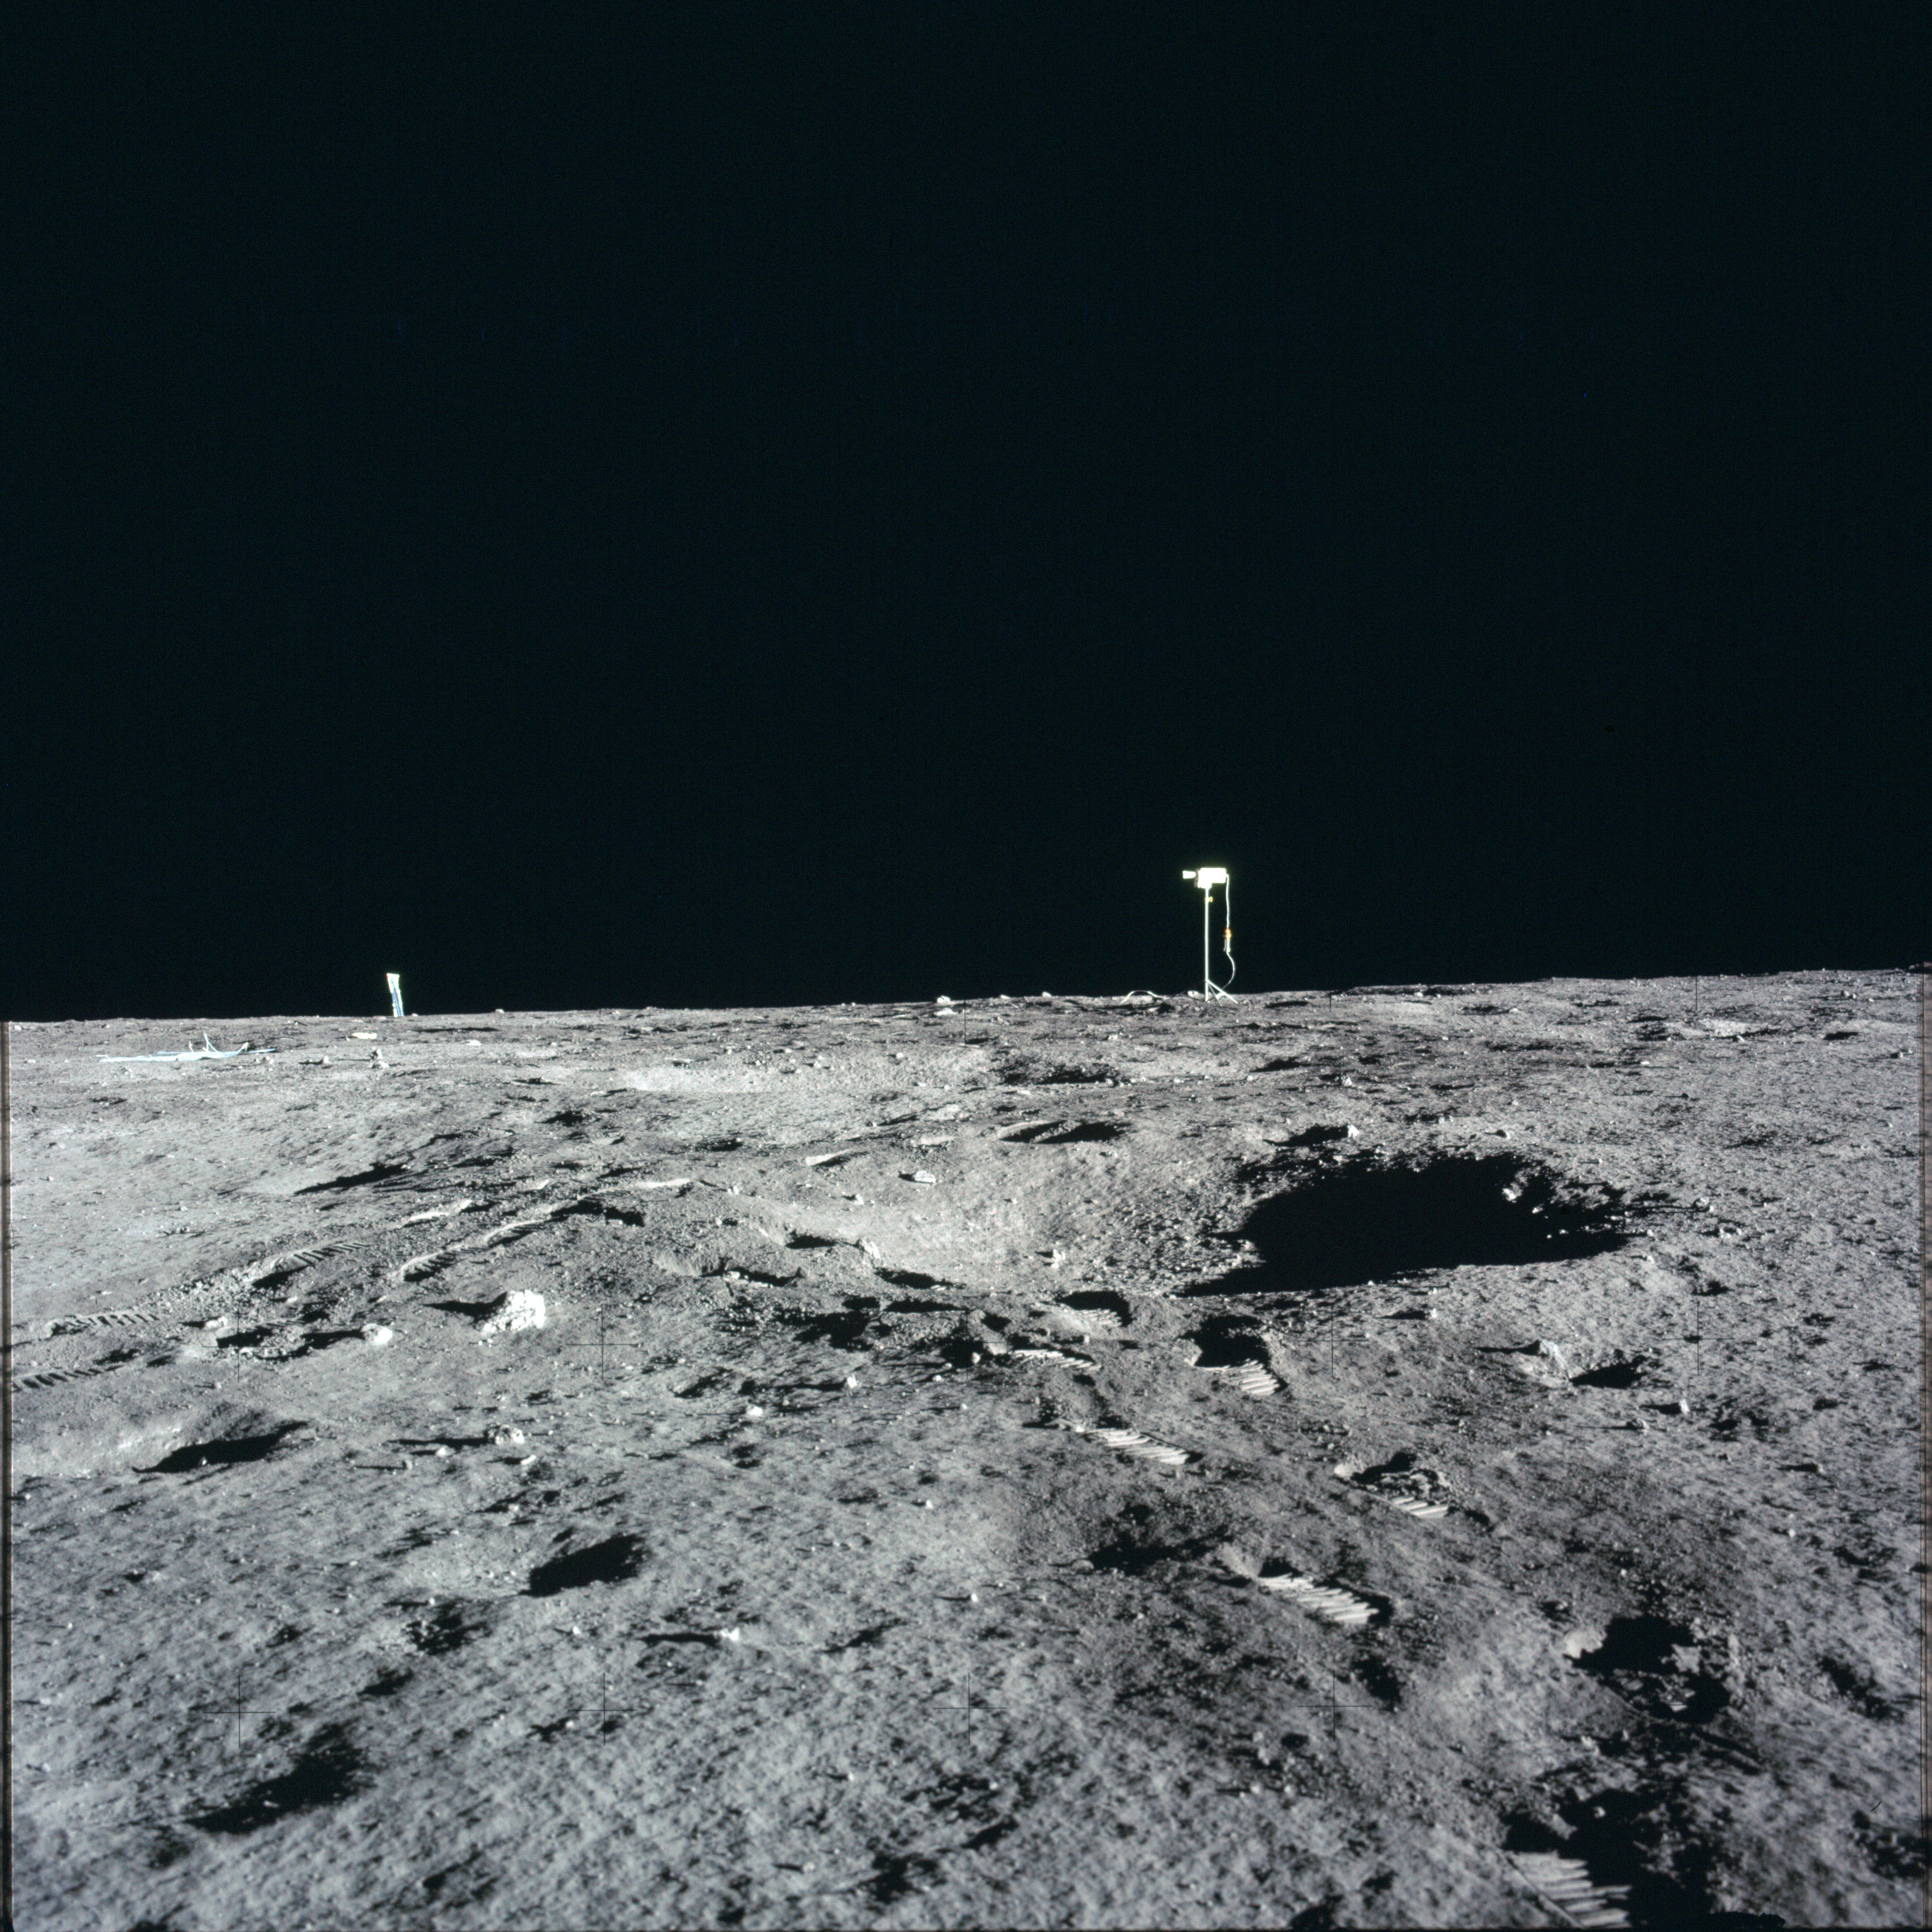 |
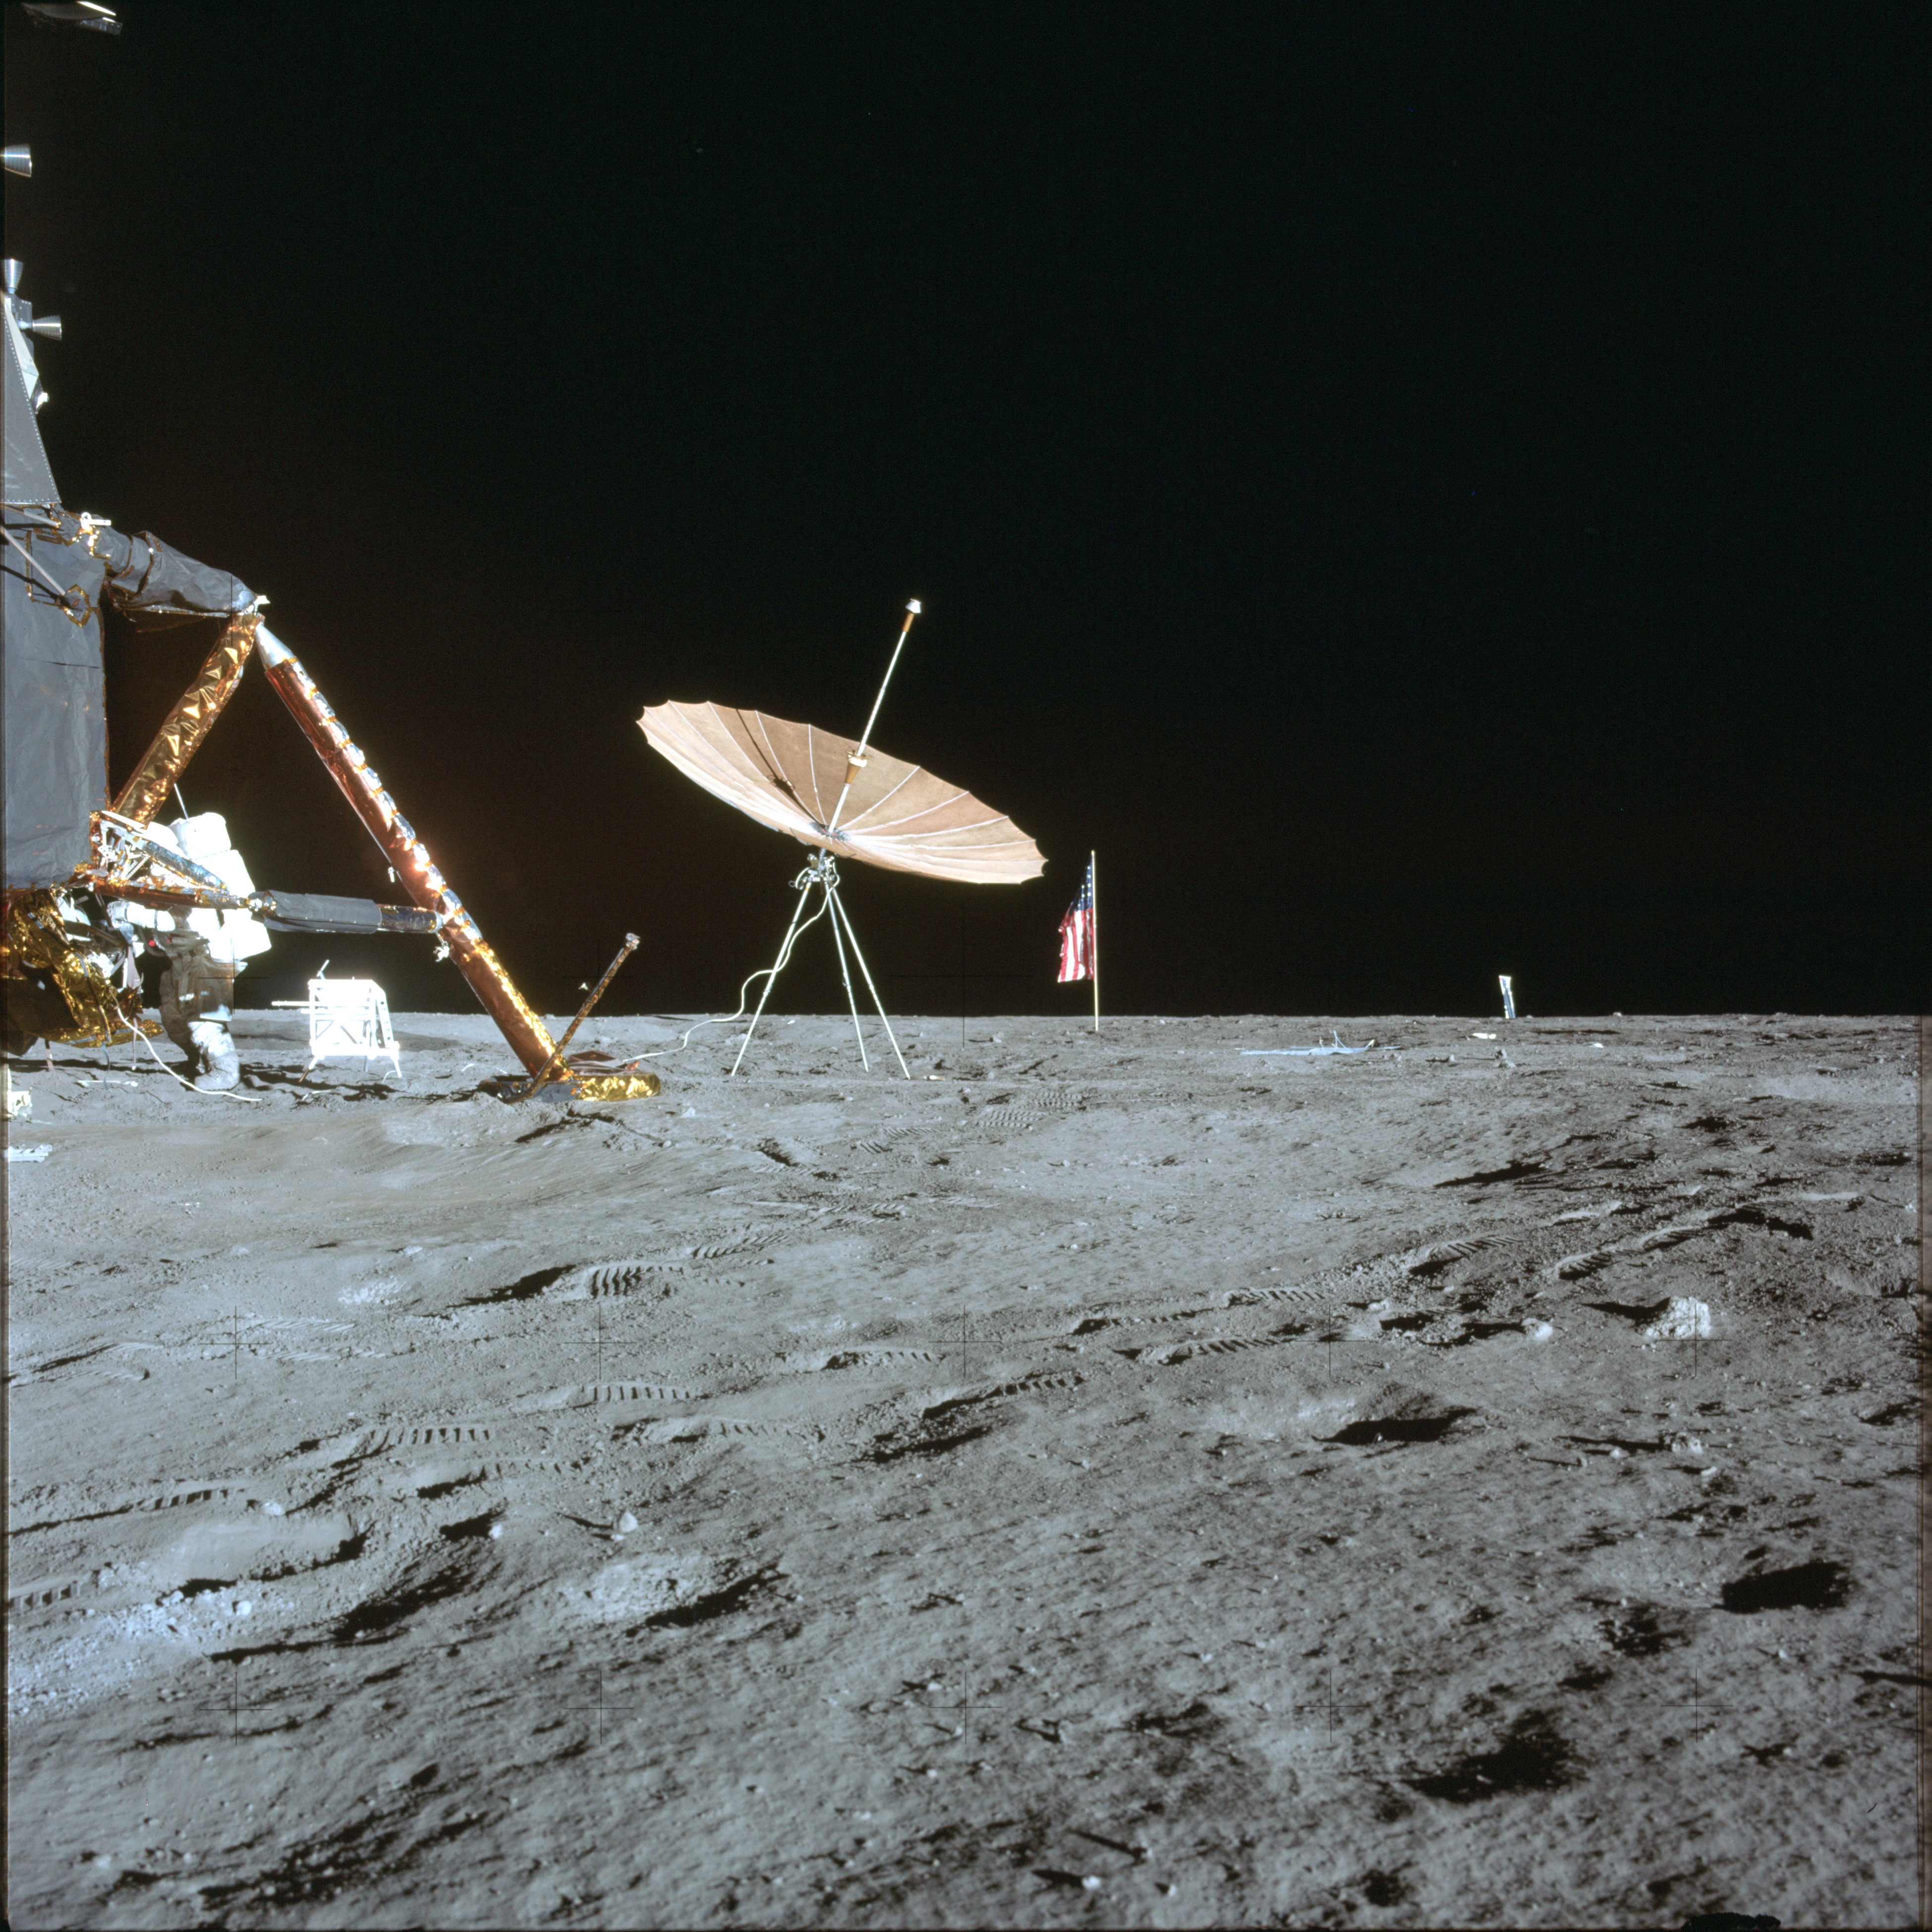
AS12-47-6978 Leftward of 6977. View to the north including TV camera and Solar Wind Collector. Image credit: Image Science and Analysis Laboratory, NASA-Johnson Space Center |
 |
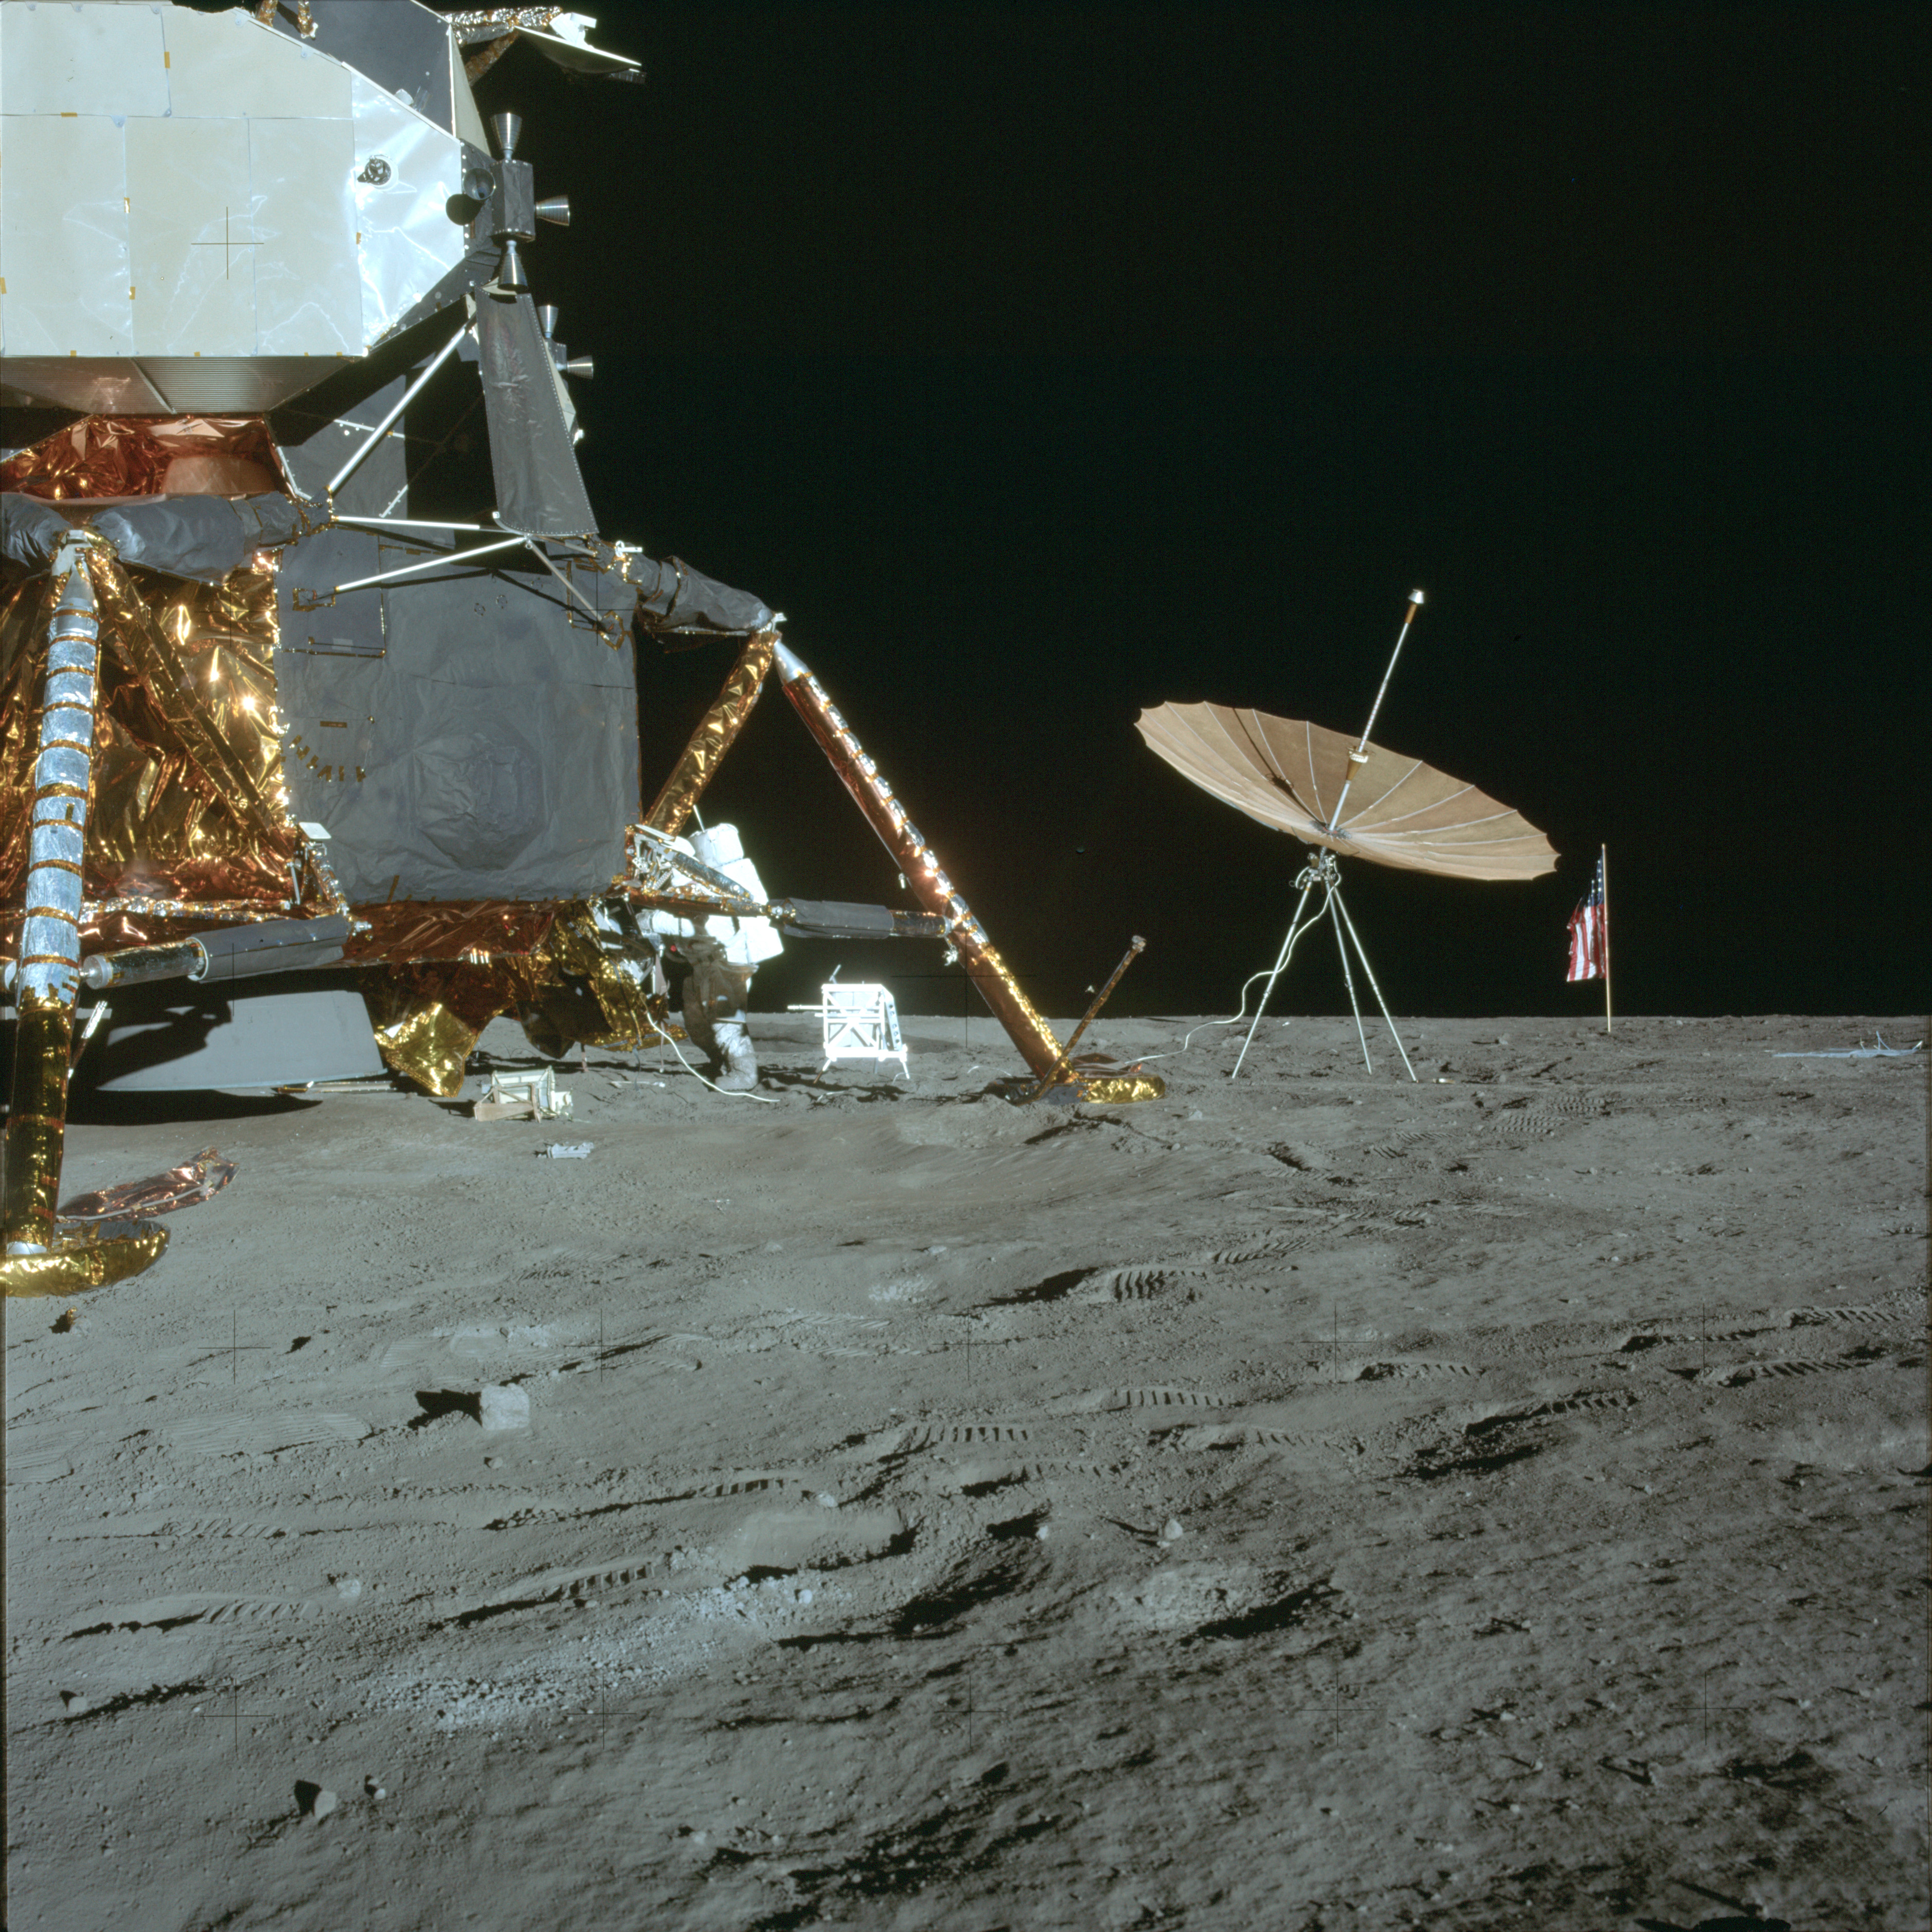
AS12-47-6979 Leftward of 6978. View northwest including deployable S-band antenna, SWC and TV camera. Image credit: Image Science and Analysis Laboratory, NASA-Johnson Space Center |
 |
AS12-47-6980 Leftward of 6979. View northwest including deployable S-band antenna and north side of LM. Image credit: Image Science and Analysis Laboratory, NASA-Johnson Space Center |
 |
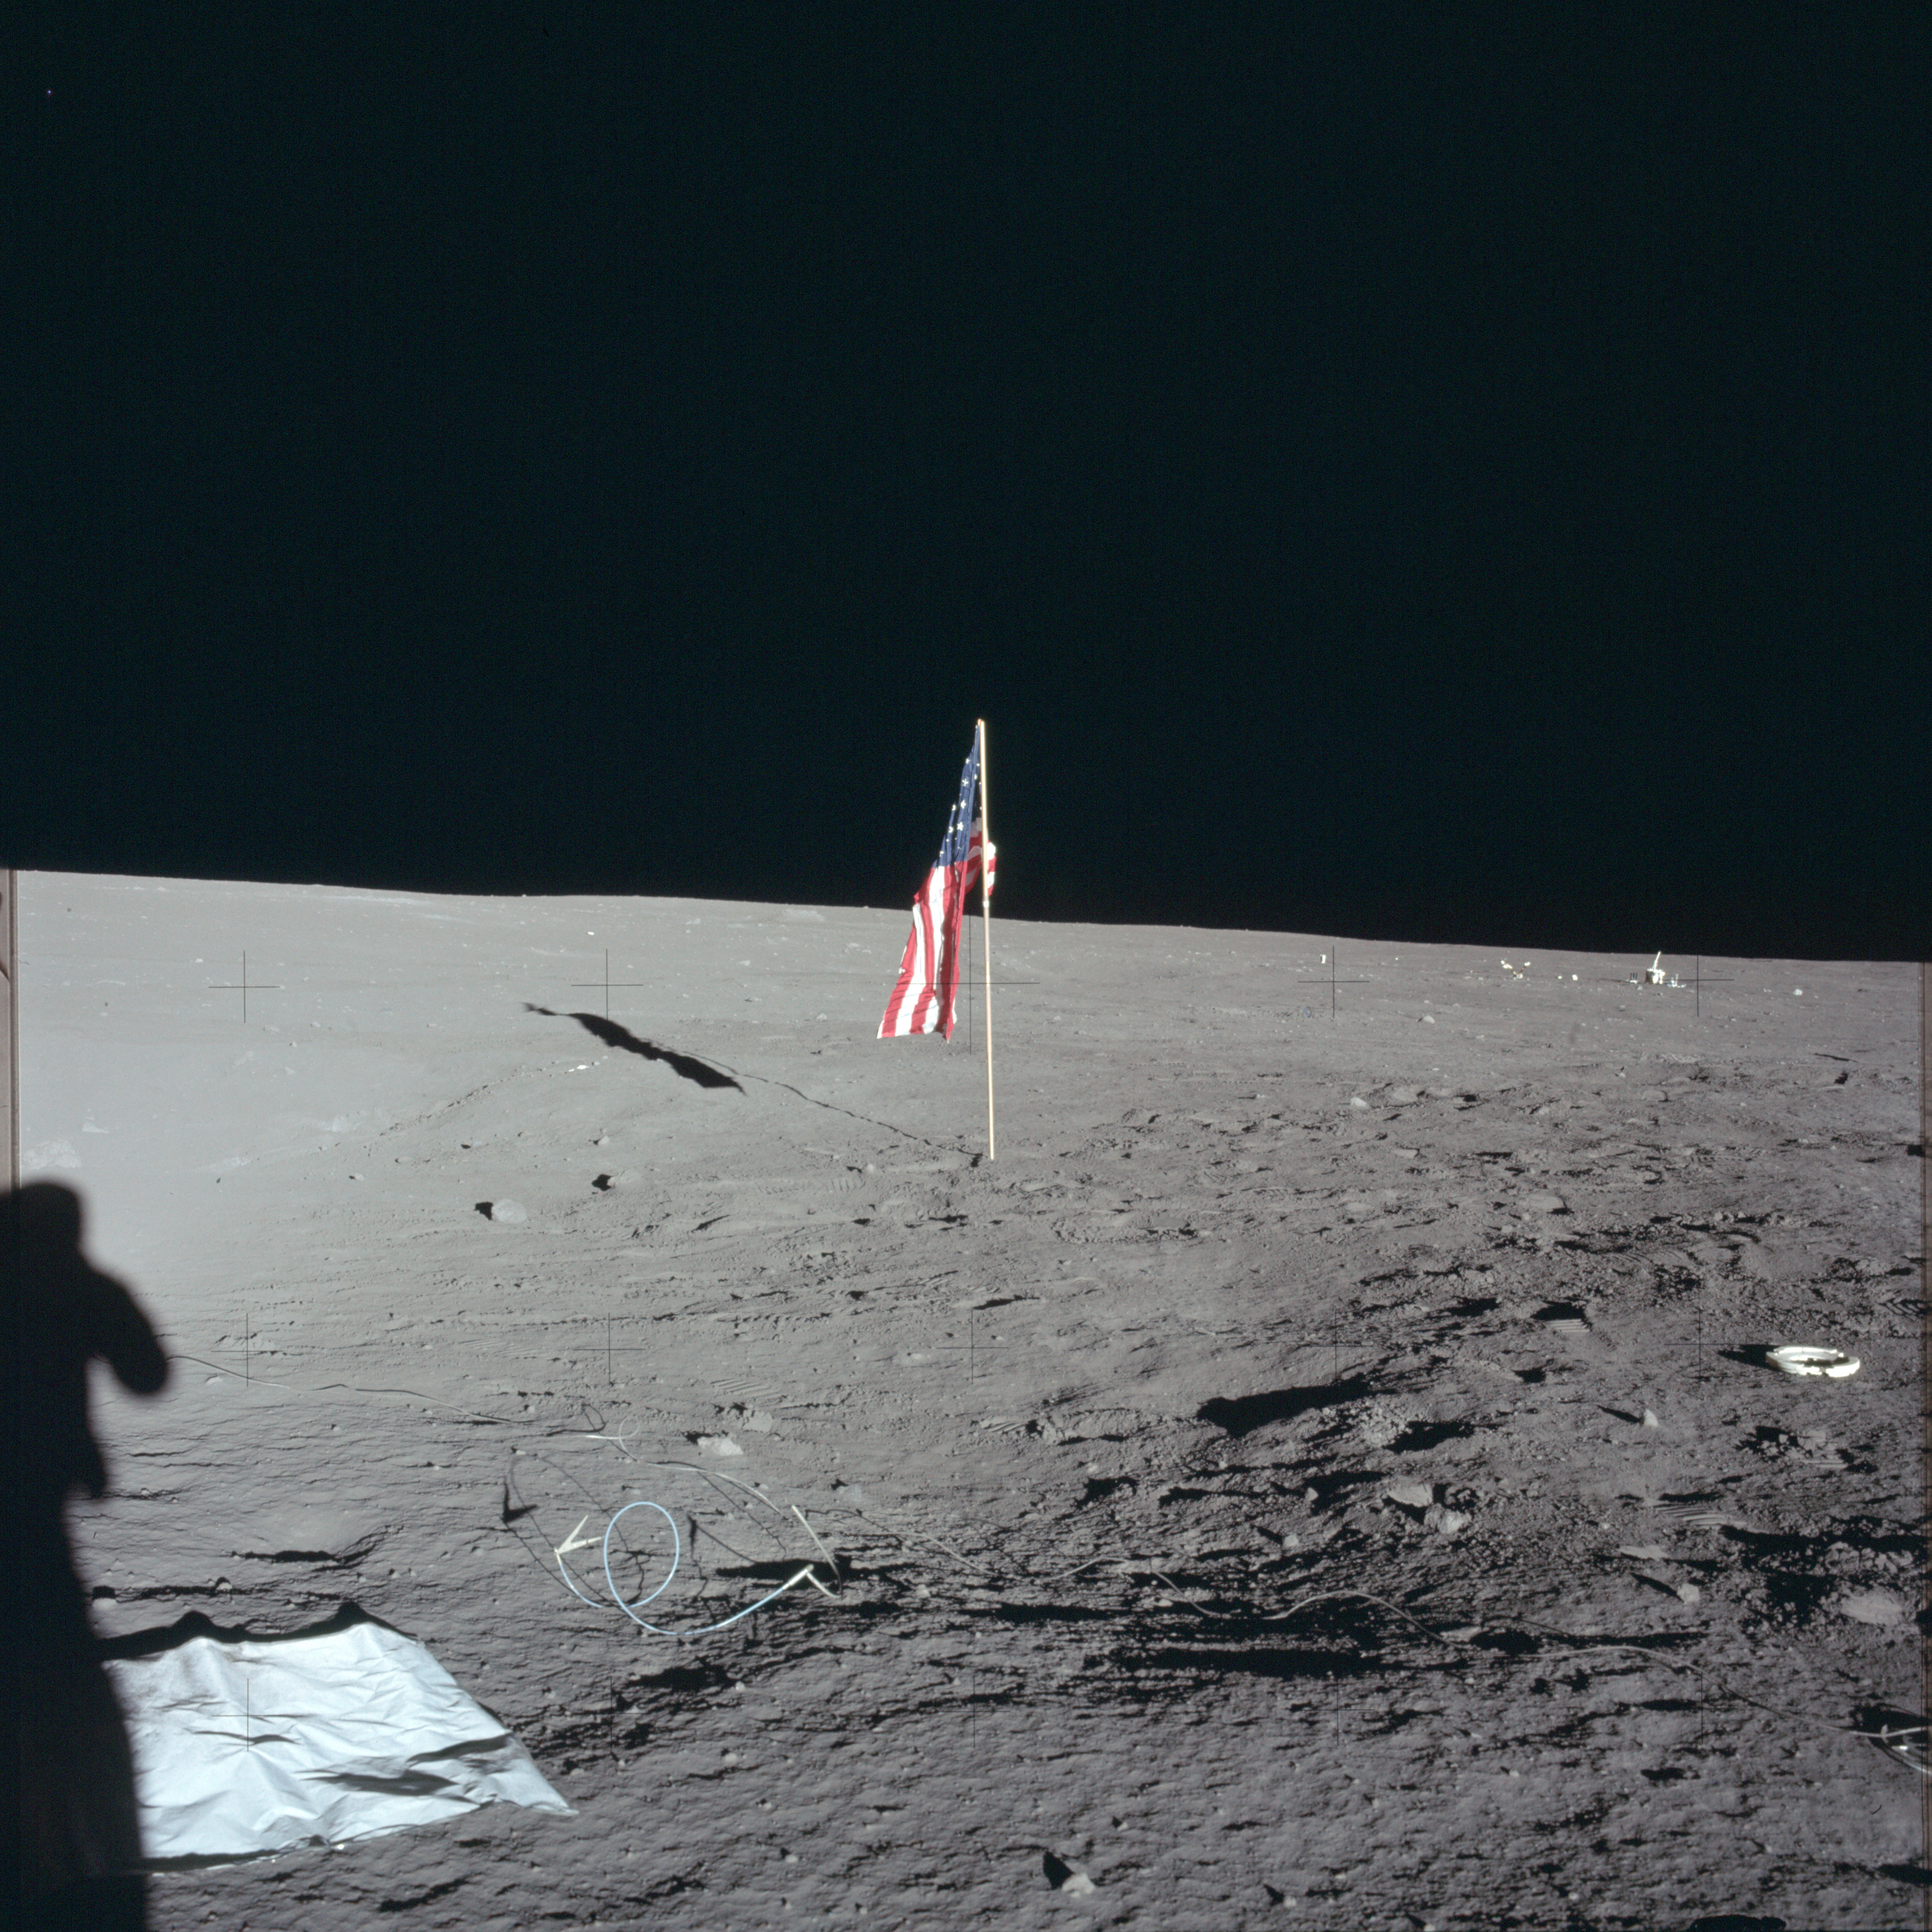
AS12-47-6981 Leftward of 6980 and final frame of panorama. View west including deployable high gain antenna and LM rear. Image credit: Image Science and Analysis Laboratory, NASA-Johnson Space Center |
 |
AS12-47-6982 First frame of Al Bean's 4 O'Clock Pan, taken at about 118:33:10 GET looking northwest. This name refers to it being taken from around the north side of the LM where 12 o'clock is aligned with the ladder. The shot includes the flag and the SWC. Image credit: Image Science and Analysis Laboratory, NASA-Johnson Space Center |
 |
AS12-47-6983 Leftward of 6982. View northwest including the flag. Image credit: Image Science and Analysis Laboratory, NASA-Johnson Space Center |
 |
AS12-47-6984 Leftward of 6983. View down-Sun to the west including the flag. Image credit: Image Science and Analysis Laboratory, NASA-Johnson Space Center |
 |
AS12-47-6985 Leftward of 6984. View down-Sun to the west. Image credit: Image Science and Analysis Laboratory, NASA-Johnson Space Center |
 |
AS12-47-6986 Leftward of 6985. View down-Sun to the west including the S-band antenna. Image credit: Image Science and Analysis Laboratory, NASA-Johnson Space Center |
 |
AS12-47-6987 Leftward of 6986. View to the southwest including the S-band antenna. Image credit: Image Science and Analysis Laboratory, NASA-Johnson Space Center |
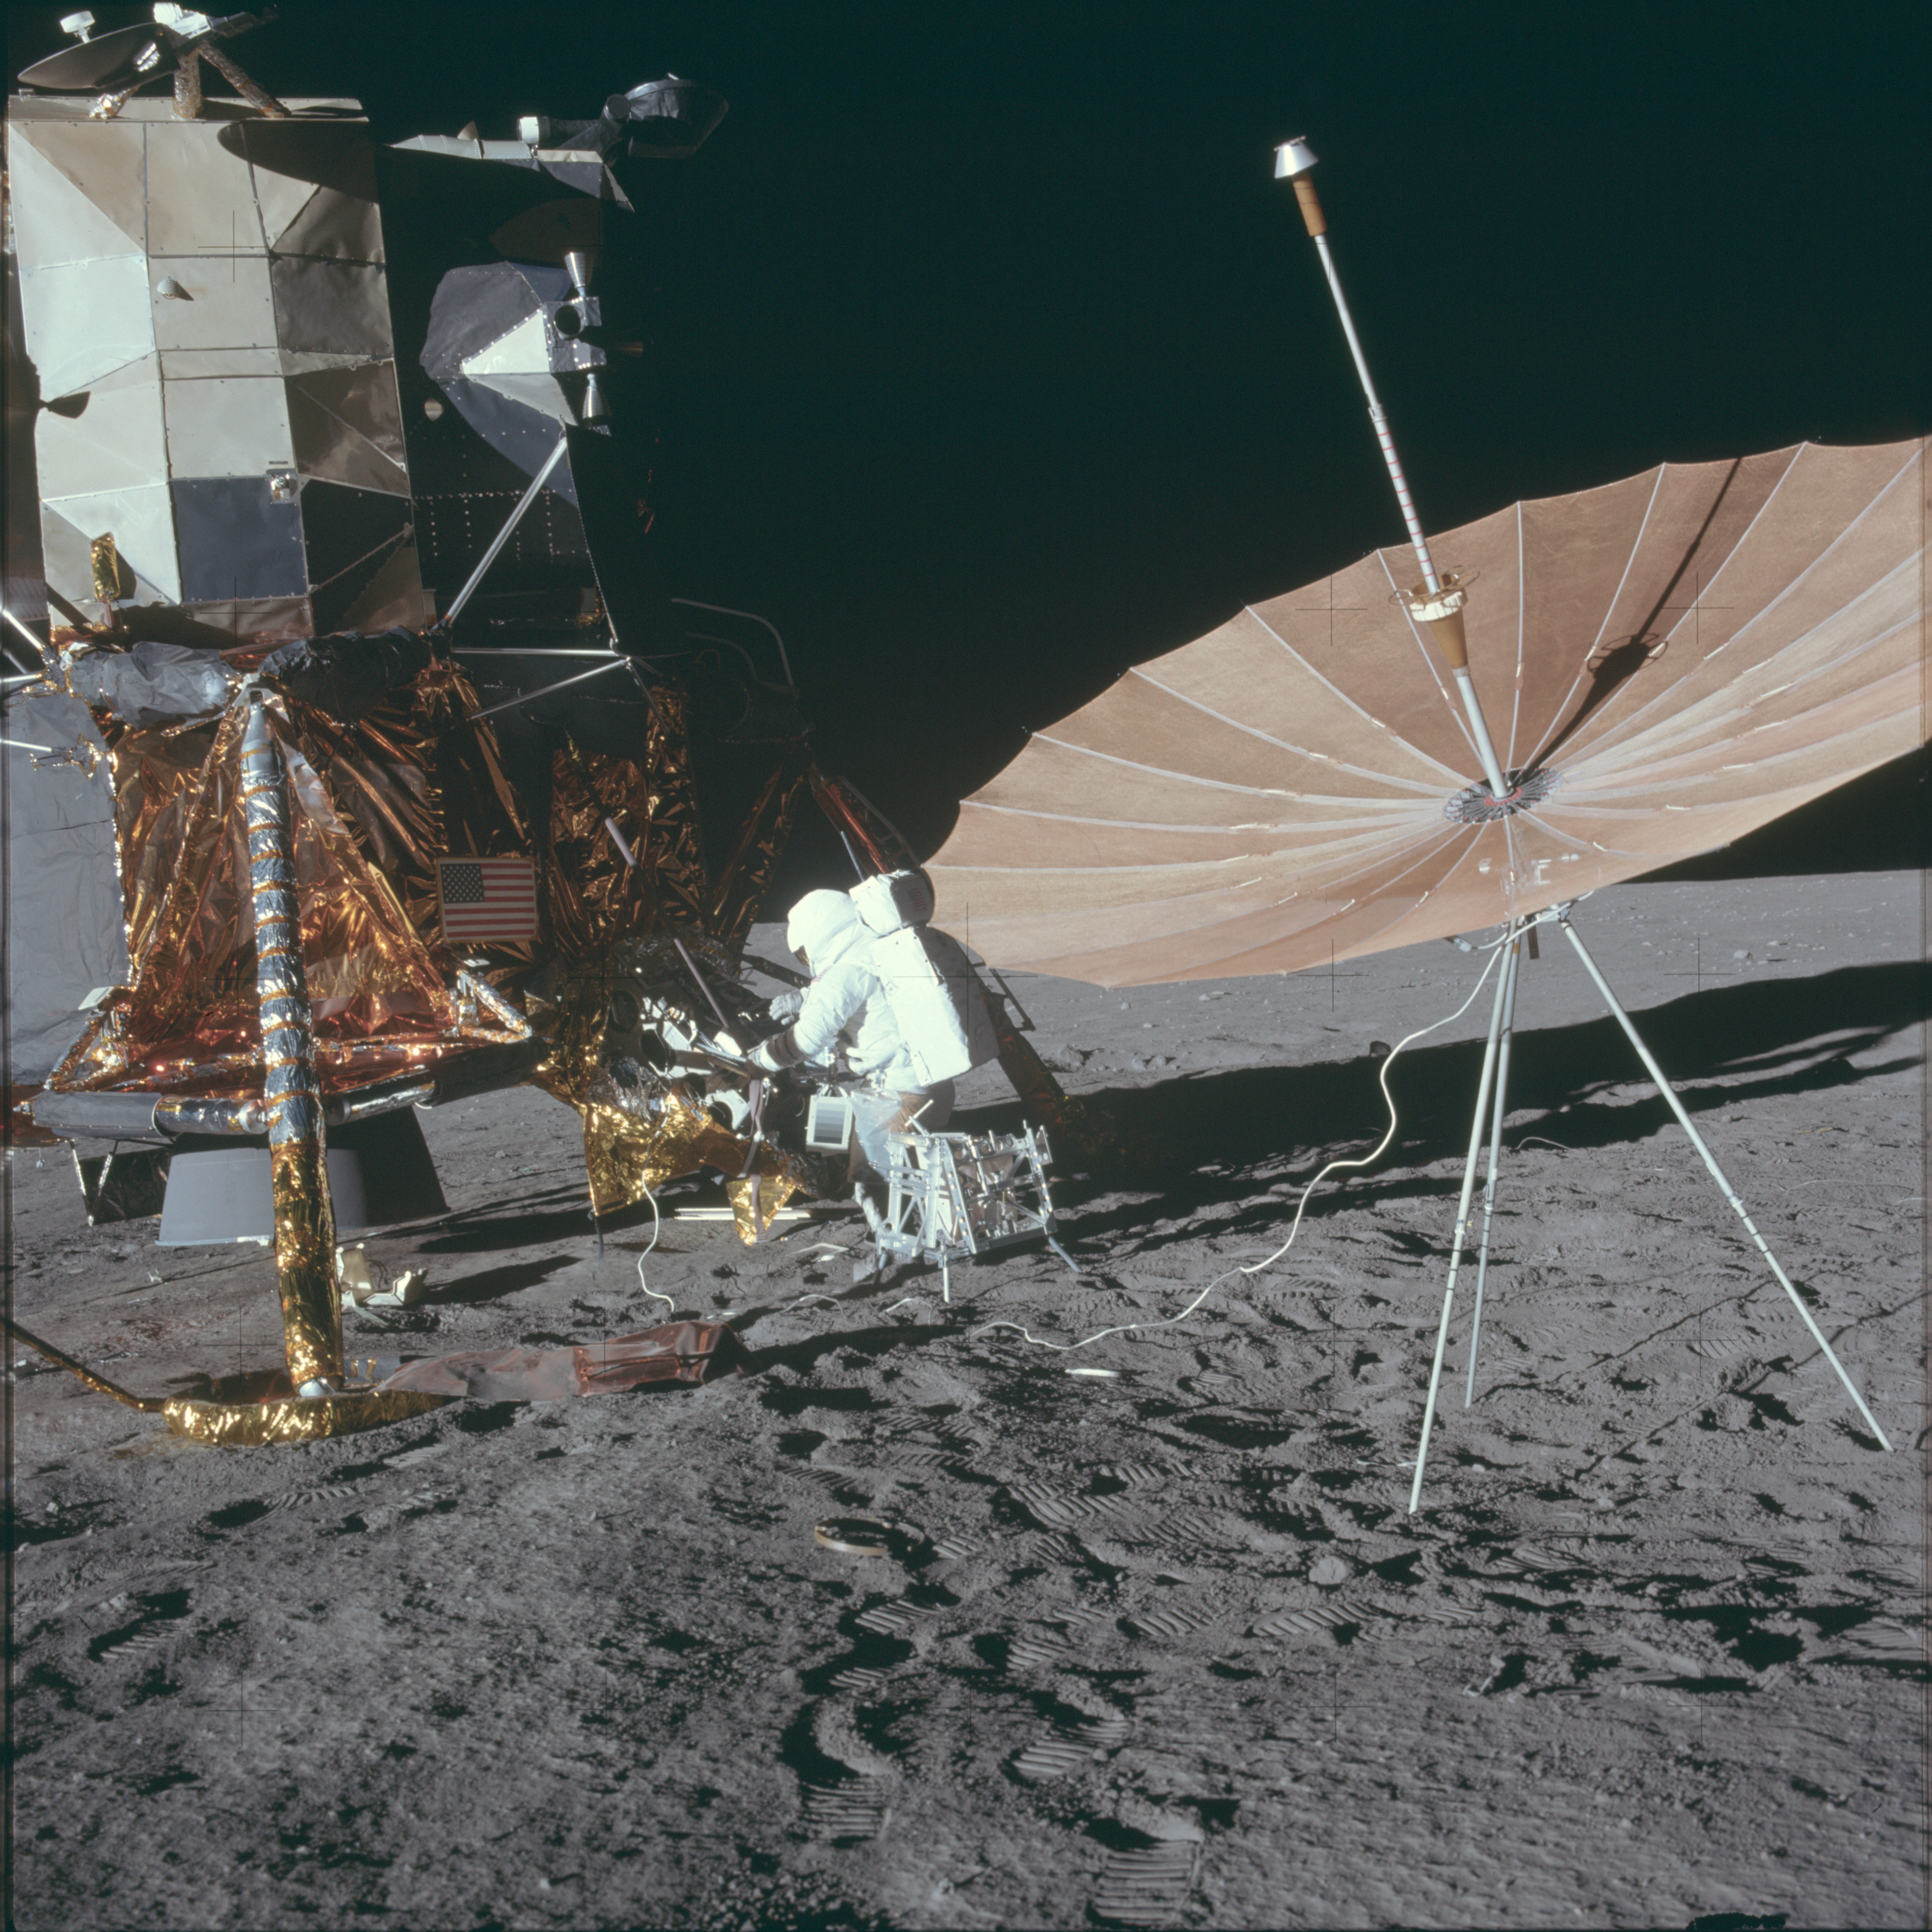 |
AS12-47-6988 Leftward of 6987. View to the south including the S-band antenna and the north side of the LM. Image credit: Image Science and Analysis Laboratory, NASA-Johnson Space Center |
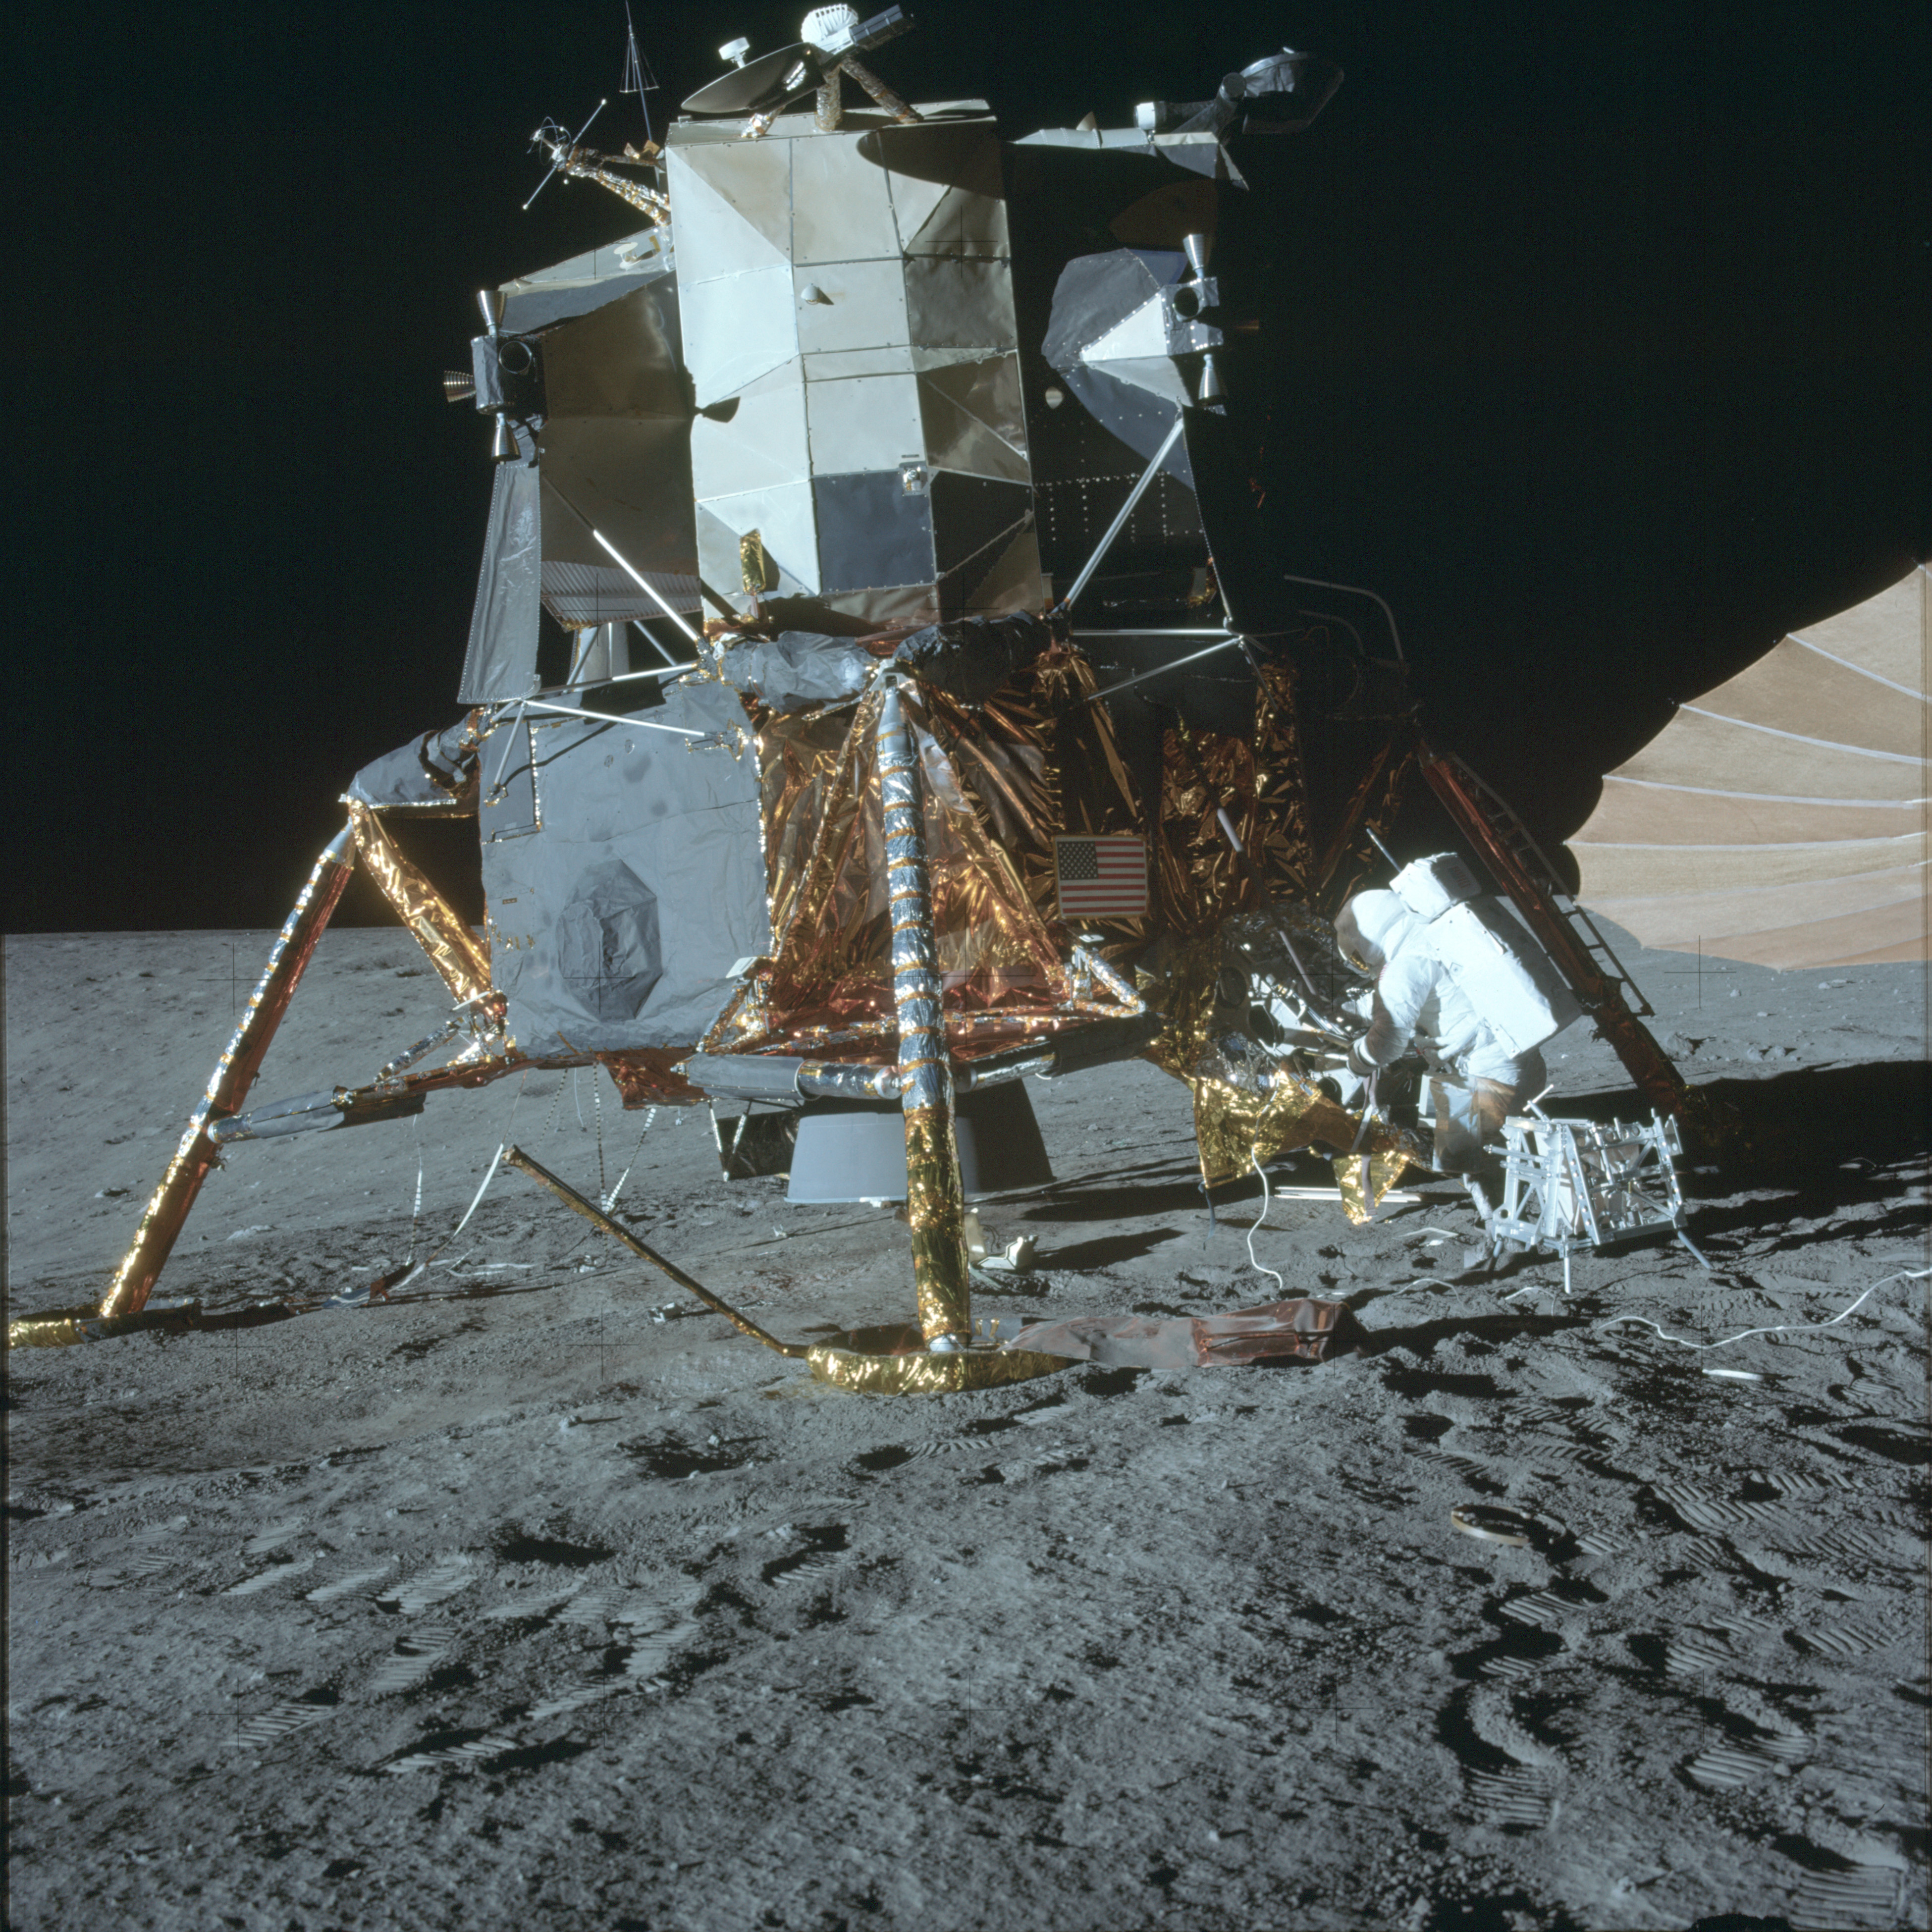 |
AS12-47-6989 Leftward of 6988. View to the south to the north side of the LM. Image credit: Image Science and Analysis Laboratory, NASA-Johnson Space Center |
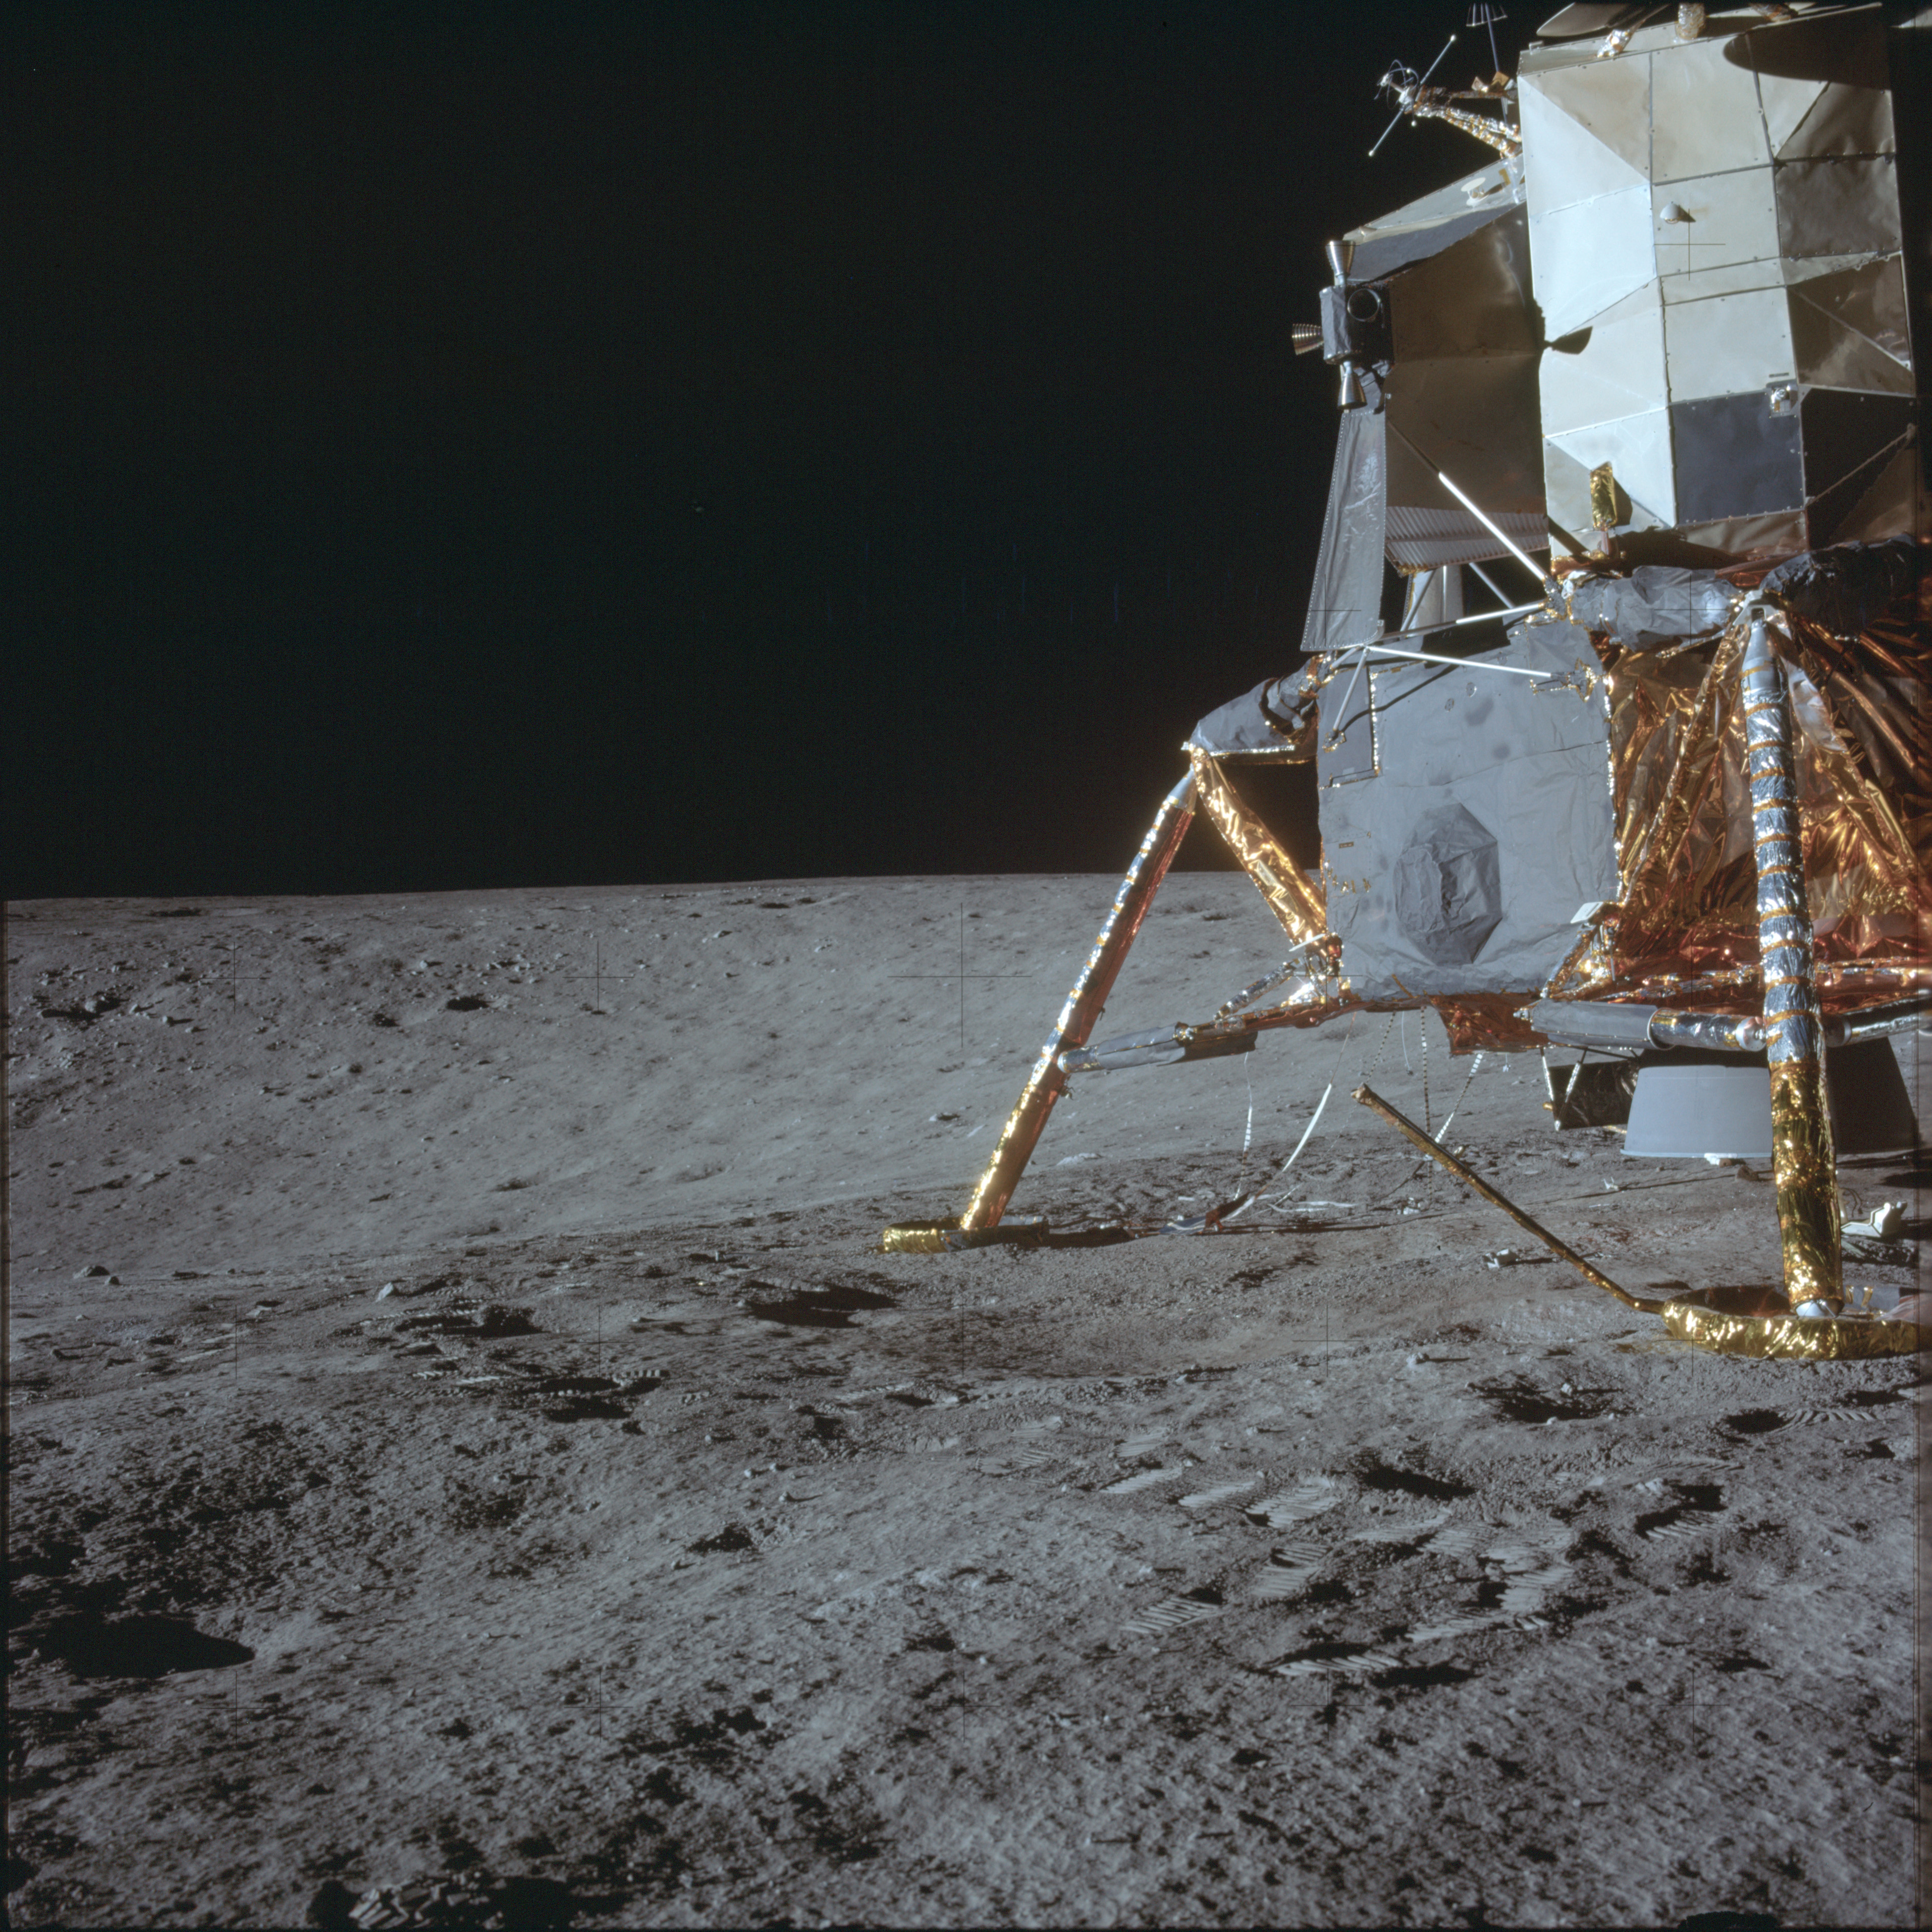 |
AS12-47-6990 Leftward of 6989. View to the south seeing the north side of the LM and Surveyor Crater beyond. Image credit: Image Science and Analysis Laboratory, NASA-Johnson Space Center |
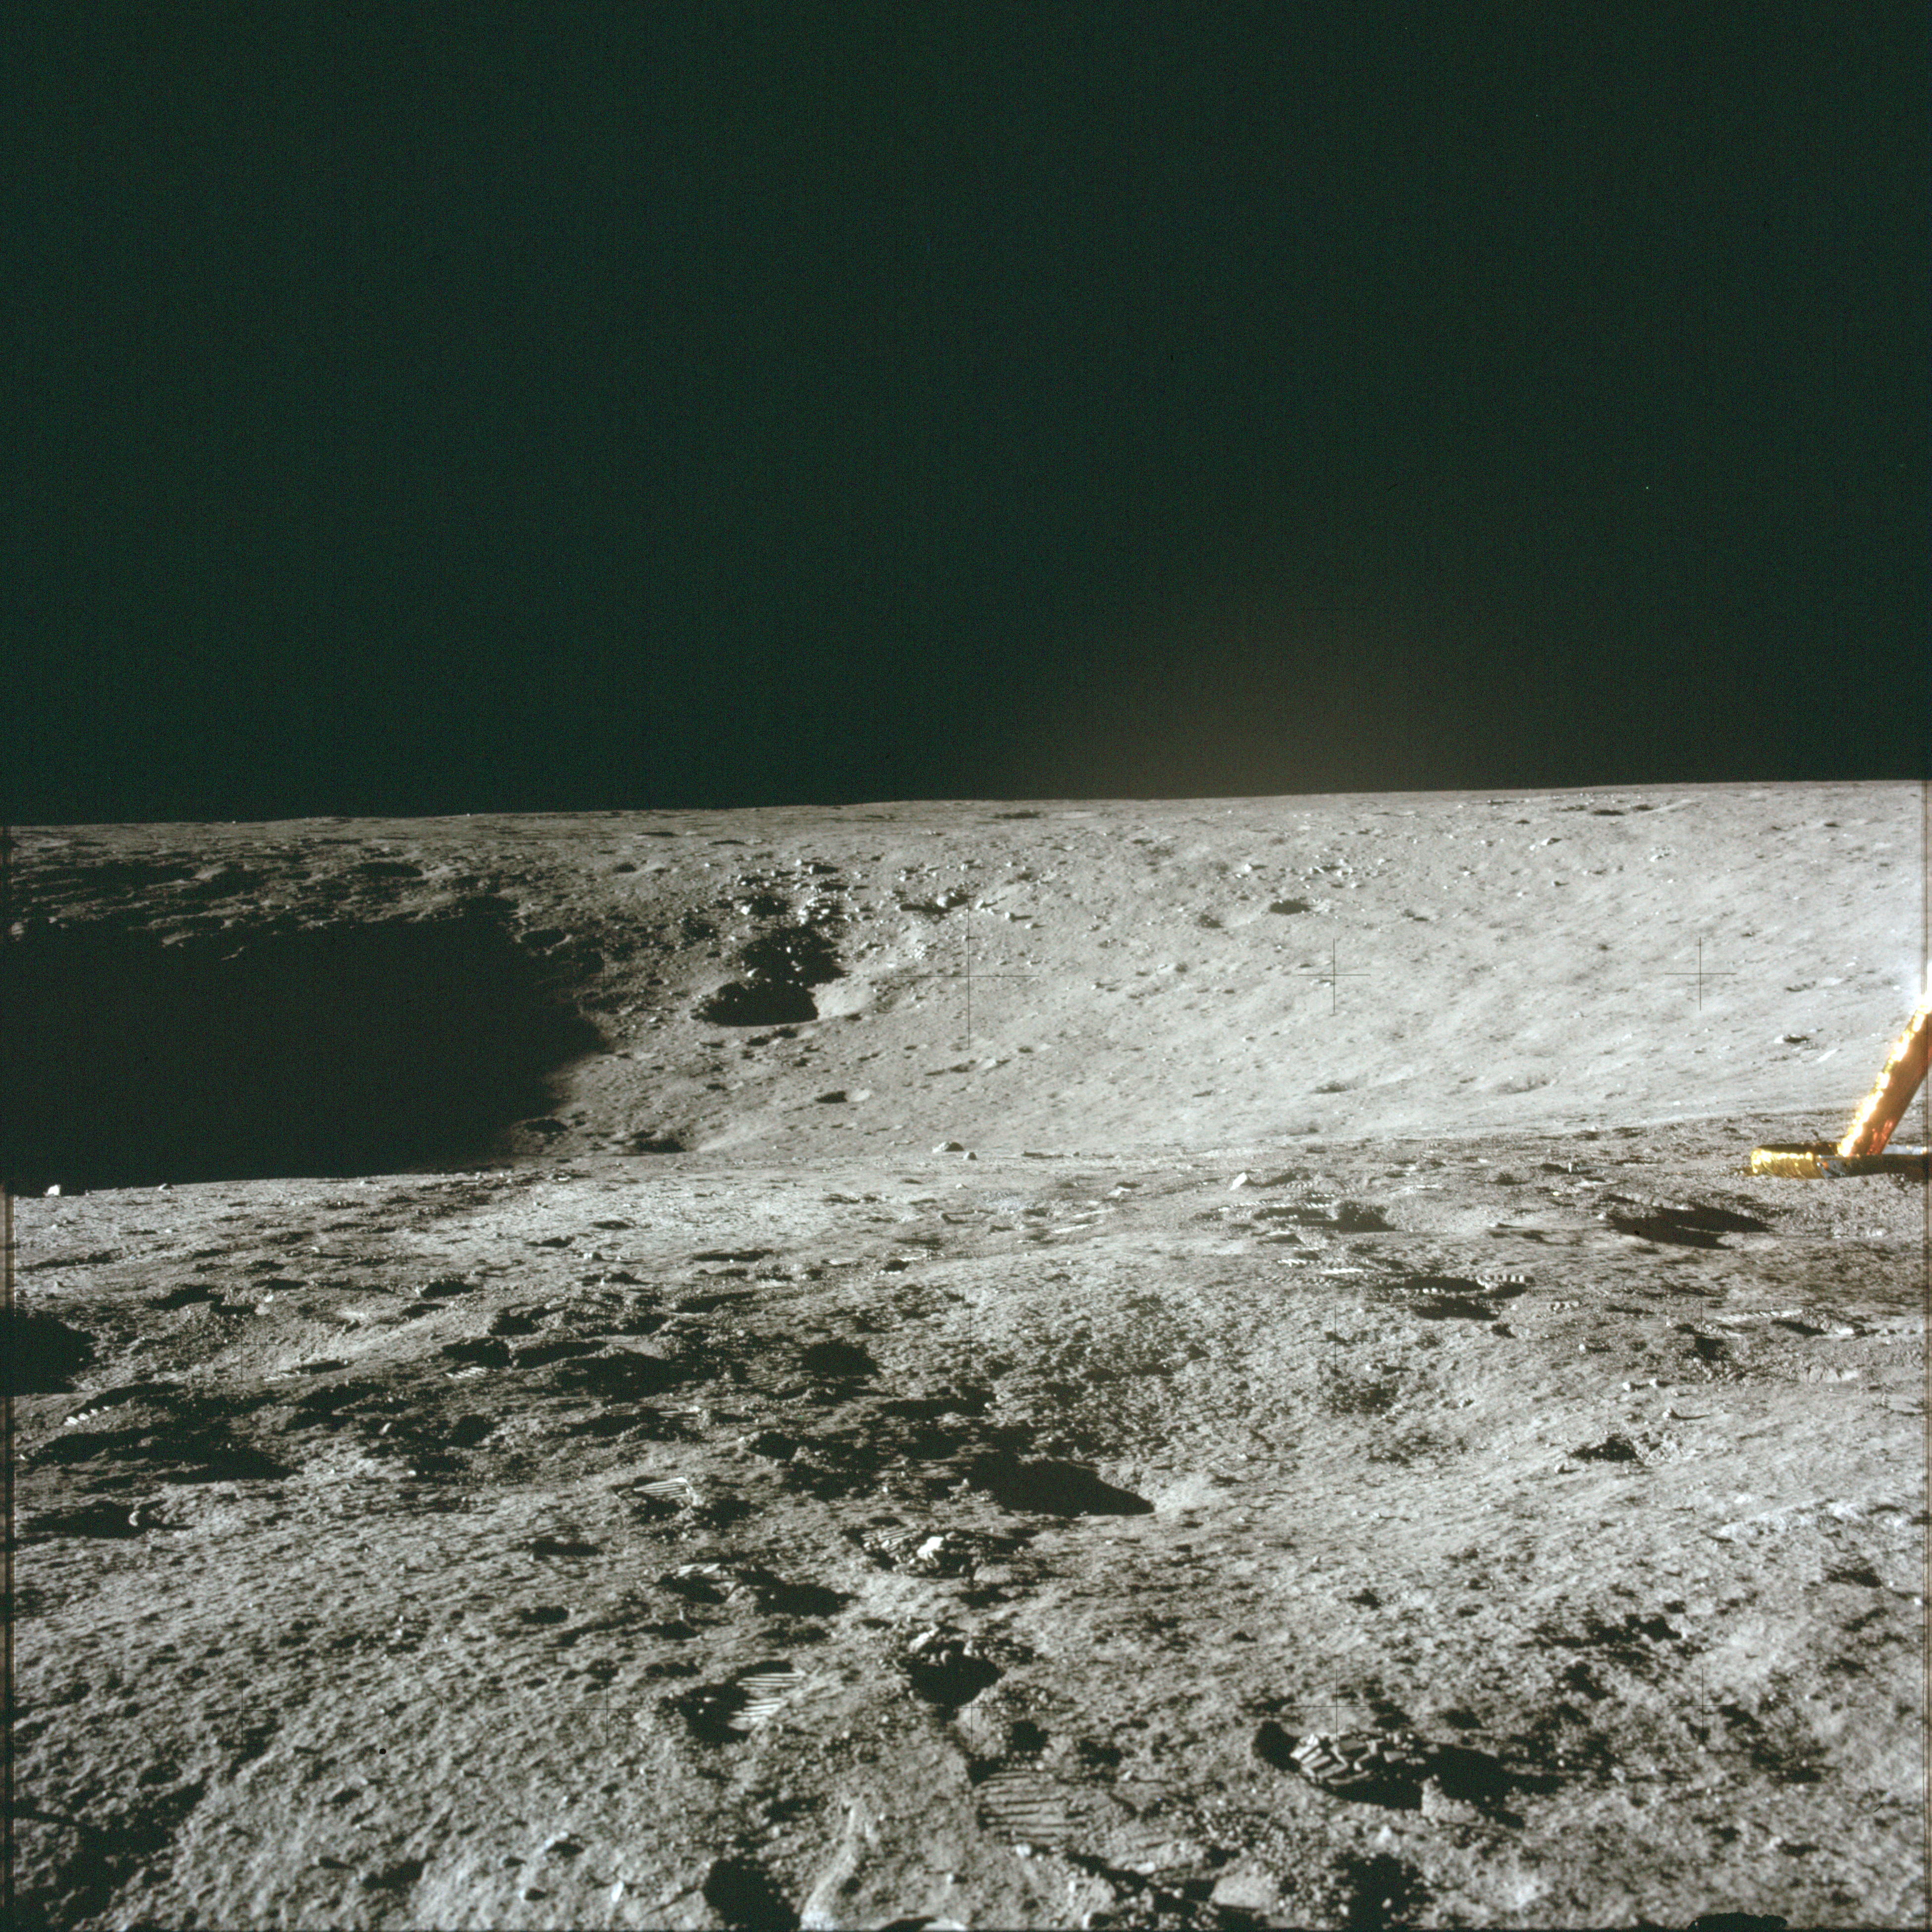 |
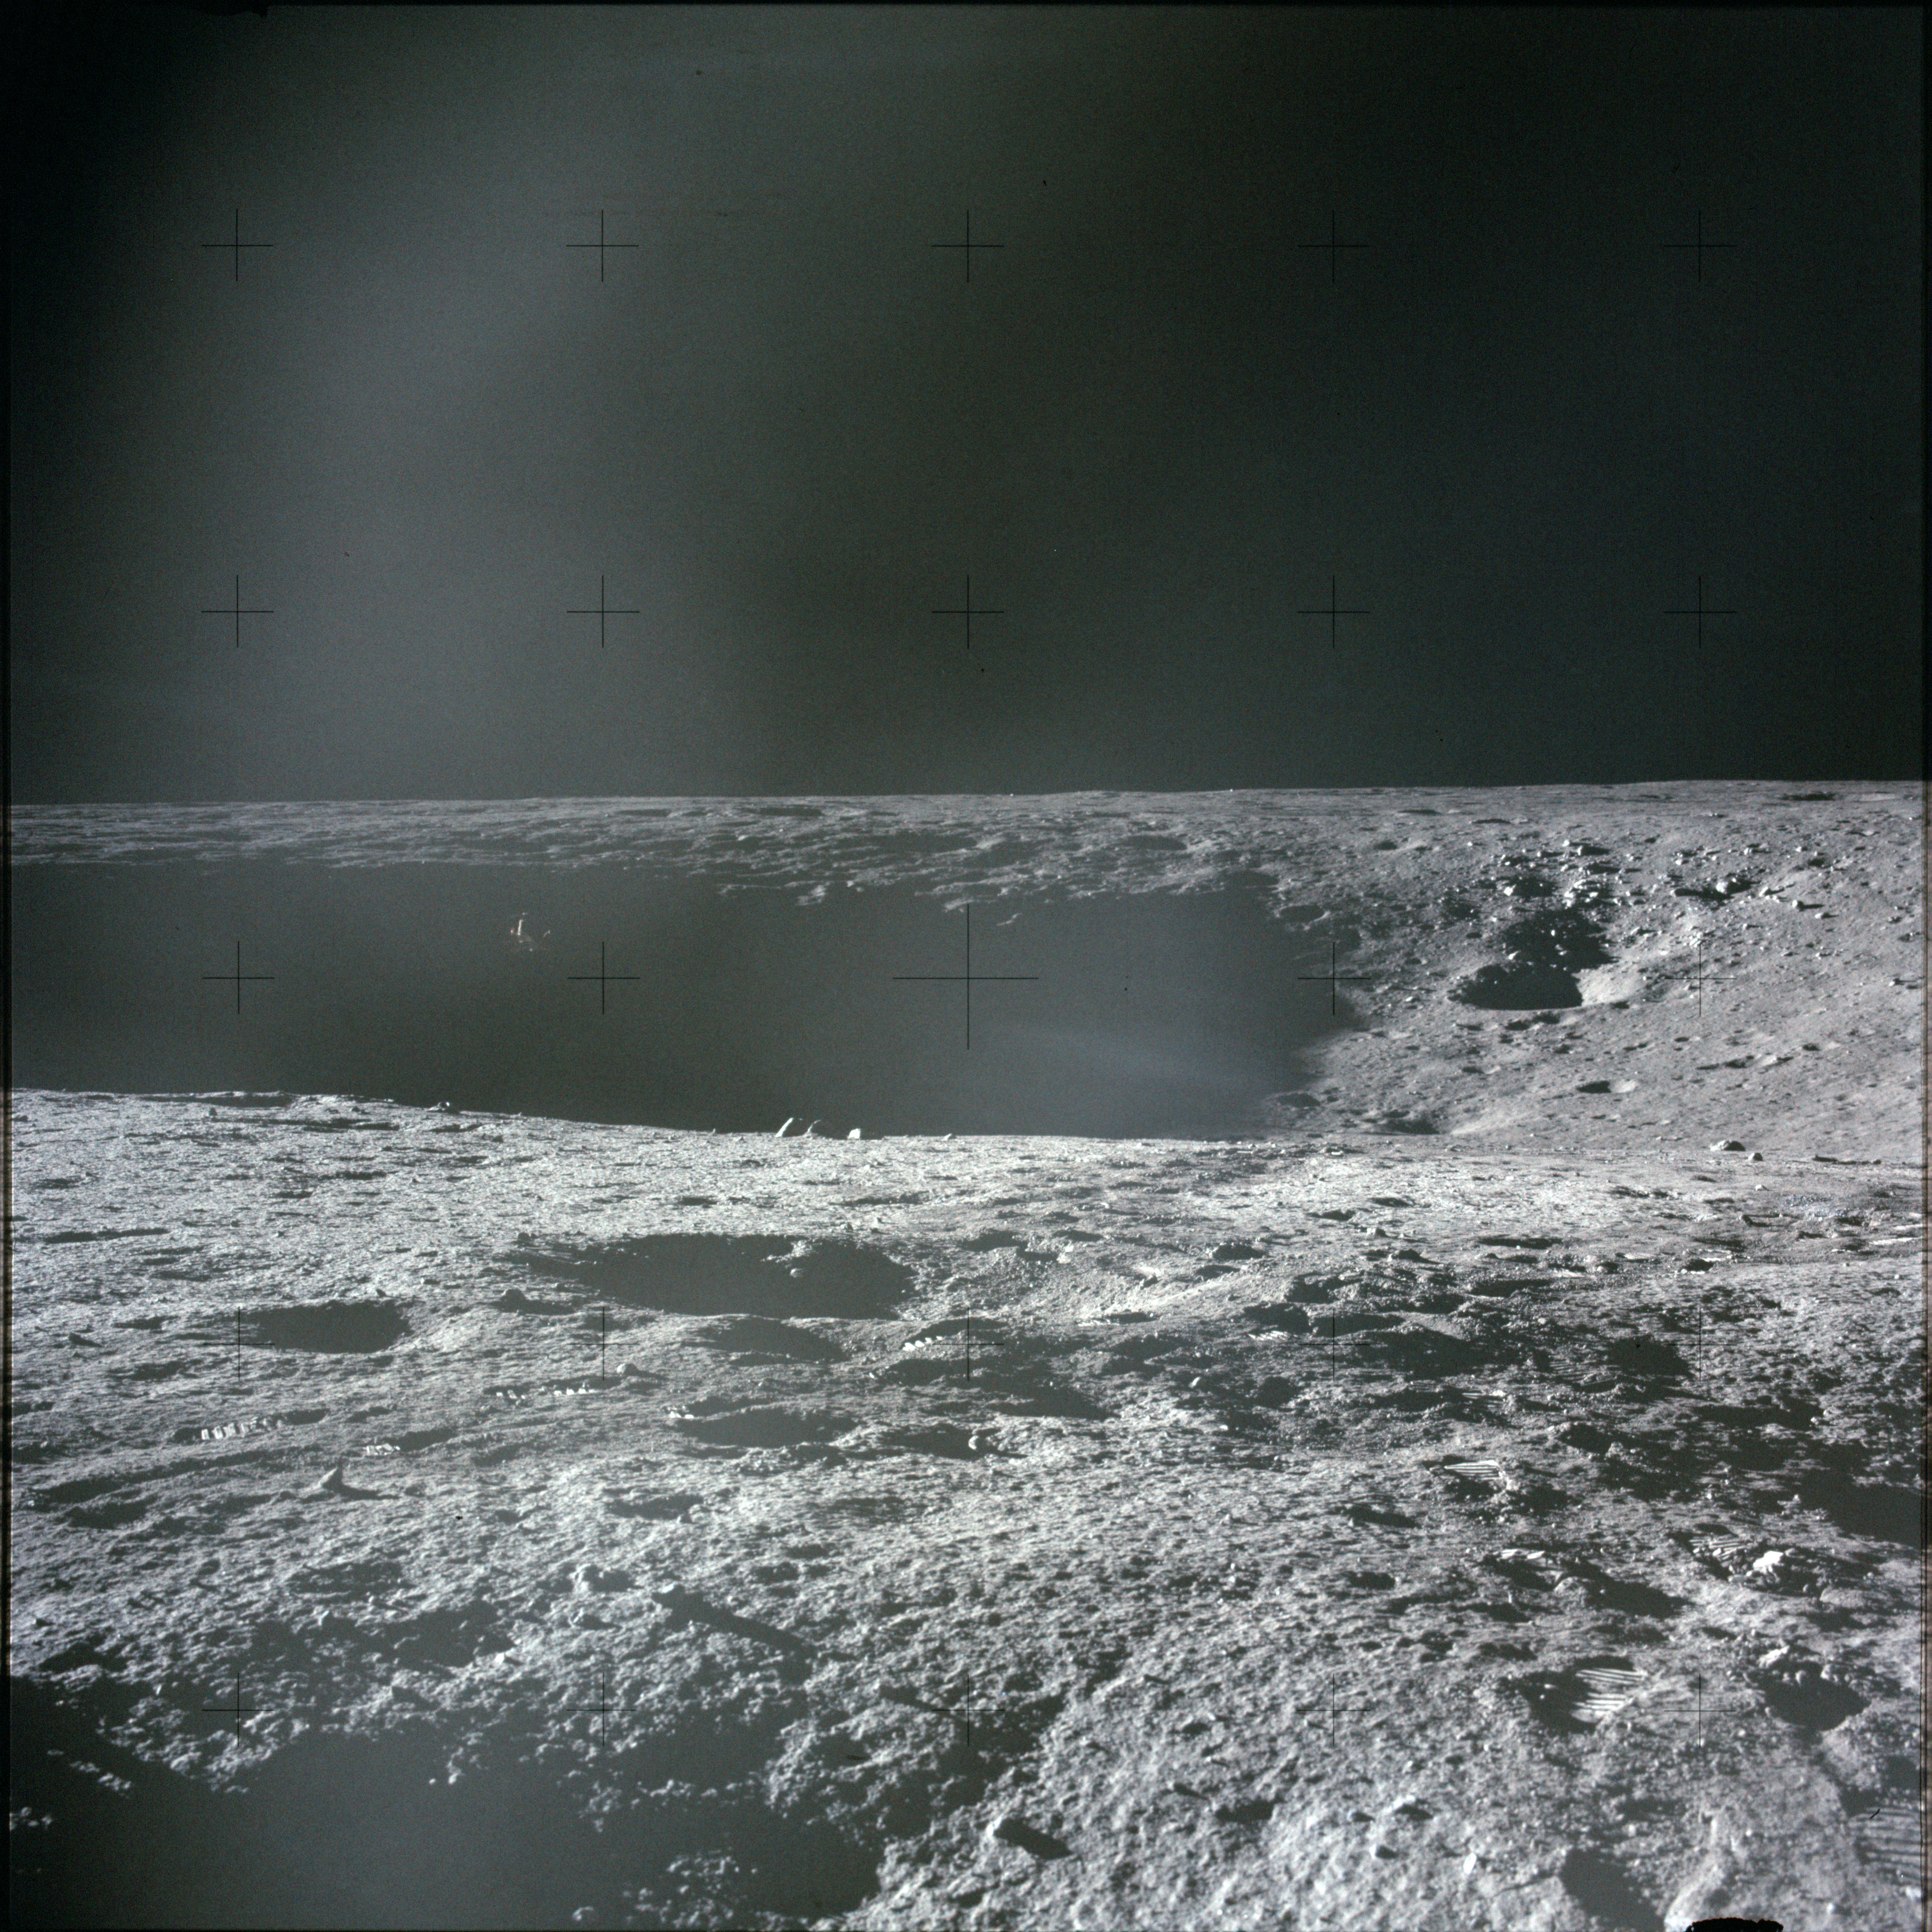
AS12-47-6991 Leftward of 6990. View to the southeast across Surveyor Crater. Image credit: Image Science and Analysis Laboratory, NASA-Johnson Space Center |
 |
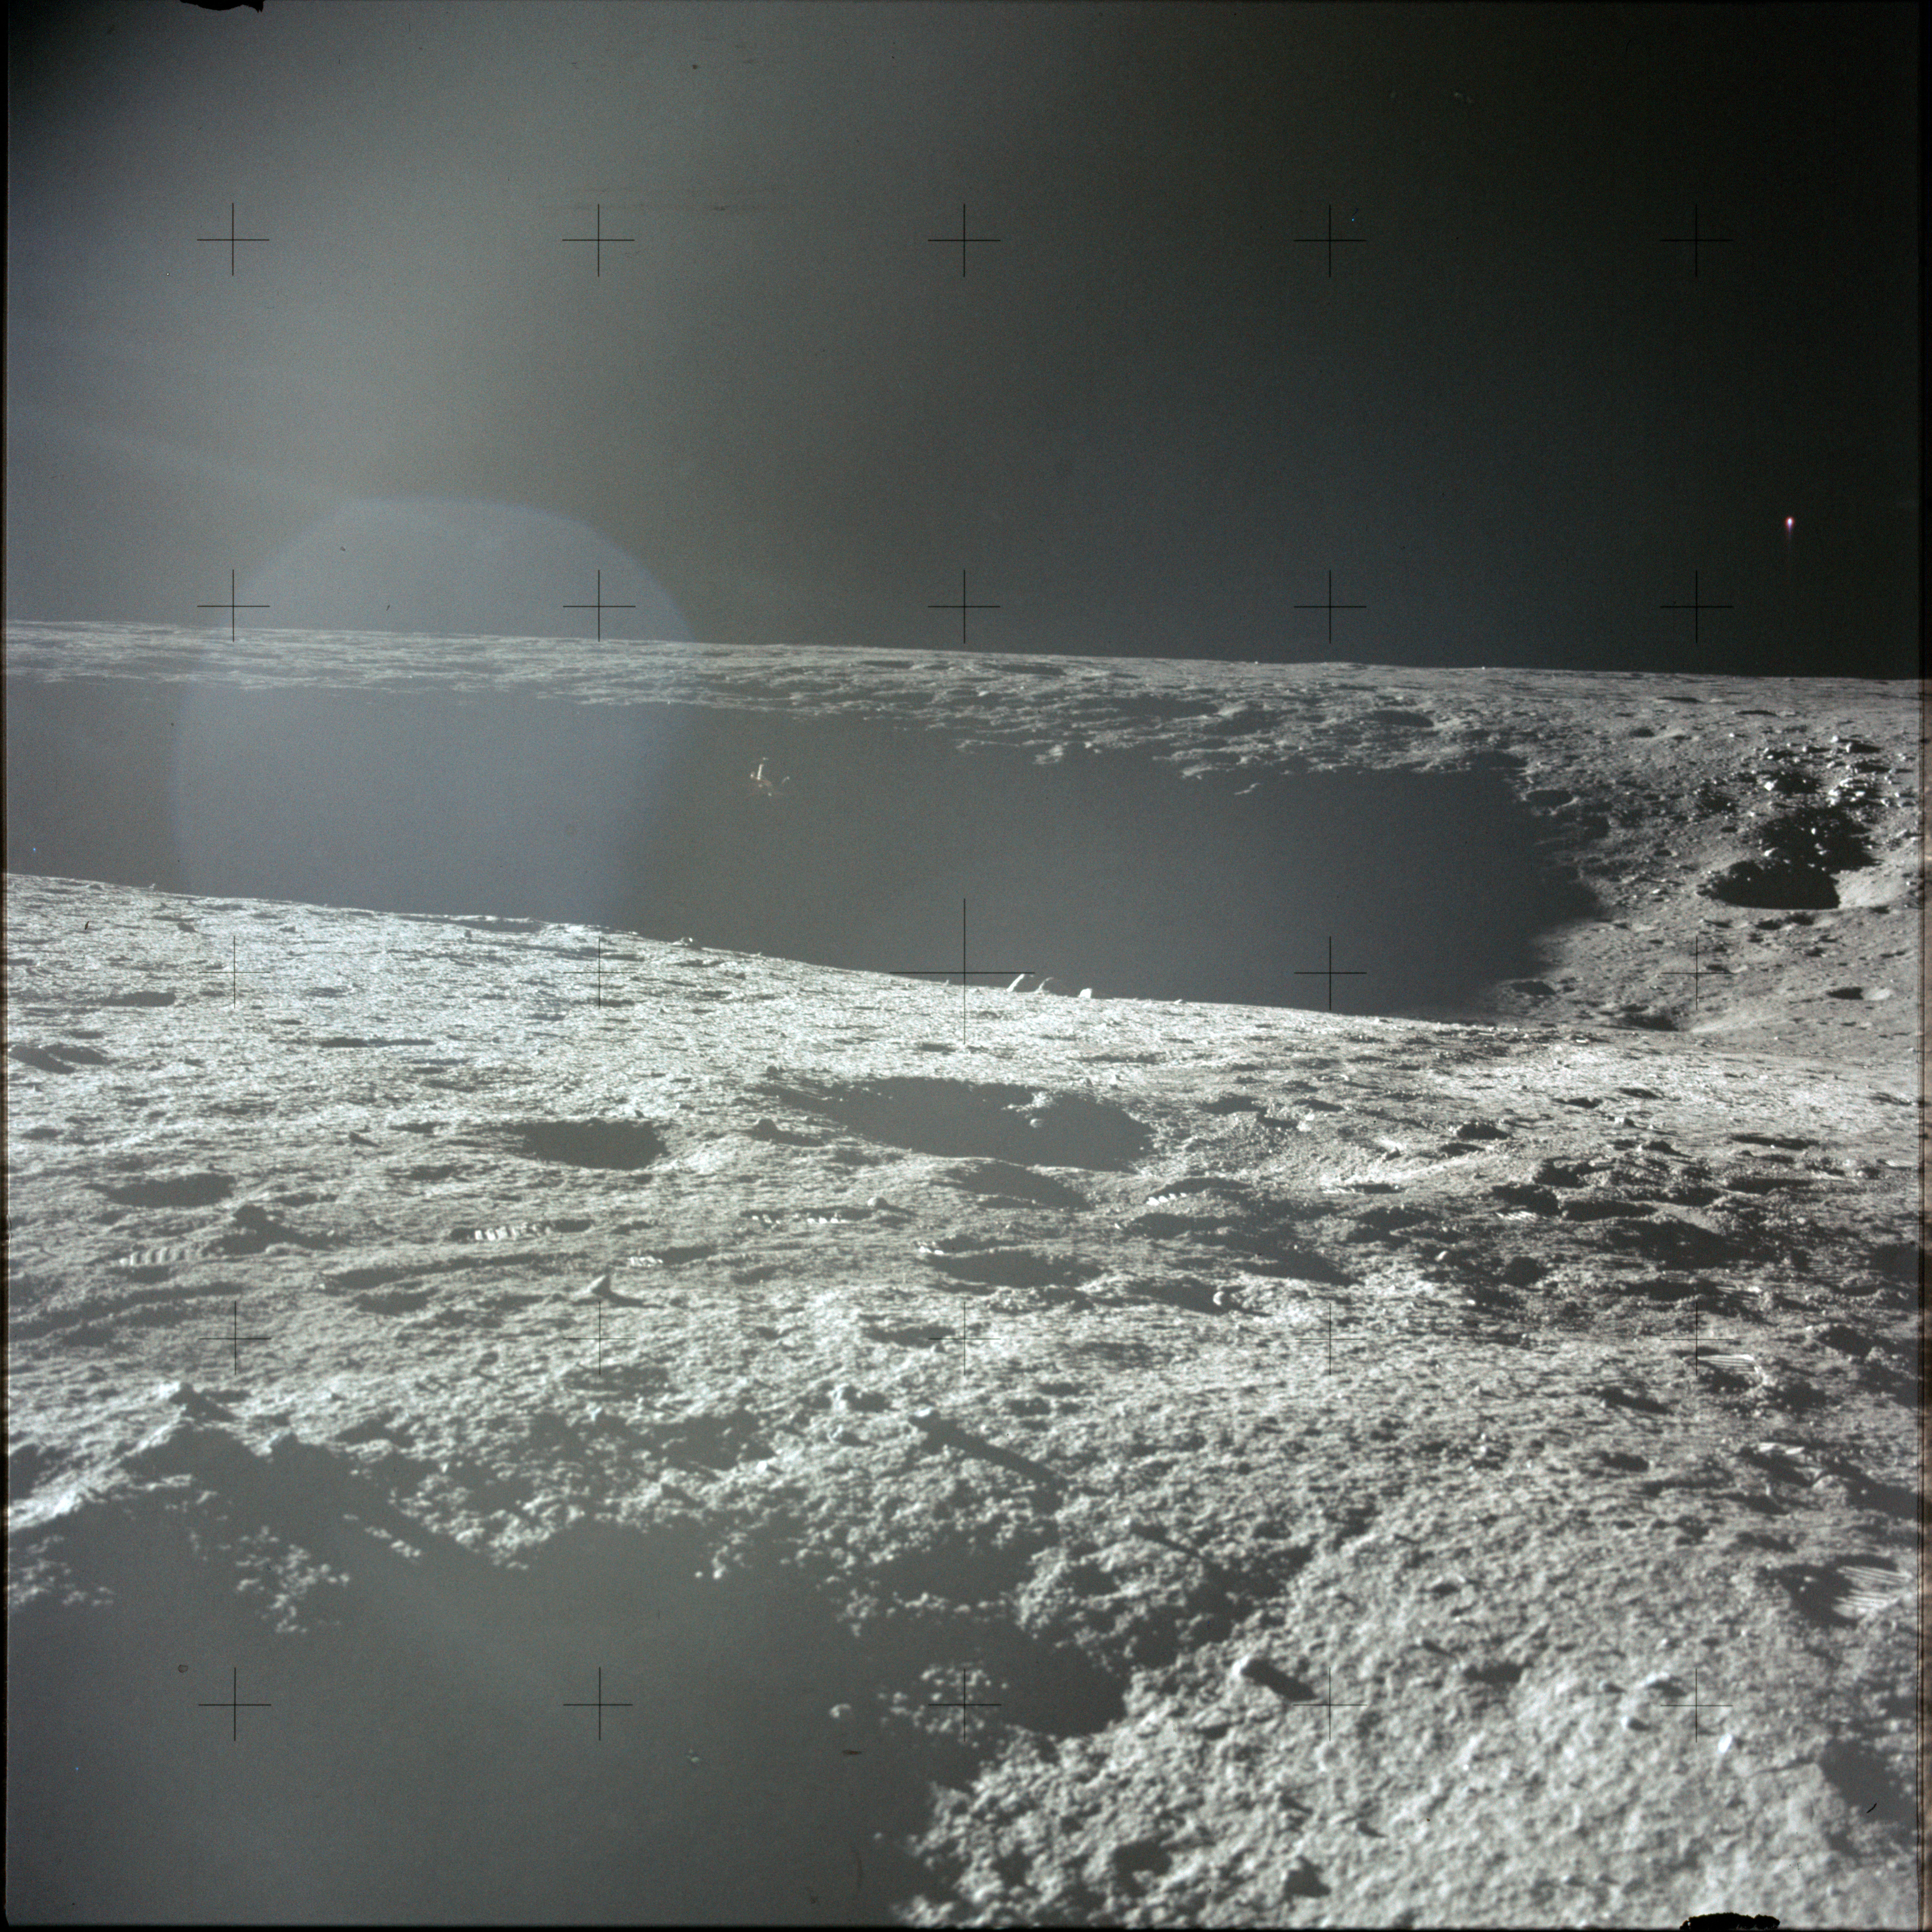
AS12-47-6992 Leftward of 6991. View to the southeast across Surveyor Crater. Image credit: Image Science and Analysis Laboratory, NASA-Johnson Space Center |
 |
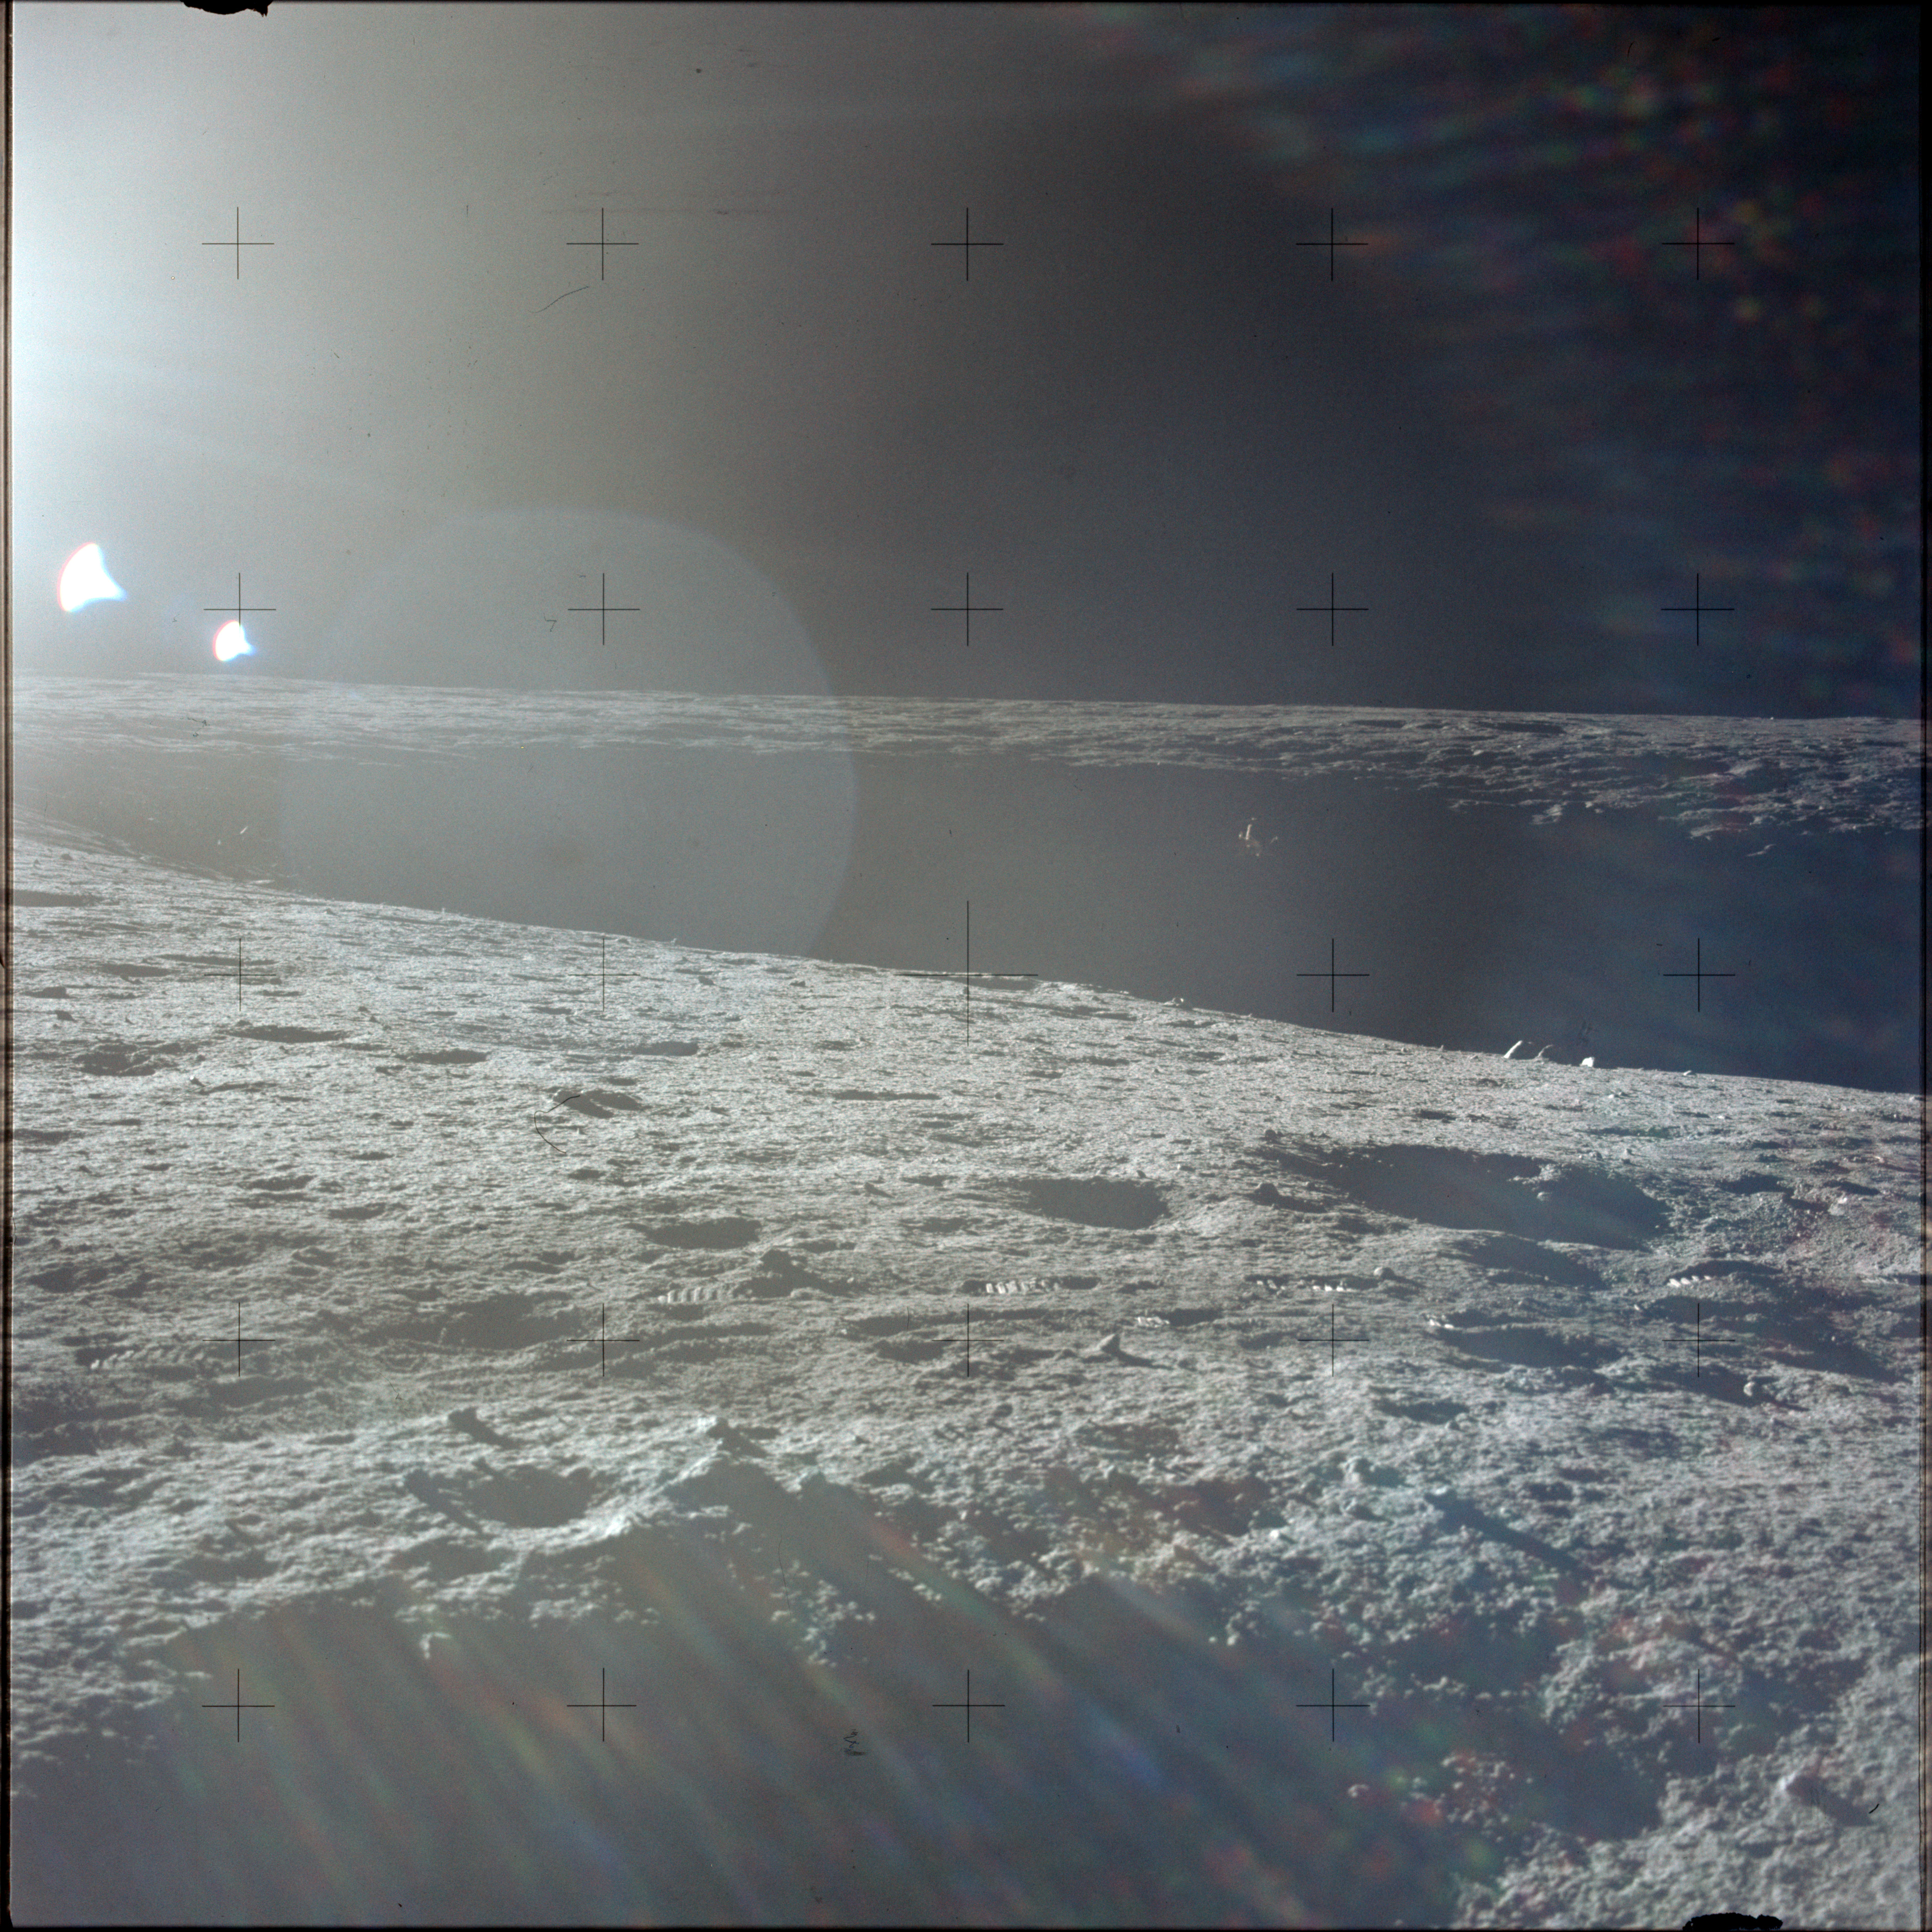
AS12-47-6993 Leftward of 6992. View to the southeast across Surveyor Crater. Image credit: Image Science and Analysis Laboratory, NASA-Johnson Space Center |
 |
AS12-47-6994 Leftward of 6993. Up-Sun view east along the north rim of Surveyor Crater. Image credit: Image Science and Analysis Laboratory, NASA-Johnson Space Center |
 |
AS12-47-6995 Leftward of 6994. Up-Sun view east along the north rim of Surveyor Crater. Image credit: Image Science and Analysis Laboratory, NASA-Johnson Space Center |
 |
AS12-47-6996 Leftward of 6995. Up-Sun view east along the north rim of Surveyor Crater. Image credit: Image Science and Analysis Laboratory, NASA-Johnson Space Center |
 |
AS12-47-6997 Leftward of 6996. Up-Sun view east along the north rim of Surveyor Crater. Image credit: Image Science and Analysis Laboratory, NASA-Johnson Space Center |
 |
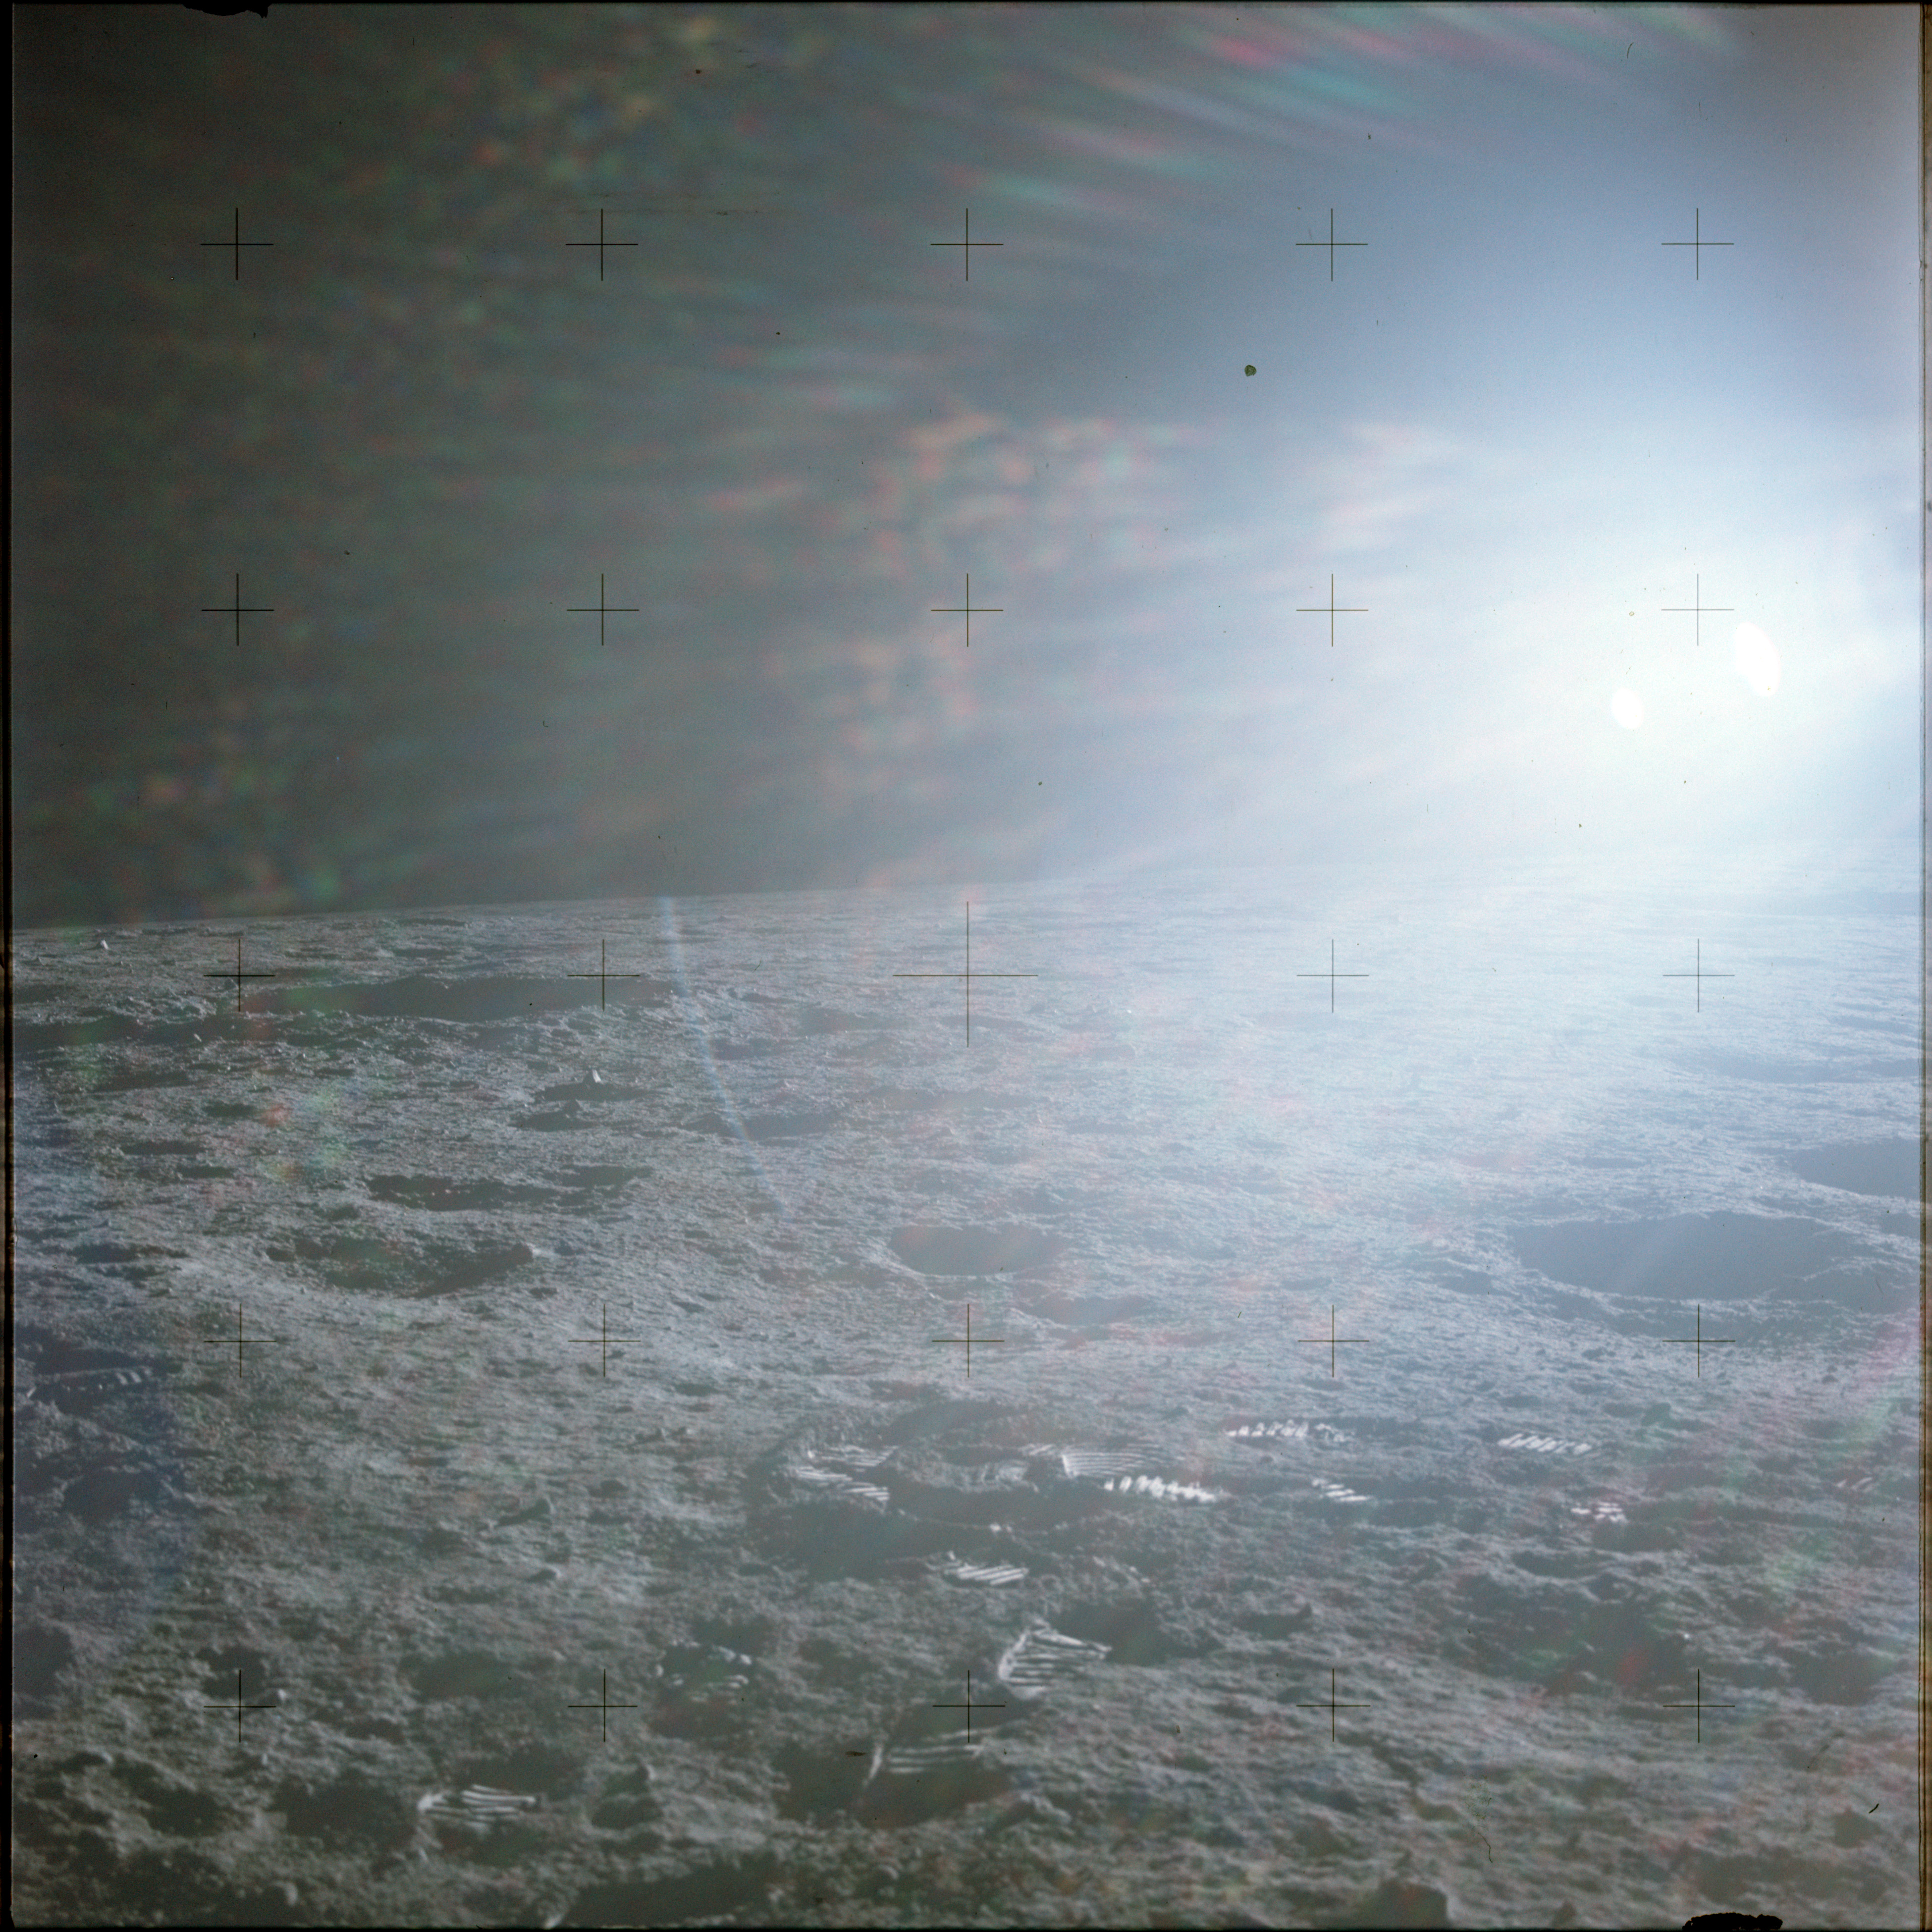
AS12-47-6998 Leftward of 6997. Up-Sun view to the east. Image credit: Image Science and Analysis Laboratory, NASA-Johnson Space Center |
 |
AS12-47-6999 Leftward of 6998. View to the northeast with much lens flare. Image credit: Image Science and Analysis Laboratory, NASA-Johnson Space Center |
 |
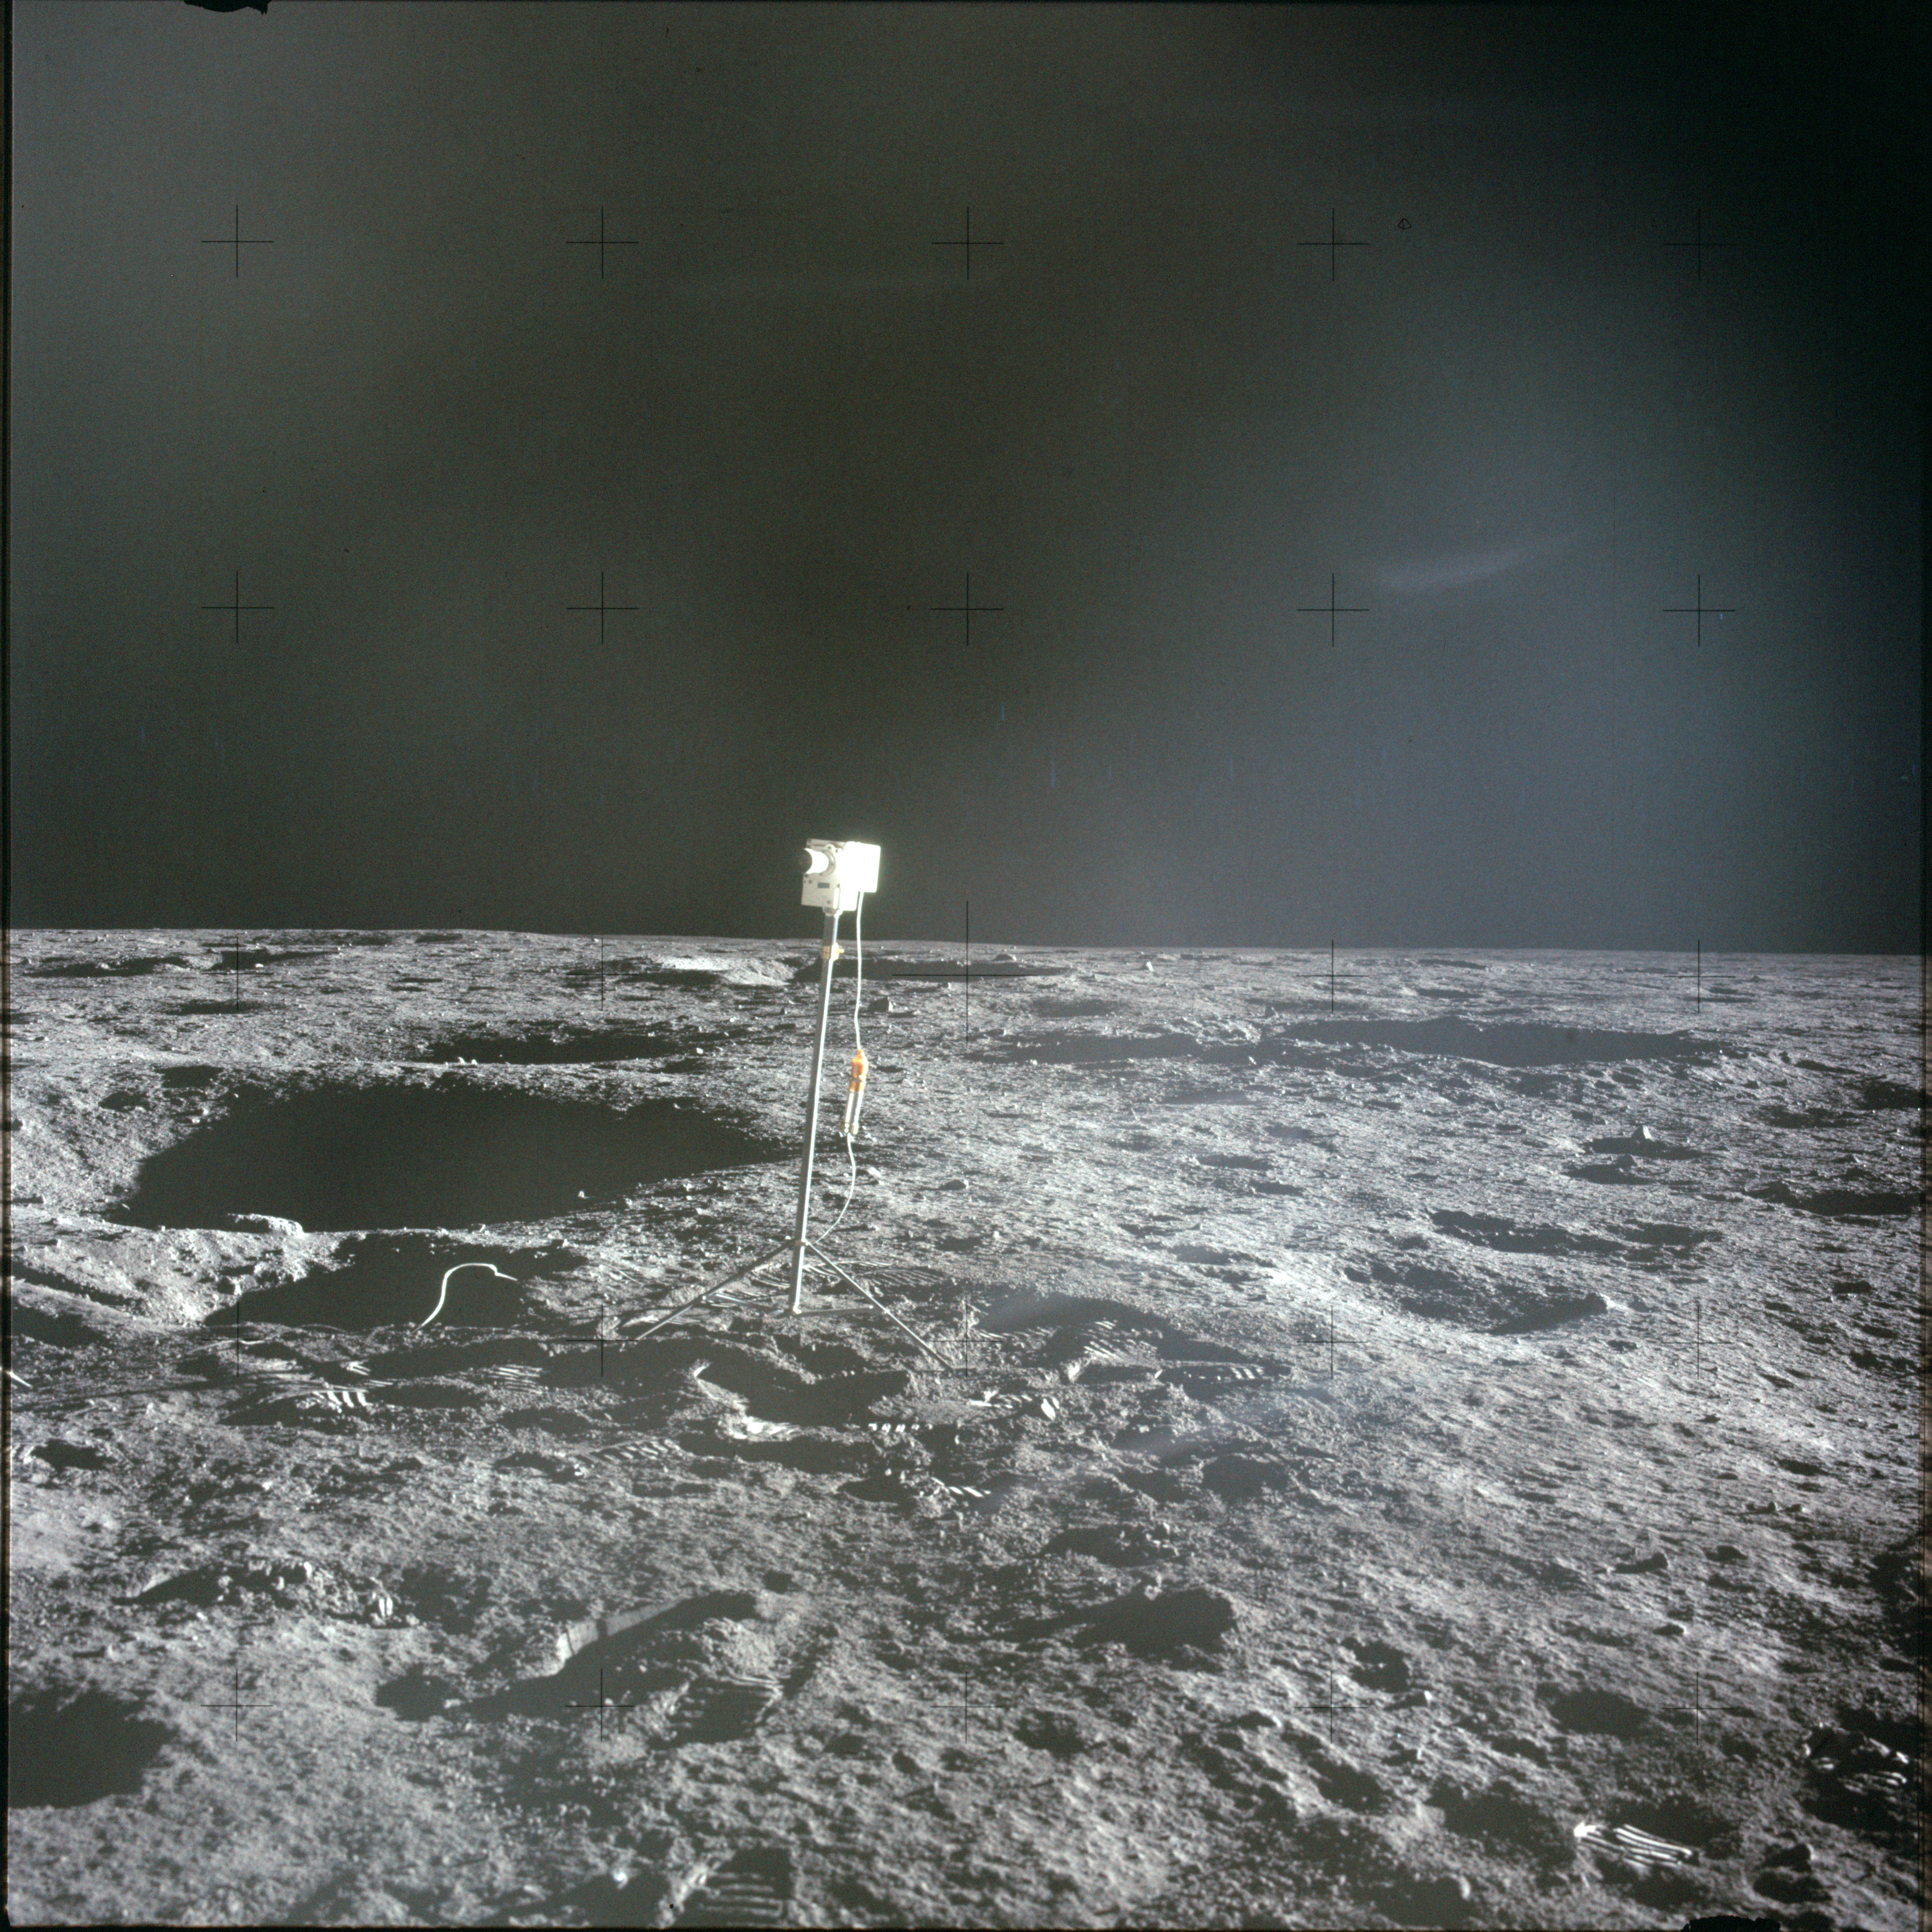
AS12-47-7000 Leftward of 6999. View to the northeast. TV Camera on extreme left. Image credit: Image Science and Analysis Laboratory, NASA-Johnson Space Center |
 |
AS12-47-7001 Leftward of 7000. View north towards the TV Camera. Image credit: Image Science and Analysis Laboratory, NASA-Johnson Space Center |
 |
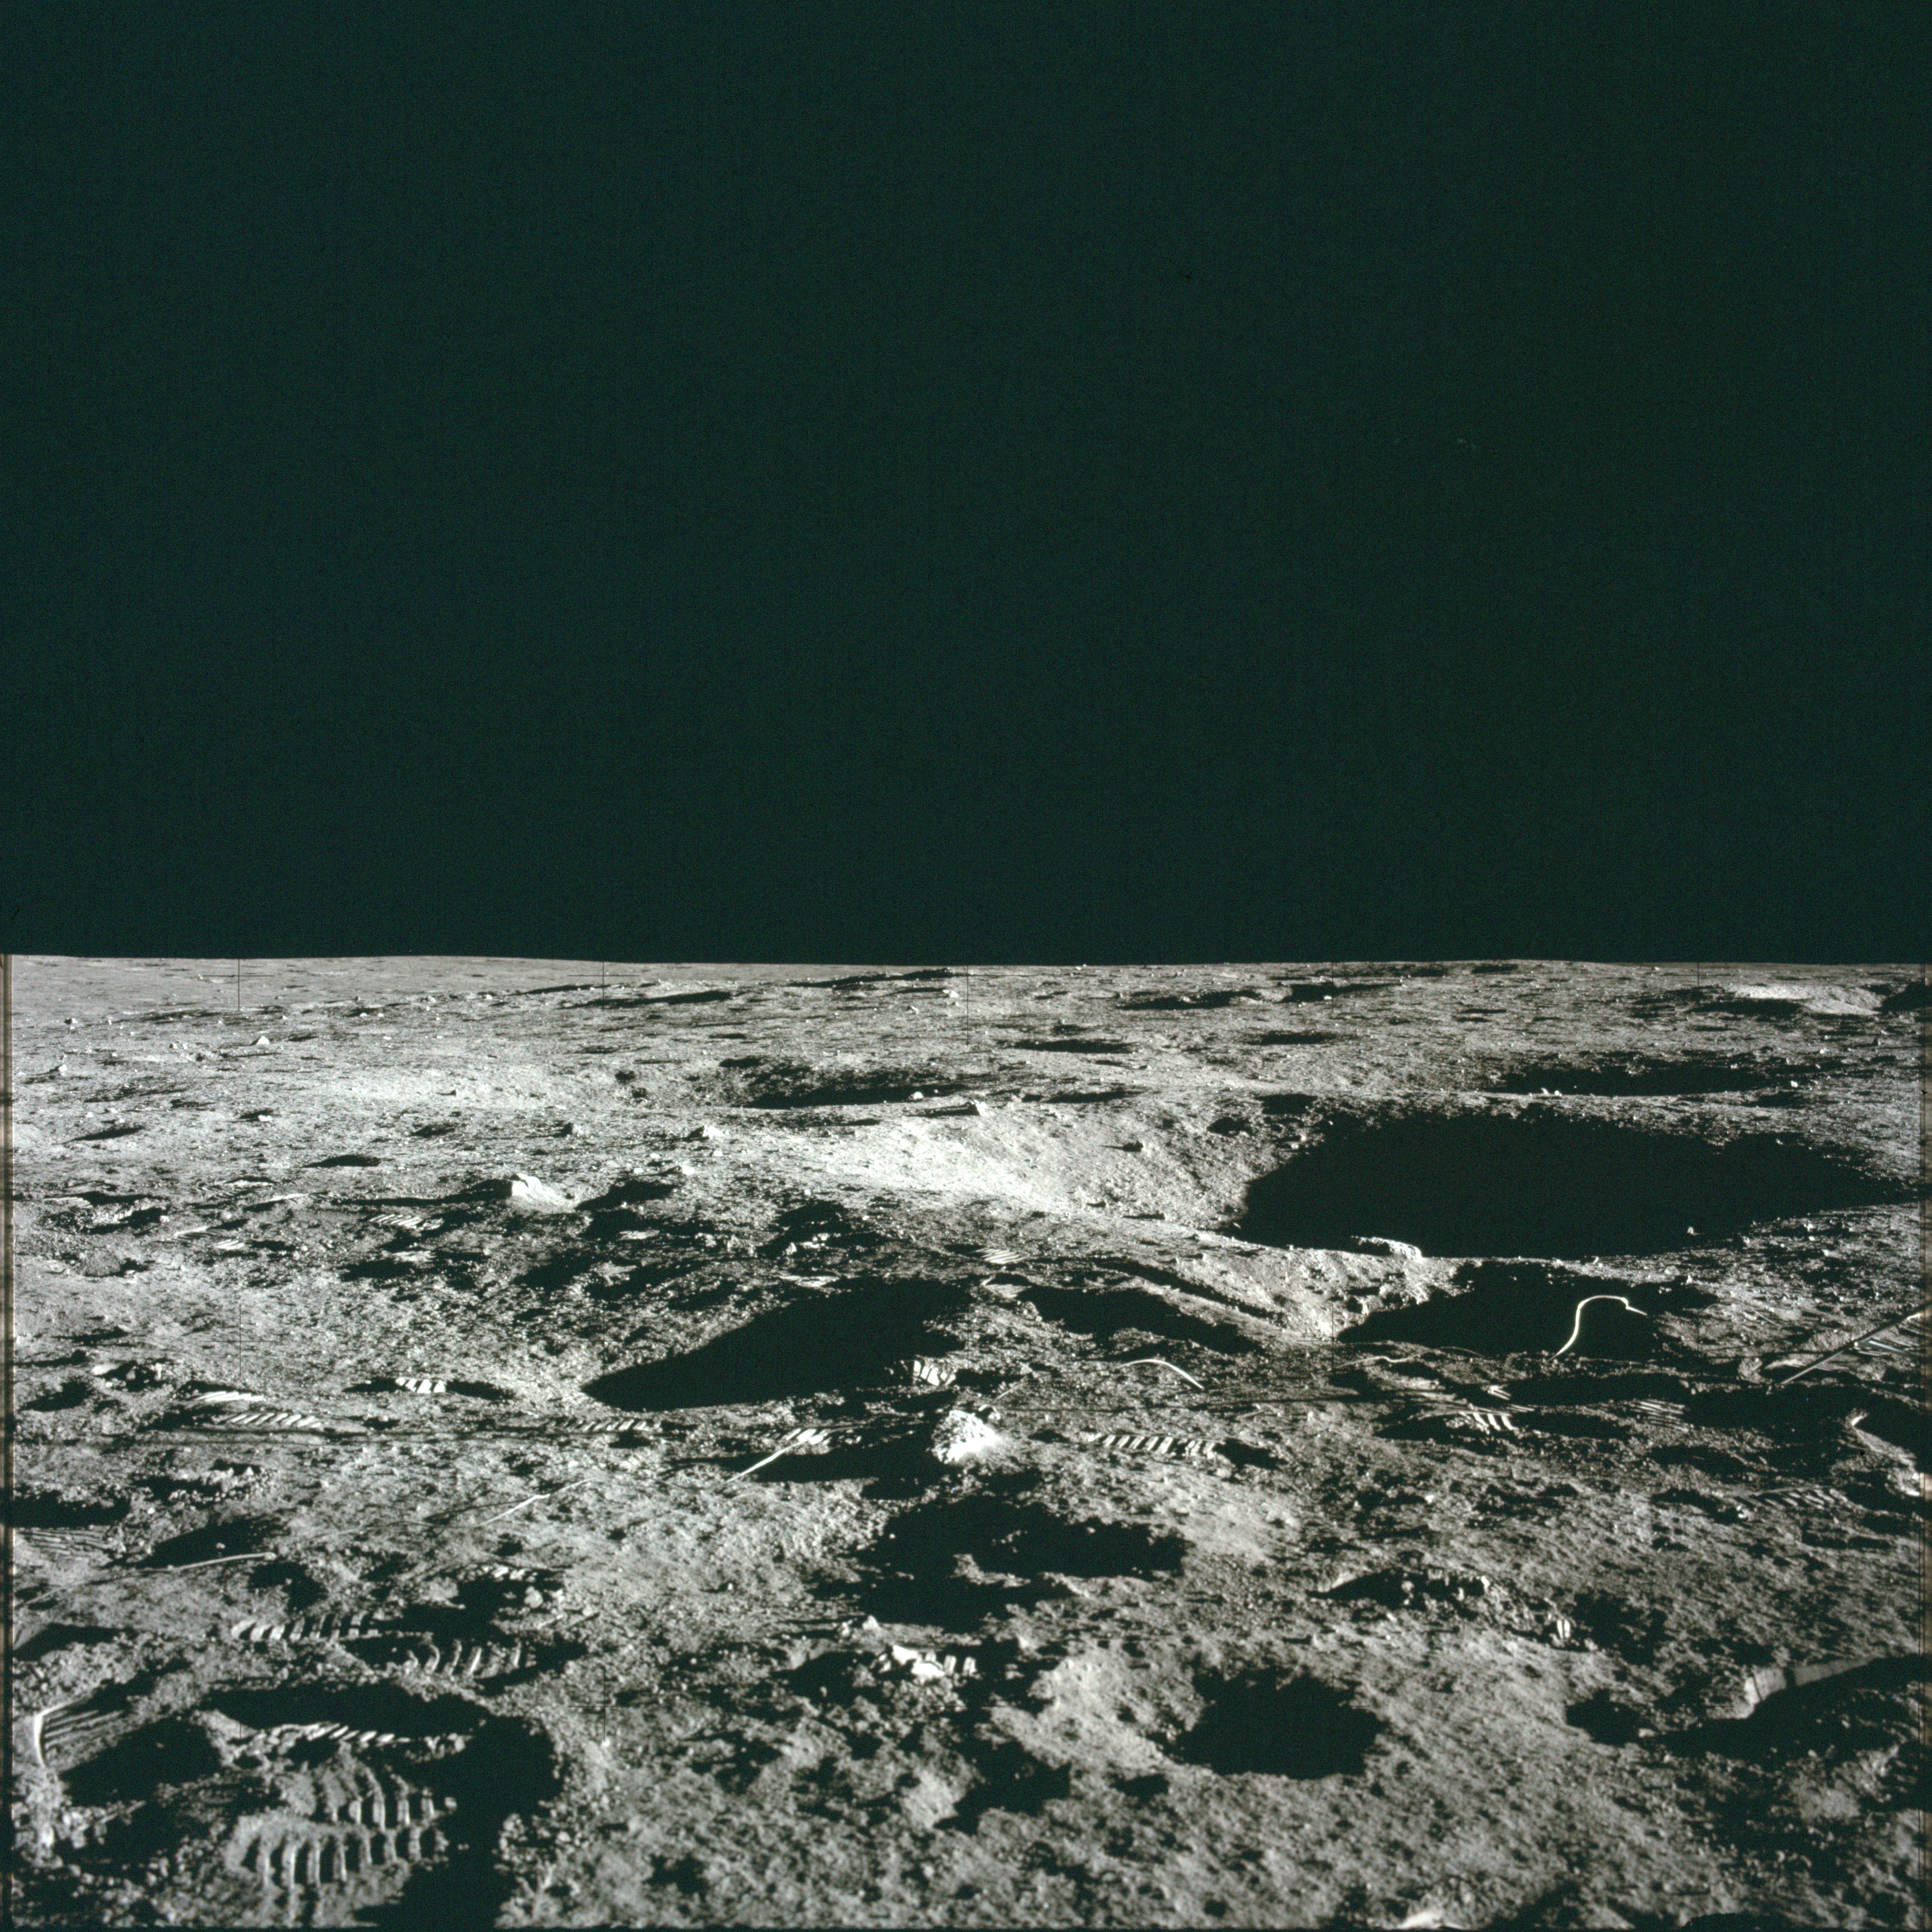
AS12-47-7002 Leftward of 7001. View north towards the TV Camera. Image credit: Image Science and Analysis Laboratory, NASA-Johnson Space Center |
 |
AS12-47-7003 Leftward of 7002. View to the northwest. Image credit: Image Science and Analysis Laboratory, NASA-Johnson Space Center |
 |
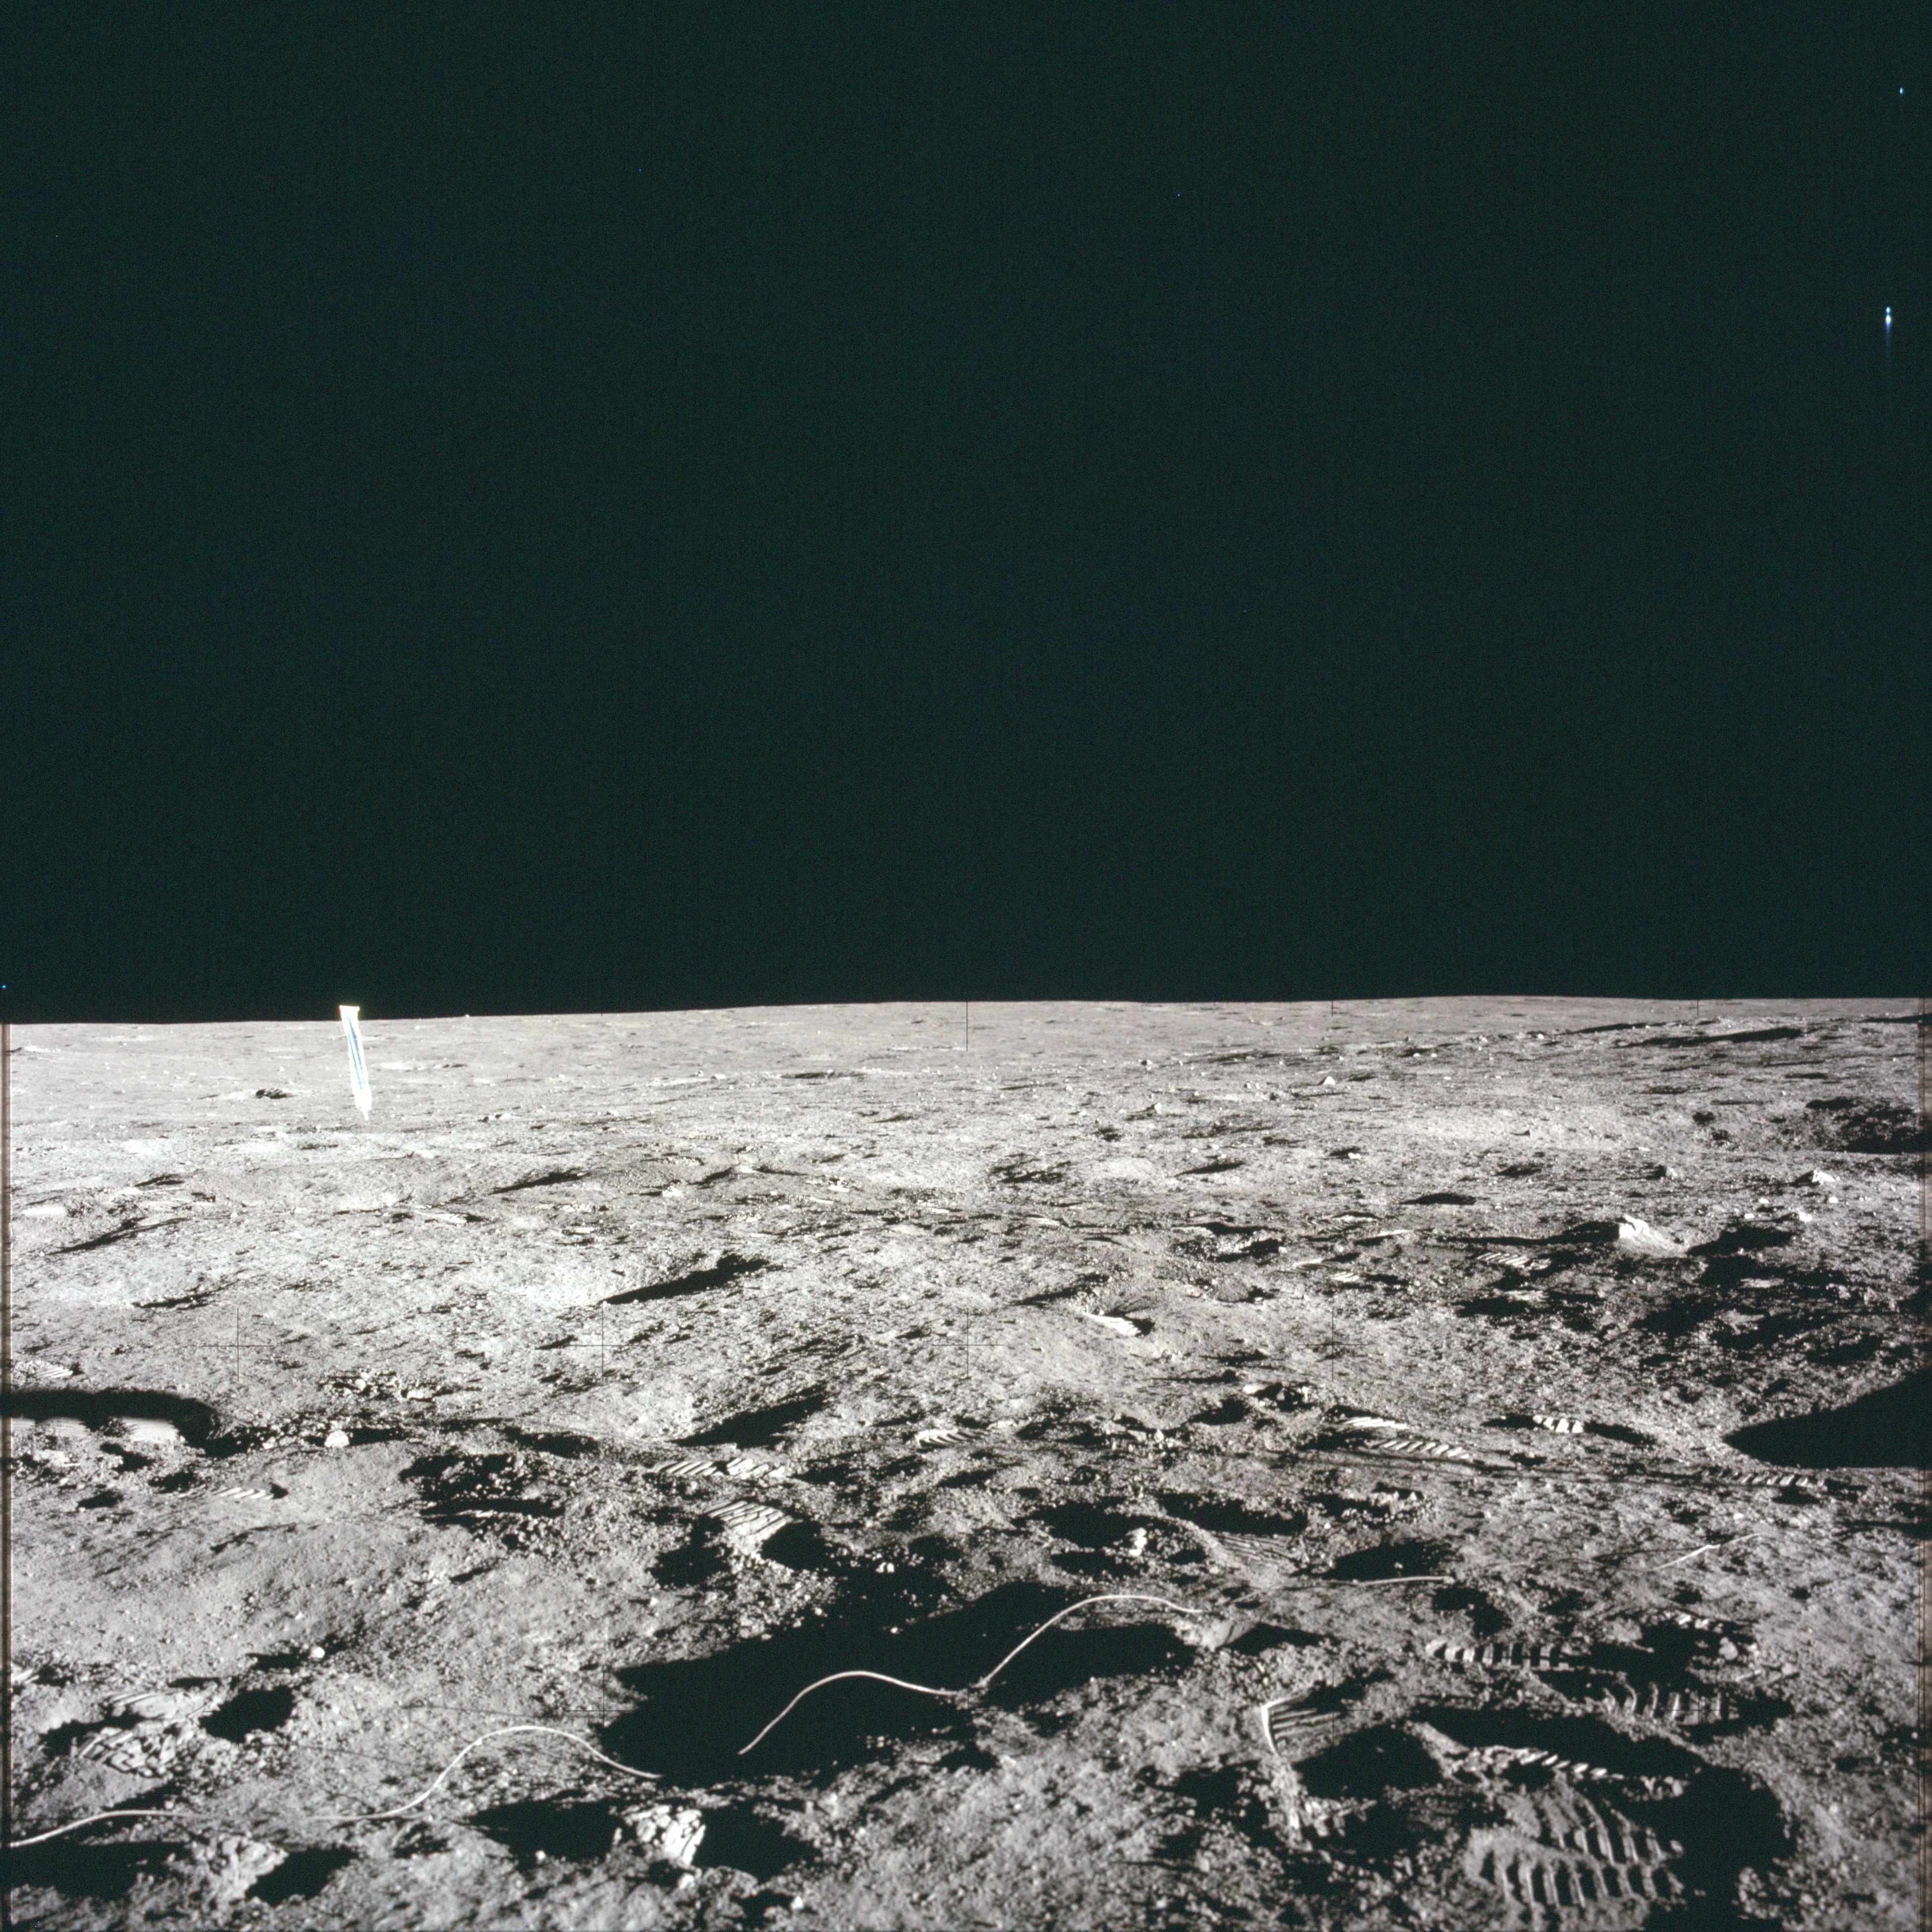
AS12-47-7004 Leftward of 7003. View to the northwest. Image credit: Image Science and Analysis Laboratory, NASA-Johnson Space Center |
 |
AS12-47-7005 Leftward of 7004. View to the northwest including the Solar Wind Collector. Image credit: Image Science and Analysis Laboratory, NASA-Johnson Space Center |
 |
AS12-47-7006 Leftward of 7005. View to the northwest including the Solar Wind Collector. Image credit: Image Science and Analysis Laboratory, NASA-Johnson Space Center |
 |
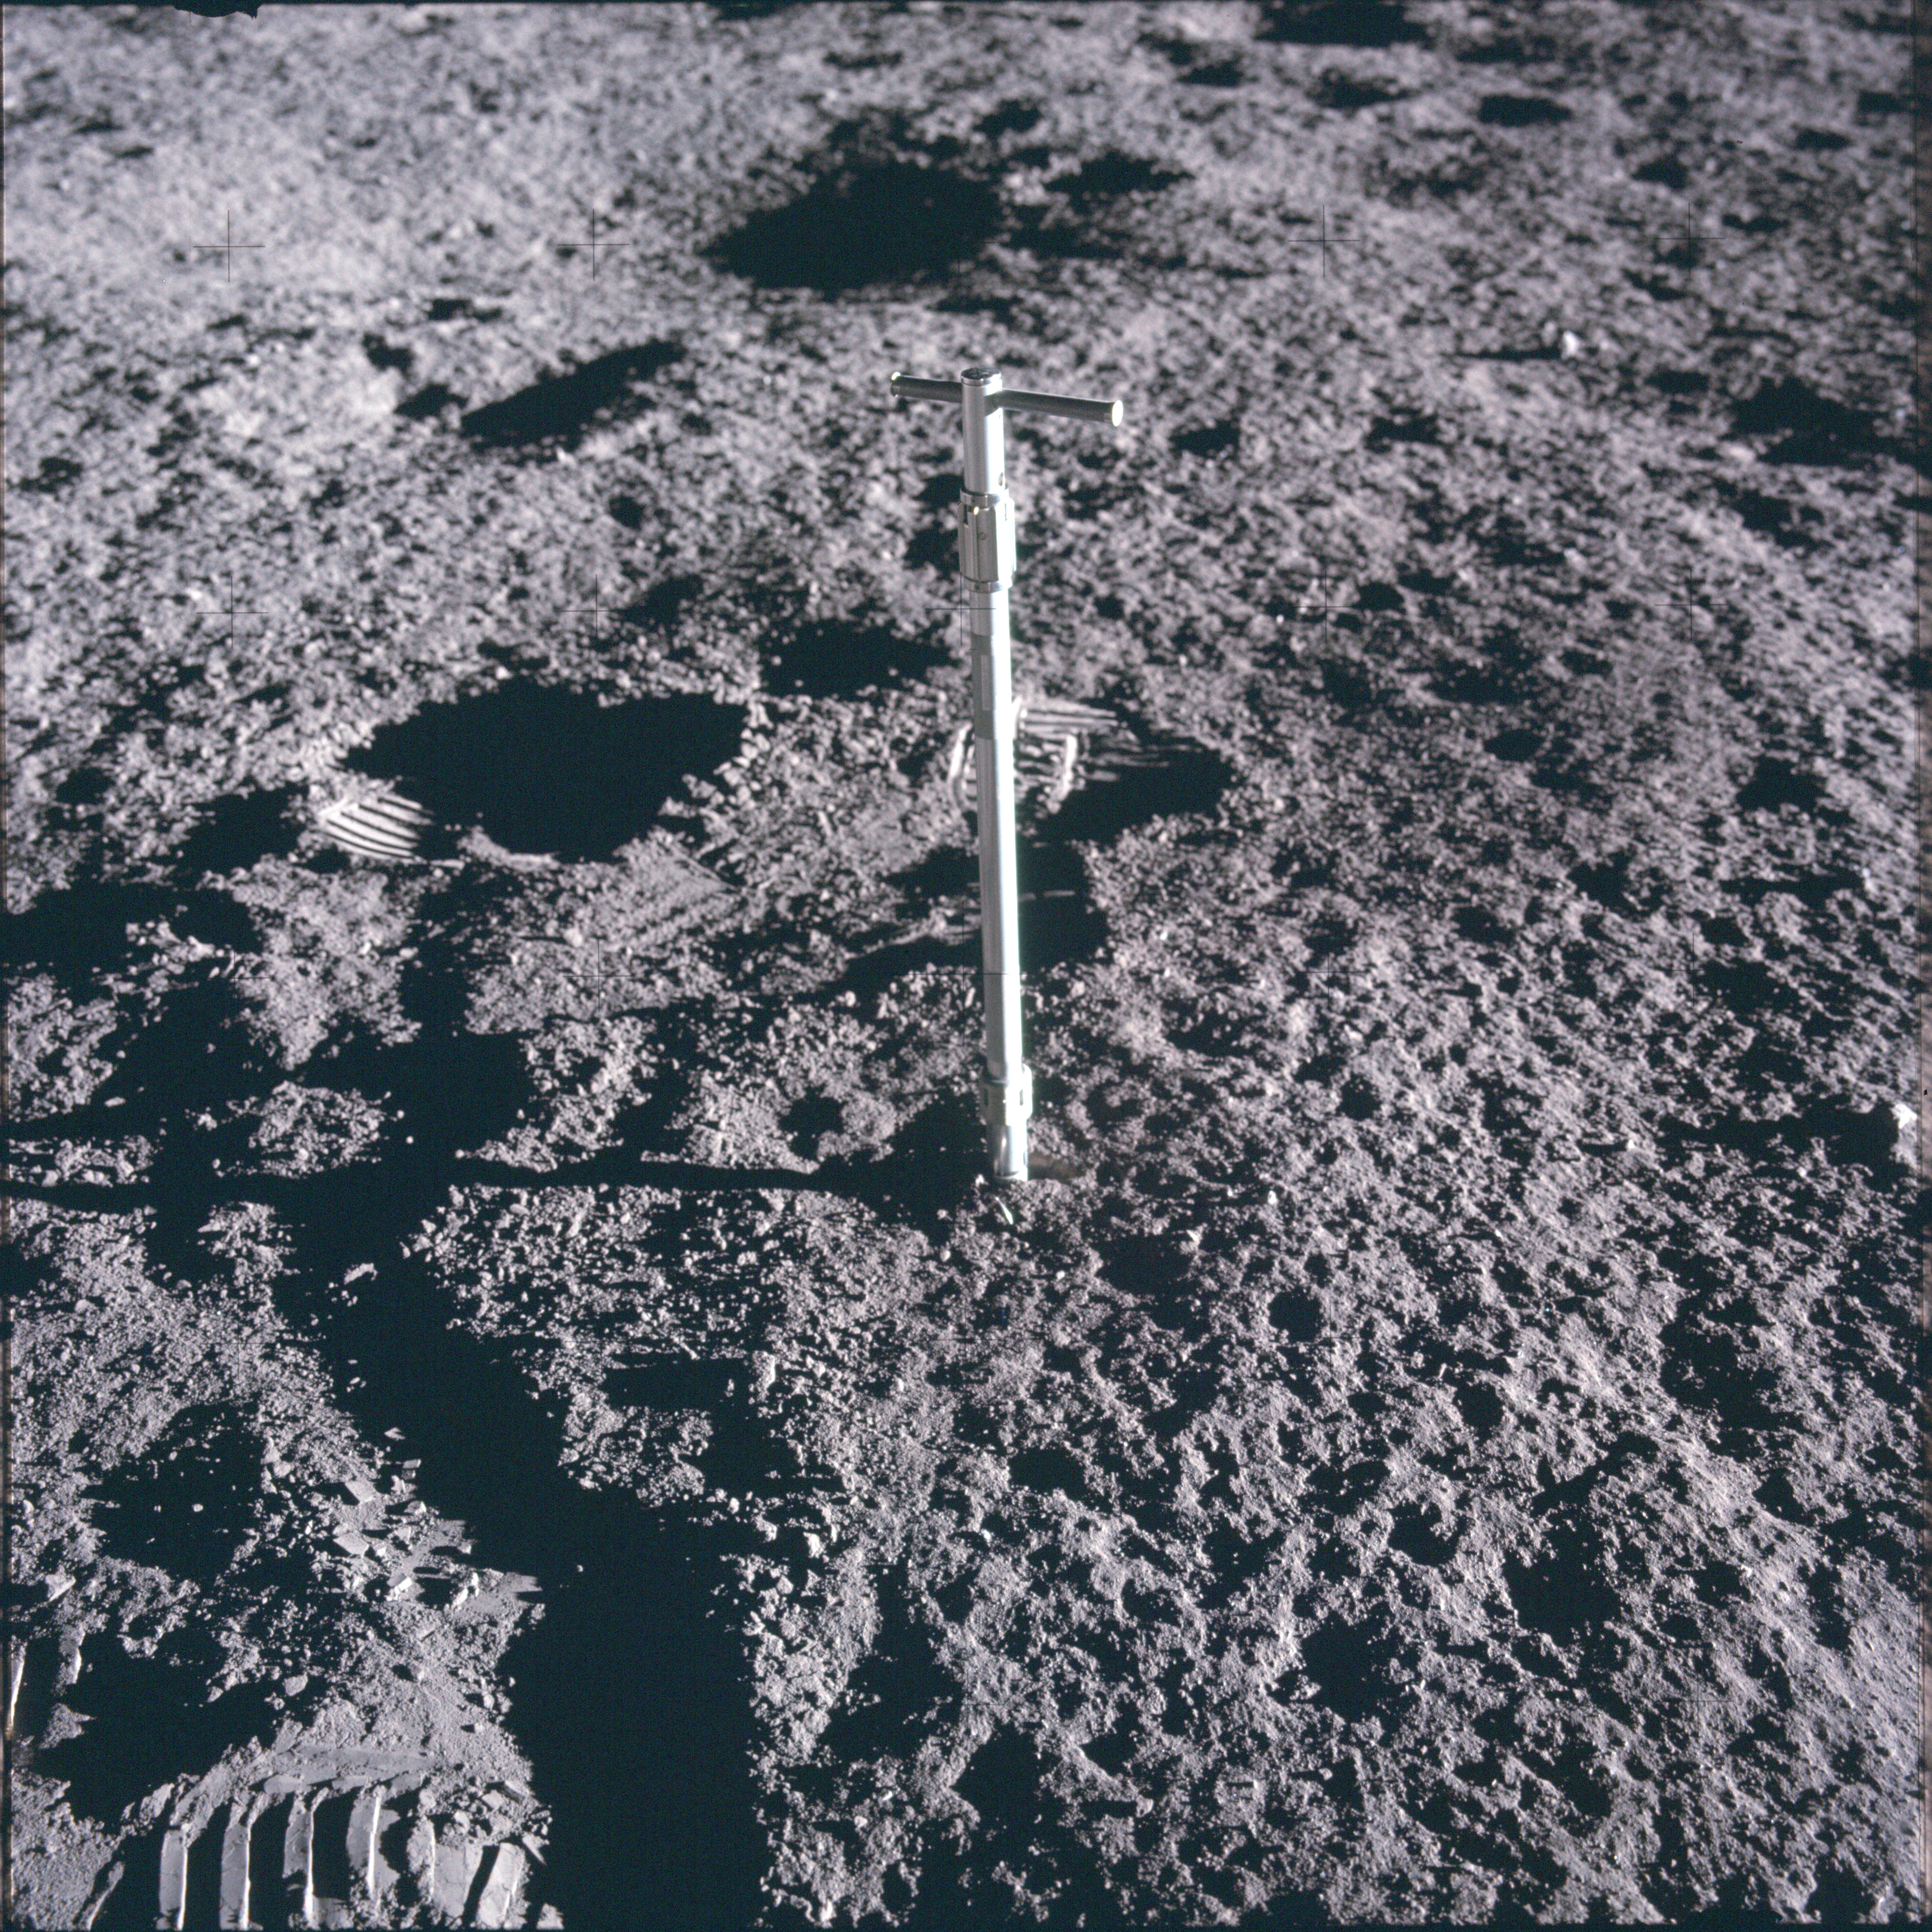
AS12-47-7007 Cross-Sun shot of a core tube that Al Bean drove into the surface dust at 118:35:45 GET. Image credit: Image Science and Analysis Laboratory, NASA-Johnson Space Center |
 |
AS12-47-7008 Another shot of core tube after Al Bean had moved to the right. Image credit: Image Science and Analysis Laboratory, NASA-Johnson Space Center |
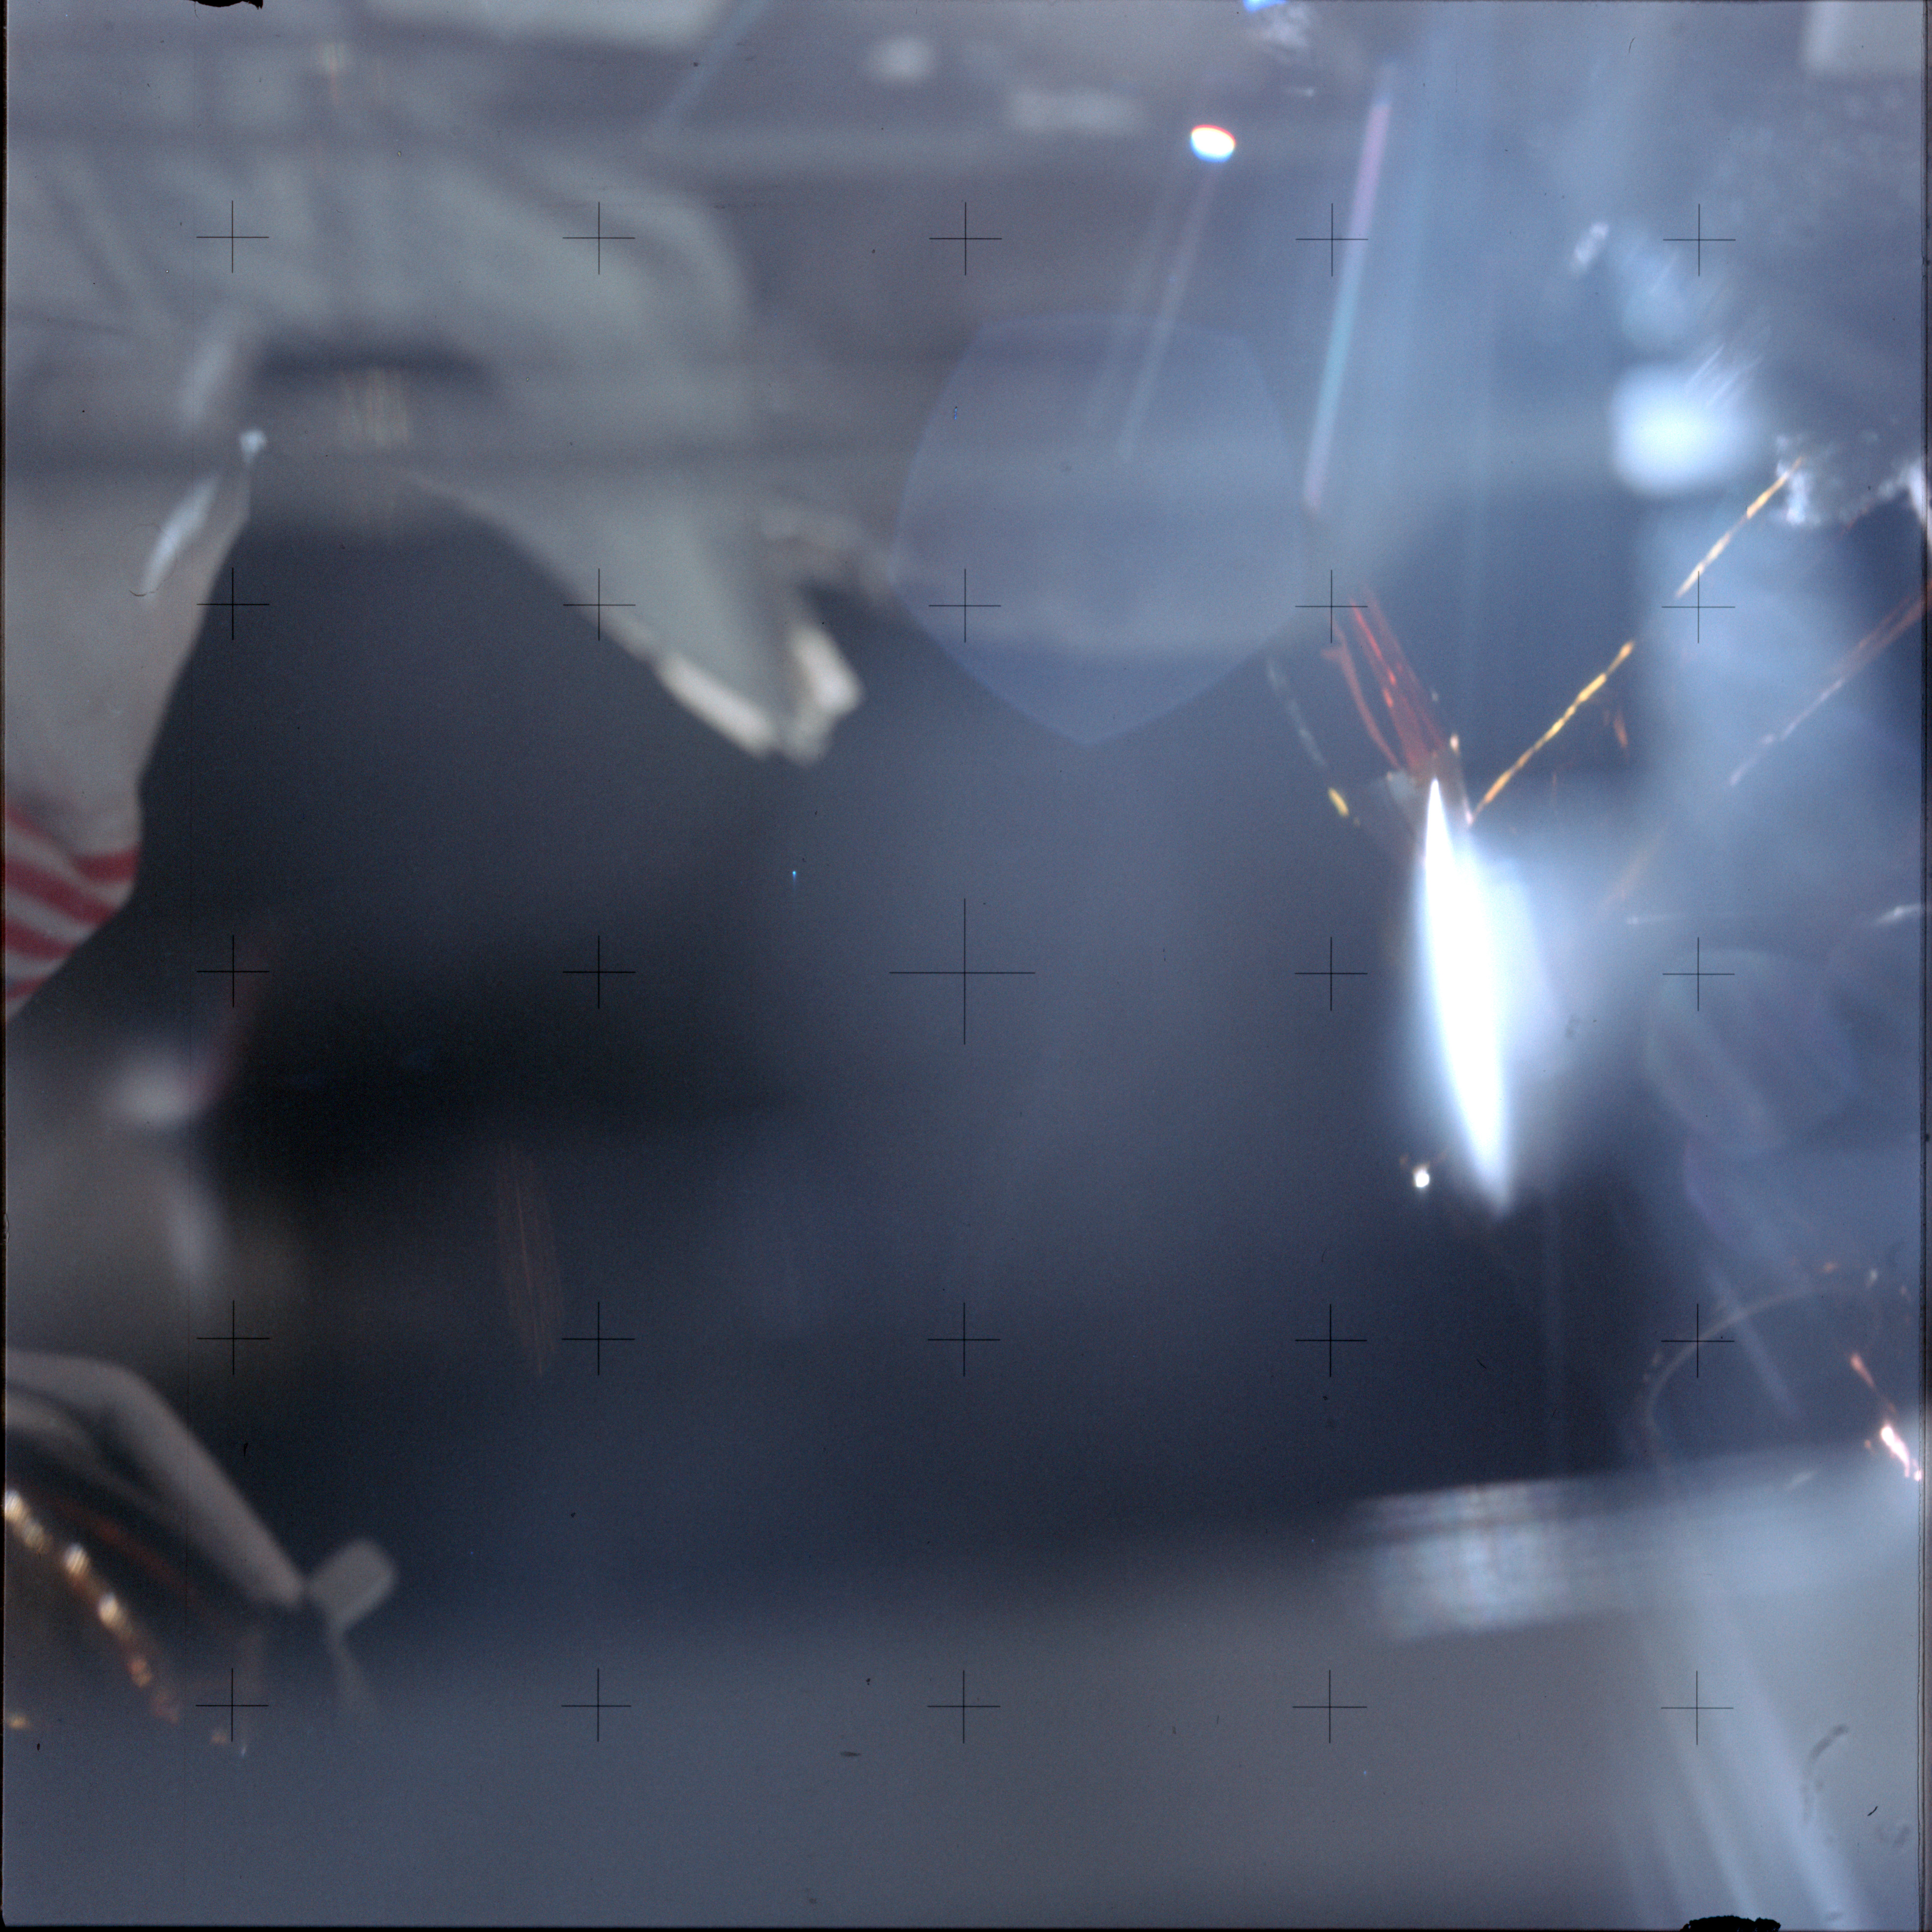 |
AS12-47-7009 Shot of Pete Conrad taken near the end of EVA-1. Image credit: Image Science and Analysis Laboratory, NASA-Johnson Space Center |
 |
AS12-47-7010 Shot of Pete Conrad taken near the end of EVA-1. Image credit: Image Science and Analysis Laboratory, NASA-Johnson Space Center |
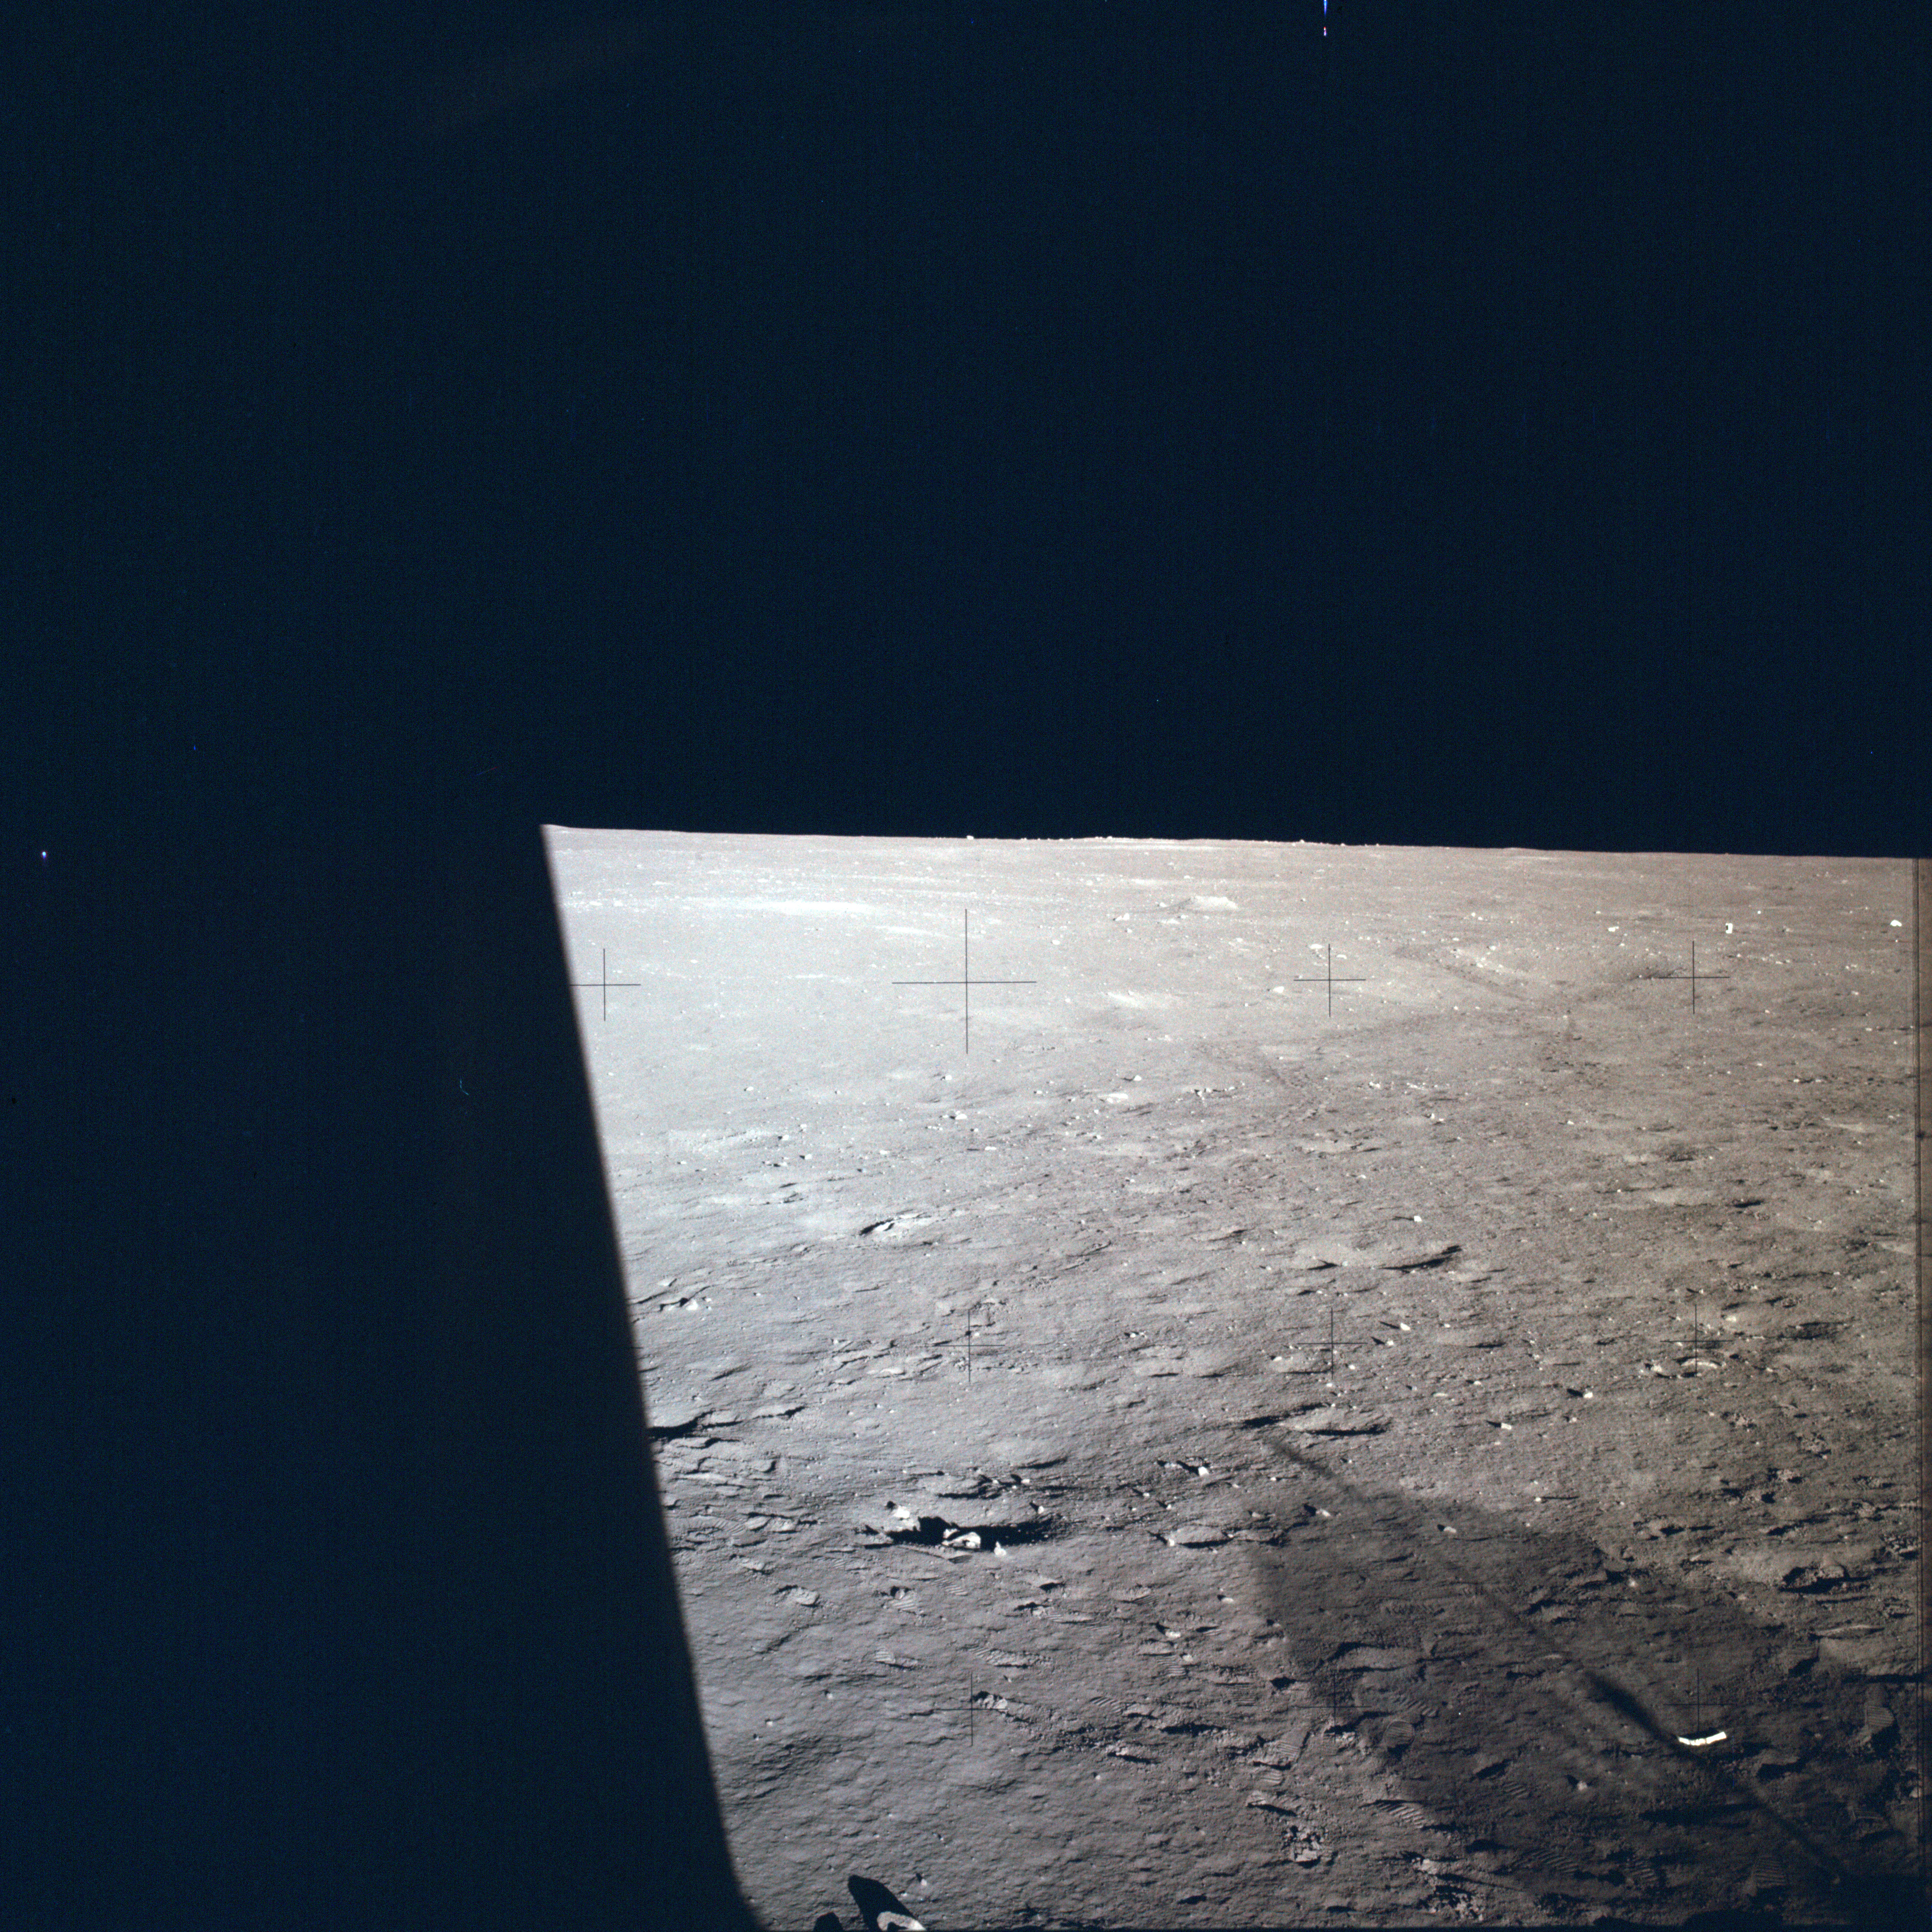 |
AS12-47-7011 View from LMP's window; part of a panorama. Includes shadow of S-band antenna. Image credit: Image Science and Analysis Laboratory, NASA-Johnson Space Center |
 |
AS12-47-7012 View from LMP's window; part of a panorama. Includes shadow of S-band antenna. Image credit: Image Science and Analysis Laboratory, NASA-Johnson Space Center |
 |
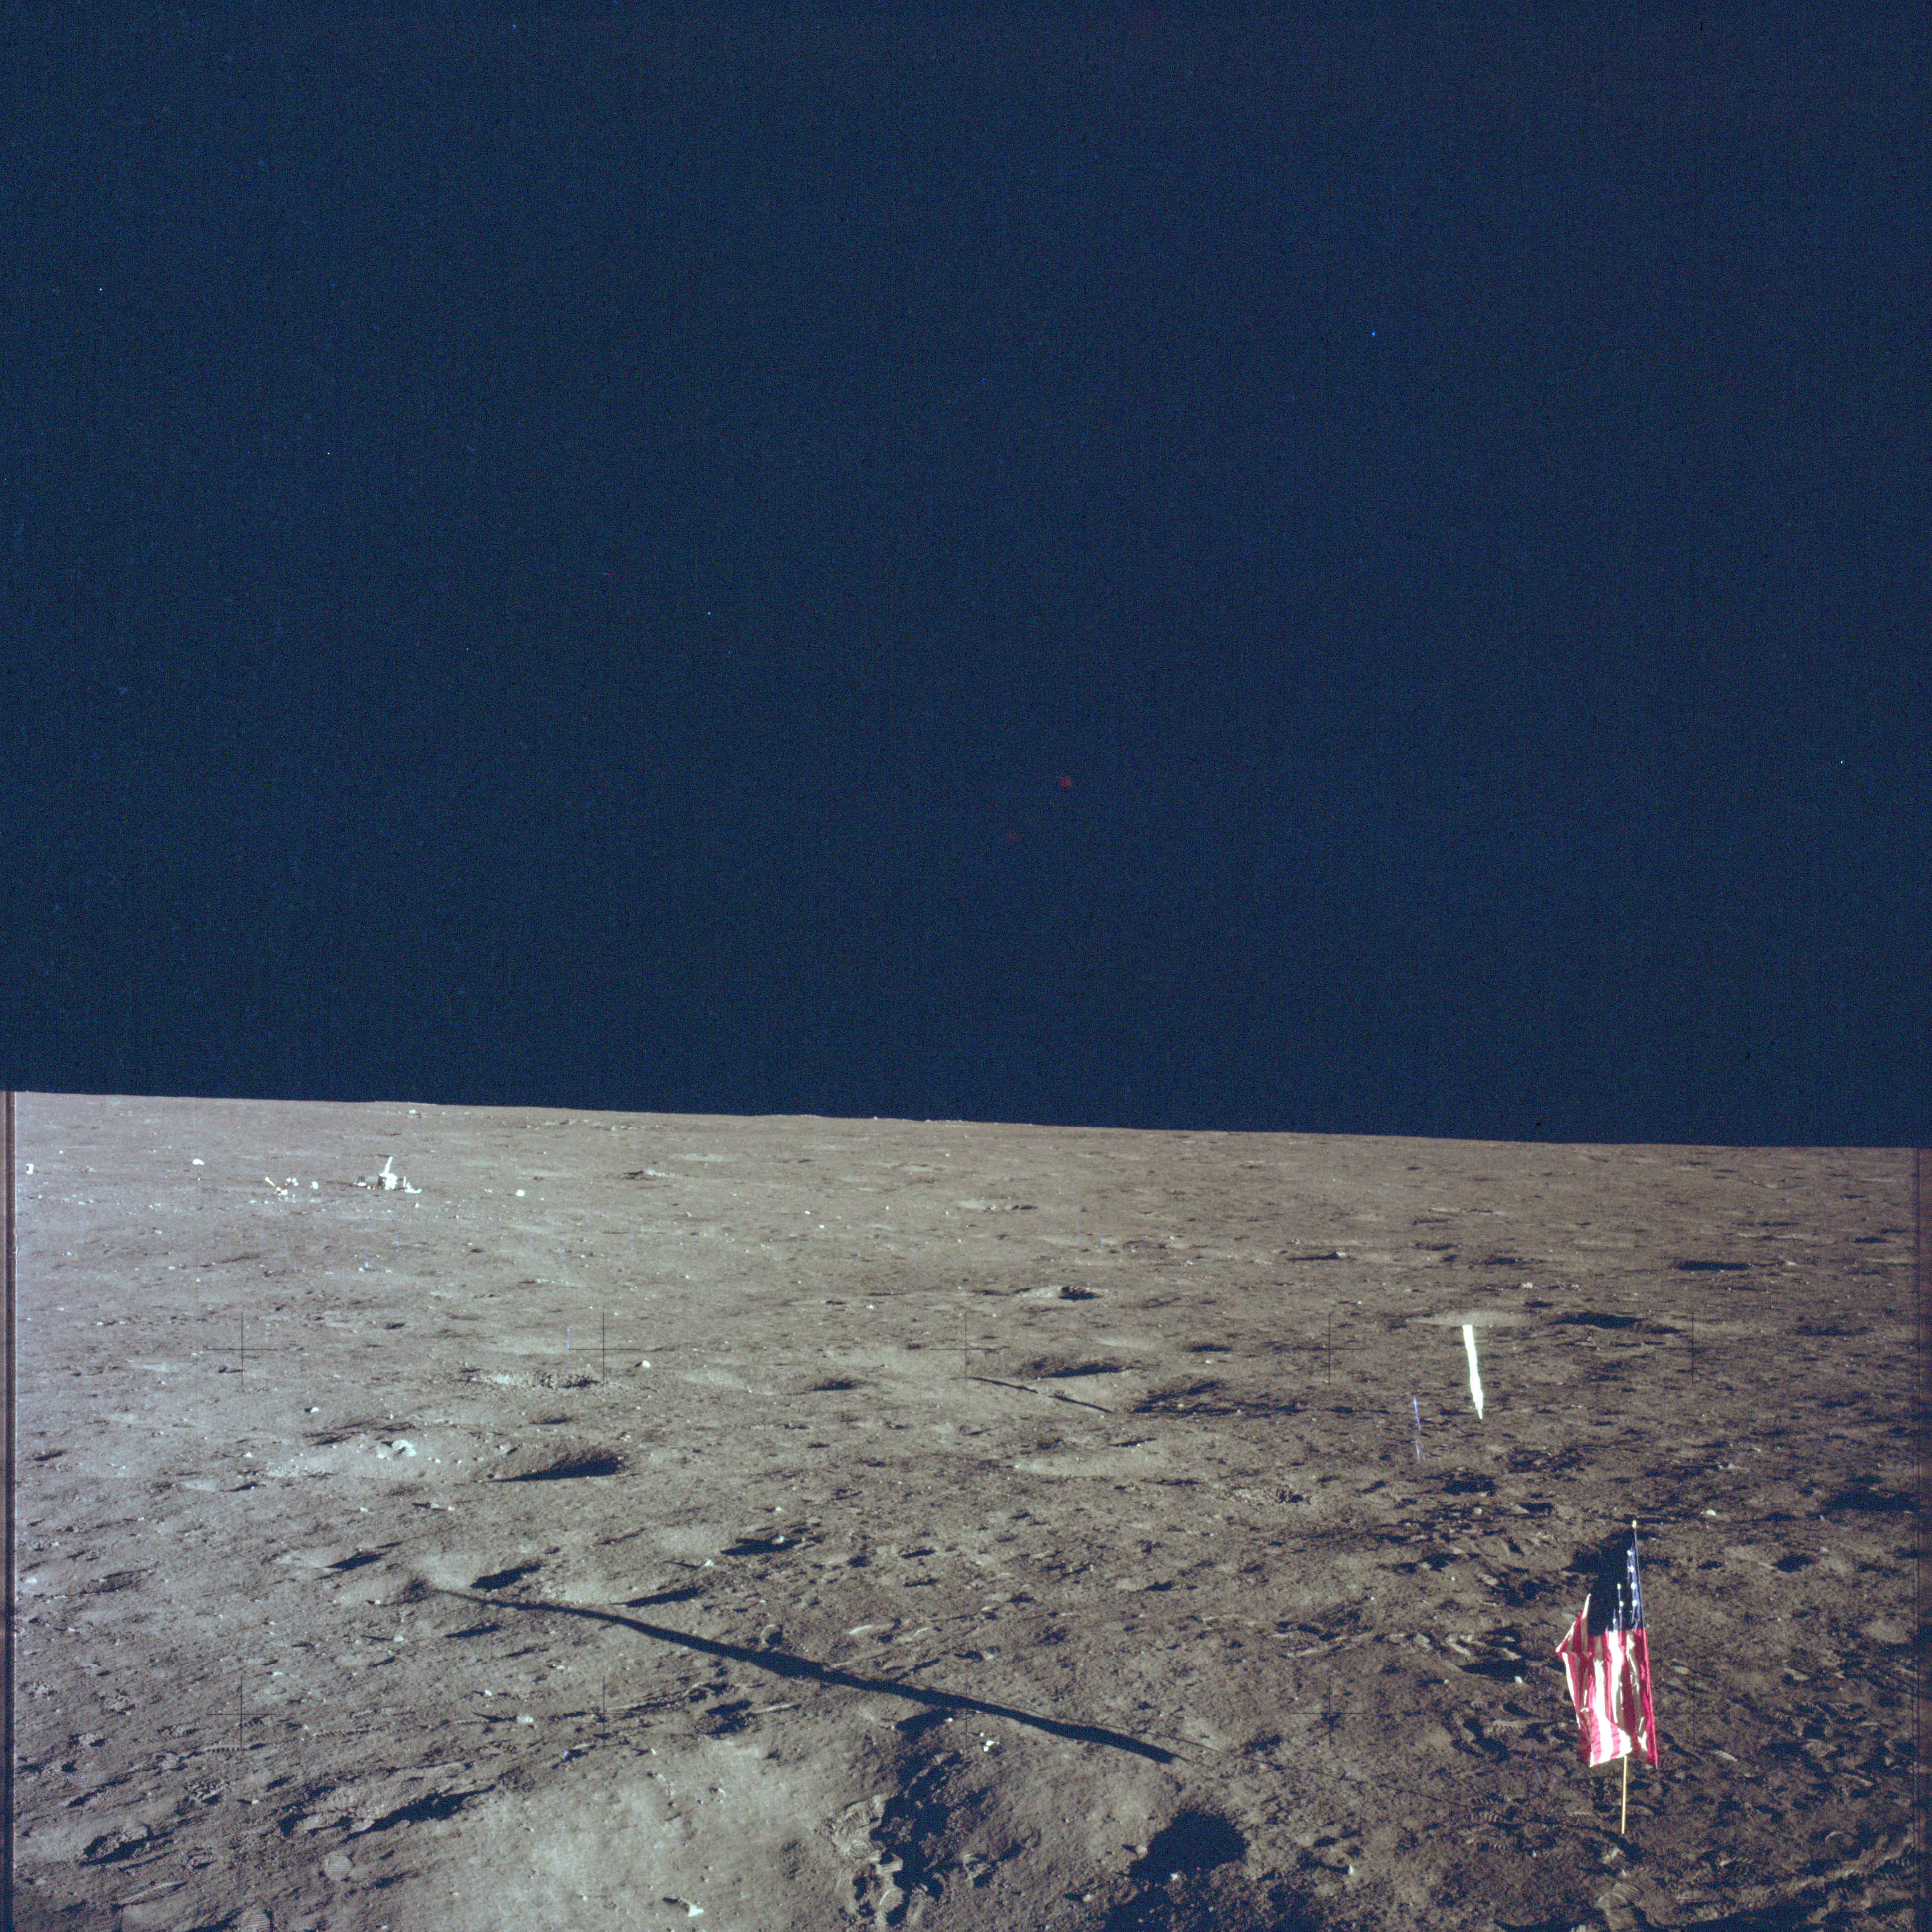
AS12-47-7013 View from LMP's window; part of a panorama. Includes shadow of S-band antenna. ALSEP visible in distance. Image credit: Image Science and Analysis Laboratory, NASA-Johnson Space Center |
 |
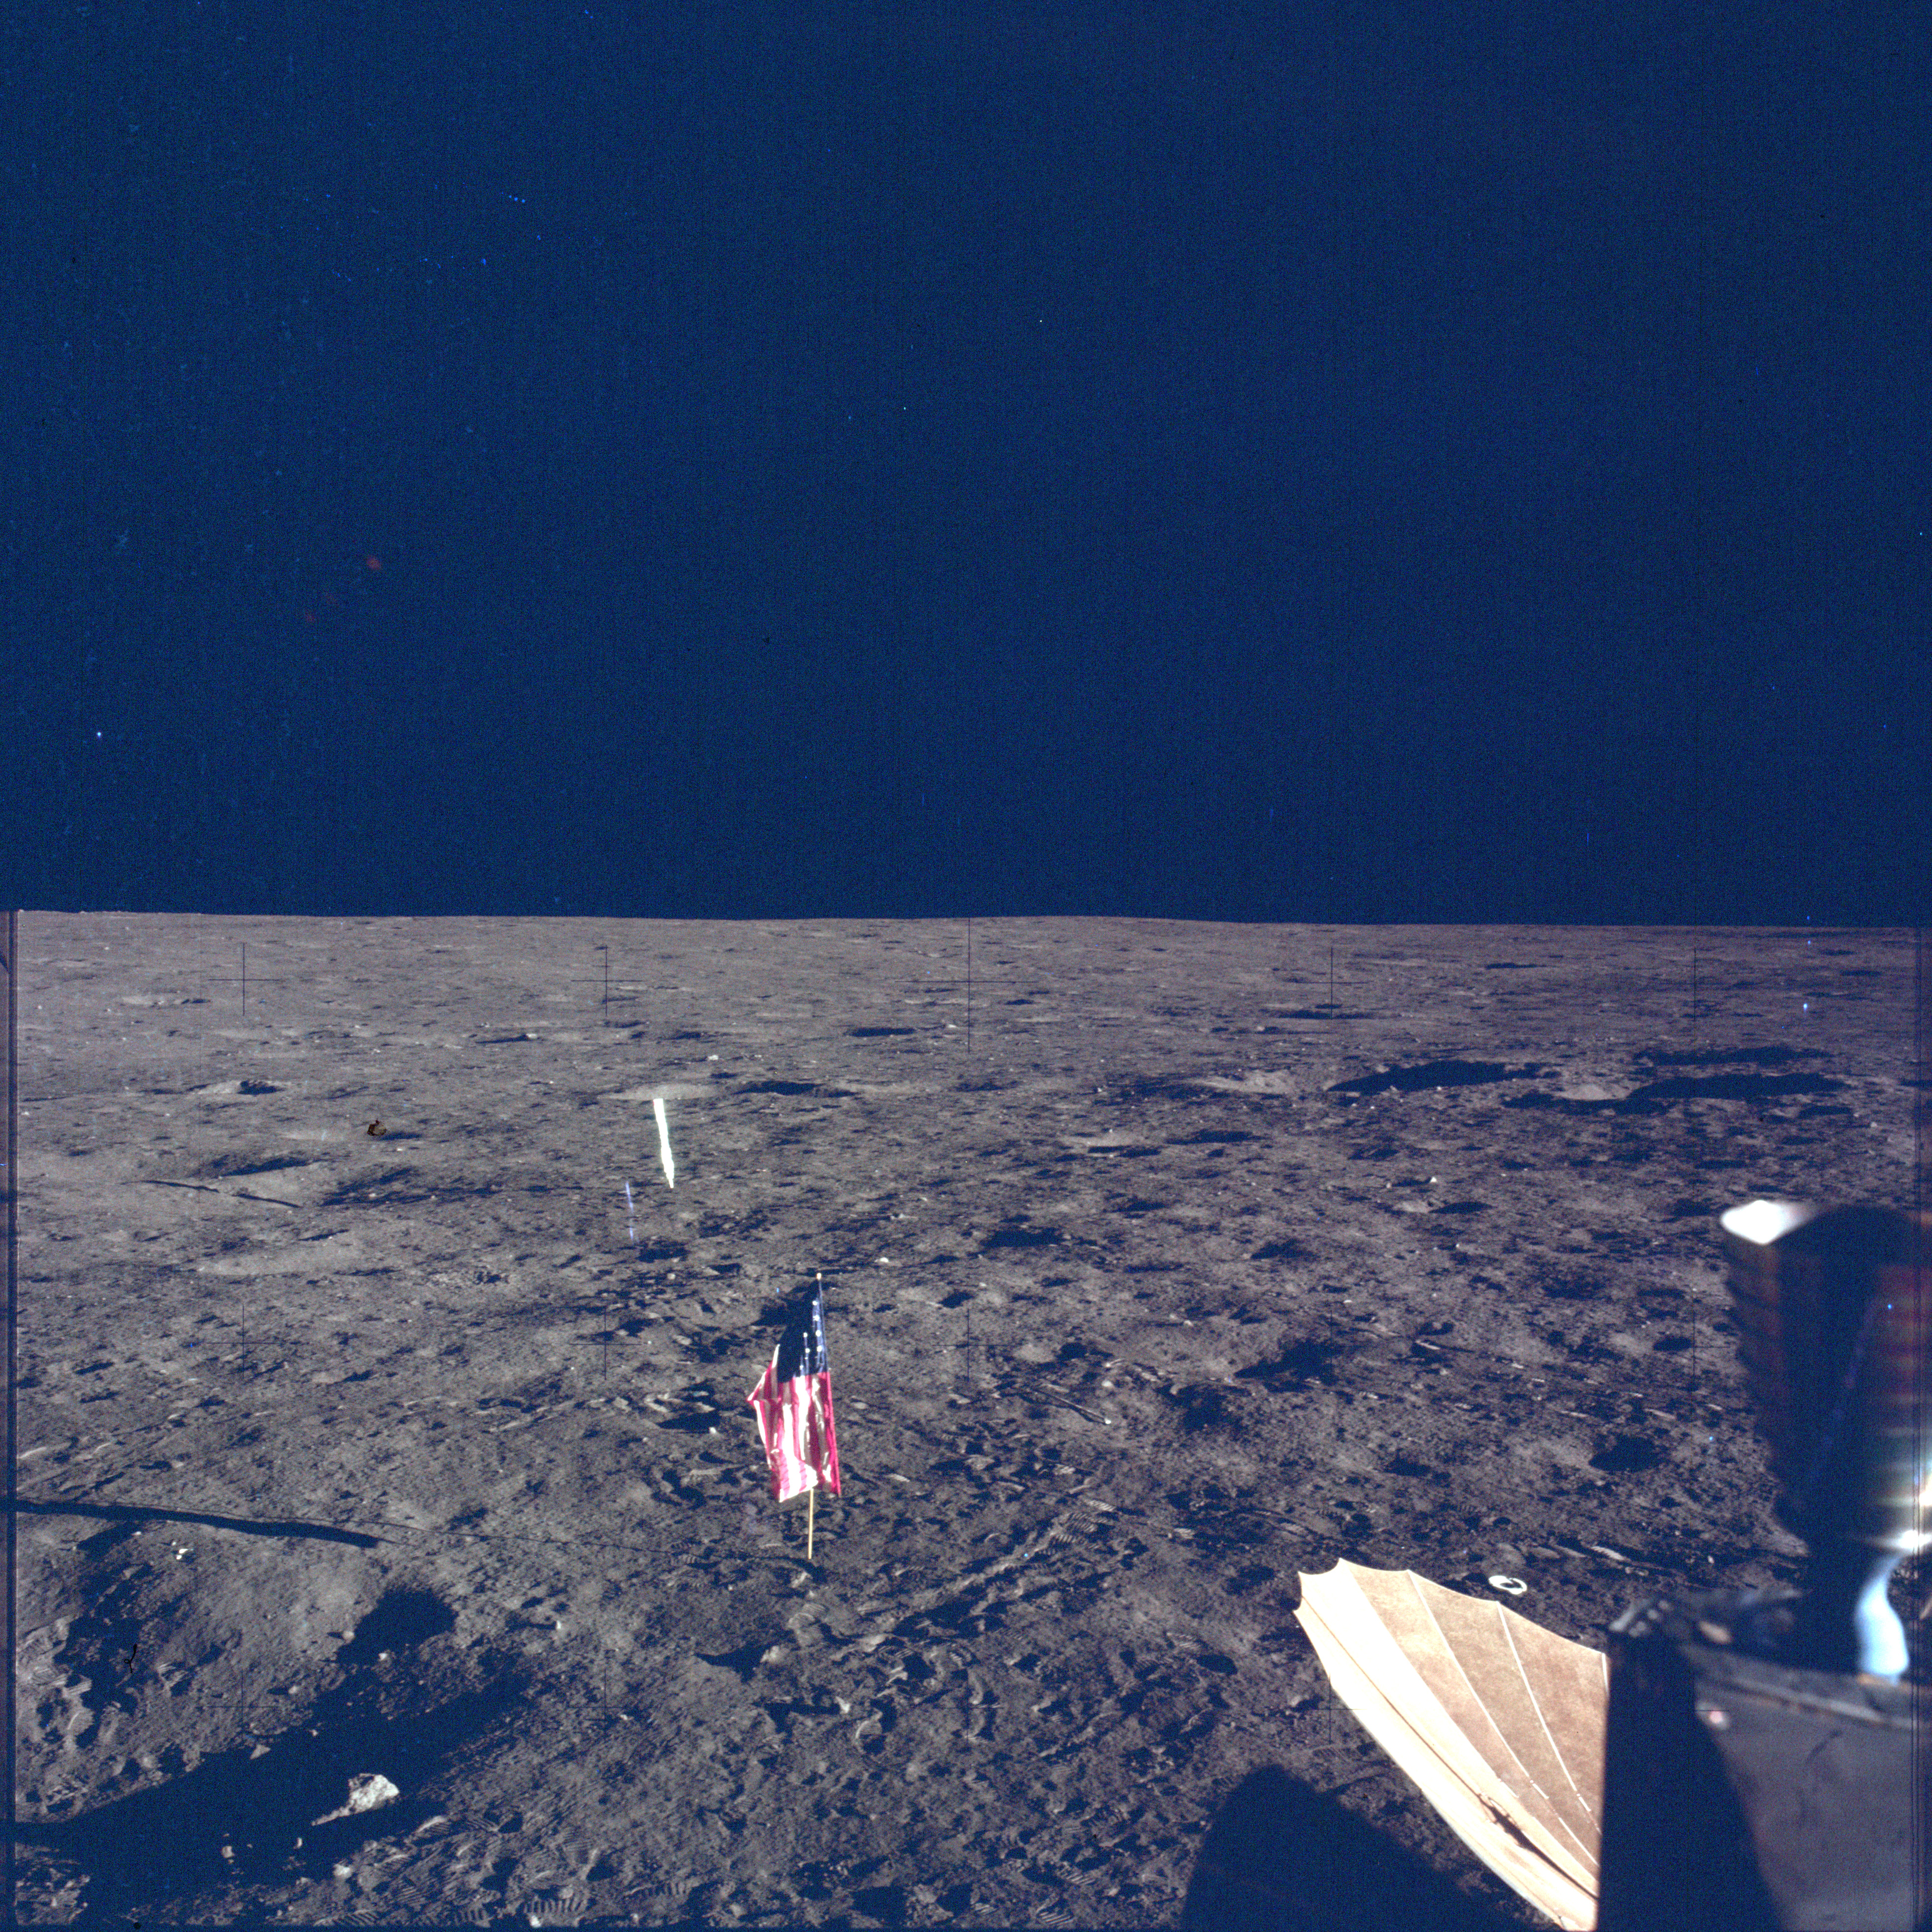
AS12-47-7014 View from LMP's window; part of a panorama. Includes ALSEP in distance on left. SWC and flag on right. Image credit: Image Science and Analysis Laboratory, NASA-Johnson Space Center |
 |
AS12-47-7015 View from LMP's window; part of a panorama. Includes SWC, flag and S-band antenna. Image credit: Image Science and Analysis Laboratory, NASA-Johnson Space Center |
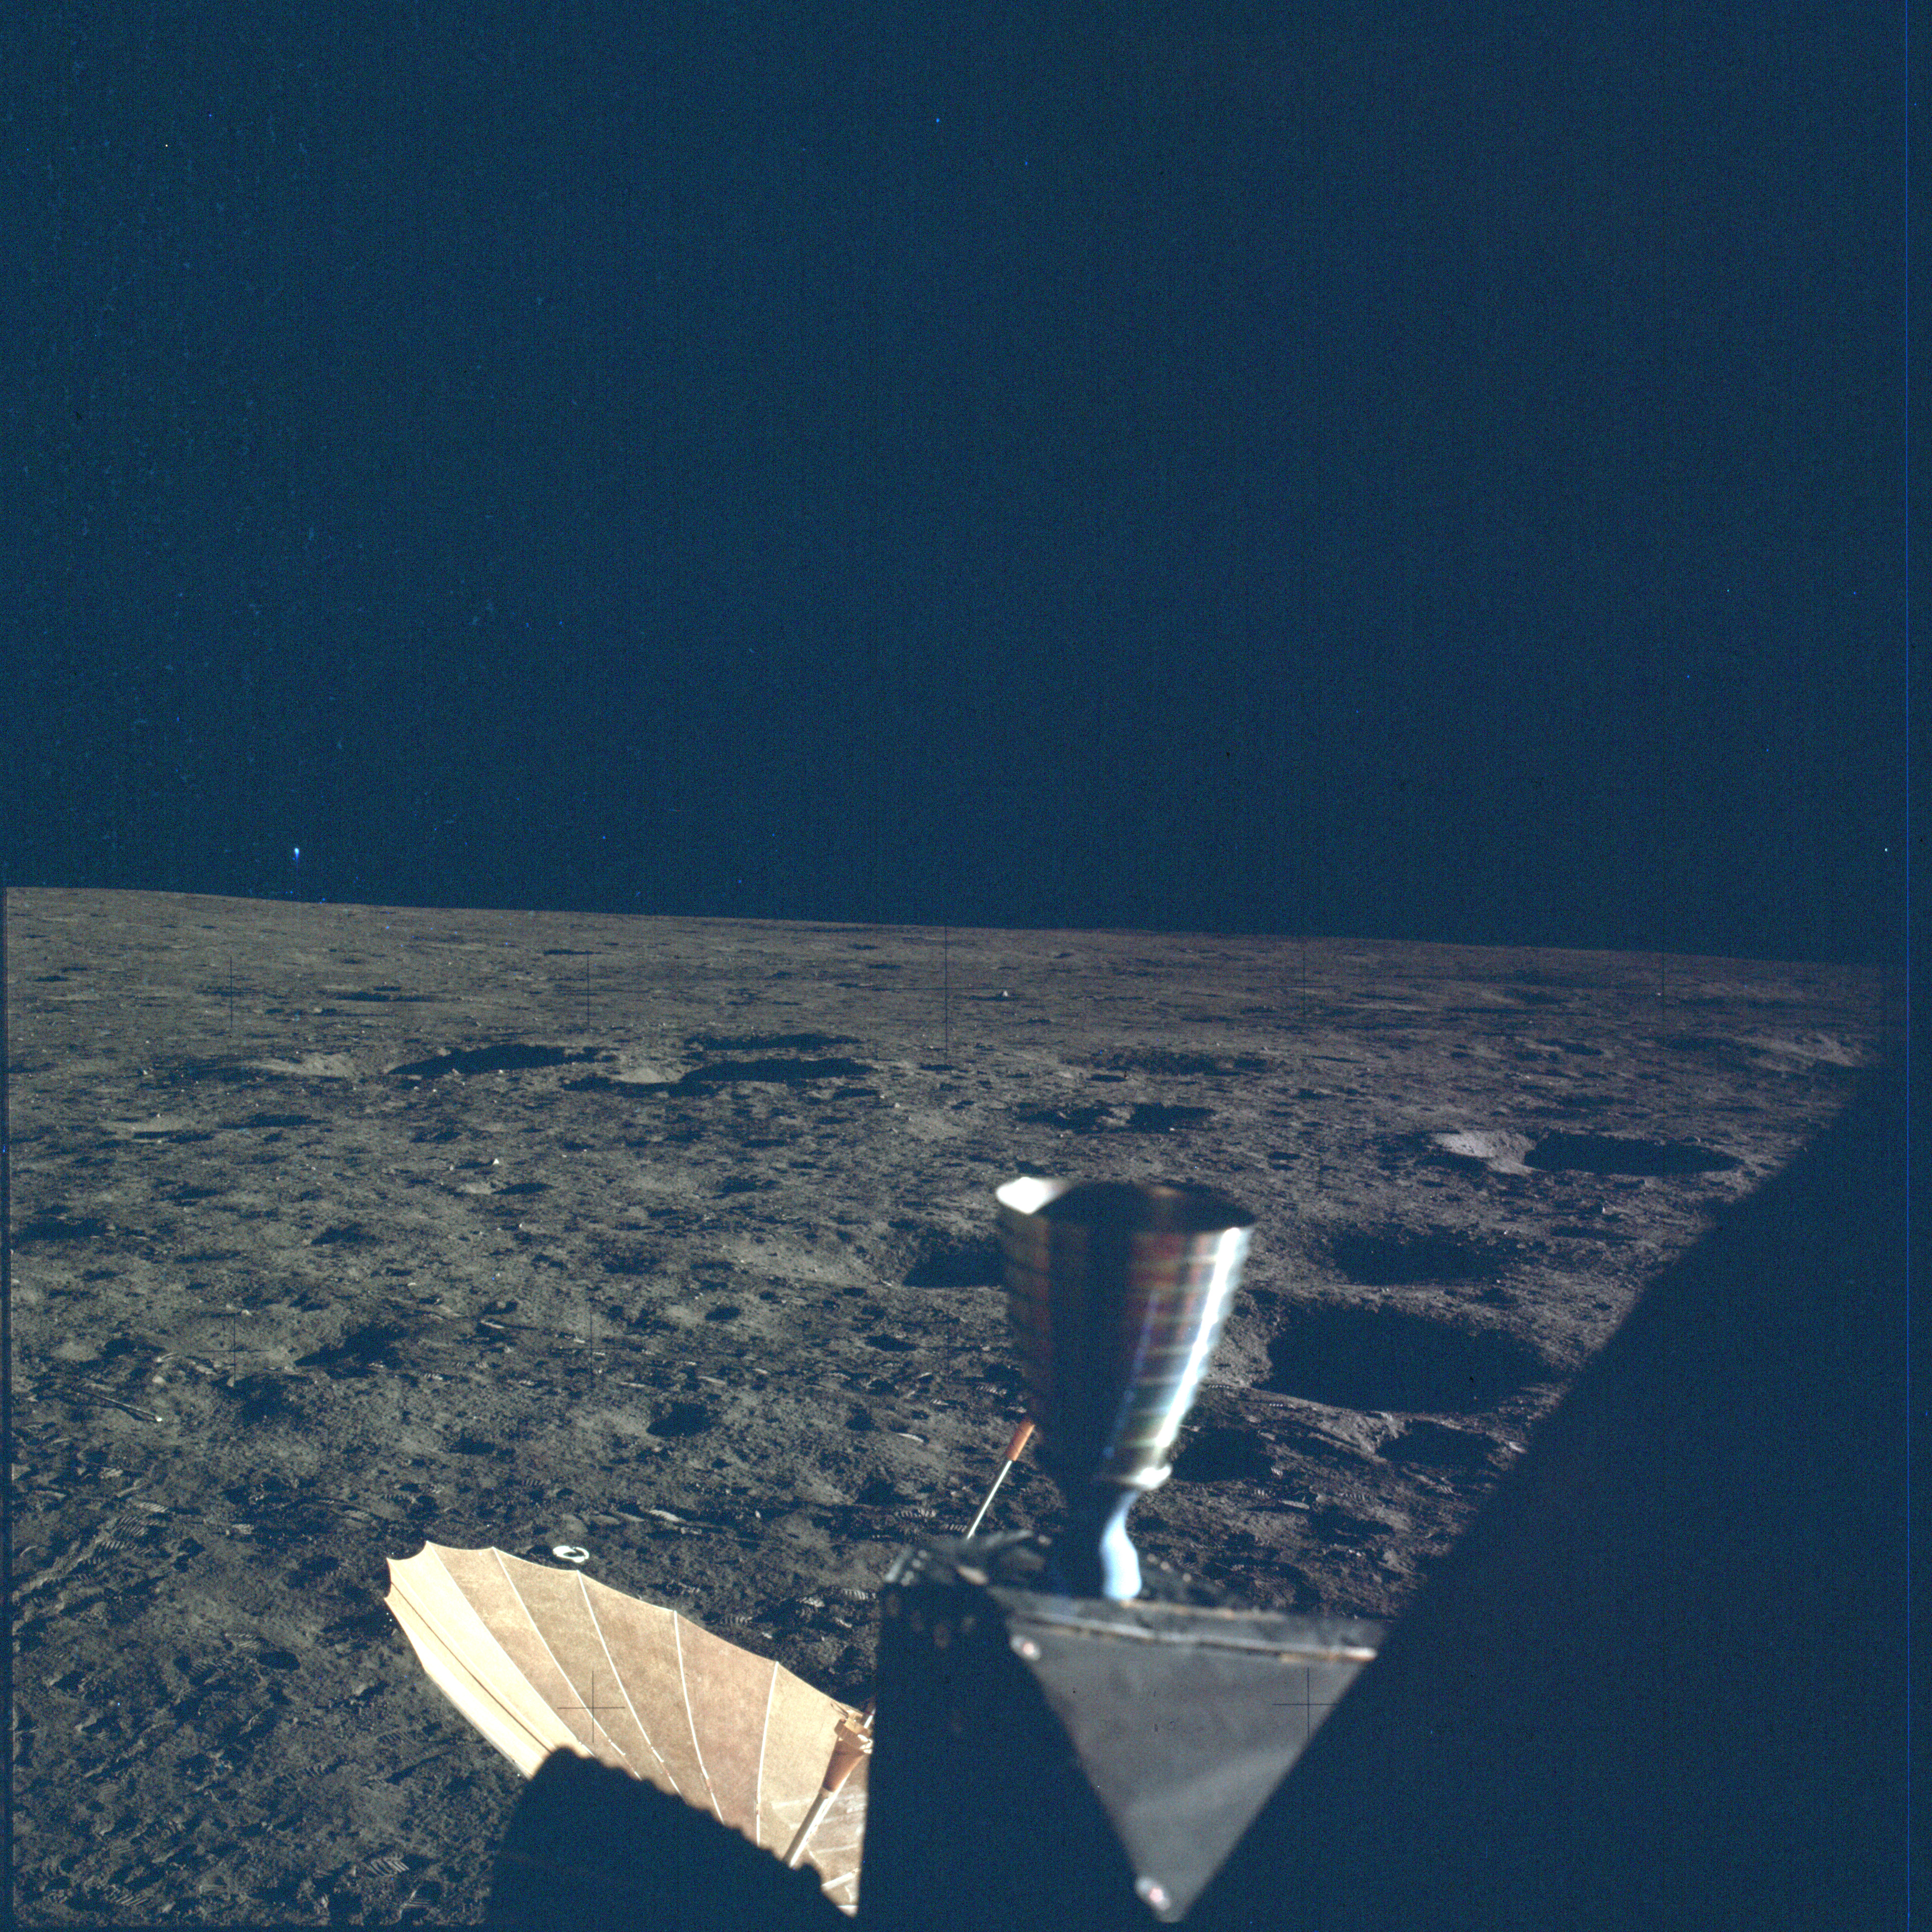 |
AS12-47-7016 View from LMP's window; part of a panorama. Includes S-band antenna and a LM thruster quad in the foreground. Image credit: Image Science and Analysis Laboratory, NASA-Johnson Space Center |
 |
AS12-47-7017 View from LMP's window; part of a panorama. Includes S-band antenna and a LM thruster quad in the foreground. Image credit: Image Science and Analysis Laboratory, NASA-Johnson Space Center |
 |
AS12-47-7018 View from LMP's window; part of a panorama. Includes SWC, flag and S-band antenna. Image credit: Image Science and Analysis Laboratory, NASA-Johnson Space Center |
 |
AS12-47-7019 View from LMP's window; part of a panorama. Includes ALSEP in distance on left. SWC and flag on right. Image credit: Image Science and Analysis Laboratory, NASA-Johnson Space Center |
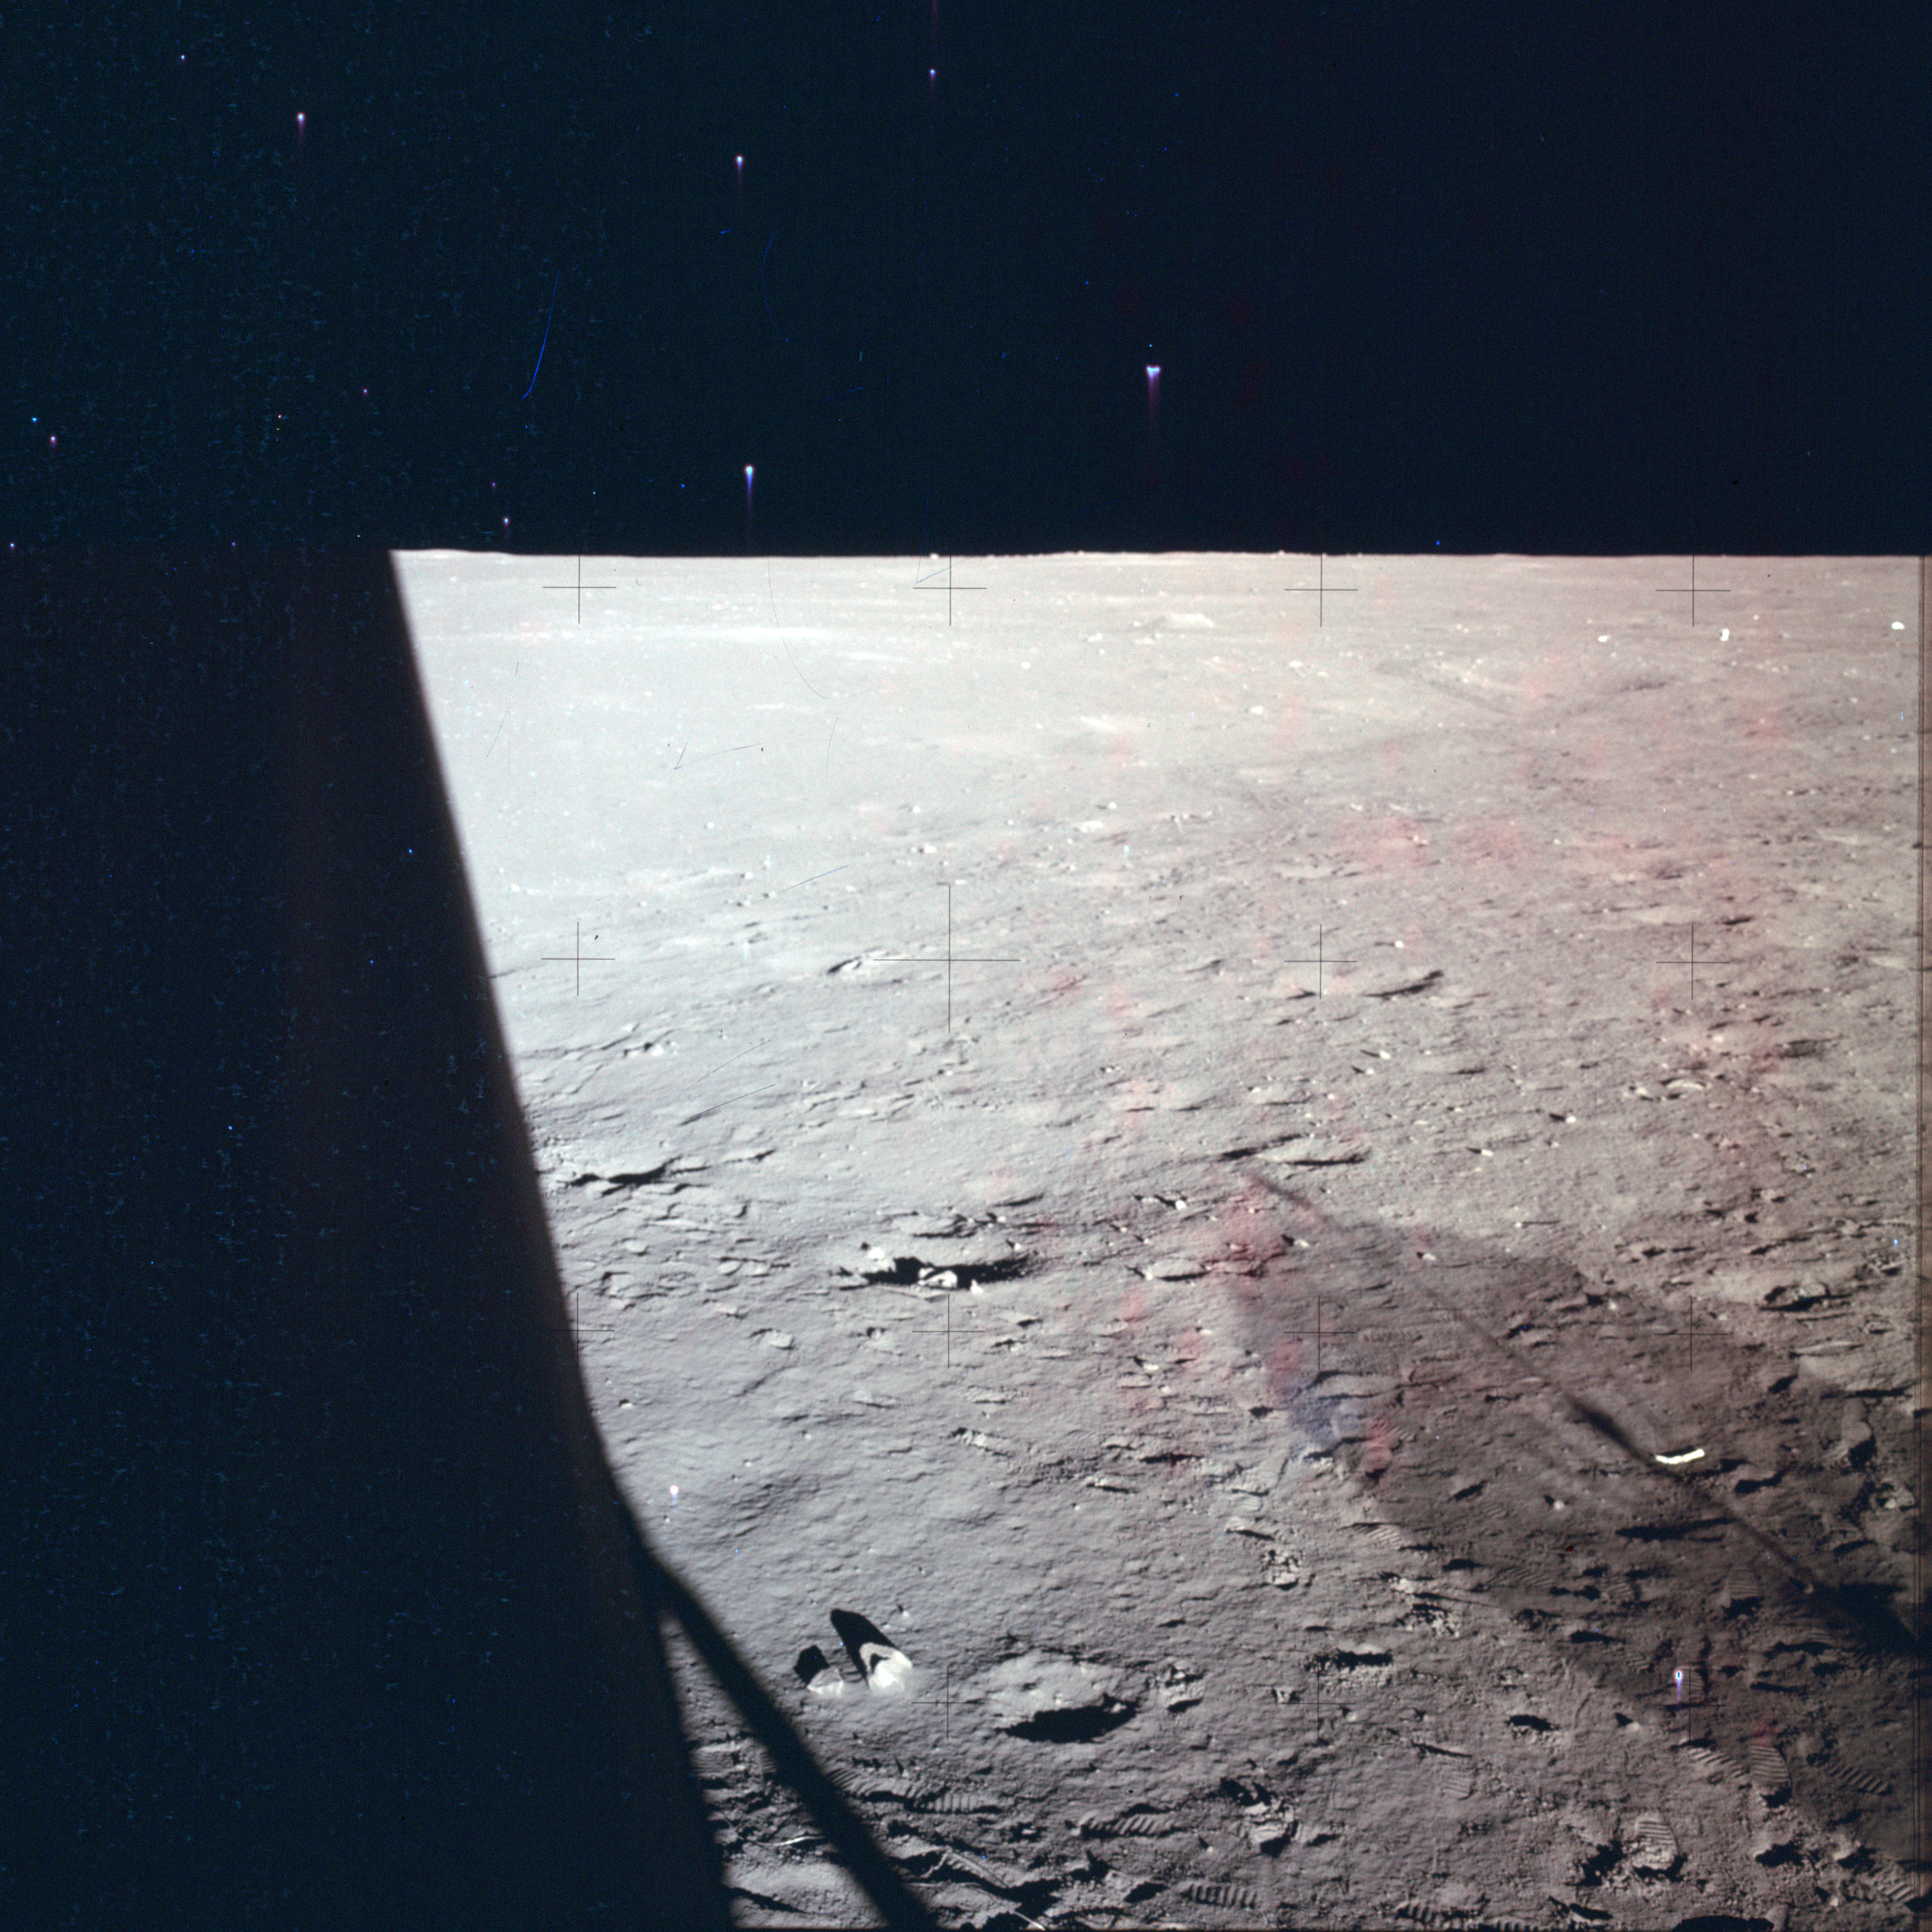 |
AS12-47-7020 View from LMP's window; part of a panorama. Includes shadow of S-band antenna. Image credit: Image Science and Analysis Laboratory, NASA-Johnson Space Center |
 |
AS12-47-7021 View from LMP's window; part of a panorama. Includes shadow of S-band antenna. Partially obscured by adhesive tape. Image credit: Image Science and Analysis Laboratory, NASA-Johnson Space Center |
|
|
|
| 70-mm magazine Y - AS12-46-6715 to 6868 |
Photography Index | 70-mm magazine X - AS12-48-7022 to 7171 |